
Come aggiungere righe in Google Sheets
Scopri come inserire righe in Google Sheets sopra o sotto i dati esistenti. Questa guida illustra diversi metodi per aggiungere in modo efficiente una o più righe.
In questo processo, imparerai come inserire righe in un Google Sheet.
Questa guida ti aiuterà a navigare nell'interfaccia di Google Sheets per aggiungere righe secondo necessità per le tue attività di gestione dei dati.
Se devi mai aggiungere righe extra nel tuo Google Sheet, è piuttosto semplice e ci sono un paio di modi per farlo.
Per aggiungere una singola riga:
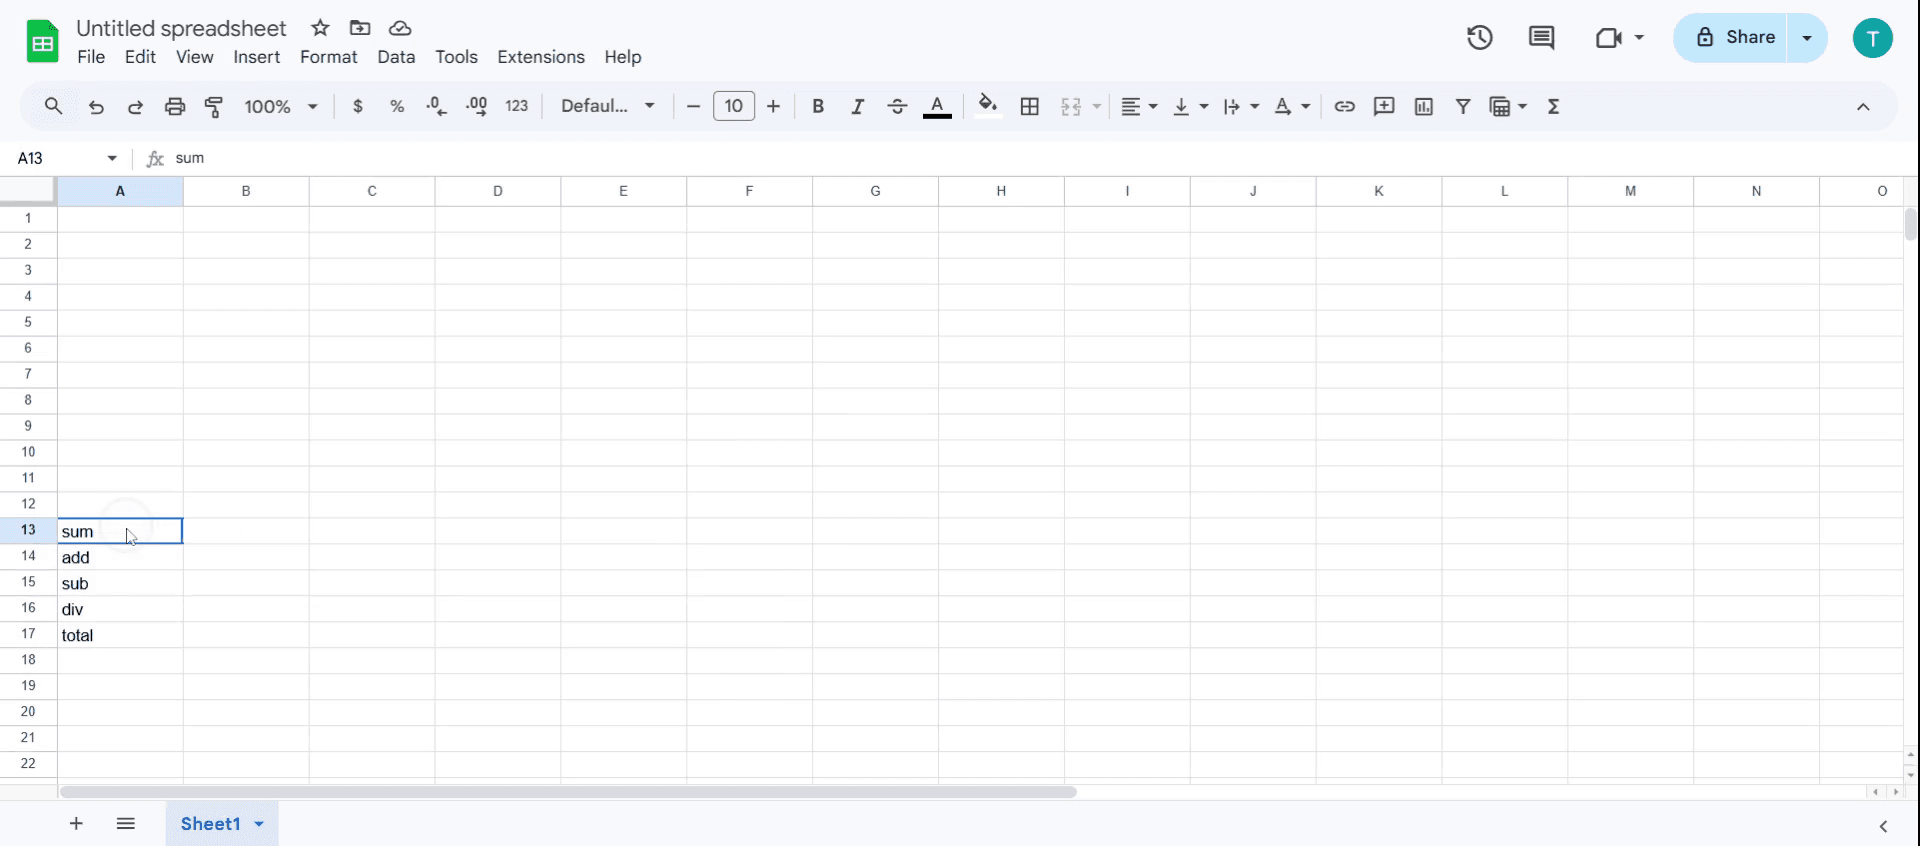
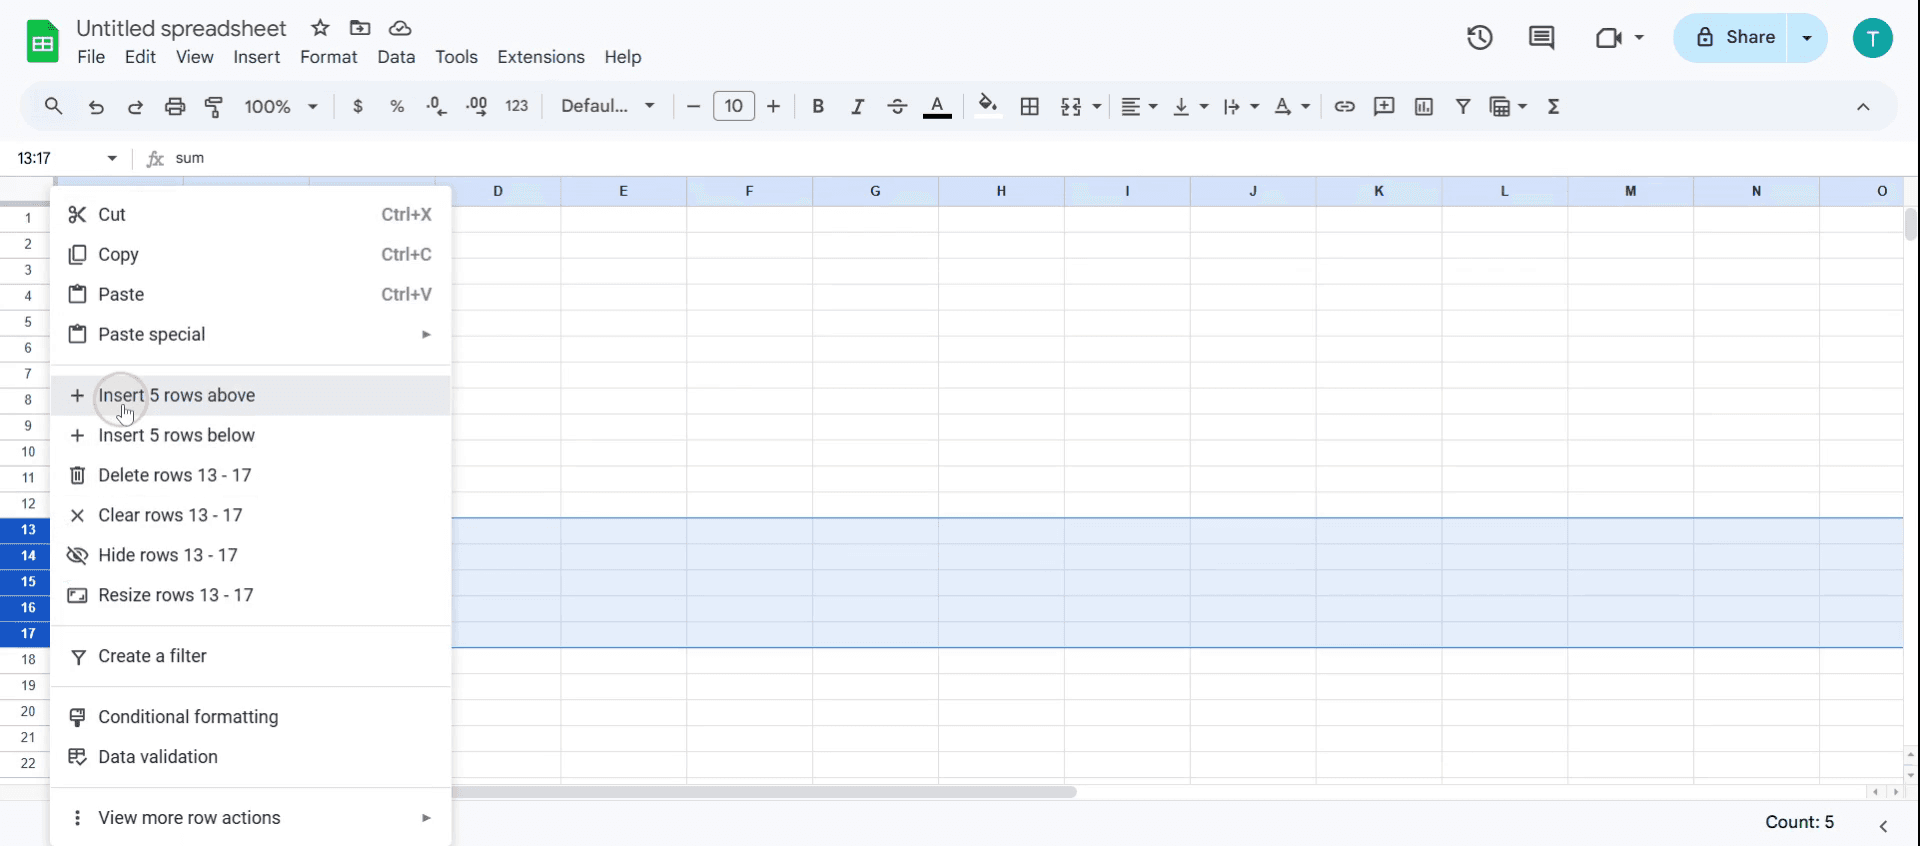
Per prima cosa, fai clic sul numero della riga in cui desideri aggiungere una nuova riga—questo evidenzierà l'intera riga.
Poi, puoi:
Fare clic con il pulsante destro del mouse e scegliere “Inserisci 1 riga sopra” o “Inserisci 1 riga sotto”, a seconda di dove vuoi la nuova riga.
Oppure, vai al menu in alto, fai clic su Inserisci > Righe, e scegli Inserisci 1 riga sopra o sotto.
Per aggiungere più righe contemporaneamente:
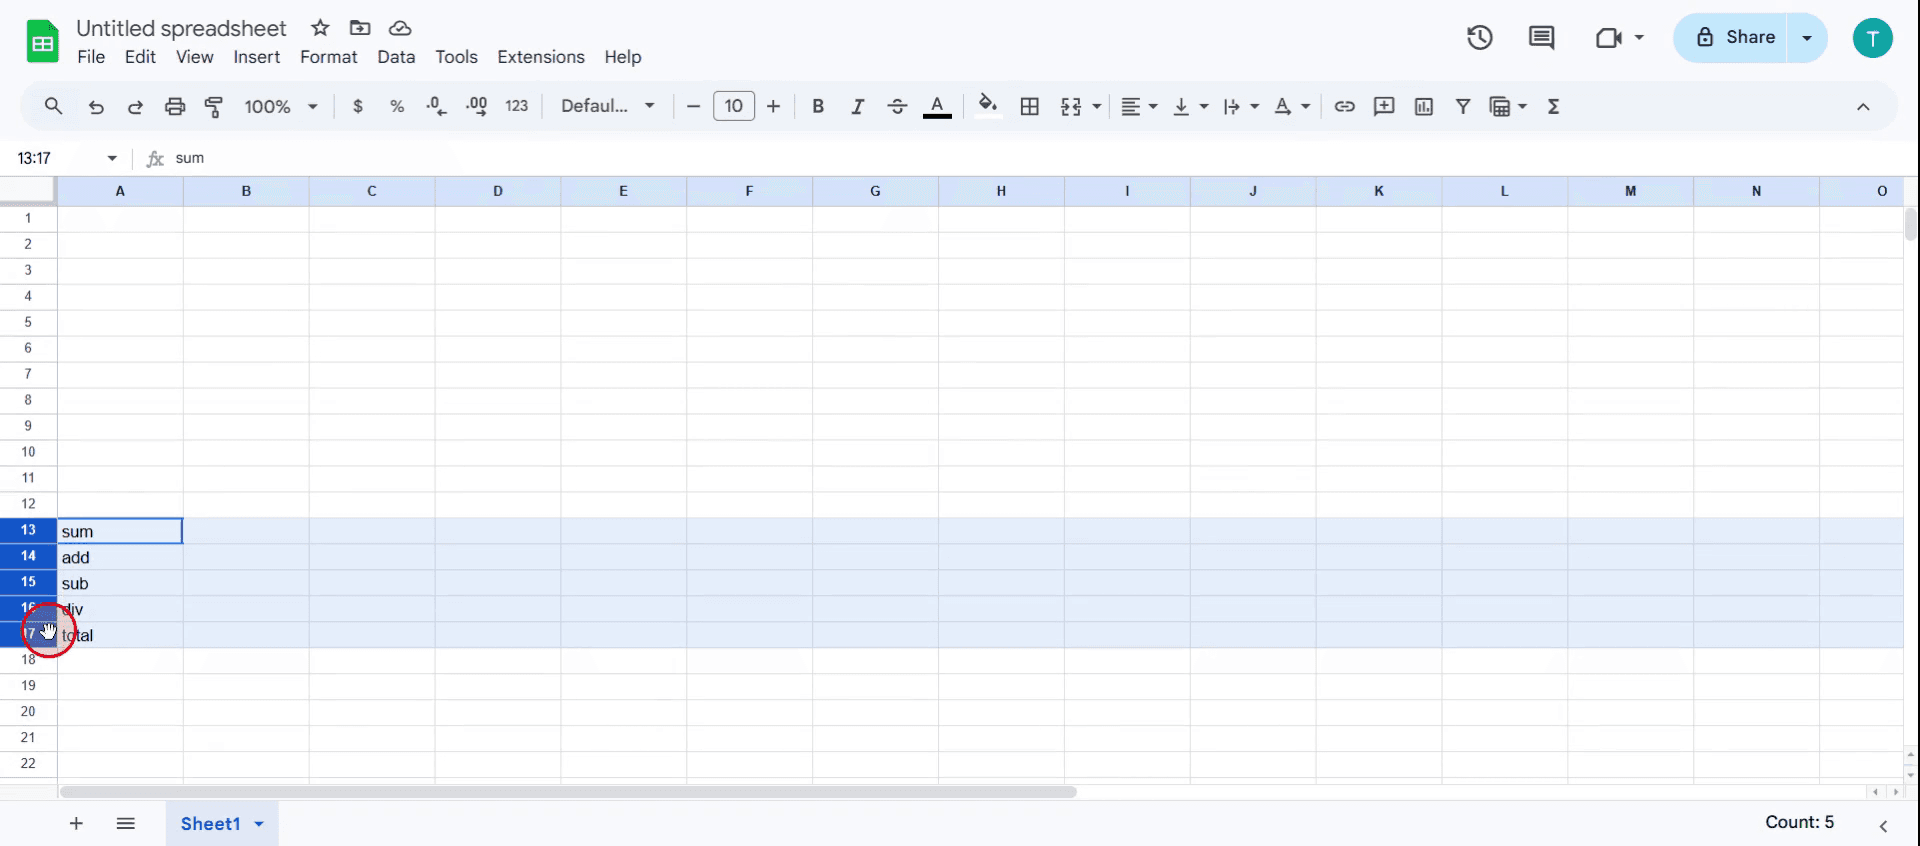
Seleziona il numero di righe esistenti che corrisponde a quante nuove righe vuoi. Ad esempio, se vuoi inserire 3 righe, evidenzia 3 righe.
Poi basta fare clic con il pulsante destro del mouse e scegliere di inserire righe sopra o sotto, oppure usa il menu Inserisci come prima.
È un modo rapido e flessibile per gestire lo spazio del tuo foglio di calcolo senza perdere traccia dei tuoi dati.
Guida passo dopo passo: come aggiungere righe in Google Sheets
Passaggio 1
Inizia accedendo al foglio di calcolo Google in cui desideri aggiungere righe.
Passaggio 2
Fai clic sulla cella in cui desideri aggiungere le righe.
Passaggio 3
Decidi il numero di righe che vuoi aggiungere, e trascina il mouse per selezionare le righe multiple
Passaggio 4
Fai clic con il pulsante destro del mouse sulla cella e seleziona il numero di righe che vuoi aggiungere.
Passaggio 5
Sono state aggiunte 5 nuove righe nel Google Sheet.

Consigli pratici su come aggiungere righe in Google Sheets
Usa le scorciatoie da tastiera per velocizzare – Invece di fare clic con il tasto destro, usa Ctrl + Shift + “+” (Windows) oppure Cmd + Option + “+” (Mac) per inserire rapidamente nuove righe.
Inserisci più righe contemporaneamente – Seleziona il numero di righe che vuoi aggiungere, poi fai clic con il tasto destro e scegli Inserisci X righe sopra/sotto” per aggiunte in blocco.
Usa Apps Script per l’automazione – Se devi spesso aggiungere righe in modo dinamico, configura uno script di Google Apps Script per automatizzare il processo.
Insidie comuni e come evitarle
Sovrascrivere accidentalmente i dati – Controlla sempre la presenza di formule nascoste o celle unite prima di inserire righe, per evitare di compromettere i calcoli.
Non aggiornare i riferimenti – Se il foglio contiene formule, assicurati che si adattino automaticamente usando riferimenti relativi alle celle invece di quelli statici.
Inserire righe in dati filtrati – Disattiva i filtri prima di aggiungere righe; altrimenti, le nuove righe potrebbero non comparire dove previsto.
Domande frequenti comuni su come aggiungere righe in Google Sheets
Posso aggiungere più righe contemporaneamente in Google Sheets?
Sì, seleziona più righe prima di inserire, oppure usa l'opzione "Inserisci X righe sopra/sotto" per aggiungerne diverse in una volta.Perché i miei dati si spostano in modo errato dopo aver usato il metodo per aggiungere righe in Google Sheets?
Questo accade se hai celle unite o riferimenti statici nelle formule; assicurati che la struttura dei tuoi dati consenta l'aggiunta flessibile di righe.Come registrare lo schermo su Mac?
Per registrare lo schermo su un Mac, puoi usare Trupeer AI. Ti consente di catturare l'intero schermo e offre funzionalità AI come l'aggiunta di avatar AI, l'aggiunta di una voce fuori campo, e lo zoom avanti e indietro nel video. Con la funzione di traduzione video AI di trupeer, puoi tradurre il video in oltre 30 lingue.Come aggiungere un avatar AI a una registrazione dello schermo?
Per aggiungere un avatar AI a una registrazione dello schermo, dovrai usare uno strumento di registrazione dello schermo AI. Trupeer AI è uno strumento di registrazione dello schermo AI, che ti aiuta a creare video con più avatar e ti aiuta anche a creare il tuo avatar per il video.Come registrare lo schermo su Windows?
Per registrare lo schermo su Windows, puoi usare la Game Bar integrata (Windows + G) oppure uno strumento AI avanzato come Trupeer AI per funzionalità più avanzate come avatar AI, voiceover, traduzione, ecc.Come aggiungere una voce fuori campo a un video?
Per aggiungere una voce fuori campo ai video, scarica l'estensione Chrome di trupeer ai. Una volta registrato, carica il tuo video con voce, scegli la voce fuori campo desiderata da trupeer ed esporta il video modificato.Come faccio a ingrandire in una registrazione dello schermo?
Per ingrandire durante una registrazione dello schermo, usa gli effetti di zoom in Trupeer AI, che ti consentono di ingrandire e ridurre in momenti specifici, migliorando l'impatto visivo dei contenuti del tuo video.
Letture suggerite
Generatore di documentazione tecnica
Come trasformare un'immagine in una pagina da colorare in Canva
Come stampare fronte-retro su Canva
Come distendere il testo in Canva
Tutorial correlati

