
Comment rendre un fond transparent dans Canva – Guide facile
Découvrez comment rendre les arrière-plans transparents dans Canva à l’aide de l’outil de suppression d’arrière-plan ou des options d’exportation. Idéal pour les logos, les PNG et les superpositions.
Ce guide propose une méthode simple pour rendre l’arrière-plan de votre création transparent dans Canva.
Que vous travailliez avec une image ou une couleur unie, suivez ces étapes pour obtenir facilement l’effet de transparence souhaité.
Vous pouvez supprimer l’arrière-plan d’une image et l’exporter avec transparence à l’aide de l’outil Background Remover (BG Remover) de Canva Pro. Voici un guide étape par étape :
Méthode 1 : supprimer l’arrière-plan avec BG Remover
1. Téléchargez ou sélectionnez votre image
Ouvrez votre projet Canva et téléversez ou choisissez l’image que vous souhaitez modifier.
2. Utilisez l’outil de suppression d’arrière-plan
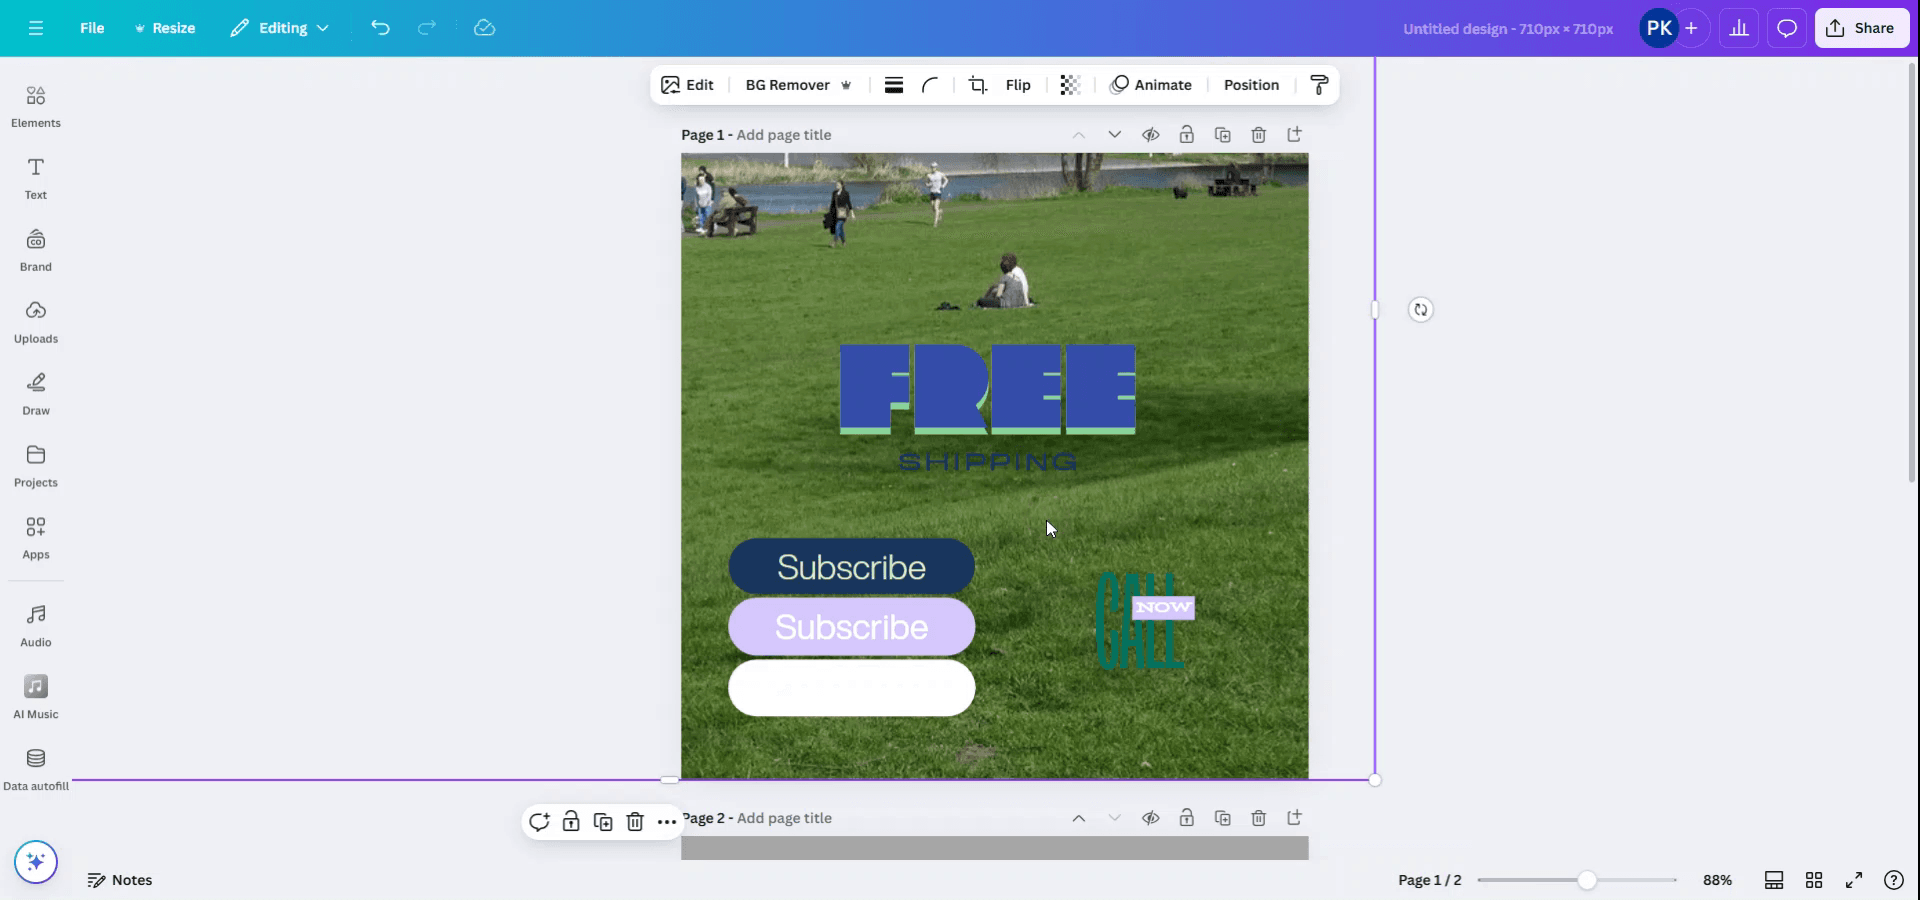
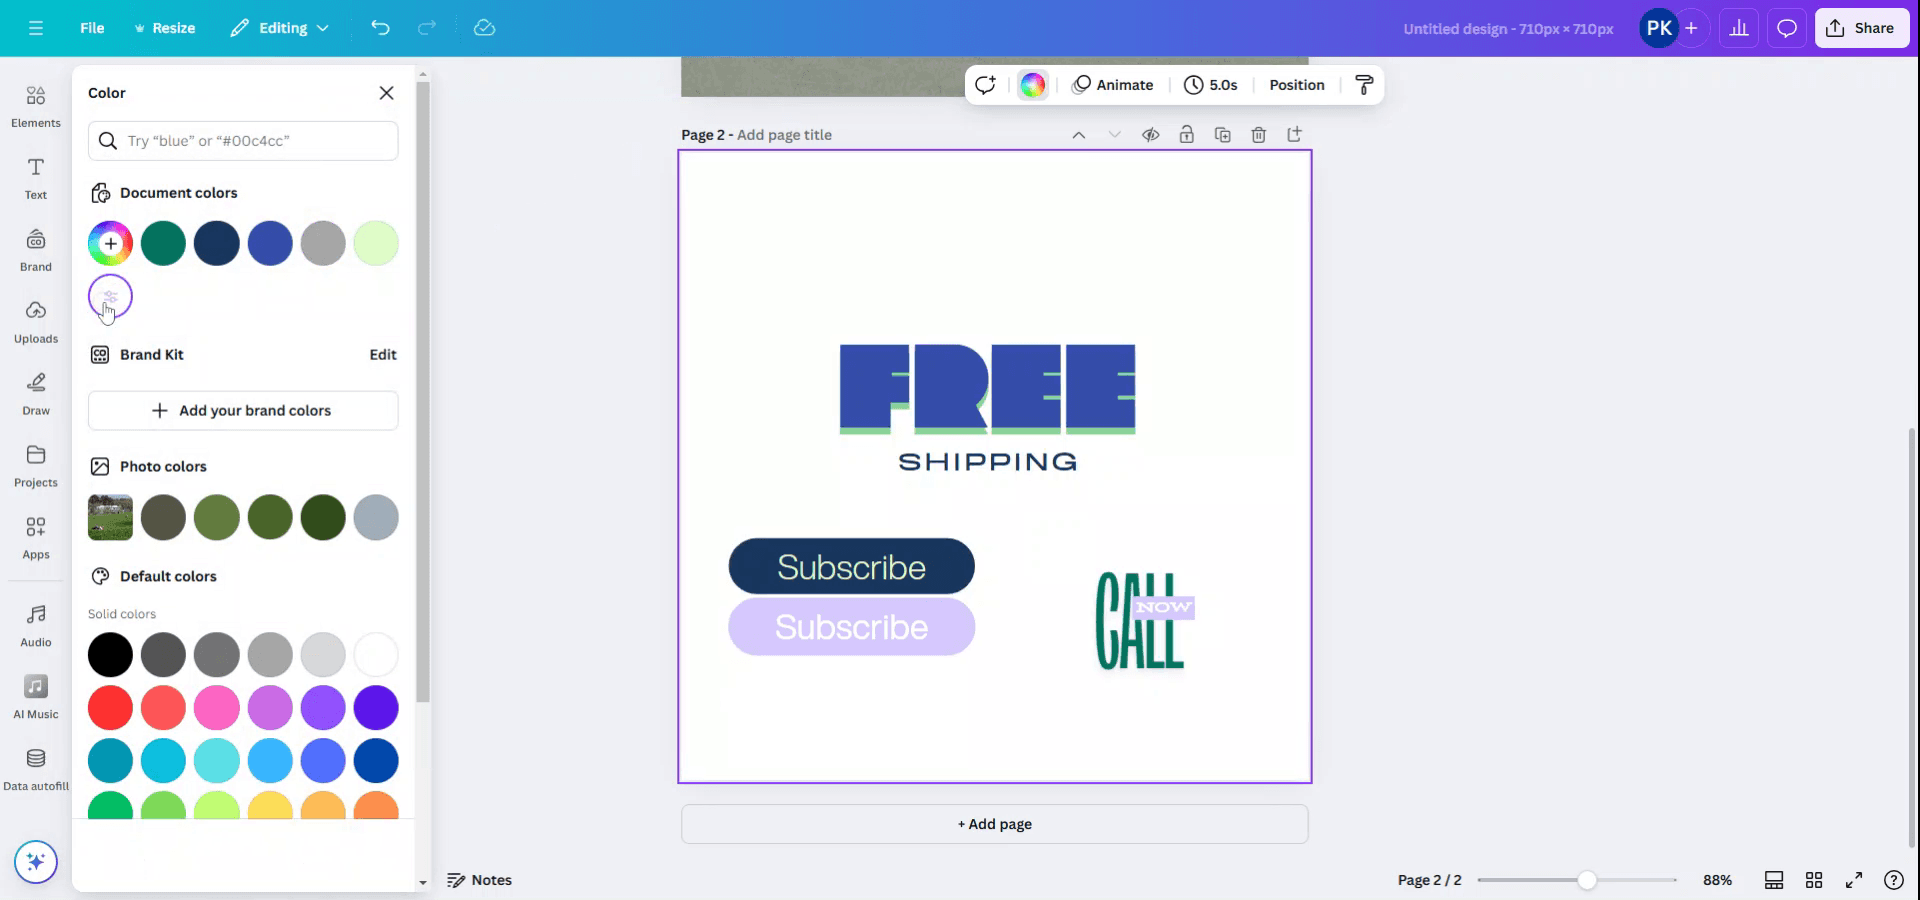
Cliquez sur l’image.
Dans la barre d’outils supérieure, sélectionnez « Modifier la photo. »
Sous « Outils, » choisissez « BG Remover. »
Canva supprimera automatiquement l’arrière-plan.
3. Téléchargez au format PNG transparent
Cliquez sur « Partager » > « Télécharger. »
Définissez le type de fichier sur PNG.
Cochez la case « Arrière-plan transparent ».
Cliquez sur « Télécharger. »
Méthode 2 : ajuster la transparence d’un élément (pour un effet de fondu)
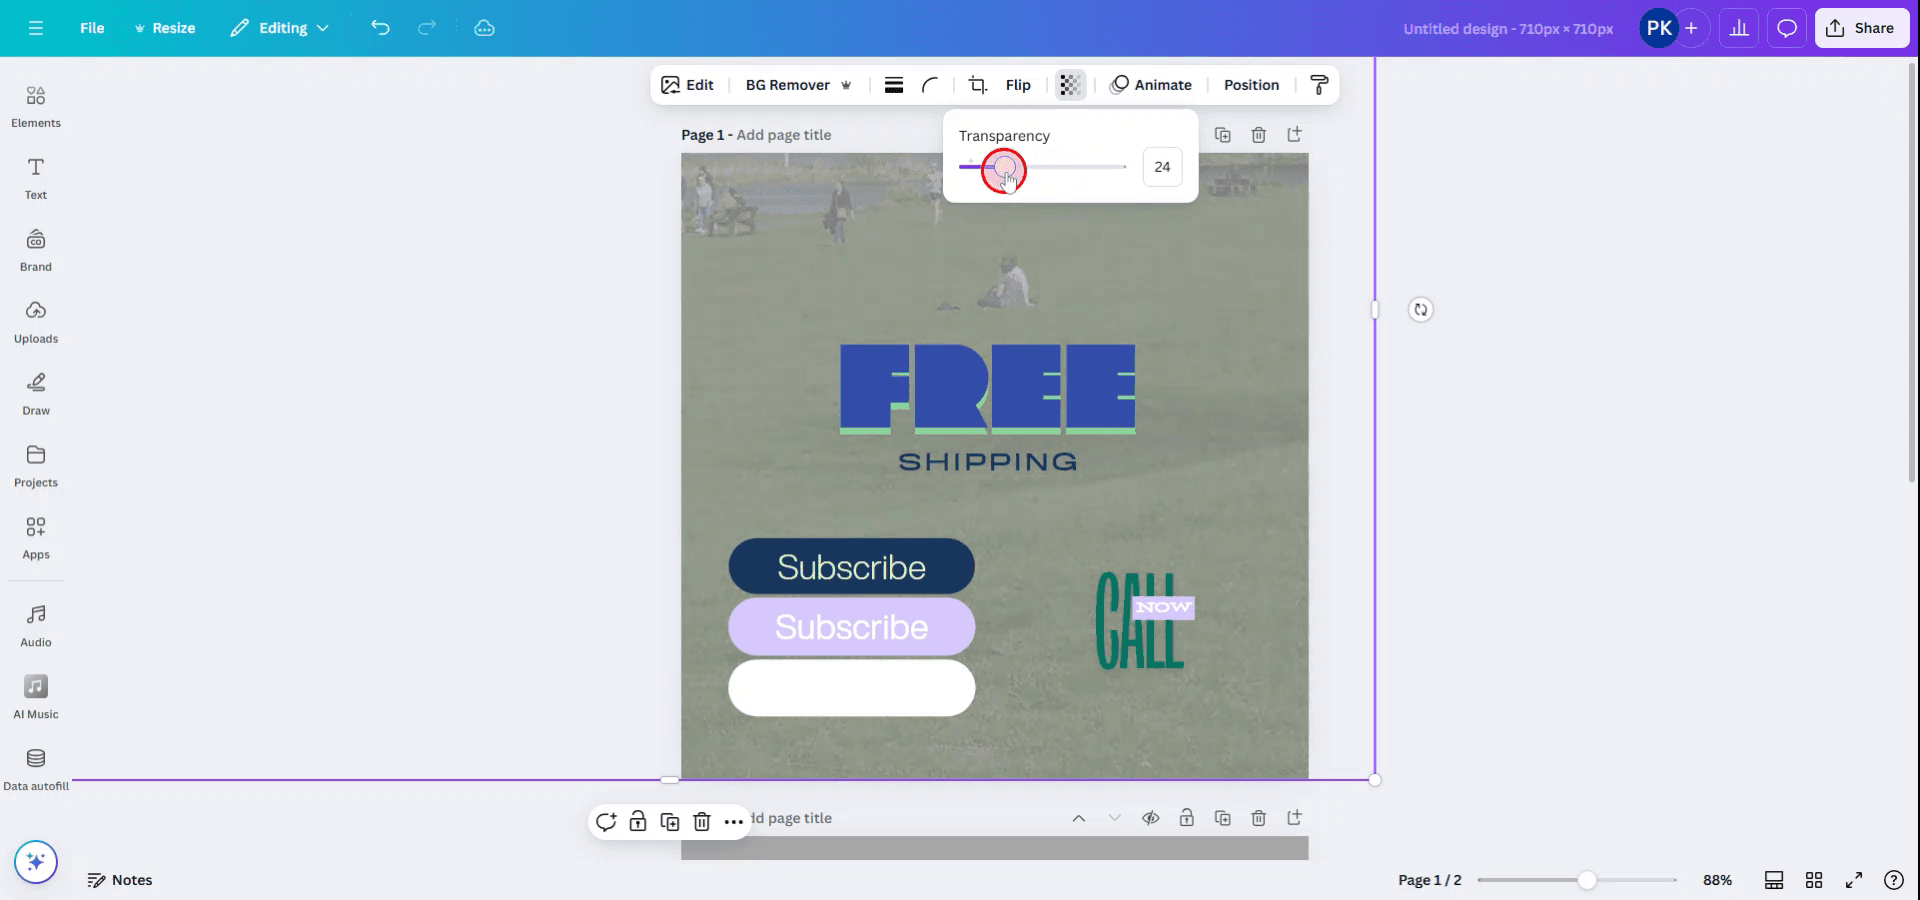
1. Sélectionnez l’élément
Cliquez sur l’image, le texte ou la forme que vous souhaitez rendre translucide.
2. Utilisez le curseur de transparence
Repérez l’icône en damier (Transparence) dans la barre d’outils supérieure.
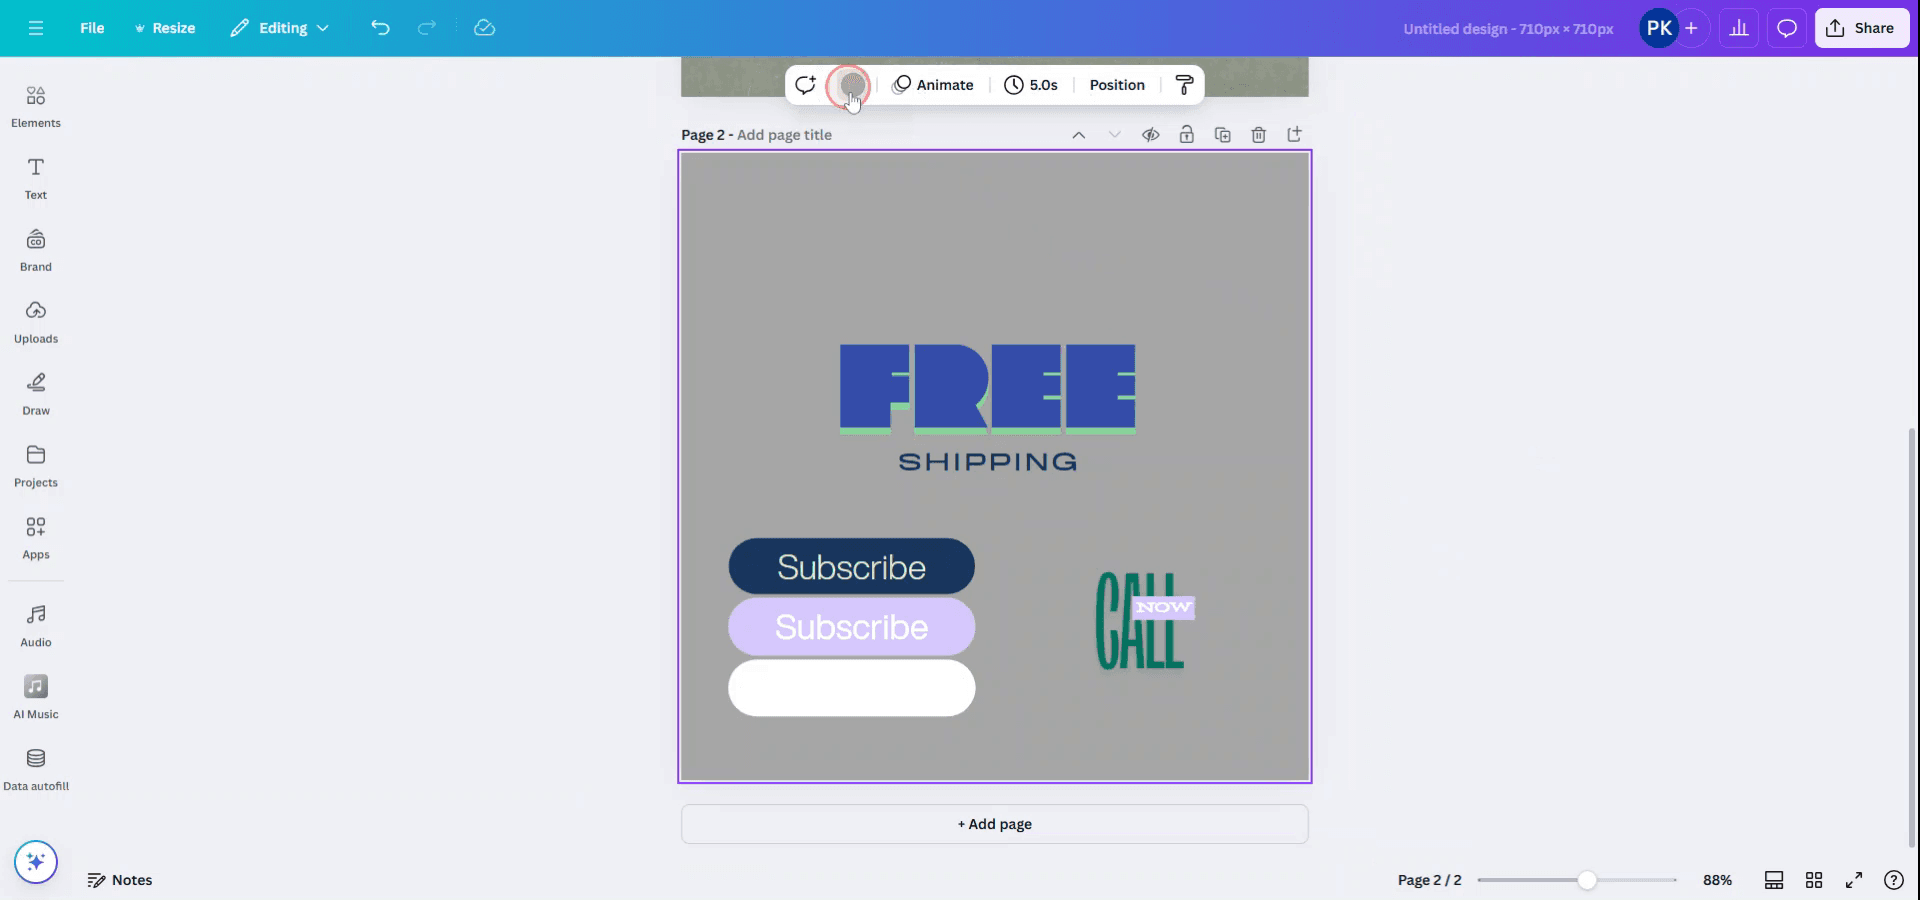
Ajustez le curseur ou saisissez une valeur précise (par ex. 50%).
Cette méthode ne supprime pas l’arrière-plan, elle réduit simplement sa visibilité.
Guide étape par étape : comment rendre l’arrière-plan transparent dans Canva
Méthode 1
Étape 1
Pour rendre l’arrière-plan transparent dans Canva, commencez par sélectionner votre image si elle sert d’arrière-plan.
Étape 2
Cliquez sur l’image pour la mettre en surbrillance. Puis, repérez et cliquez sur l’option « Transparence » dans la barre d’outils au-dessus.

Étape 3
Utilisez le curseur qui apparaît pour ajuster le niveau de transparence selon vos préférences.
Méthode 2
Étape 1
Si votre arrière-plan est d’une couleur unie et que vous souhaitez en modifier la transparence, sélectionnez le fond de couleur unie.
Étape 2
Pour supprimer la couleur d’arrière-plan ou la rendre transparente, il suffit de la remplacer par du blanc en cliquant sur l’option de couleur d’arrière-plan.
Astuces pro pour rendre l’arrière-plan transparent dans Canva
Utiliser l’option d’arrière-plan transparent (Canva Pro) : Après avoir terminé votre design, cliquez sur le bouton « Télécharger » dans le coin supérieur droit. Choisissez « PNG » comme format de fichier, puis cochez la case « Arrière-plan transparent » pour supprimer l’arrière-plan. Cette option est disponible uniquement pour les utilisateurs de Canva Pro.
Supprimer l’arrière-plan des images : Sélectionnez une image, cliquez sur « Modifier l’image » dans la barre d’outils, puis choisissez « Suppression de l’arrière-plan » pour supprimer automatiquement l’arrière-plan. C’est aussi une fonctionnalité de Canva Pro.
Créer un arrière-plan transparent à partir de zéro : Commencez un nouveau design avec une taille personnalisée et assurez-vous que la toile elle-même n’a pas de couleur d’arrière-plan (elle sera transparente par défaut). Ajoutez des éléments (texte, graphiques, etc.) et téléchargez le design avec l’option d’arrière-plan transparent.
Utiliser des éléments transparents : Si vous ajoutez des éléments, veillez à utiliser des images PNG avec des arrière-plans transparents. Vous pouvez les trouver en recherchant « transparent » dans la barre de recherche d’images.
Vérifier votre design avant de le télécharger : Prévisualisez le design pour vous assurer qu’aucune couleur d’arrière-plan ni aucun élément indésirable ne reste visible. Si vous voyez un arrière-plan, cliquez dessus puis appuyez sur la touche Suppr pour le supprimer.
Pièges courants et comment les éviter pour rendre l’arrière-plan transparent dans Canva
Utiliser le mauvais format de fichier : Le téléchargement au format JPG ne prend pas en charge la transparence.
Solution : choisissez toujours le format PNG pour la transparence.Ne pas sélectionner « Arrière-plan transparent » : Oublier de cocher la case « Arrière-plan transparent » entraînera un arrière-plan non transparent.
Solution : assurez-vous que l’option « Arrière-plan transparent » est sélectionnée lors du téléchargement.Négliger les arrière-plans des images : Certaines images peuvent avoir un arrière-plan blanc ou coloré.
Solution : utilisez l’outil « Suppression de l’arrière-plan » pour vous assurer que l’image est totalement transparente, ou utilisez des images avec des arrière-plans transparents.Limité à Canva Pro pour l’arrière-plan transparent : La fonctionnalité d’arrière-plan transparent est disponible uniquement pour les utilisateurs de Canva Pro.
Solution : si vous utilisez la version gratuite, utilisez des outils tiers comme remove.bg pour supprimer les arrière-plans avant de les téléverser dans Canva.Enregistrer avec un arrière-plan blanc : Parfois, le design peut avoir un arrière-plan blanc ou indésirable, qui sera téléchargé.
Solution : vérifiez bien qu’aucun arrière-plan n’est présent en cliquant sur l’arrière-plan puis en le supprimant.
FAQ courantes pour rendre l'arrière-plan transparent dans Canva
Comment rendre l'arrière-plan transparent dans Canva ?
Téléchargez votre design au format PNG et cochez la case « Arrière-plan transparent » avant de cliquer sur « Télécharger ».Puis-je rendre l'arrière-plan d'une image transparent dans Canva ?
Oui, cliquez sur l'image, allez dans « Modifier l'image » et utilisez l'outil « Suppression de l'arrière-plan » (disponible pour les utilisateurs de Canva Pro).Puis-je rendre transparent un arrière-plan non blanc dans Canva ?
Oui, il suffit de sélectionner l'arrière-plan et de le supprimer. Assurez-vous de télécharger au format PNG pour conserver la transparence.Ai-je besoin de Canva Pro pour rendre un arrière-plan transparent ?
Oui, l'option d'arrière-plan transparent est disponible uniquement pour les utilisateurs de Canva Pro.Puis-je utiliser des images transparentes dans Canva ?
Oui, vous pouvez importer des images PNG avec des arrière-plans transparents dans Canva et les utiliser dans vos designs.Comment enregistrer l’écran sur Mac
Pour enregistrer l’écran sur un Mac, vous pouvez utiliser Trupeer AI. Il vous permet de capturer l’intégralité de l’écran et offre des fonctionnalités d’IA telles que l’ajout d’avatars IA, l’ajout d’une voix off, ainsi que l’ajout de zoom avant et arrière dans la vidéo. Grâce à la fonction de traduction vidéo IA de Trupeer, vous pouvez traduire la vidéo dans plus de 30 langues.Comment ajouter un avatar IA à un enregistrement d’écran ?
Pour ajouter un avatar IA à un enregistrement d’écran, vous devrez utiliser un outil d’enregistrement d’écran basé sur l’IA. Trupeer AI est un outil d’enregistrement d’écran basé sur l’IA, qui vous aide à créer des vidéos avec plusieurs avatars et vous aide également à créer votre propre avatar pour la vidéo.Comment enregistrer l’écran sur Windows ?
Pour enregistrer l’écran sur Windows, vous pouvez utiliser la Game Bar intégrée (Windows + G) ou un outil d’IA avancé comme Trupeer AI pour des fonctionnalités plus avancées telles que les avatars IA, la voix off, la traduction, etc.Comment ajouter une voix off à une vidéo ?
Pour ajouter une voix off à des vidéos, téléchargez l’extension Chrome Trupeer AI. Une fois inscrit, téléversez votre vidéo avec la voix, choisissez la voix off souhaitée dans Trupeer et exportez votre vidéo modifiée.Comment effectuer un zoom avant dans un enregistrement d’écran ?
Pour effectuer un zoom avant pendant un enregistrement d’écran, utilisez les effets de zoom de Trupeer AI, qui vous permettent de zoomer avant et arrière à des moments précis, améliorant ainsi l’impact visuel de votre contenu vidéo.
Lectures suggérées
Générateur de documentation technique
Logiciel de base de connaissances
Comment transformer une image en page à colorier dans Canva
Comment imprimer en recto verso dans Canva
Comment étirer du texte dans Canva
Comment télécharger plusieurs fichiers à la fois depuis Canva
Tutoriels associés

