
كيفية تمديد صورة في كانفا
تعلّم كيفية تمديد صورة في Canva من خلال ضبط مقابض تغيير الحجم ونسبة الأبعاد وإعدادات القص. اتبع هذا الشرح البسيط وأنشئ أدلة تصميم باستخدام Trupeer.
إليك تفصيلاً أكثر:
الطريقة: استخدام مقابض الزوايا ومفتاح Shift
حدد الصورة: انقر على الصورة في تصميم Canva.
حدد مقابض الزوايا: ستلاحظ دوائر عند كل زاوية من زوايا الصورة.
اضغط مع الاستمرار على مفتاح Shift في لوحة المفاتيح.
اسحب للتمديد: انقر واسحب أحد مقابض الزوايا مع الاستمرار في الضغط على Shift.
حرر: حرر زر الفأرة ثم مفتاح Shift عندما تكون الصورة مُمددة إلى الحجم الذي تريده.
دليل خطوة بخطوة: كيفية تمديد صورة في Canva
الخطوة 1
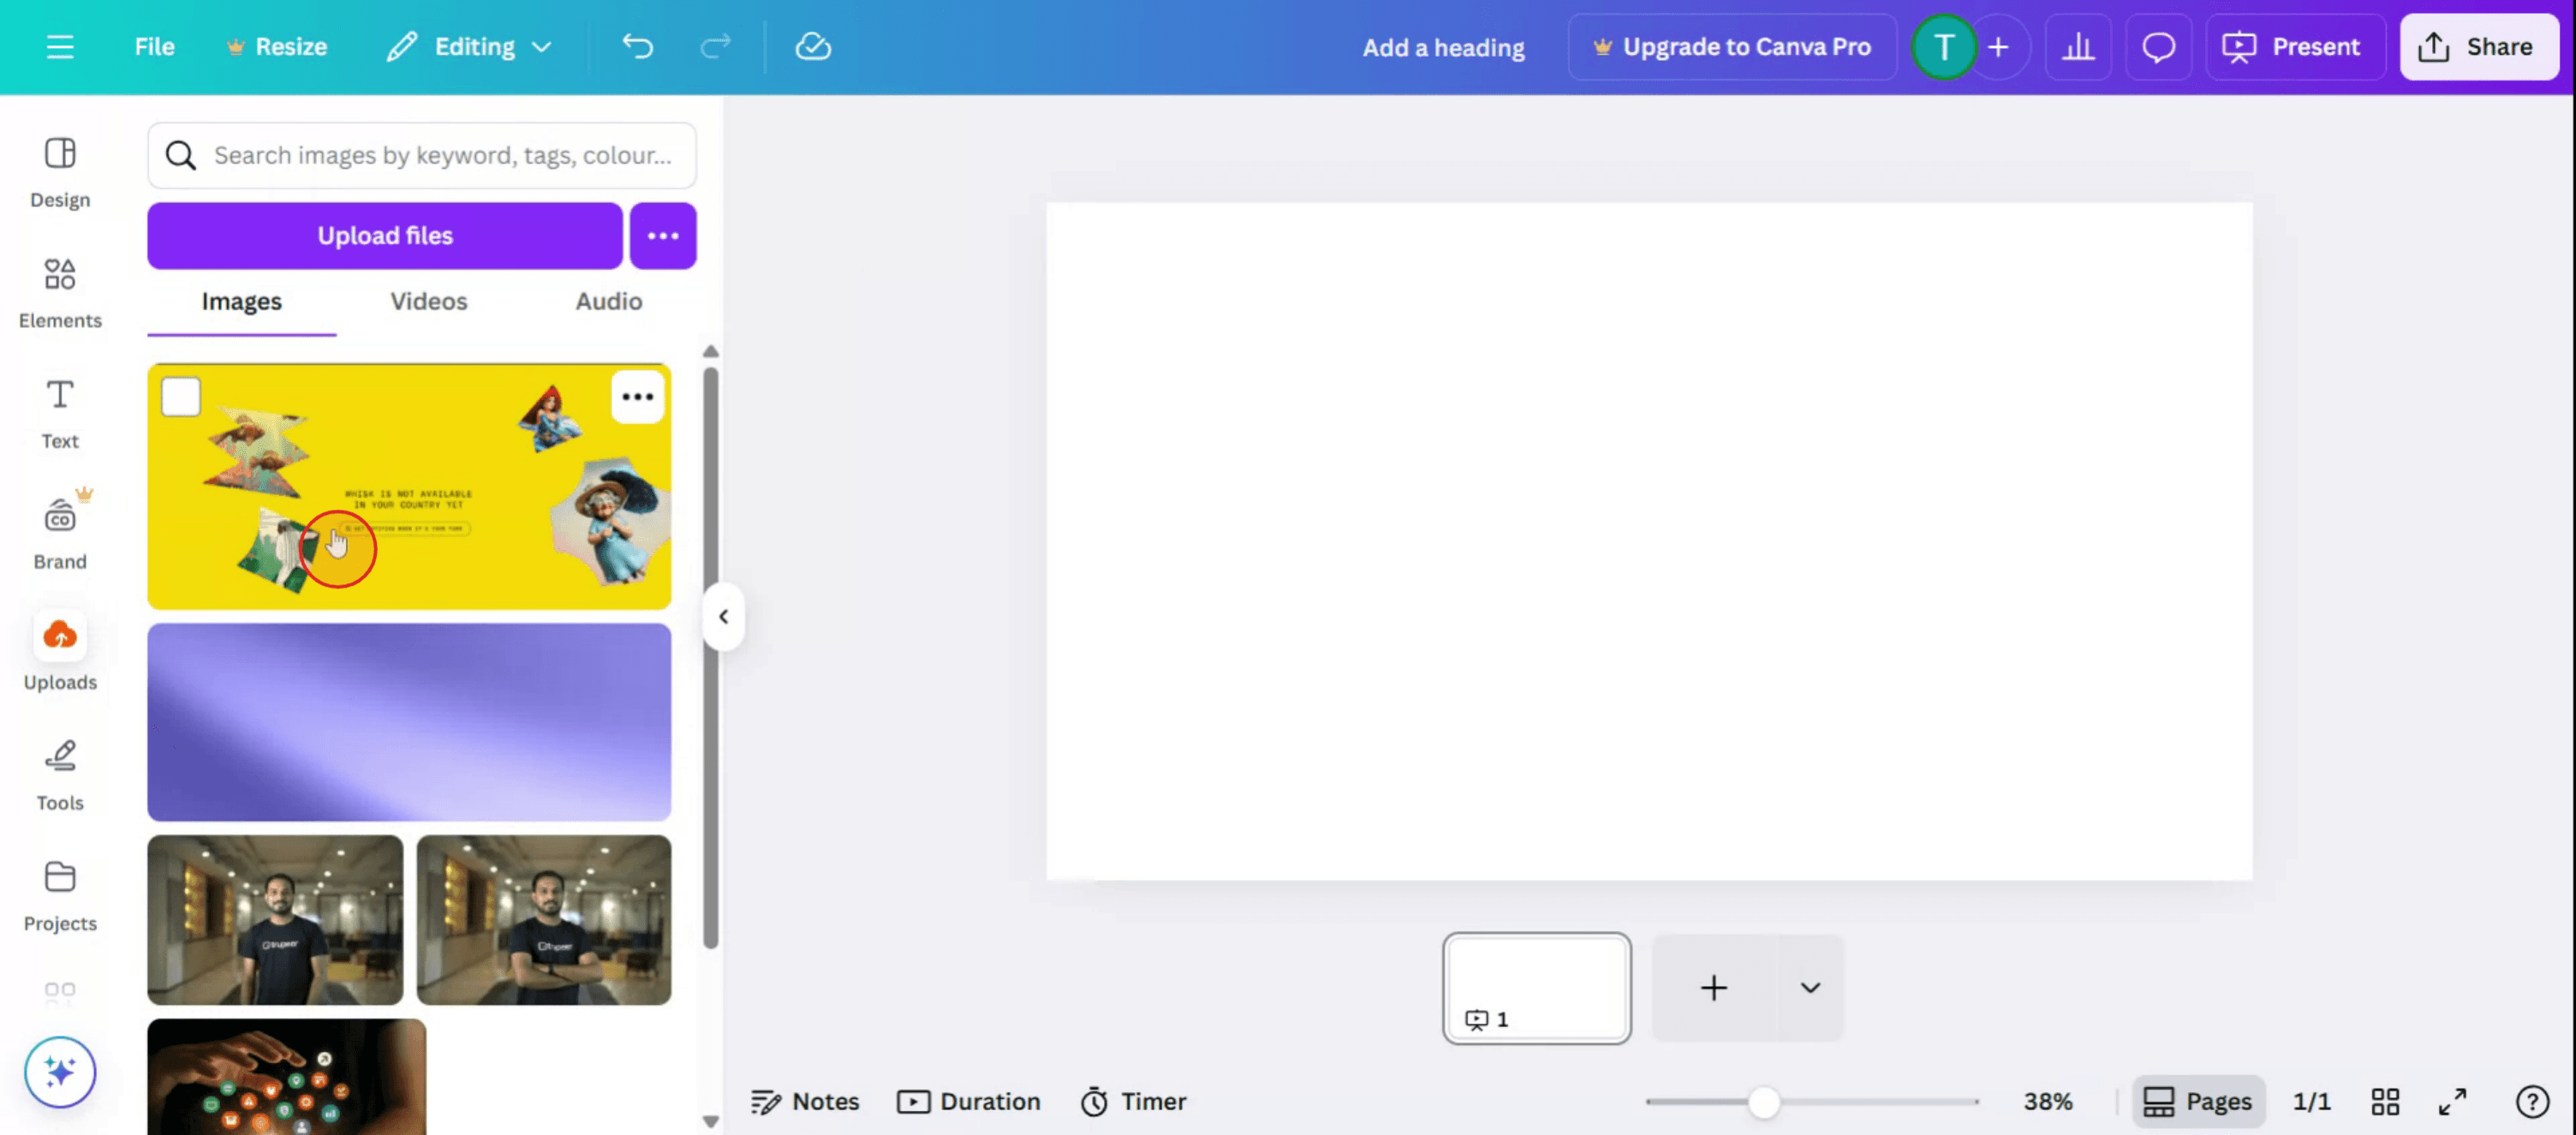
ابدأ بالنقر على قسم التحميل في Canva.

الخطوة 2
حدد الصورة المطلوبة للتمديد.
الخطوة 3
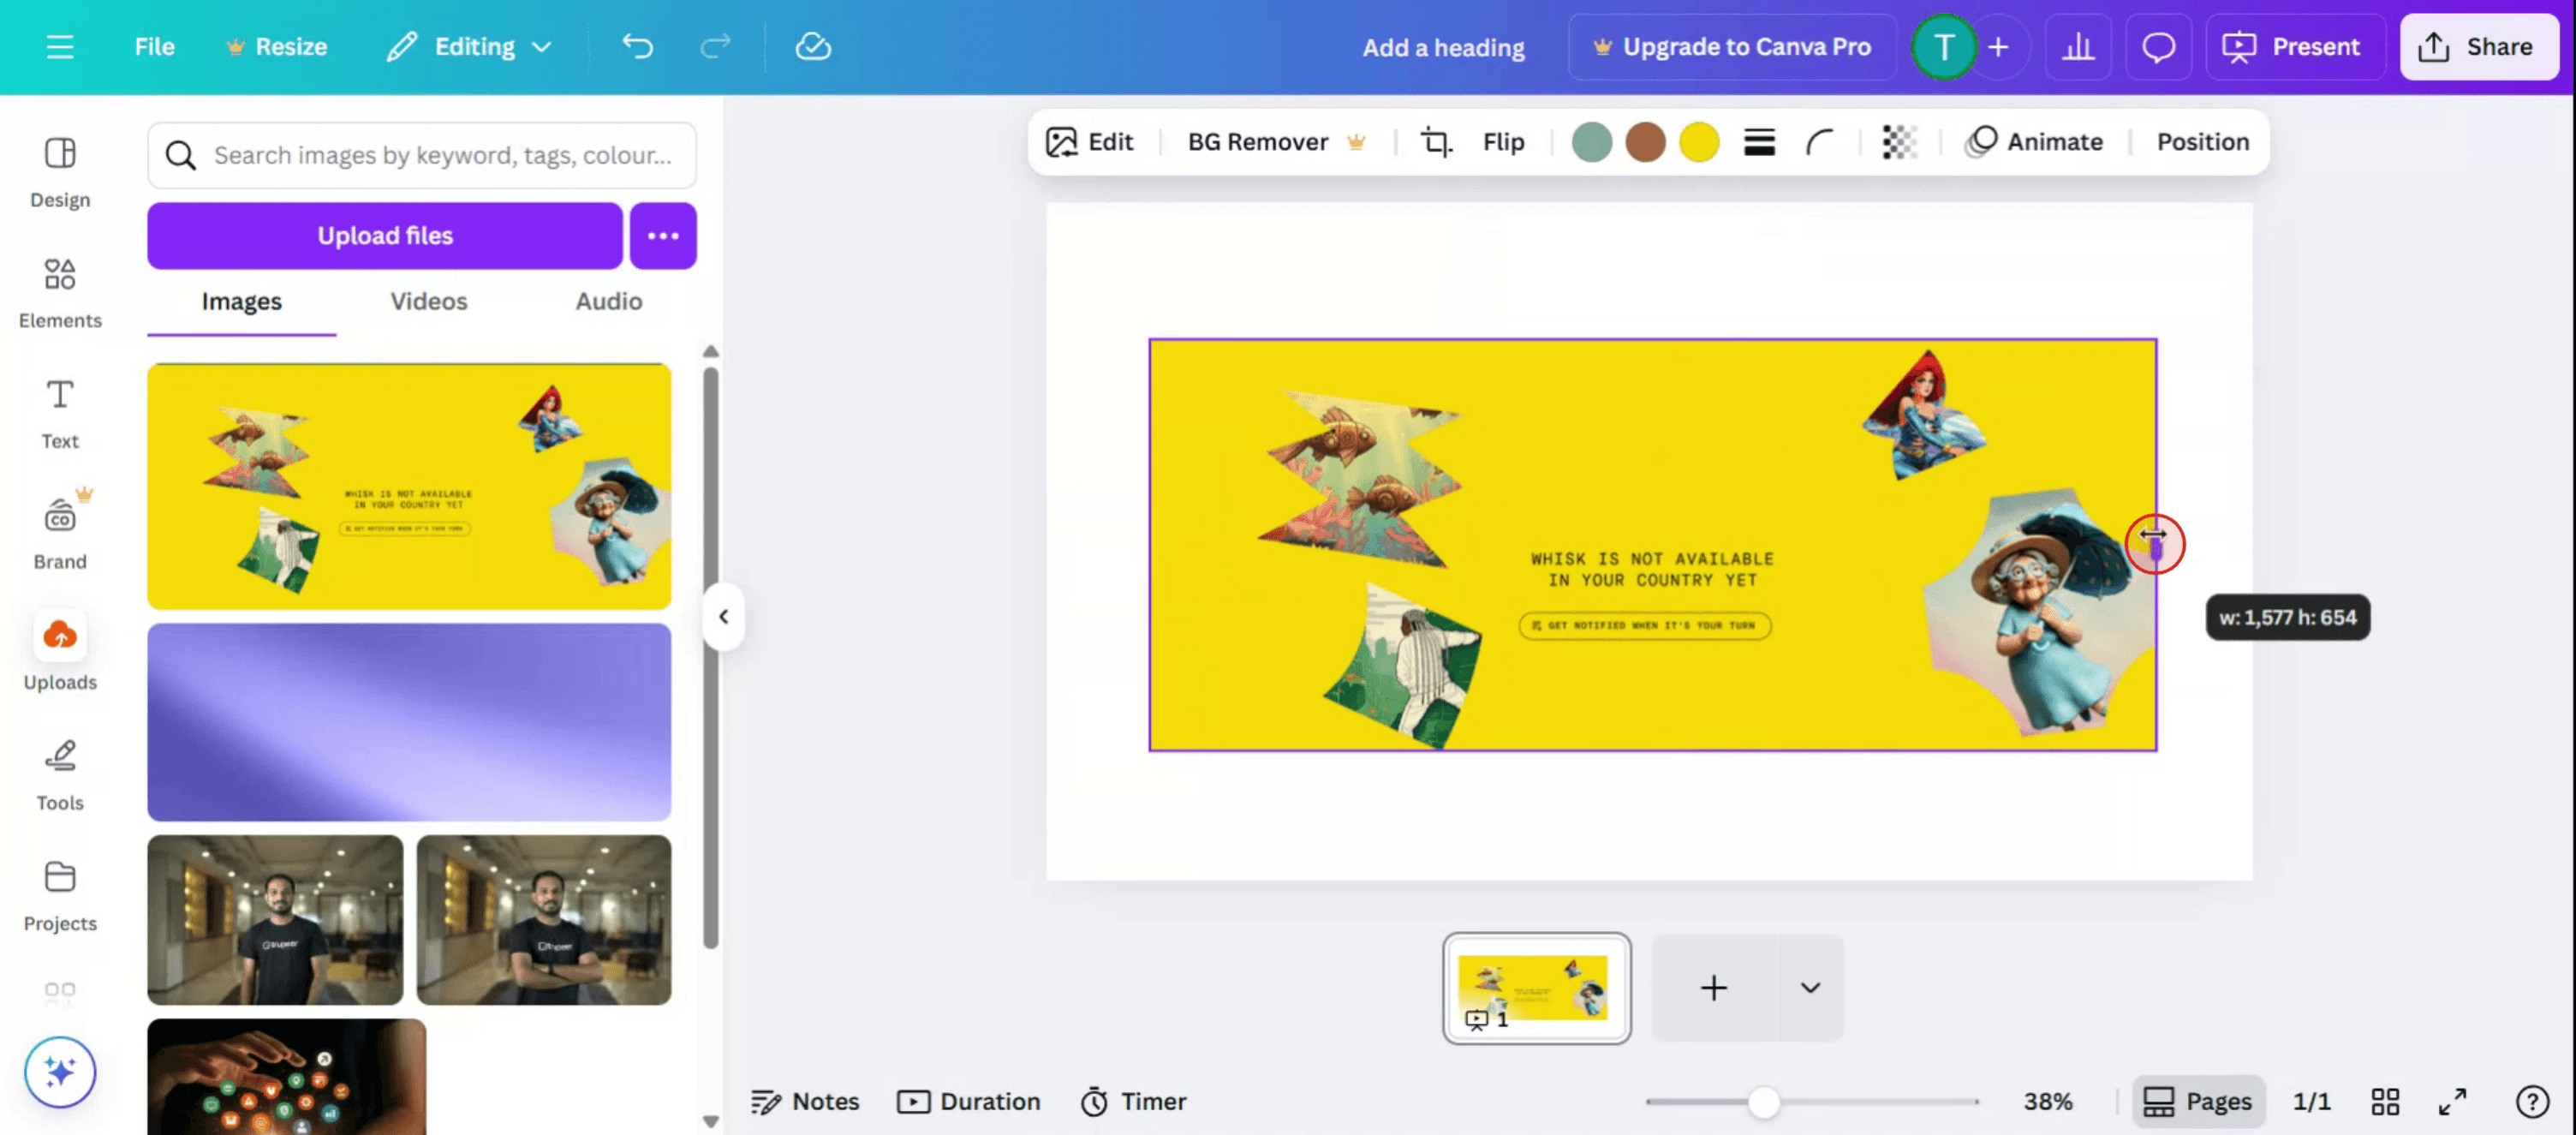
يمكنك أيضًا تمديد الصورة أفقيًا.
الخطوة 4
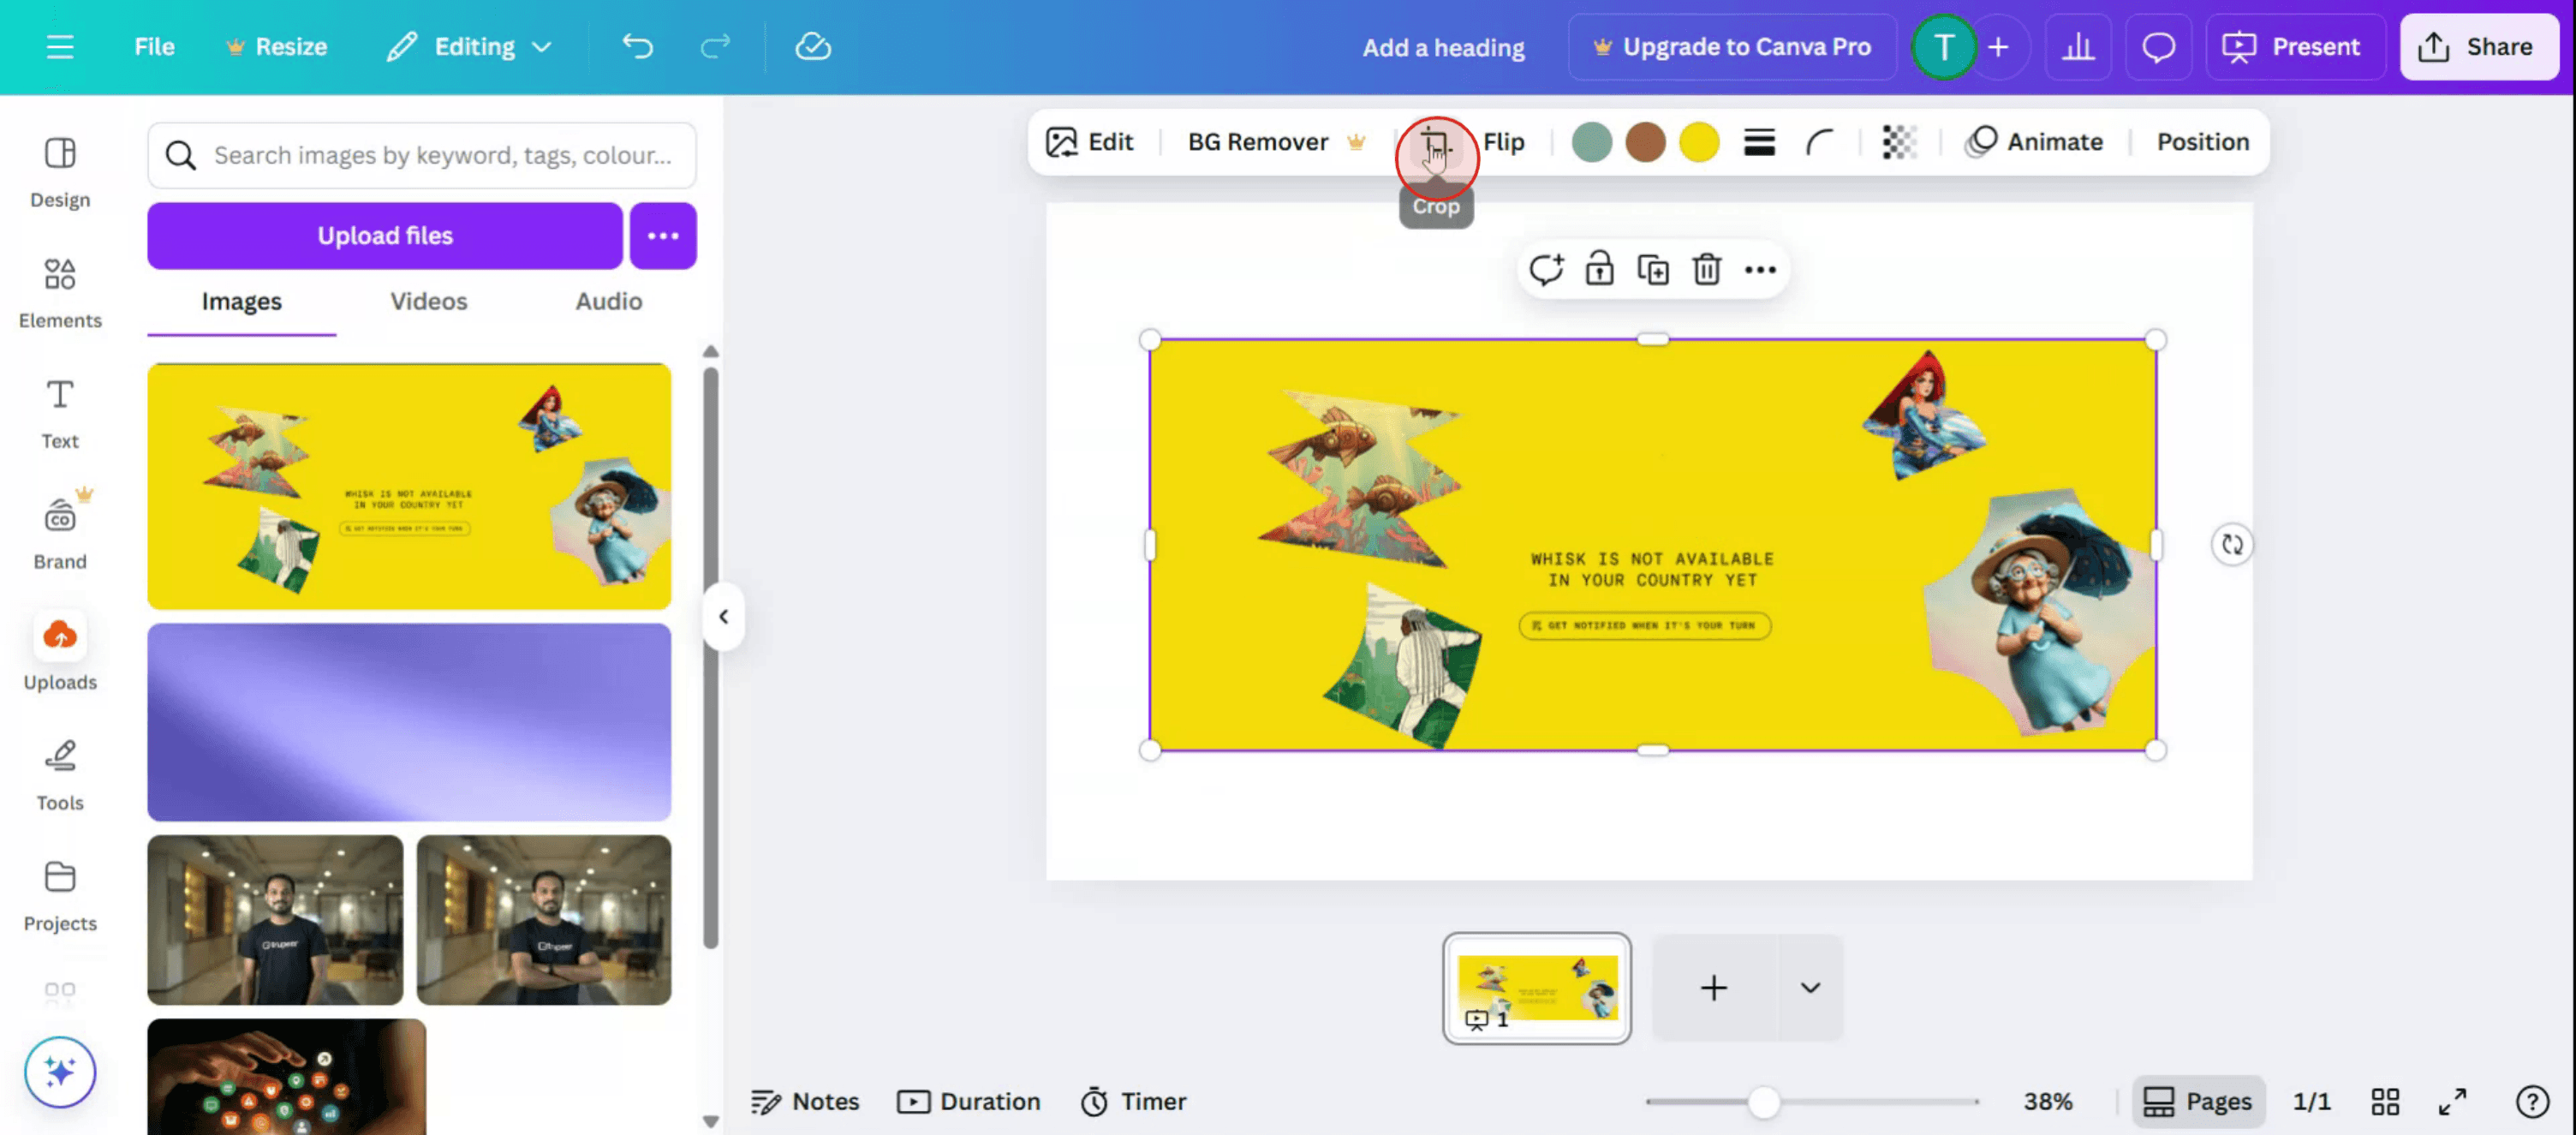
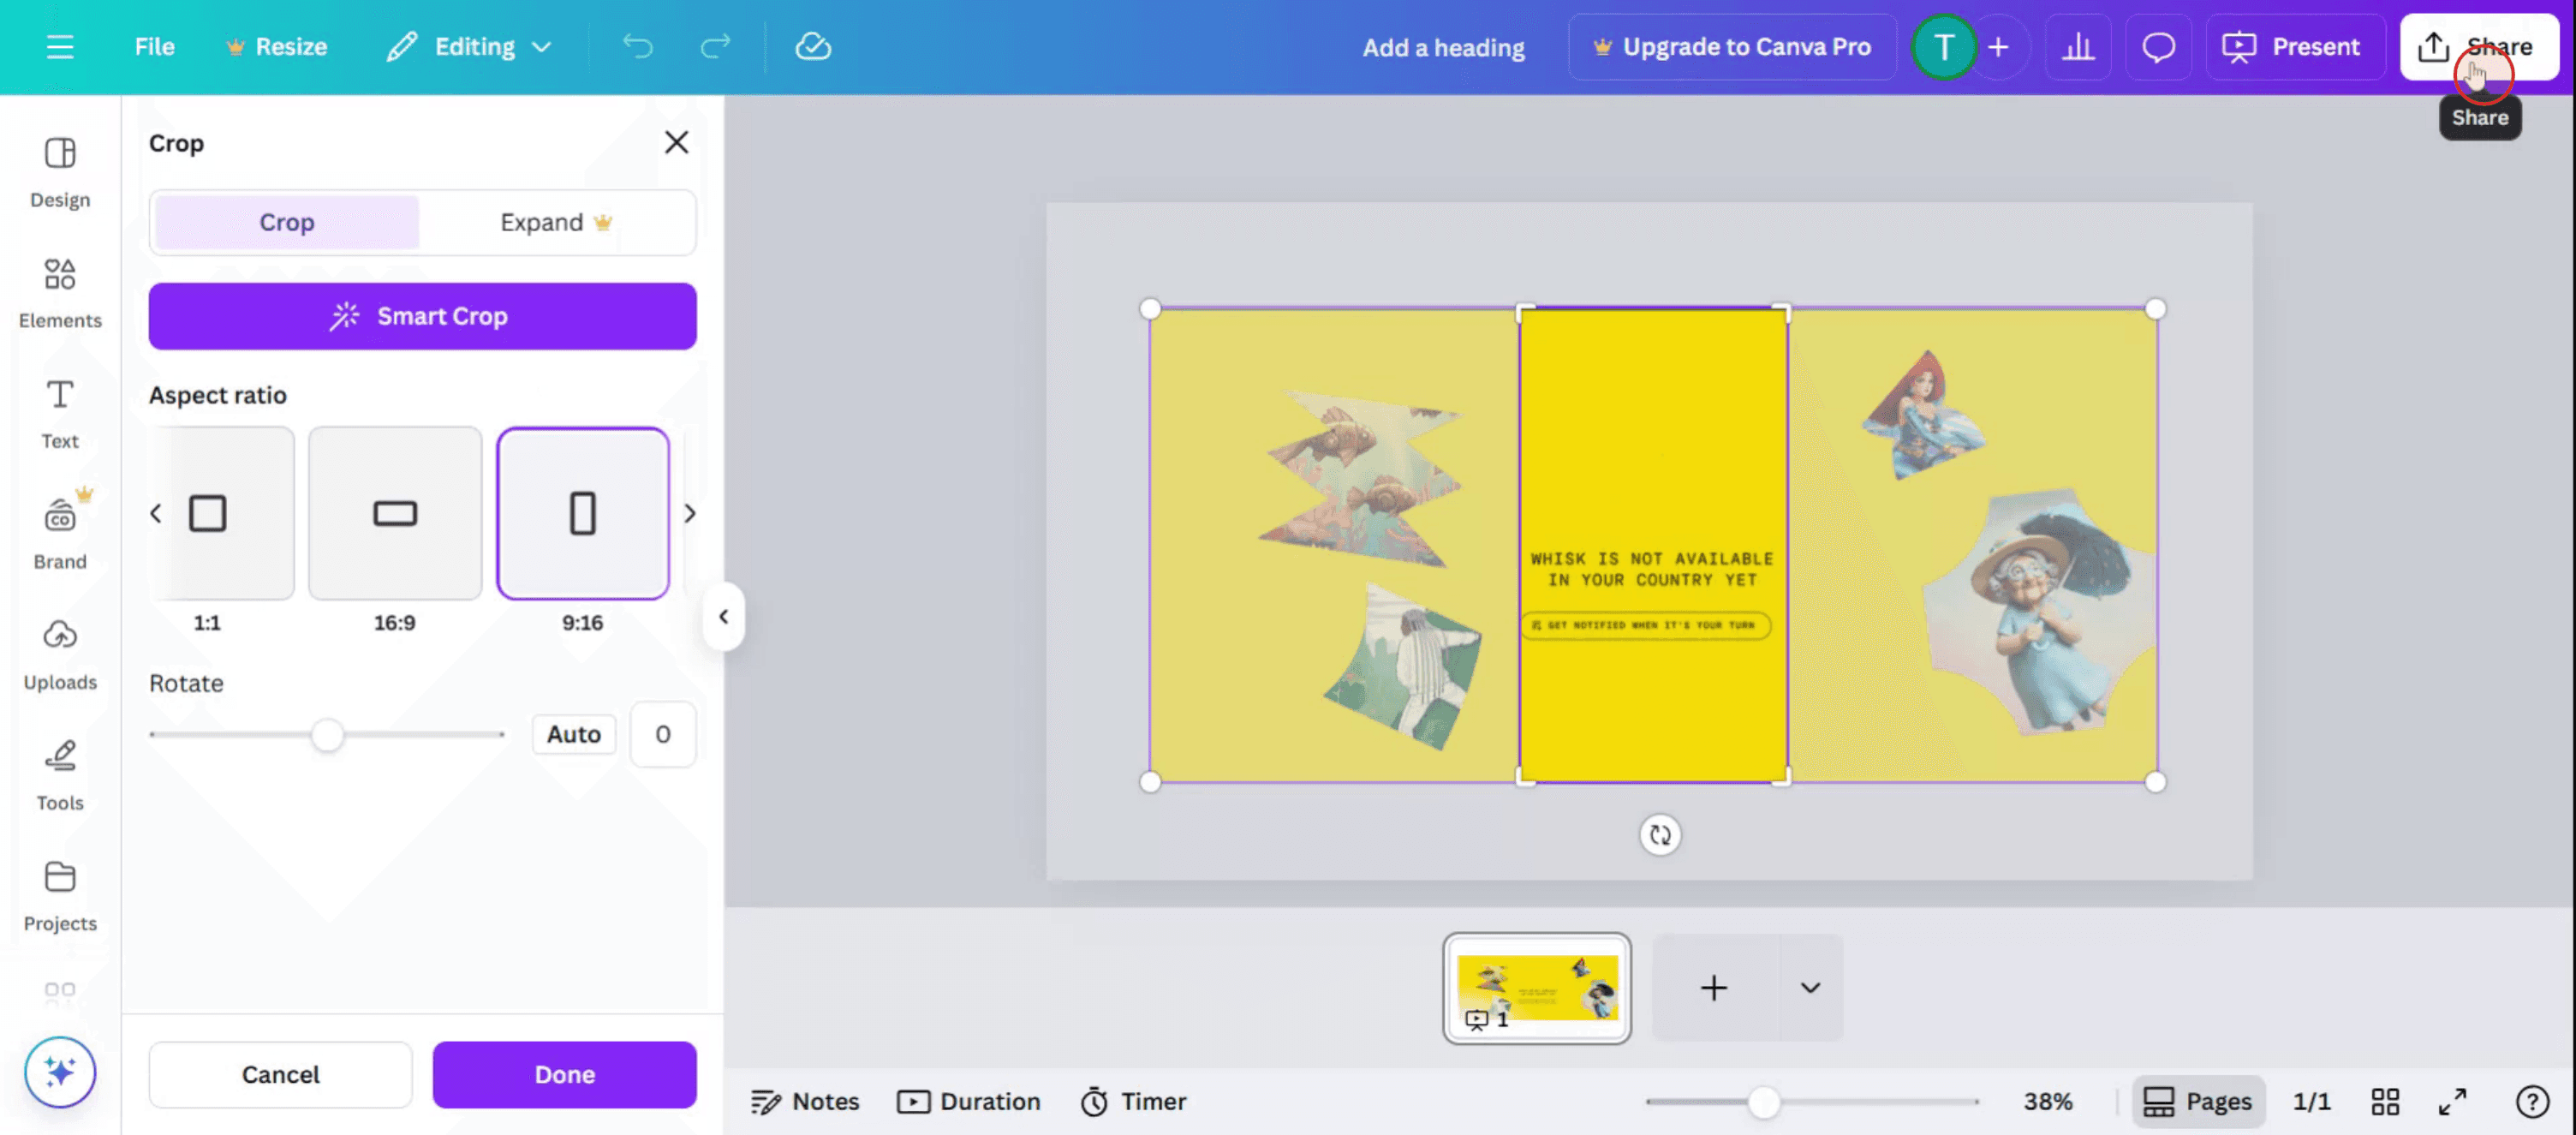
انقر على خيار الاقتصاص.
الخطوة 5
من خيار نسبة الأبعاد يمكنك تحديد نسبة الصورة،

الخطوة 6
انقر على خيار المشاركة.
نصائح احترافية لتمديد صورة في كانفا
حمّل صورتك أو اخترها
ابدأ بإضافة صورتك إلى اللوحة. يمكنك رفع صورتك الخاصة أو اختيار واحدة من مكتبة صور كانفا.انقر على الصورة لتفعيل مقابض تغيير الحجم
بعد وضع الصورة على اللوحة، انقر عليها. ستظهر لك مقابض دائرية بيضاء عند الزوايا والجوانب.استخدم المقابض الجانبية للتمديد أفقيًا أو عموديًا
لتمديد الصورة، انقر واسحب المقابض الموجودة على الجانبين الأيسر أو الأيمن (للتمديد الأفقي) أو في الأعلى أو الأسفل (للتمديد العمودي). سيؤدي ذلك إلى تغيير نسبة أبعاد الصورة.اضغط باستمرار على مفتاح Shift للتمديد الحر
إذا كنت تريد تحكمًا أكبر في التمديد (من دون الحفاظ على نسبة الأبعاد)، فاضغط باستمرار على مفتاح Shift أثناء سحب أحد مقابض الزوايا.استخدم لوحة الموضع والحجم للحصول على دقة أعلى
للحصول على أبعاد دقيقة، استخدم قيمتي “الموضع” و“الحجم” الموجودتين في شريط الأدوات العلوي. يمكنك إدخال قيم العرض والارتفاع يدويًا هنا.راجع وعدّل حسب الحاجة
بعد التمديد، تحقّق من جودة الصورة. إذا ظهرت بكسلية أو مشوّهة، فحاول استخدام صورة بدقة أعلى أو قلّل مقدار التمديد.
المشكلات الشائعة وكيفية تجنبها
تصبح الصورة ضبابية أو بكسلية
قد يؤدي التمديد المفرط إلى تقليل وضوح الصورة. استخدم دائمًا صورًا عالية الدقة عند التكبير أو التمديد.يتم قص الصورة عن طريق الخطأ
تأكد من أنك تغيّر حجم الصورة نفسها، وليس مقابض القص. انقر على “إعادة تعيين القص” في لوحة القص إذا لزم الأمر.نسبة الأبعاد مقفلة
بشكل افتراضي، قد يحافظ كانفا على نسبة الأبعاد الأصلية عند السحب من الزوايا. استخدم المقابض الجانبية أو اضغط باستمرار على Shift لتجاوز ذلك.تمديد صور الخلفية
إذا كانت صورتك مضبوطة كخلفية، فلن تتمكن من تمديدها باستخدام المقابض. بدلًا من ذلك، أزلها كخلفية ثم أعد إدراجها كصورة عادية.تخطيط غير متناسق بعد التمديد
قد يؤدي تمديد صورة واحدة إلى عدم محاذاة التصميم العام. استخدم أدوات المحاذاة لإعادة تموضع العناصر بشكل متناسق.
الأسئلة الشائعة حول تمديد الصور في Canva
كيف أمدد صورة دون الحفاظ على نسبة الأبعاد
انقر على الصورة واسحب من مقابض الجوانب أو اضغط على مفتاح Shift أثناء السحب من إحدى الزوايا.هل يمكنني تمديد صورة خلفية
ليس مباشرة. أزلها كخلفية وأعد إضافتها كصورة لتمديدها بحرية.هل سيؤثر تمديد الصورة على جودتها
نعم، قد يؤدي التمديد إلى تقليل جودة الصورة، خاصةً للملفات منخفضة الدقة. استخدم صورًا عالية الدقة للحصول على نتائج أفضل.كيف أتراجع عن التمديد إذا لم يعجبني الناتج
استخدم زر التراجع (Ctrl+Z أو Cmd+Z) أو أعد ضبط الصورة بتغيير حجمها يدويًا إلى المقاس الذي تفضله.هل يمكنني تمديد الصور في تطبيق Canva للجوال
نعم، انقر على الصورة واستخدم النقاط الزرقاء في الزاوية أو الجوانب للتمديد. اضغط بإصبعين للتكبير أو التصغير بحرية على الأجهزة ذات الشاشات اللمسية.كيفية تسجيل الشاشة على جهاز ماك؟
لـ تسجيل الشاشة على جهاز ماك، يمكنك استخدام Trupeer AI. فهو يتيح لك التقاط الشاشة بالكامل ويوفر إمكانات الذكاء الاصطناعي مثل إضافة صور رمزية بالذكاء الاصطناعي، وإضافة تعليق صوتي، وإضافة تكبير وتصغير في الفيديو. ومع ميزة ترجمة الفيديو بالذكاء الاصطناعي من trupeer، يمكنك ترجمة الفيديو إلى أكثر من 30 لغة.كيفية إضافة صورة رمزية للذكاء الاصطناعي إلى تسجيل الشاشة؟
لإضافة صورة رمزية للذكاء الاصطناعي إلى تسجيل شاشة، ستحتاج إلى استخدام أداة تسجيل شاشة بالذكاء الاصطناعي. Trupeer AI هي أداة تسجيل شاشة بالذكاء الاصطناعي، والتي تساعدك على إنشاء فيديوهات باستخدام صور رمزية متعددة، كما تساعدك أيضًا على إنشاء صورتك الرمزية الخاصة للفيديو.كيفية تسجيل الشاشة على ويندوز؟
لتسجيل الشاشة على ويندوز، يمكنك استخدام شريط الألعاب المدمج (Windows + G) أو أداة ذكاء اصطناعي متقدمة مثل Trupeer AI للحصول على مزايا أكثر تقدمًا مثل الصور الرمزية بالذكاء الاصطناعي، والتعليق الصوتي، والترجمة، إلخ.كيفية إضافة تعليق صوتي إلى الفيديو؟
لإضافة تعليق صوتي إلى مقاطع الفيديو، نزّل ملحق Chrome من trupeer ai. بعد التسجيل، ارفع الفيديو الخاص بك مع الصوت، واختر التعليق الصوتي المطلوب من trupeer ثم صدّر الفيديو المعدل الخاص بك.كيف أُكبّر في تسجيل شاشة؟
للتكبير أثناء تسجيل الشاشة، استخدم تأثيرات التكبير في Trupeer AI والتي تتيح لك التكبير والتصغير في لحظات محددة، مما يعزز التأثير البصري لمحتوى الفيديو الخاص بك.
قراءات مقترحة
كيفية إنشاء دفتر يوميات في Canva
كيفية الطباعة على الوجهين في Canva
دروس ذات صلة

