

Como desfazer um componente no Figma
Aprenda a desfazer um componente no Figma e a revertê-lo para um frame ou elemento normal. Passos simples para ajustes rápidos de design.
Aqui está uma explicação passo a passo:
Criar uma instância: Selecione o seu componente principal e duplique-o (usando Ctrl/Cmd + D) para criar uma instância.
Desanexar a instância: Clique com o botão direito na instância e escolha "Desanexar instância". Em alternativa, pode encontrar a opção "Desanexar instância" na secção "Opções da instância" da barra lateral direita quando a instância estiver selecionada. Também pode usar o atalho de teclado Ctrl/Cmd + Alt + B.
Eliminar o componente principal original: Elimine o componente principal componente da sua tela.
Guia passo a passo: Como desfazer um componente no Figma
Passo 1
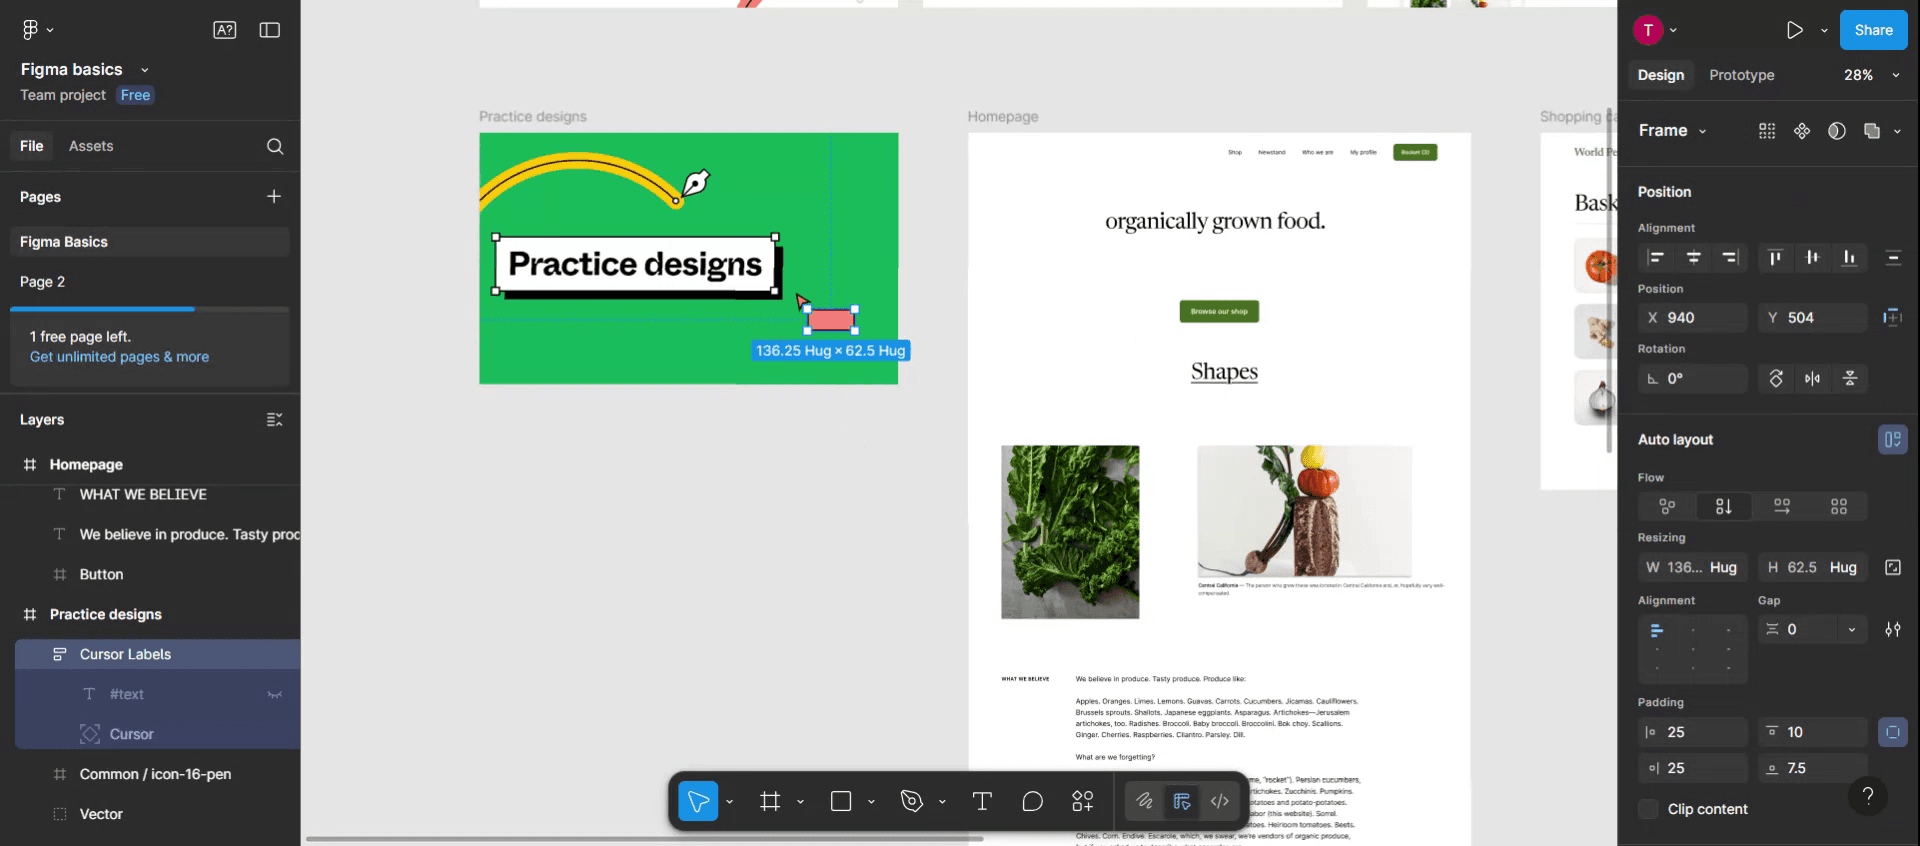
Comece por selecionar o componente que pretende desfazer no Figma. Certifique-se de que está realçado.

Passo 2
Com o componente selecionado, navegue até ao menu lateral direito, onde encontrará a opção "Mais ações". Clique nela.
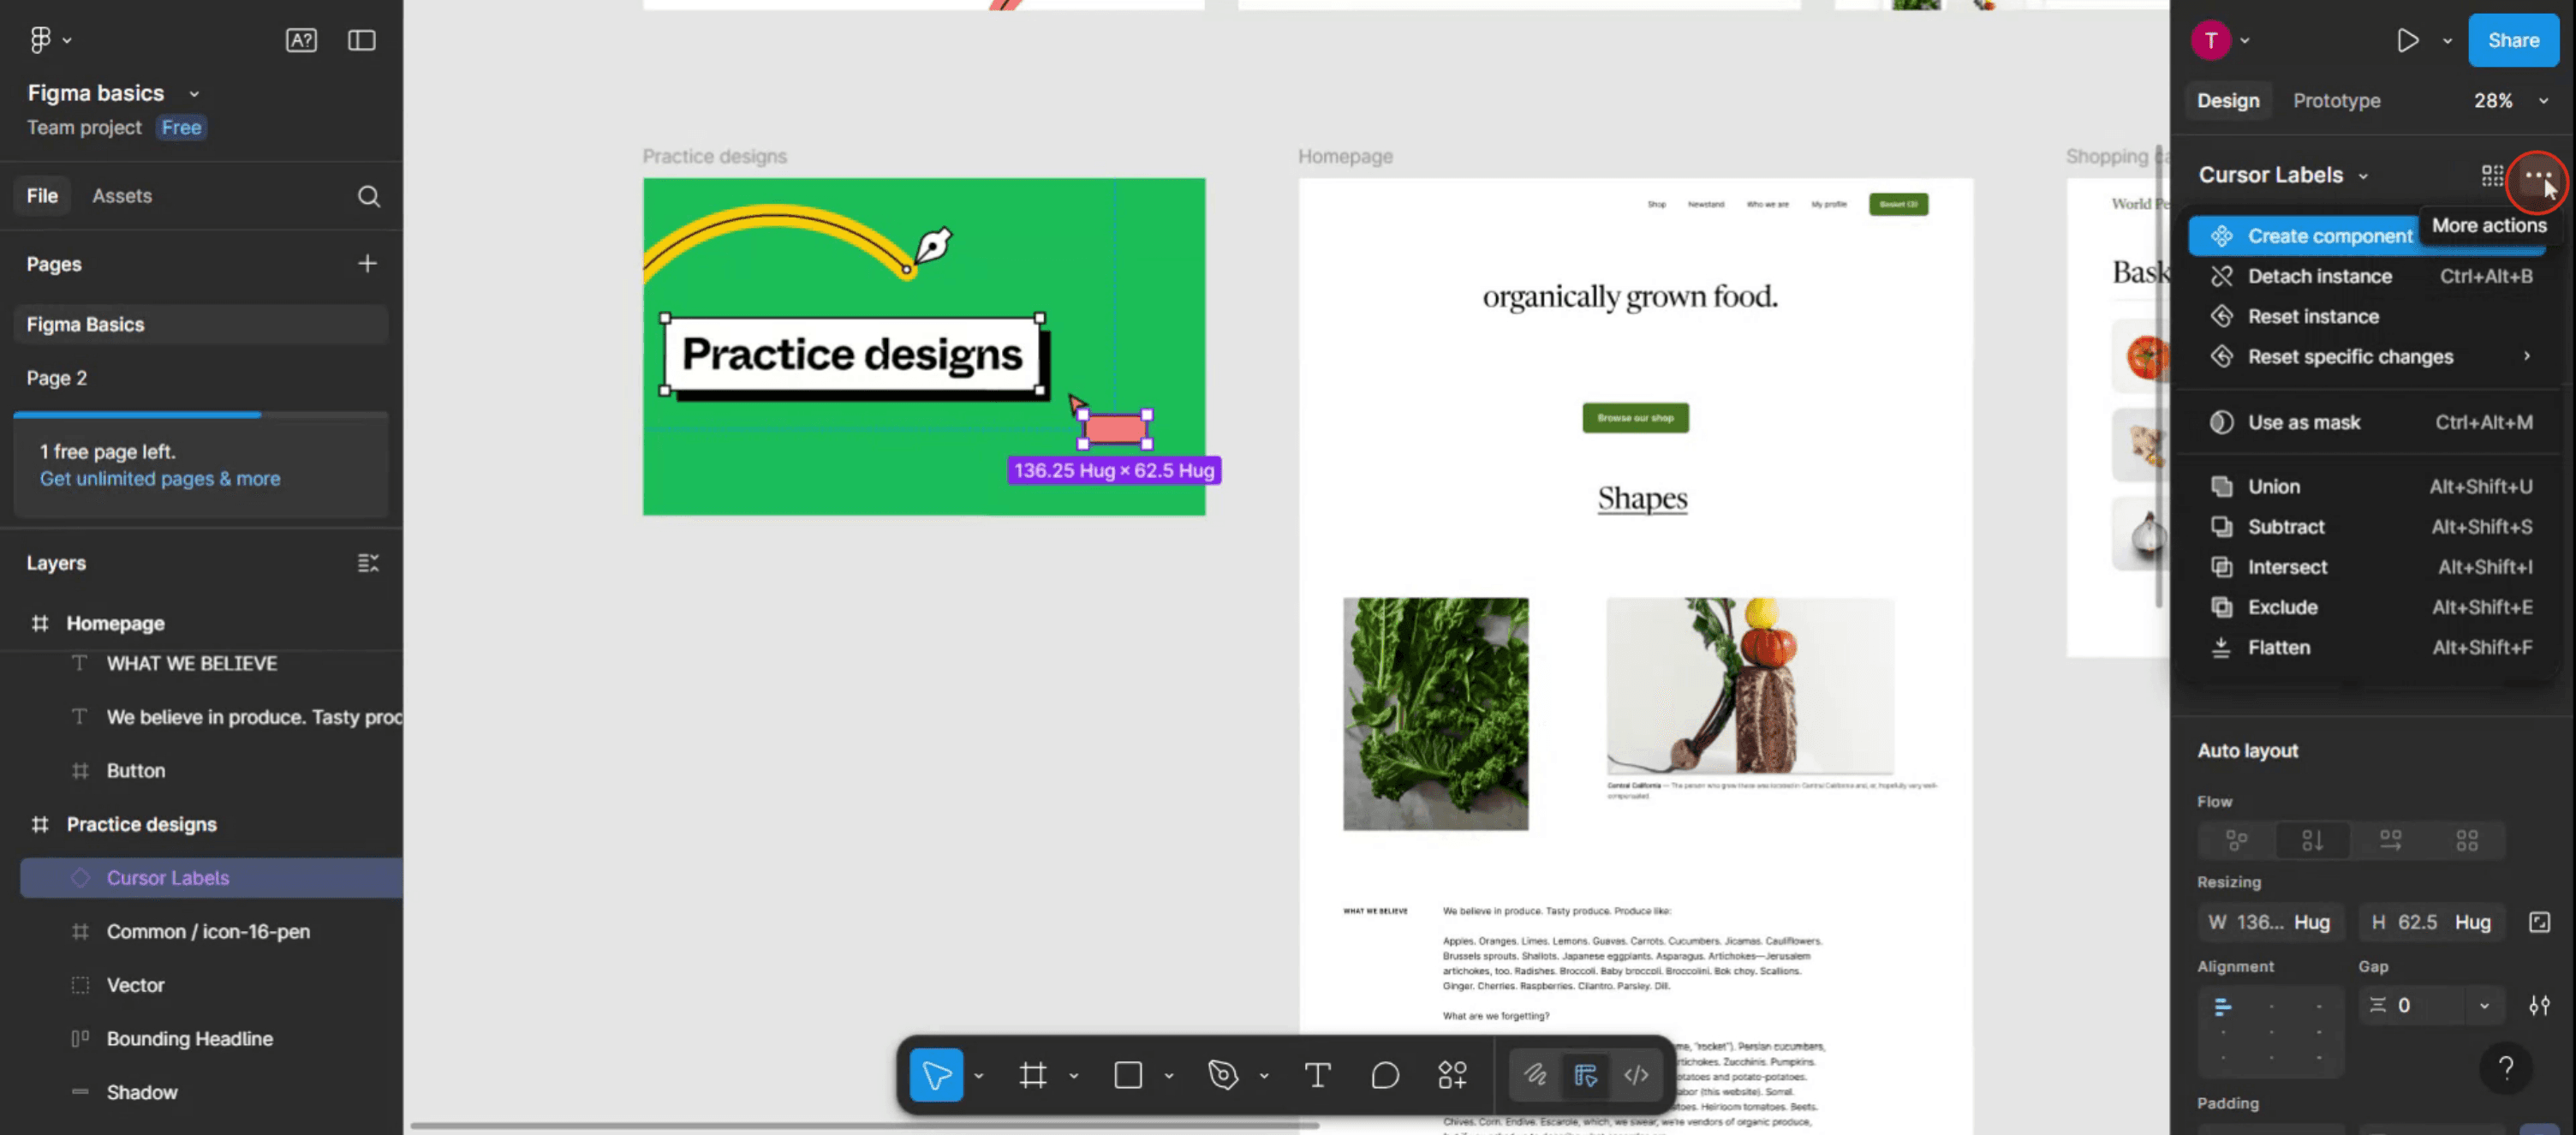
Passo 3
Escolha a opção "Desanexar instância" para desfazer eficazmente o componente no Figma.

Passo 4
Seguindo estes passos, conseguirá desfazer um componente no Figma com sucesso. Obrigado por utilizar este guia.
Dicas Pro para Desfazer um Componente no Figma
Use o atalho de desfazer
Prima Ctrl + Z (Windows) ou Cmd + Z (Mac) para reverter rapidamente a última ação, incluindo a criação de componentes.Clique com o botão direito para “Desanexar instância”
Se adicionou um componente e quiser convertê-lo novamente em camadas editáveis, clique com o botão direito na instância e escolha Desanexar instância.Mude o nome antes de desanexar
Se tenciona desanexar e editar um componente, dê-lhe primeiro um novo nome para poder acompanhar facilmente as alterações.Duplique antes de editar
Se precisar do componente original mais tarde, duplique-o antes de desanexar para manter uma cópia limpa.Verifique a localização do componente principal
Se apagou ou alterou acidentalmente um componente principal, encontre-o através do painel Assets e restaure-o antes de fazer alterações.
Erros comuns e como evitá-los
Eliminar o componente principal por engano
Remover o componente principal pode quebrar todas as instâncias ligadas. Duplique sempre antes de fazer alterações irreversíveis.Confundir “Desanexar instância” com Desfazer
Desanexar altera a natureza da camada, enquanto Desfazer reverte os passos recentes. Use o método certo consoante o seu objetivo.Editar uma instância em vez do principal
As alterações feitas a uma instância não atualizam todos os componentes. Edite o componente principal se quiser alterações consistentes.Perder personalizações após desanexar
Uma vez desanexada, quaisquer personalizações de texto ou de estilo nessa instância são perdidas. Guarde uma cópia se quiser preservá-las.Limitações do histórico de desfazer
O histórico de desfazer do Figma depende da sessão — ao fechar o ficheiro, o histórico é reposto, por isso aja rapidamente se precisar de reverter algo.
Perguntas frequentes comuns sobre desfazer um componente no Figma
Como desfaço a criação de um componente?
Prima imediatamente Ctrl + Z (Windows) ou Cmd + Z (Mac) depois de o criar para o reverter para camadas individuais.O que faz “Detach Instance”?
Rompe a ligação entre a instância e o componente mestre, permitindo edição totalmente independente.Posso restaurar um componente mestre eliminado?
Sim, se ainda estiver no histórico de versões do ficheiro. Vá a Ficheiro → Mostrar histórico de versões para o recuperar.A desvinculação afeta outras instâncias?
Não, a desvinculação afeta apenas a instância selecionada, não o componente mestre nem outras instâncias.Posso voltar a ligar uma instância desvinculada?
Não, depois de desvinculada, não pode ser religada automaticamente. Teria de a substituir por uma nova instância do componente.Como gravar o ecrã num Mac?
Para gravar o ecrã num Mac, pode usar o Trupeer AI. Permite-lhe capturar o ecrã inteiro e oferece capacidades de IA, como adicionar avatares de IA, adicionar locução e aplicar zoom in e out no vídeo. Com a funcionalidade de tradução de vídeo por IA do Trupeer, pode traduzir o vídeo para mais de 30 idiomas.Como adicionar um avatar de IA a uma gravação de ecrã?
Para adicionar um avatar de IA a uma gravação de ecrã, vai precisar de usar uma ferramenta de gravação de ecrã com IA. O Trupeer AI é uma ferramenta de gravação de ecrã com IA, que ajuda a criar vídeos com vários avatares e também ajuda a criar o seu próprio avatar para o vídeo.Como gravar o ecrã no Windows?
Para gravar o ecrã no Windows, pode usar a Game Bar integrada (Windows + G) ou uma ferramenta de IA avançada como o Trupeer AI para funcionalidades mais avançadas, como avatares de IA, locução, tradução, etc.Como adicionar locução a um vídeo?
Para adicionar locução a vídeos, descarregue a extensão do Chrome do Trupeer AI. Depois de se registar, carregue o seu vídeo com voz, escolha a locução desejada no Trupeer e exporte o vídeo editado.Como faço zoom numa gravação de ecrã?
Para fazer zoom durante uma gravação de ecrã, use os efeitos de zoom no Trupeer AI, que permitem aproximar e afastar em momentos específicos, melhorando o impacto visual do conteúdo do seu vídeo.
Leituras sugeridas
Gerador de documentação técnica
Software de base de conhecimento
Como ocultar nomes dos frames no Figma
Como guardar um ficheiro Figma
Como criar uma grelha no Figma
Tutoriais relacionados

