

Como Criar um Frame no Figma
Aprenda a criar um frame no Figma para organizar os seus designs de interface de utilizador e layouts. Um guia para iniciantes sobre a utilização da ferramenta de frame para uma melhor estrutura e responsividade.
Passos Detalhados:
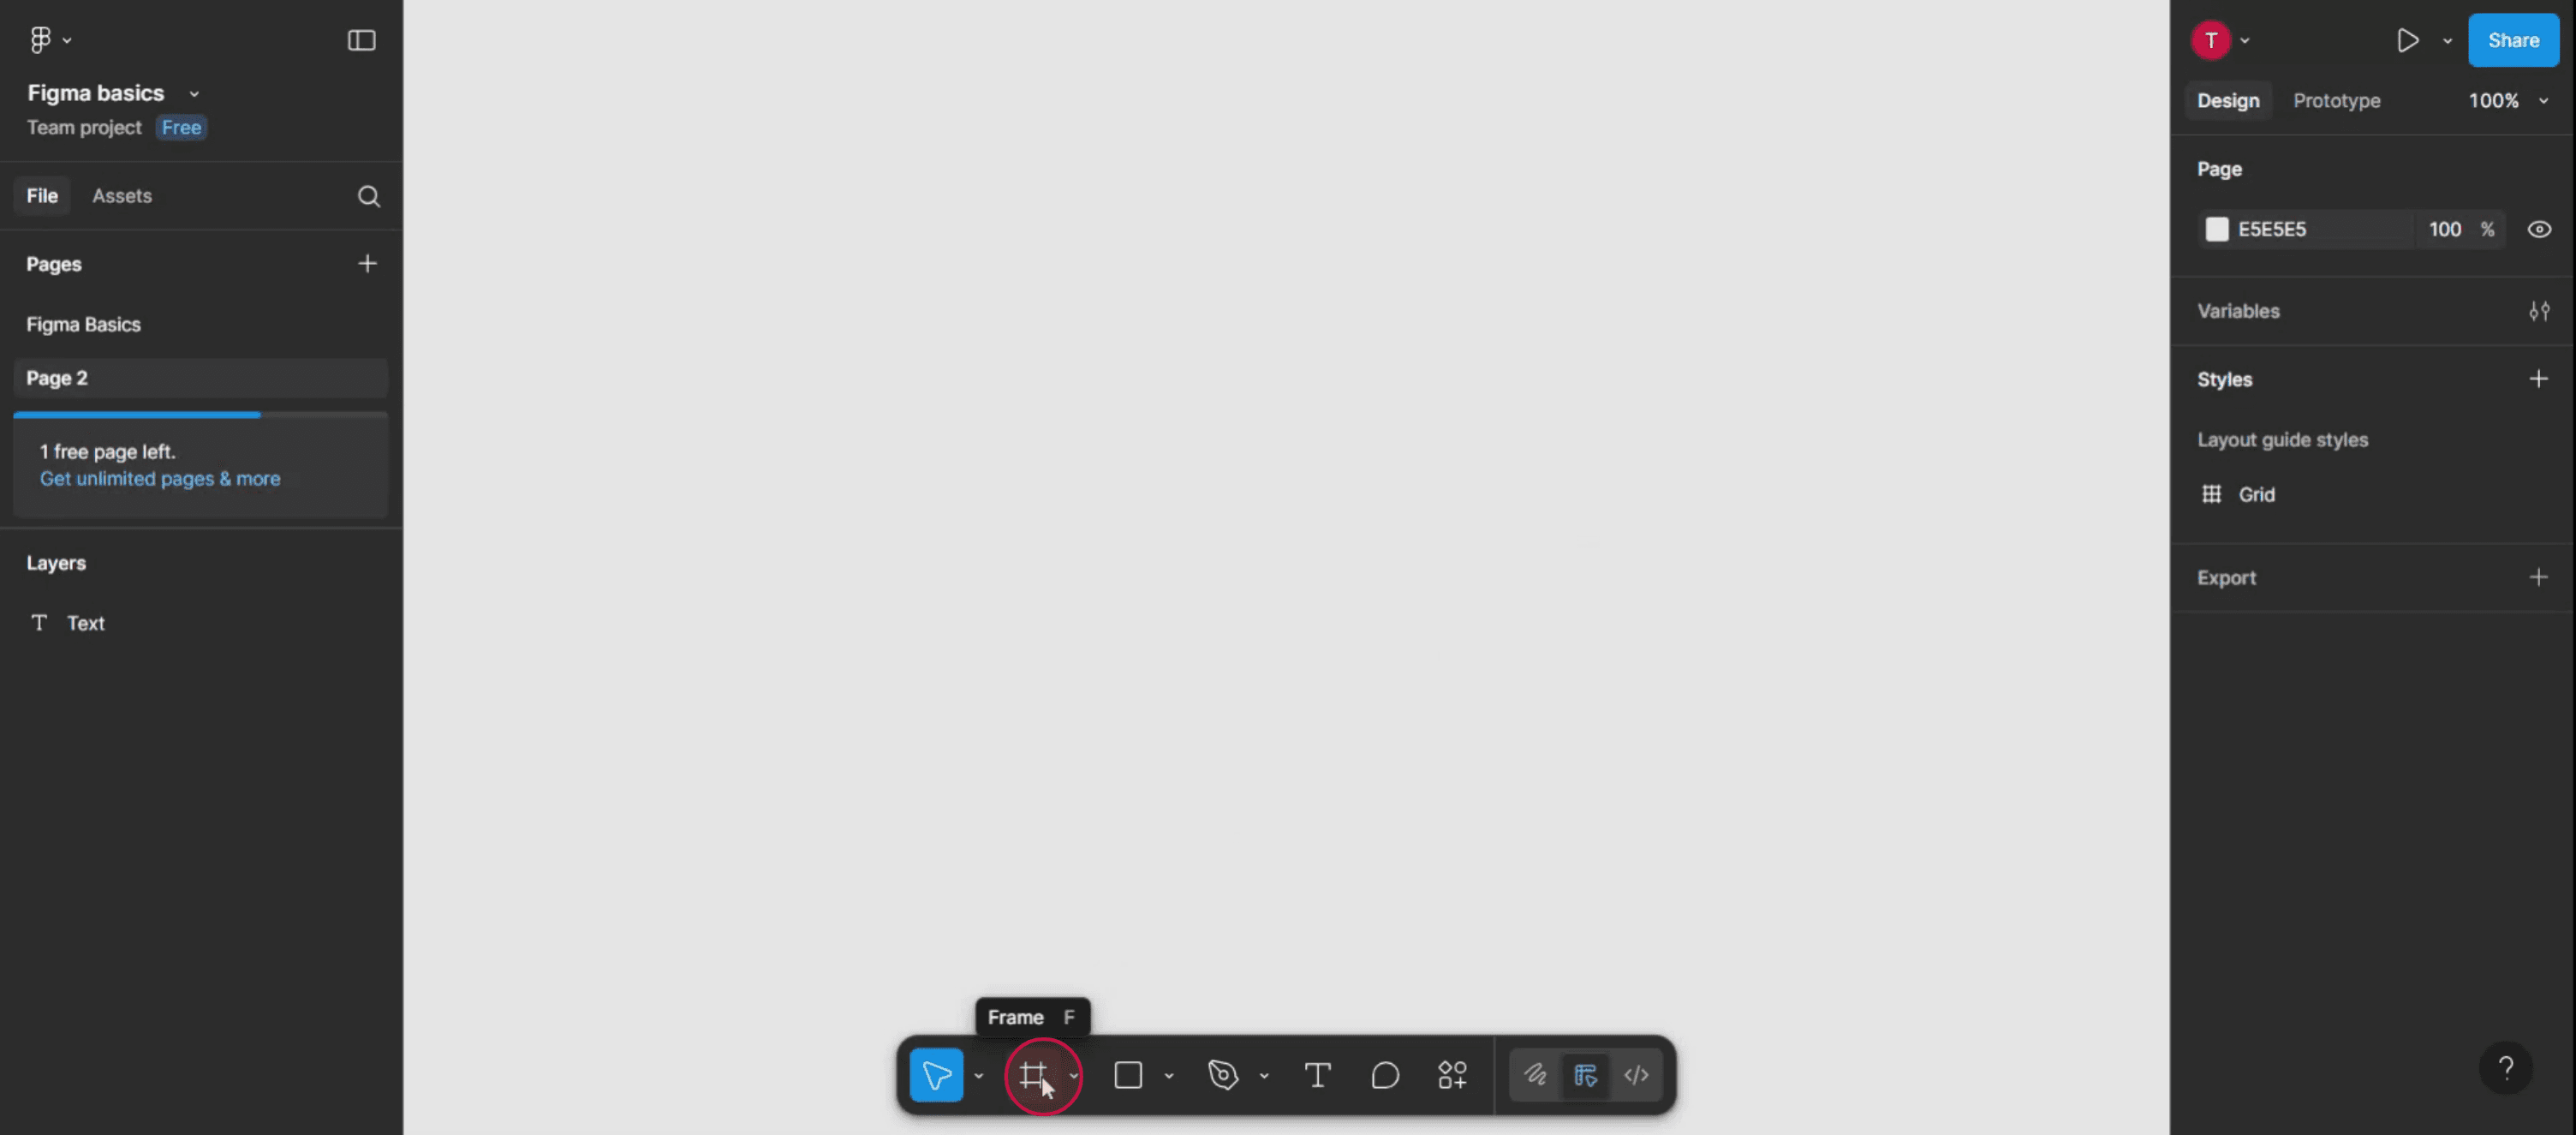
1. Selecione a ferramenta Frame: Clique no ícone da ferramenta Frame na barra de ferramentas ou prima a tecla 'F'.
2. Escolha um método de criação: Clique e arraste: Clique e arraste na tela para criar um frame com dimensões personalizadas.
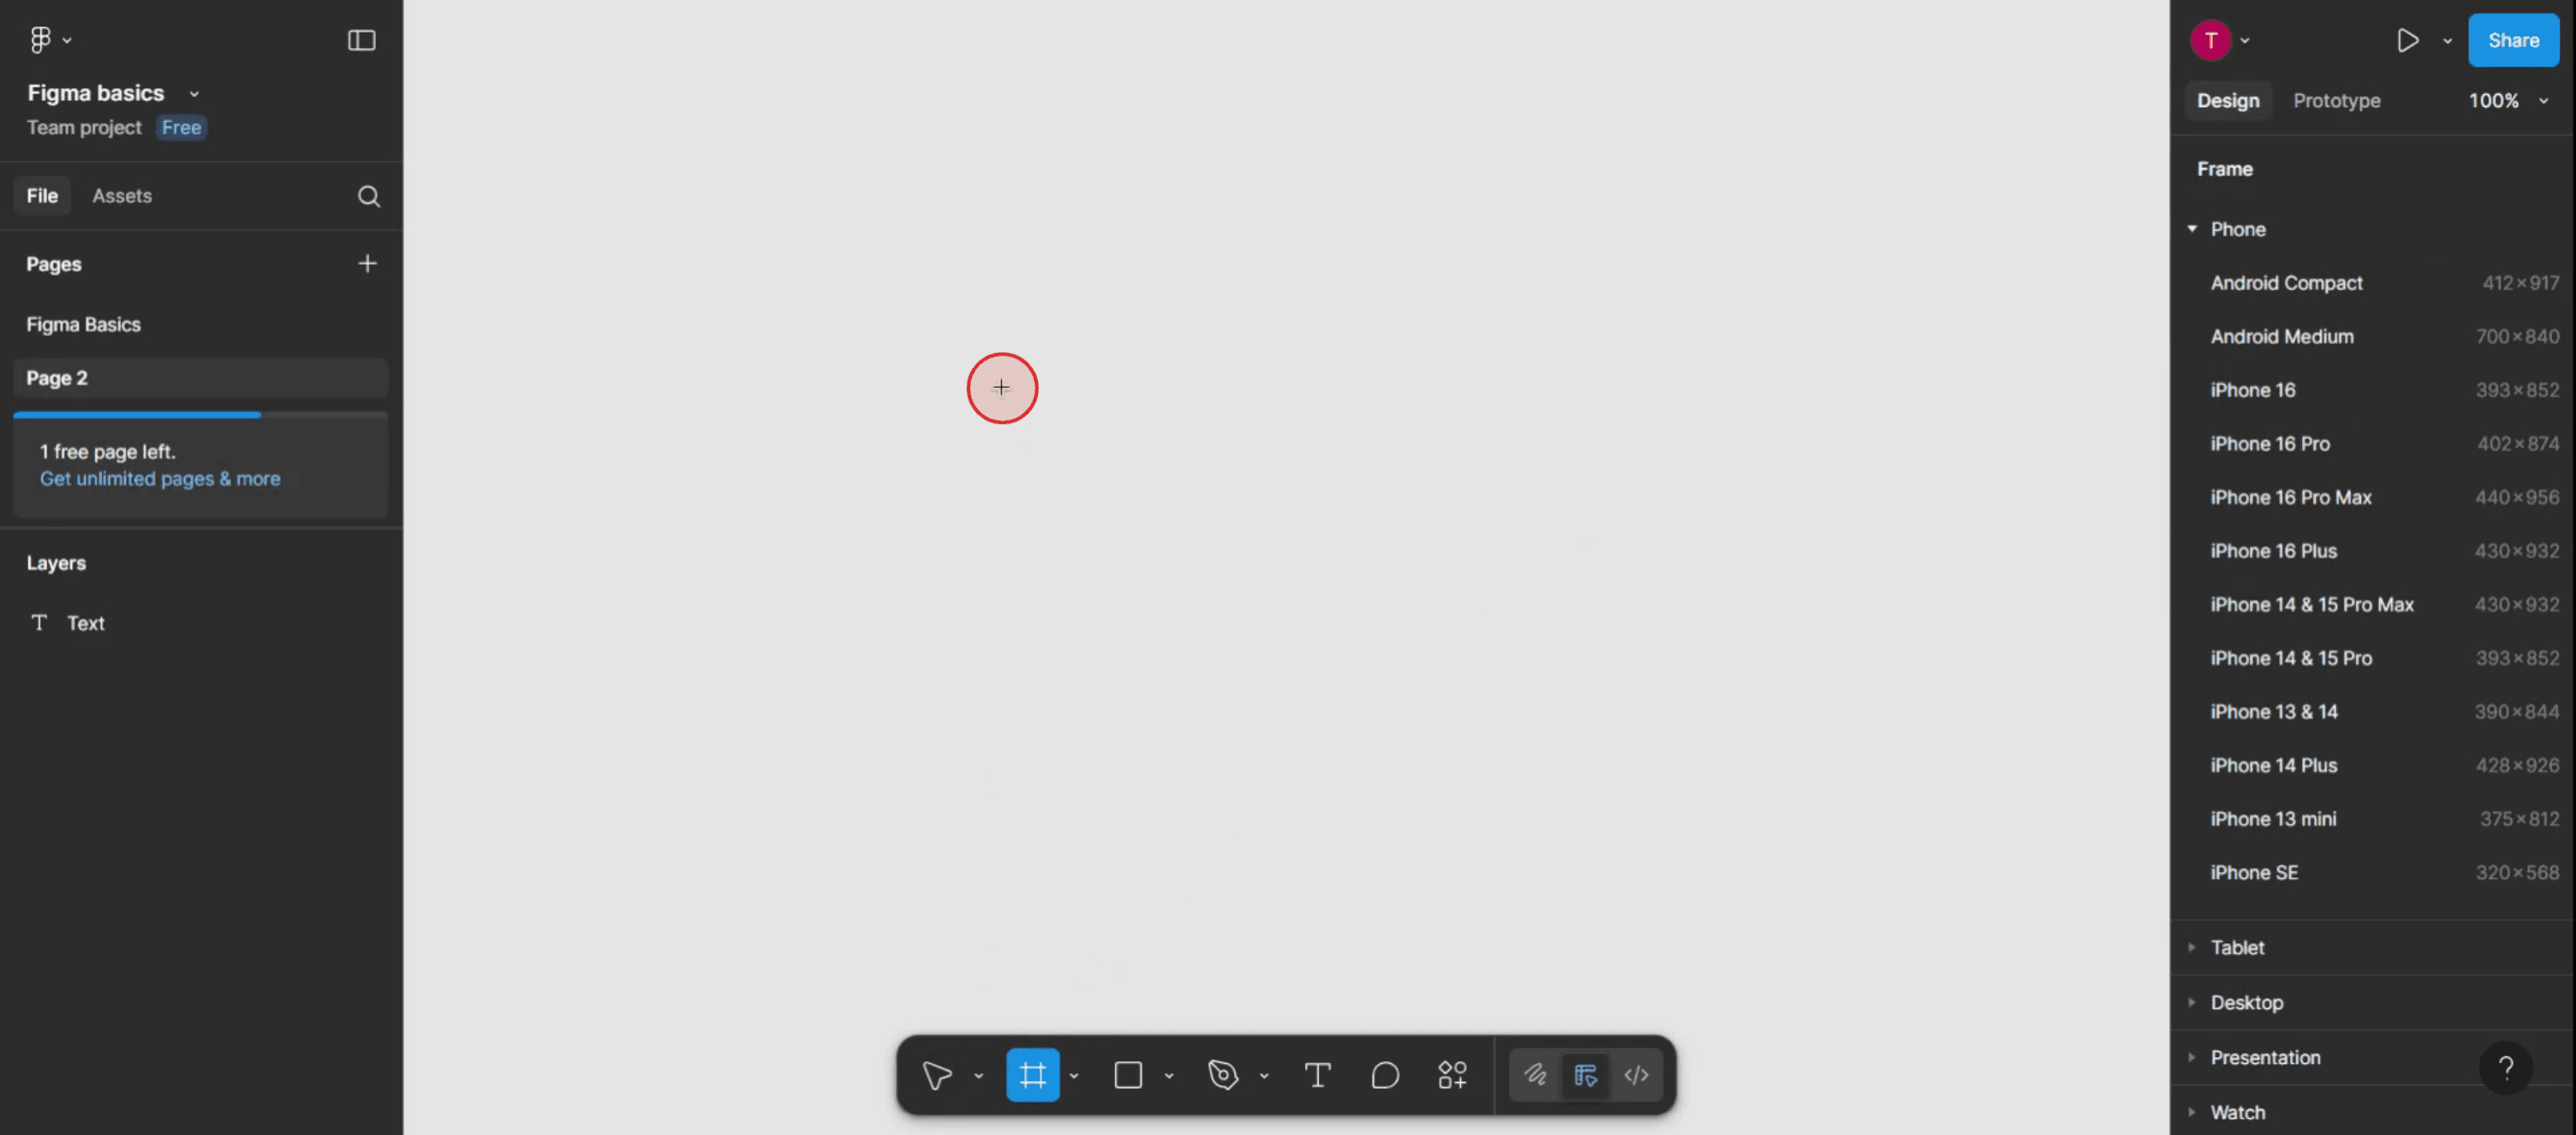
Tamanho de dispositivo predefinido: Selecione um tamanho de frame predefinido no painel de propriedades à direita.
Seleção de frame: Selecione elementos existentes e converta-os num frame.
3. Crie um frame à volta de elementos existentes (Seleção de frame): Selecione os elementos pretendidos e, em seguida, prima Ctrl + Alt + G (Win) ou ⌘ + Opt + G (Mac) para criar um frame contendo esses elementos.
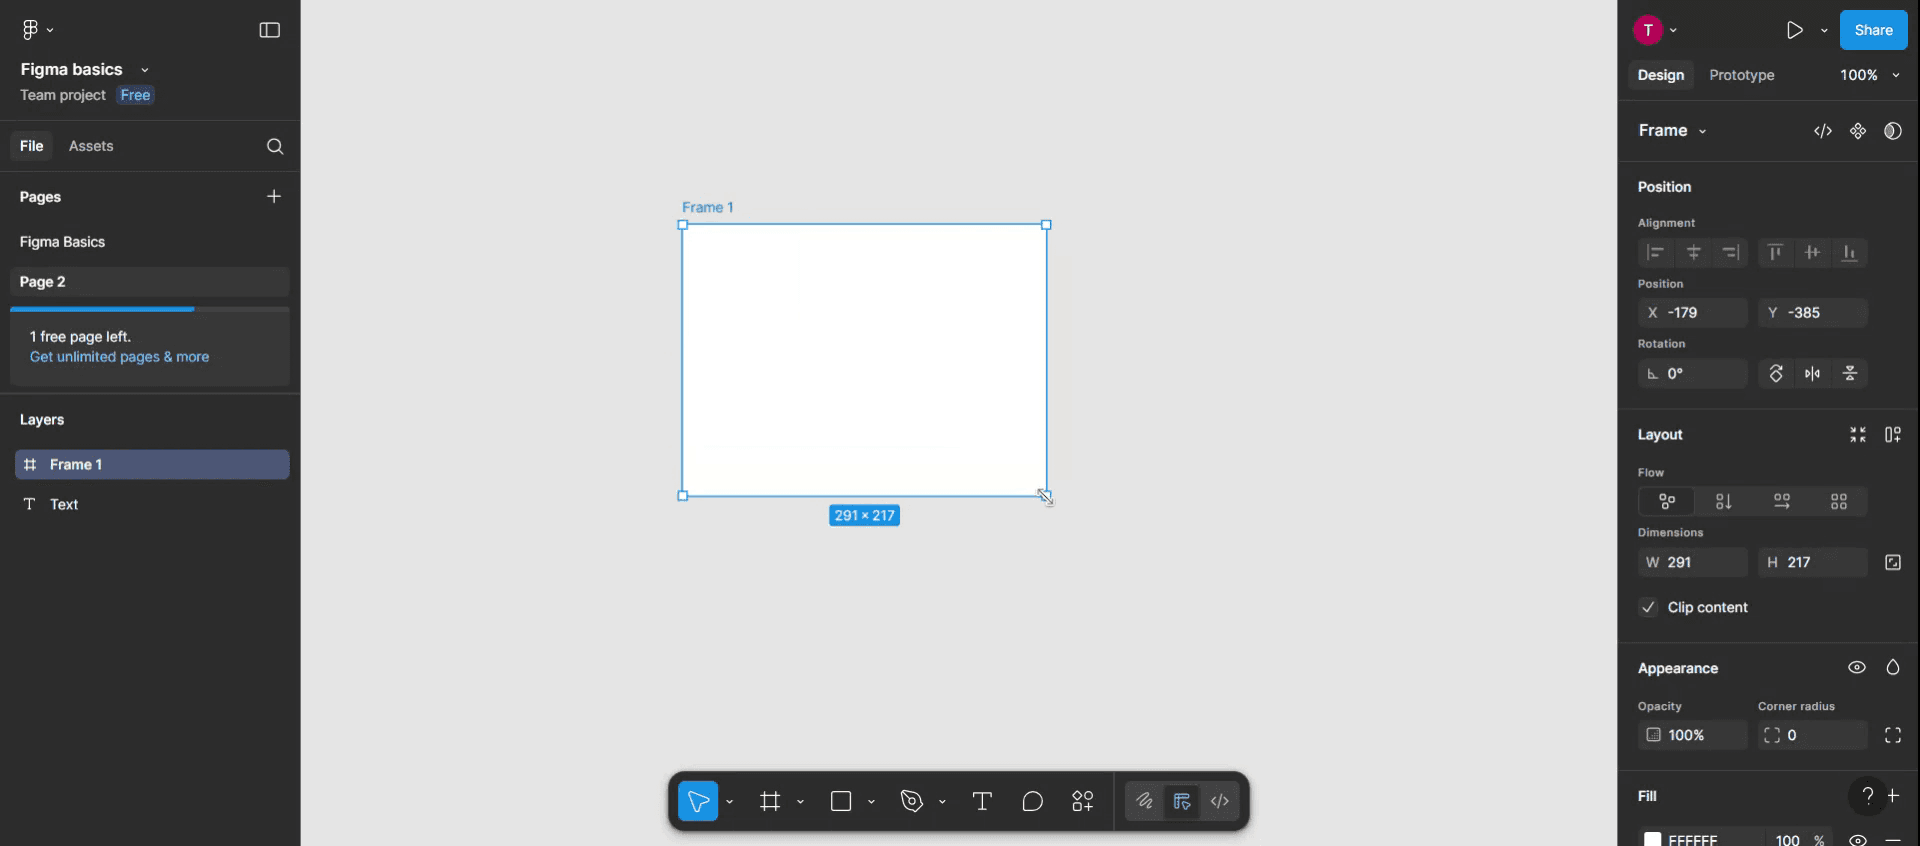
4. Ajuste as propriedades do frame: Depois de criado, pode modificar as propriedades do frame (tamanho, cor, etc.) no painel do lado direito.
Guia Passo a Passo: Como Criar um Frame no Figma
Passo 1
Clique na opção "Frames" para iniciar o processo de criação do frame.
Passo 2
Depois de selecionar a opção "Frames", toque em qualquer parte do modelo do Figma onde pretende colocar o seu novo frame.
Passo 3
Depois de clicar, o frame aparecerá no modelo. Em seguida, pode ajustar o tamanho e as dimensões do frame de acordo com os seus requisitos específicos.
Dicas Profissionais para Criar Frames no Figma
Use o Atalho da Ferramenta Frame
Prima F no teclado para ativar a ferramenta Frame. Depois clique e arraste na tela para desenhar um frame. Este é o método mais rápido e mais utilizado para criar frames.Crie um Frame a partir da Barra de Ferramentas
Clique no ícone da ferramenta Frame no canto superior esquerdo da barra de ferramentas (tem aspeto de hashtag ou retângulo). Depois selecione um tamanho de frame predefinido (como iPhone, Desktop ou Tablet) no painel da direita ou desenhe um manualmente na tela.Converta Elementos Existentes num Frame
Selecione os elementos que quer agrupar, depois clique com o botão direito e escolha “Frame selection” no menu de contexto. Isto envolve os elementos selecionados num novo frame, útil para organizar o seu design.Use o Auto Layout em Frames
Depois de criar um frame, ative o Auto Layout para o tornar responsivo. Isto ajuda ao desenhar botões, cartões ou secções que precisam de espaçamento e alinhamento consistentes.Aninhe Frames para uma Melhor Estrutura
Pode colocar um frame dentro de outro. Frames aninhados são ótimos para organizar designs de UI complexos e componentes como modais, cartões e barras de navegação.
Erros Comuns e Como Evitá-los
Confundir Frames com Grupos
Os grupos apenas juntam elementos, mas os frames podem conter regras de layout e constraints. Use frames quando precisar de estrutura, alinhamento ou responsividade.Não Definir Constraints
Ao desenhar componentes responsivos, esquecer-se de definir constraints dentro de um frame pode fazer com que os elementos se comportem de forma inesperada ao redimensionar. Verifique sempre as constraints no painel da direita.Utilizar Demasiados Frames
Utilizar demasiados frames desnecessários pode sobrecarregar o painel de camadas e dificultar a edição. Use frames de forma estratégica—apenas quando for necessário controlar o layout.Aninhamento Incorreto
Evite colocar acidentalmente frames dentro dos frames pais errados. Isso pode quebrar a hierarquia do layout. Use o painel de camadas para acompanhar a estrutura.Omitir a Nomeação
Não nomear os seus frames torna a colaboração confusa. Dê sempre nomes claros aos seus frames (como “Navbar”, “Footer” ou “iPhone 14 Screen”) para manter tudo organizado.
Perguntas frequentes comuns sobre a criação de frames no Figma
Qual é a diferença entre um frame e uma prancheta?
No Figma, um frame funciona como uma prancheta noutras ferramentas, mas com mais funcionalidades de layout e responsivas. Os frames podem atuar como contentores com constraints e Auto Layout.Posso redimensionar um frame depois de o criar?
Sim. Selecione o frame e arraste os seus limites ou introduza dimensões exatas no painel de propriedades à direita.Os frames podem ser exportados?
Sim. Os frames podem ser exportados como PNG, JPG, SVG ou PDF. Selecione o frame e use a secção de exportação no painel de propriedades.Existem tamanhos predefinidos de frames no Figma?
Sim. Quando ativa a ferramenta Frame, verá uma lista de predefinições à direita — como ecrãs de telemóvel, tamanhos de desktop, tablets e dimensões de redes sociais.Posso criar frames dentro de componentes?
Sem dúvida. Os frames podem fazer parte de componentes ou instâncias, permitindo-lhe estruturar e reutilizar elementos de design de forma eficiente.Como gravar o ecrã no Mac?
Para gravar o ecrã num Mac, pode usar o Trupeer AI. Permite capturar o ecrã inteiro e oferece capacidades de IA, como adicionar avatares de IA, adicionar locução, aplicar zoom in e out no vídeo. Com a funcionalidade de tradução de vídeo por IA do trupeer, pode traduzir o vídeo para mais de 30 idiomas.Como adicionar um avatar de IA a uma gravação de ecrã?
Para adicionar um avatar de IA a uma gravação de ecrã, terá de usar uma ferramenta de gravação de ecrã com IA. O Trupeer AI é uma ferramenta de gravação de ecrã com IA, que o ajuda a criar vídeos com vários avatares e também o ajuda a criar o seu próprio avatar para o vídeo.Como gravar o ecrã no Windows?
Para gravar o ecrã no Windows, pode usar a Barra de Jogos integrada (Windows + G) ou uma ferramenta de IA avançada como o Trupeer AI para funcionalidades mais avançadas, como avatares de IA, locução, tradução, etc.Como adicionar locução a um vídeo?
Para adicionar locução aos vídeos, descarregue a extensão do Chrome do trupeer ai. Depois de se registar, carregue o seu vídeo com som, escolha a locução pretendida do trupeer e exporte o seu vídeo editado.Como faço zoom num vídeo de gravação de ecrã?
Para ampliar durante uma gravação de ecrã, use os efeitos de zoom no Trupeer AI, que permitem ampliar e reduzir em momentos específicos, aumentando o impacto visual do conteúdo do seu vídeo.
Leituras sugeridas
Gerador de documentação técnica
Software de base de conhecimento
Como ocultar os nomes dos frames no Figma
Como guardar um ficheiro do Figma
Como criar uma grelha no Figma
Tutoriais relacionados

