

كيفية حذف مساحة العمل في Notion
هل تريد حذف مساحة عمل في Notion؟ يوضح لك هذا الدليل الخطوات الدقيقة لإزالة مساحة عمل Notion نهائيًا وإدارة إعدادات حسابك.
إليك تفصيلًا أكثر:
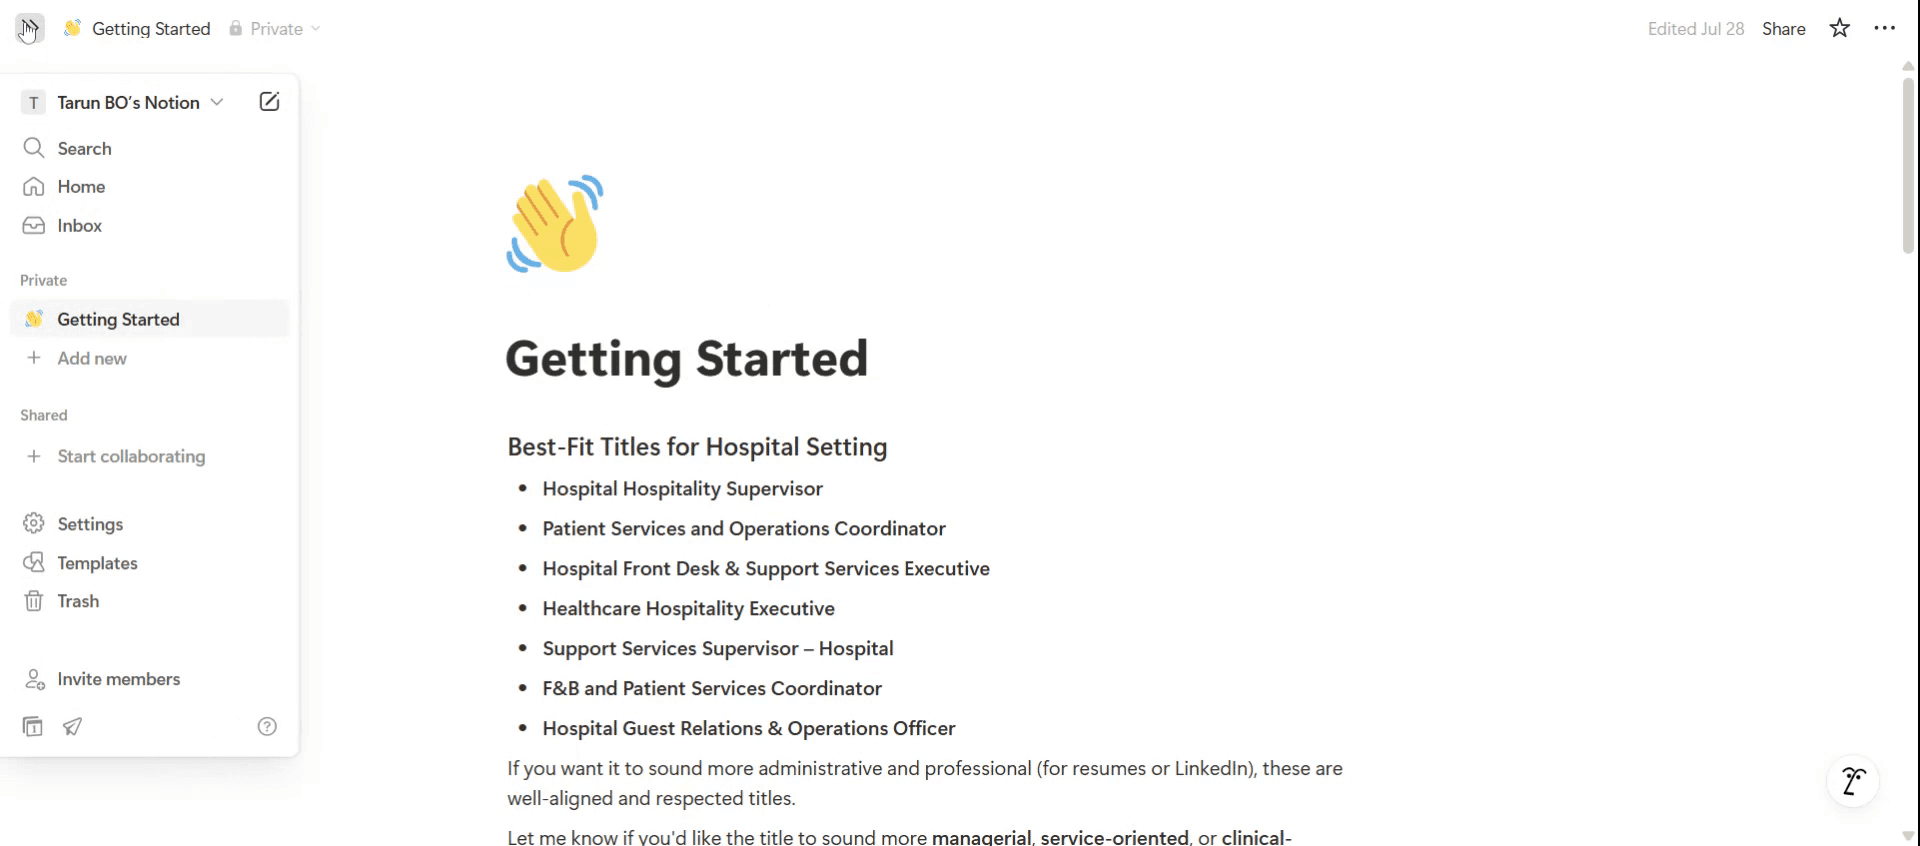
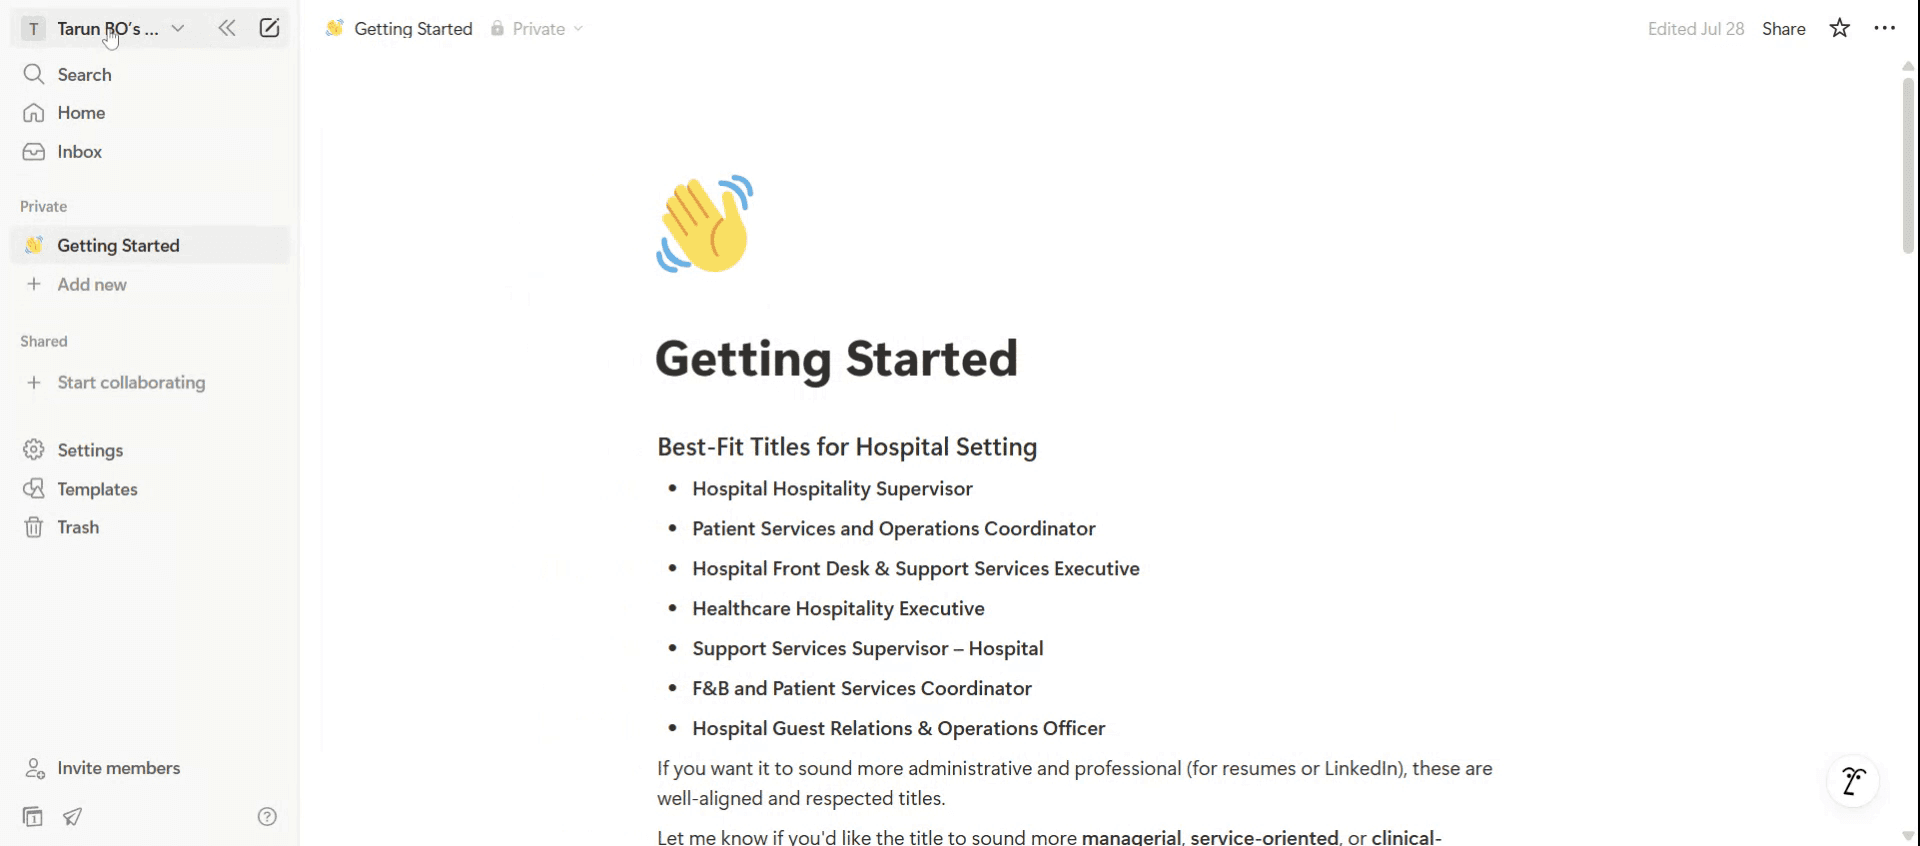
الوصول إلى الإعدادات والأعضاء: افتح Notion وانقر على "الإعدادات والأعضاء" في الشريط الجانبي.
اذهب إلى الإعدادات: في النافذة الجديدة، انتقل إلى علامة التبويب "الإعدادات".
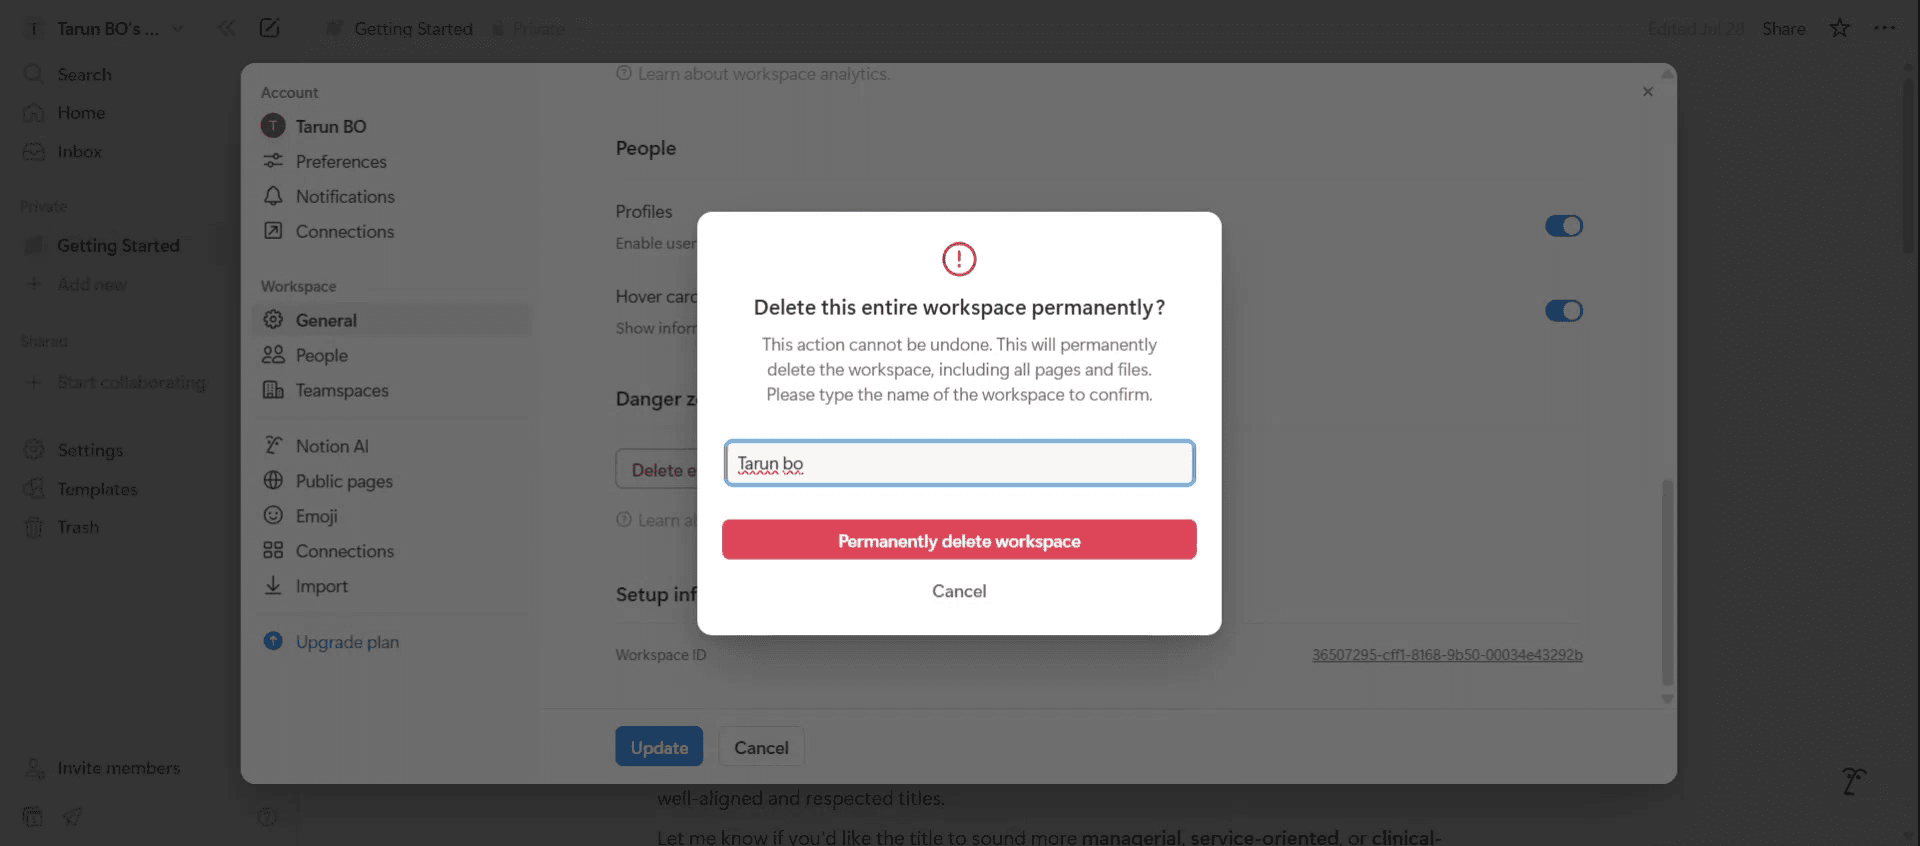
اعثر على منطقة الخطر: مرّر لأسفل إلى أسفل الصفحة للعثور على قسم "منطقة الخطر".
ابدأ الحذف: انقر على "حذف مساحة العمل بالكامل".
تأكيد الحذف: ستظهر نافذة تأكيد. اكتب الاسم الدقيق لمساحة العمل الخاصة بك للتحقق، ثم انقر على "حذف مساحة العمل نهائيًا".
دليل خطوة بخطوة: كيفية حذف مساحة عمل في Notion
الخطوة 1
من الجهة اليسرى، سترى خيار القائمة.
الخطوة 2
انقر على اسم مساحة العمل.
الخطوة 3
انقر على خيار الإعدادات.

الخطوة 4
ما عليك سوى النقر على خيار عام.

الخطوة 5
سترى خيار حذف مساحة العمل بالكامل، وبالنقر عليه،

الخطوة 6
ما عليك سوى إدخال اسم مساحة العمل. بعد الانتهاء، انقر على حذف مساحة العمل نهائيًا.
نصائح احترافية لحذف مساحة عمل في Notion
افتح Notion وسجّل الدخول
شغّل Notion في المتصفح أو التطبيق وسجّل الدخول باستخدام الحساب المرتبط بمساحة العمل التي تريد حذفها.انتقل إلى مساحة العمل المستهدفة
انقر على صورة ملفك الشخصي أو الأحرف الأولى في الشريط الجانبي لعرض جميع مساحات العمل المتاحة. اختر المساحة التي تنوي حذفها.الوصول إلى إعدادات مساحة العمل
بمجرد دخولك إلى مساحة العمل، انقر على "الإعدادات والأعضاء" من القائمة الموجودة على اليسار. سيؤدي ذلك إلى فتح لوحة إدارة مساحة العمل.انتقل إلى علامة التبويب "الإعدادات"
داخل لوحة الإعدادات، اختر علامة التبويب "الإعدادات". هنا توجد خيارات مساحة العمل العامة.مرّر إلى منطقة الخطر
في أسفل قسم الإعدادات، ابحث عن المنطقة المسمّاة "منطقة الخطر". هنا يوجد خيار حذف مساحة العمل.
الأخطاء الشائعة وكيفية تجنبها
حذف مساحة العمل الخطأ عن طريق الخطأ
تأكد دائمًا من أنك داخل مساحة العمل الصحيحة من خلال التحقق من الاسم والمحتوى قبل الحذف.فقدان بيانات مهمة
قم بعمل نسخة احتياطية أو تصدير لمحتواك قبل حذف مساحة العمل، خاصةً إذا كان هناك آخرون مشاركون.عدم امتلاك صلاحية المسؤول
يمكن لمسؤولي مساحة العمل فقط حذف مساحة العمل. إذا لم ترَ الخيار، فقد لا تكون لديك الصلاحيات المناسبة.الخلط بين التعطيل والحذف
أرشفة مساحة العمل أو مغادرتها يختلف عن حذفها. تأكد من أنك تختار الإجراء الصحيح.الافتراض بأن أعضاء الفريق سيتم إشعارهم
حذف مساحة العمل لا يُشعر الأعضاء تلقائيًا. فكّر في إبلاغ المتعاونين مسبقًا.
الأسئلة الشائعة حول حذف مساحة عمل في Notion
هل يمكنني استعادة مساحة عمل محذوفة في Notion؟
لا، بمجرد حذف مساحة العمل لا يمكن استعادتها. تأكد من تصدير كل البيانات اللازمة مسبقًا.من يمكنه حذف مساحة عمل في Notion؟
يمكن فقط لمالك مساحة العمل أو لمسؤول لديه الصلاحيات المناسبة حذف مساحة العمل بالكامل.هل سيؤدي حذف مساحة عمل إلى حذف حساب Notion الخاص بي بالكامل؟
لا، حذف مساحة العمل يزيل تلك المساحة المحددة فقط. يبقى حسابك ومساحات العمل الأخرى دون تأثير.كيف أغادر مساحة عمل بدلًا من حذفها؟
انقر على "الإعدادات والأعضاء"، ثم اختر "مغادرة مساحة العمل" ضمن علامة تبويب الأعضاء.هل يمكنني حذف مساحة عمل من تطبيق الجوال؟
من الأفضل تنفيذ حذف مساحة العمل على سطح المكتب أو إصدار المتصفح، لأن خيارات الجوال قد تكون محدودة.كيف أسجل الشاشة على Mac؟
لتصوير الشاشة على Mac، يمكنك استخدام Trupeer AI. فهو يتيح لك التقاط الشاشة بالكامل ويوفّر إمكانات بالذكاء الاصطناعي مثل إضافة شخصيات افتراضية بالذكاء الاصطناعي، وإضافة تعليق صوتي، وإضافة تكبير وتصغير داخل الفيديو. وباستخدام ميزة ترجمة الفيديو بالذكاء الاصطناعي من trupeer، يمكنك ترجمة الفيديو إلى أكثر من 30 لغة.كيف أضيف شخصية افتراضية بالذكاء الاصطناعي إلى تسجيل الشاشة؟
لإضافة شخصية افتراضية بالذكاء الاصطناعي إلى تسجيل الشاشة، ستحتاج إلى استخدام أداة تسجيل شاشة بالذكاء الاصطناعي. Trupeer AI هي أداة تسجيل شاشة بالذكاء الاصطناعي، تساعدك في إنشاء مقاطع فيديو باستخدام عدة شخصيات، كما تساعدك أيضًا في إنشاء شخصيتك الافتراضية الخاصة للفيديو.كيف أسجل الشاشة على Windows؟
لتسجيل الشاشة على Windows، يمكنك استخدام Game Bar المدمجة (Windows + G) أو أداة ذكاء اصطناعي متقدمة مثل Trupeer AI للحصول على ميزات أكثر تقدمًا مثل الشخصيات الافتراضية بالذكاء الاصطناعي، والتعليق الصوتي، والترجمة، وغيرها.كيف أضيف تعليقًا صوتيًا إلى الفيديو؟
لإضافة تعليق صوتي إلى الفيديوهات، حمّل إضافة كروم trupeer ai. بعد التسجيل، ارفع الفيديو الخاص بك مع الصوت، واختر التعليق الصوتي المطلوب من trupeer، ثم صدّر الفيديو المعدّل.كيف أُكبّر في تسجيل الشاشة؟
لتكبير الصورة أثناء تسجيل الشاشة، استخدم تأثيرات التكبير في Trupeer AI التي تتيح لك التكبير والتصغير في لحظات محددة، مما يعزز التأثير البصري لمحتوى الفيديو الخاص بك.
دروس ذات صلة

