

كيفية إضافة الصور إلى ملف README على GitHub
تعرّف على كيفية إضافة الصور إلى ملف README في GitHub باستخدام صيغة Markdown أو روابط الصور. دليل خطوة بخطوة لعرض الصور والمرئيات في مستودعاتك.
دليل خطوة بخطوة: كيفية إضافة صور إلى README في GitHub
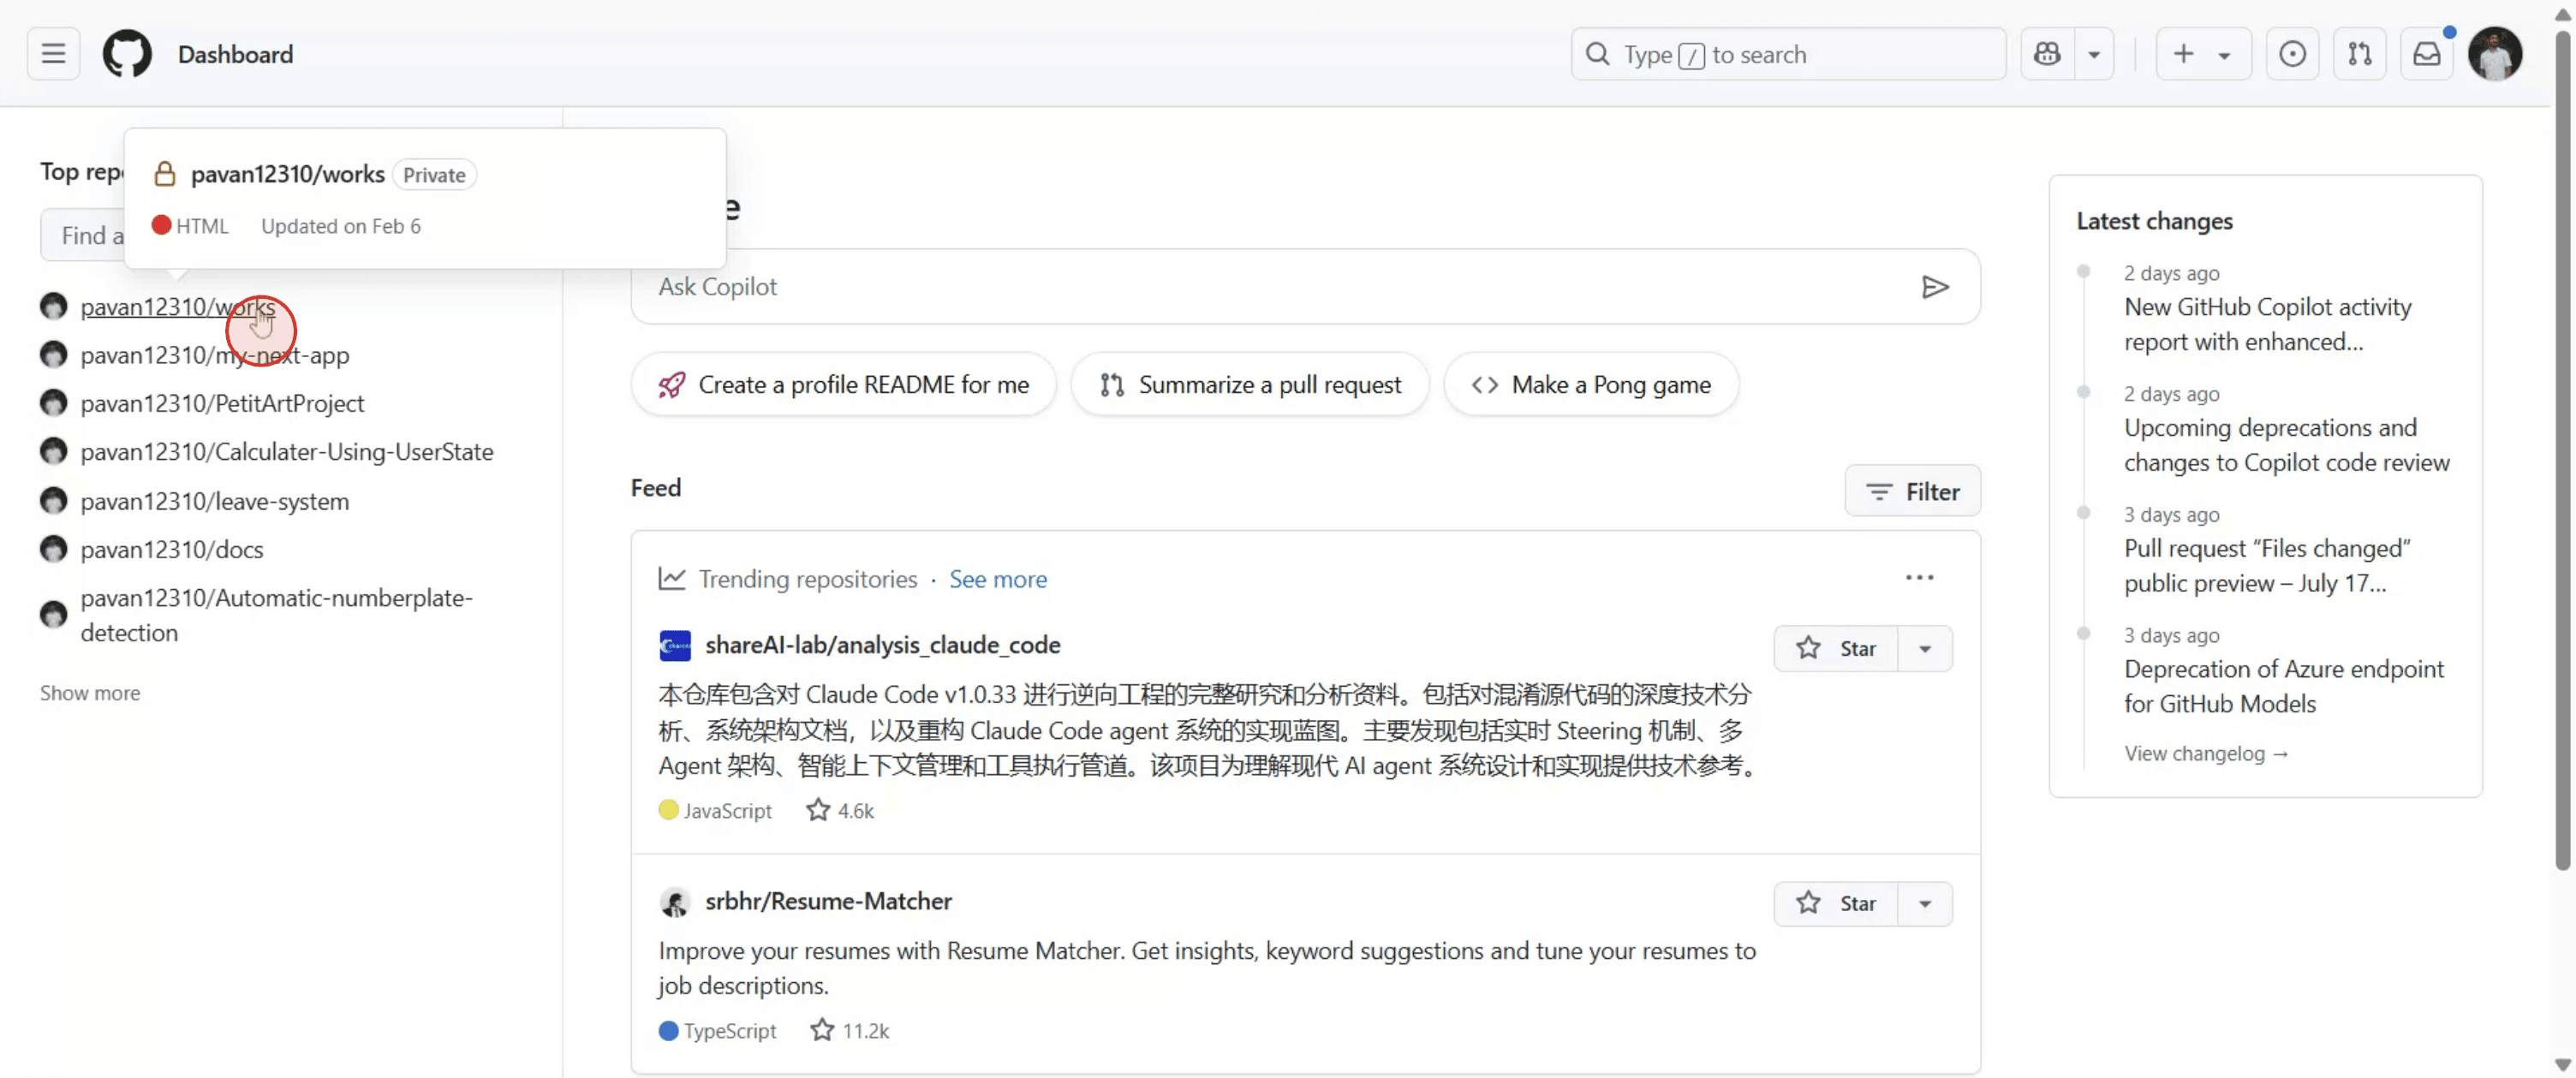
الخطوة 1
ابدأ بالانتقال إلى قسم "Repositories" على GitHub ثم انقر عليه.
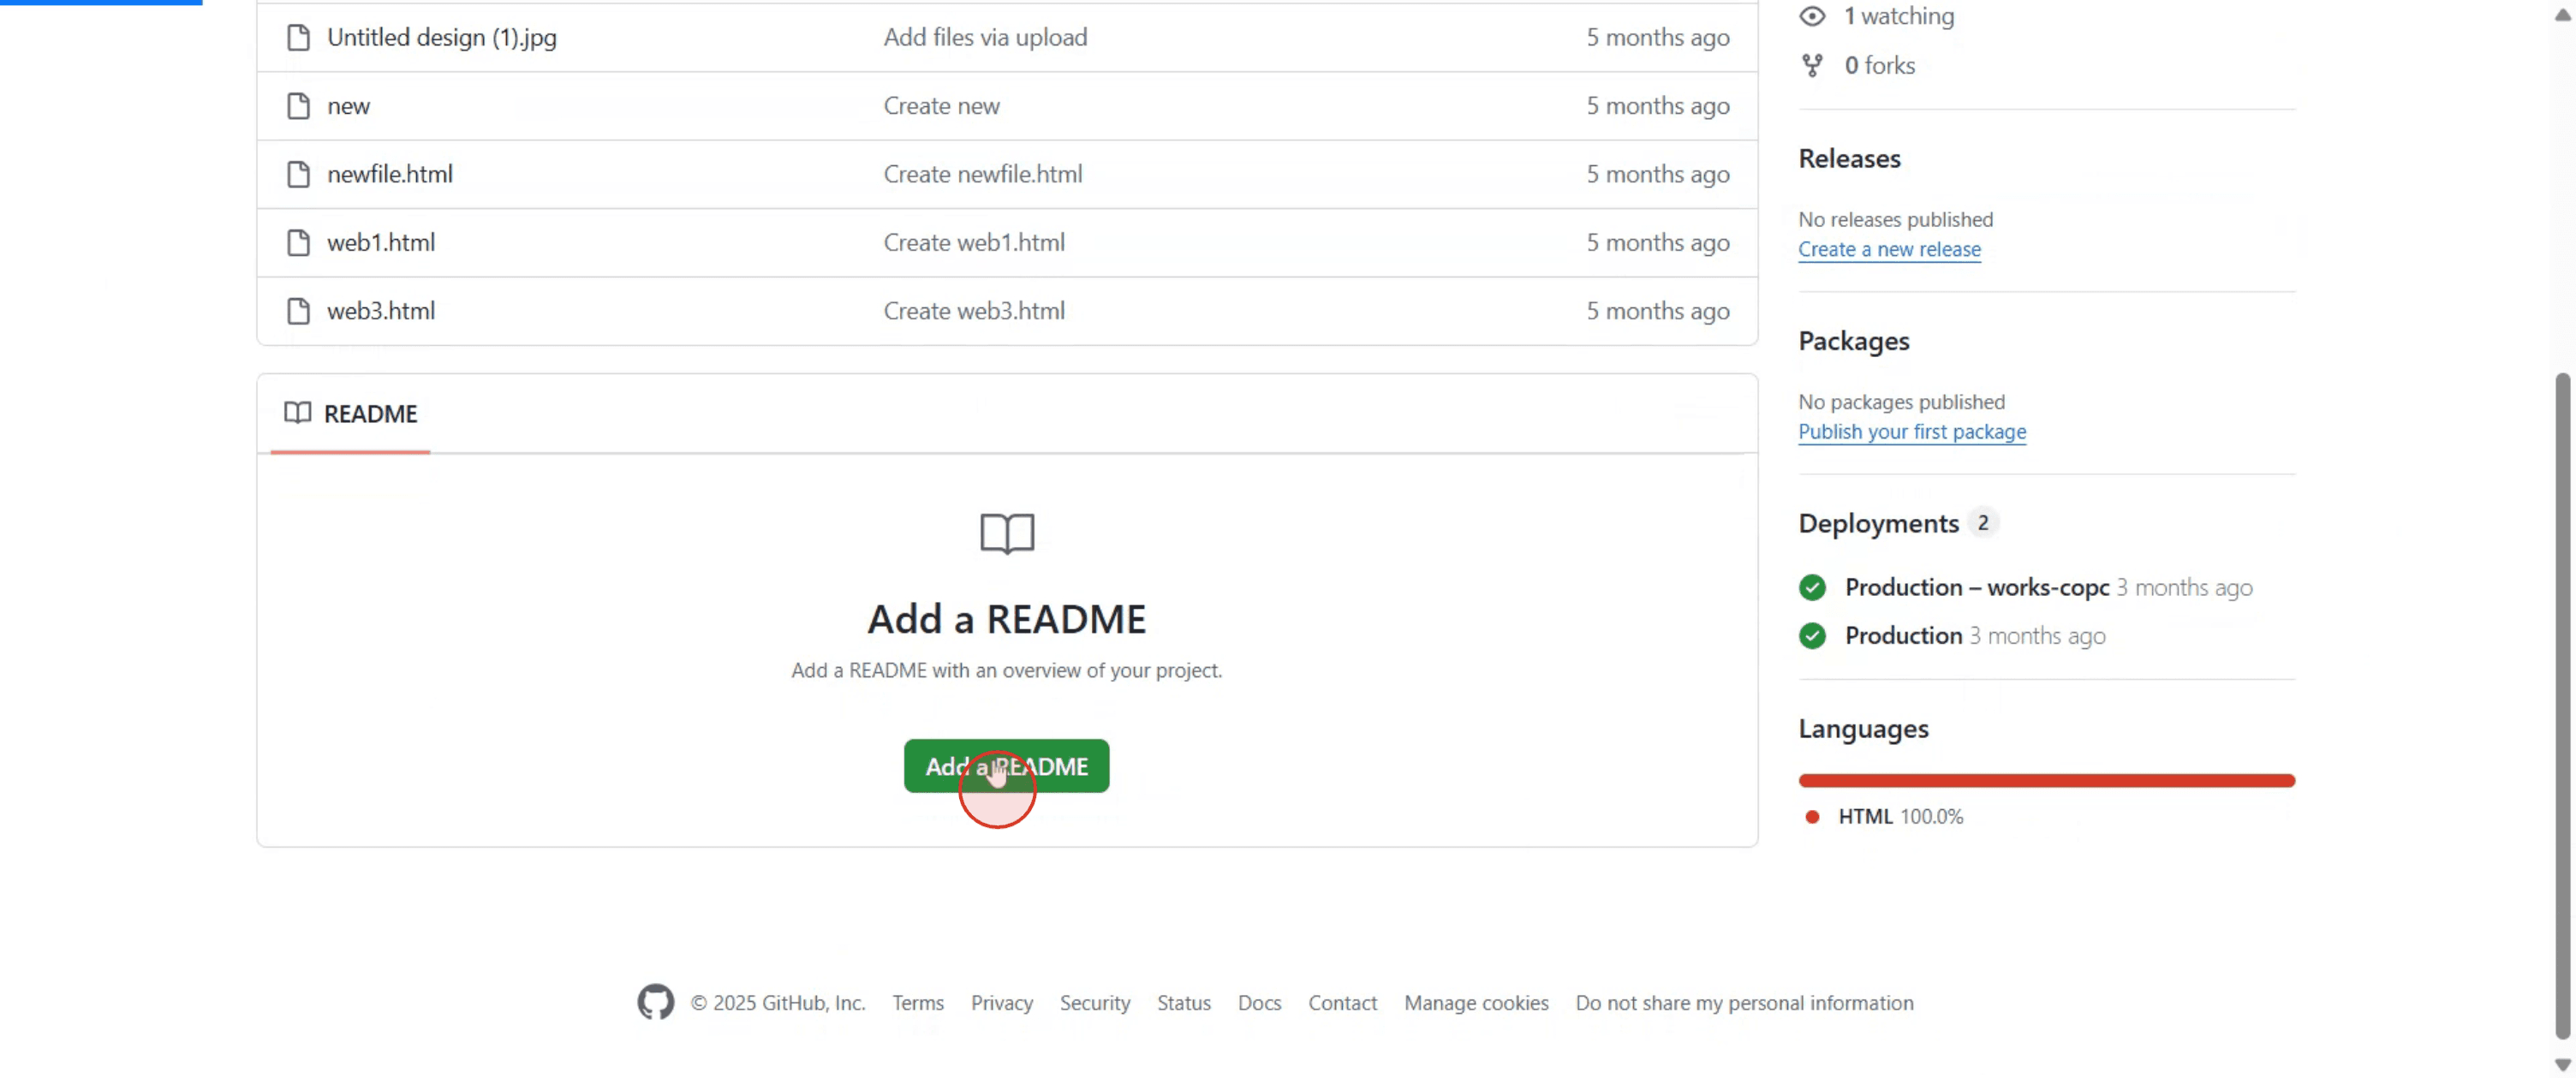
الخطوة 2
ثم انقر على "Add README" للمتابعة.
الخطوة 3
تابع باختيار "Attach Files" ثم انقر عليه للمتابعة.

الخطوة 4
بعد الرفع، انقر على "Commit Changes".
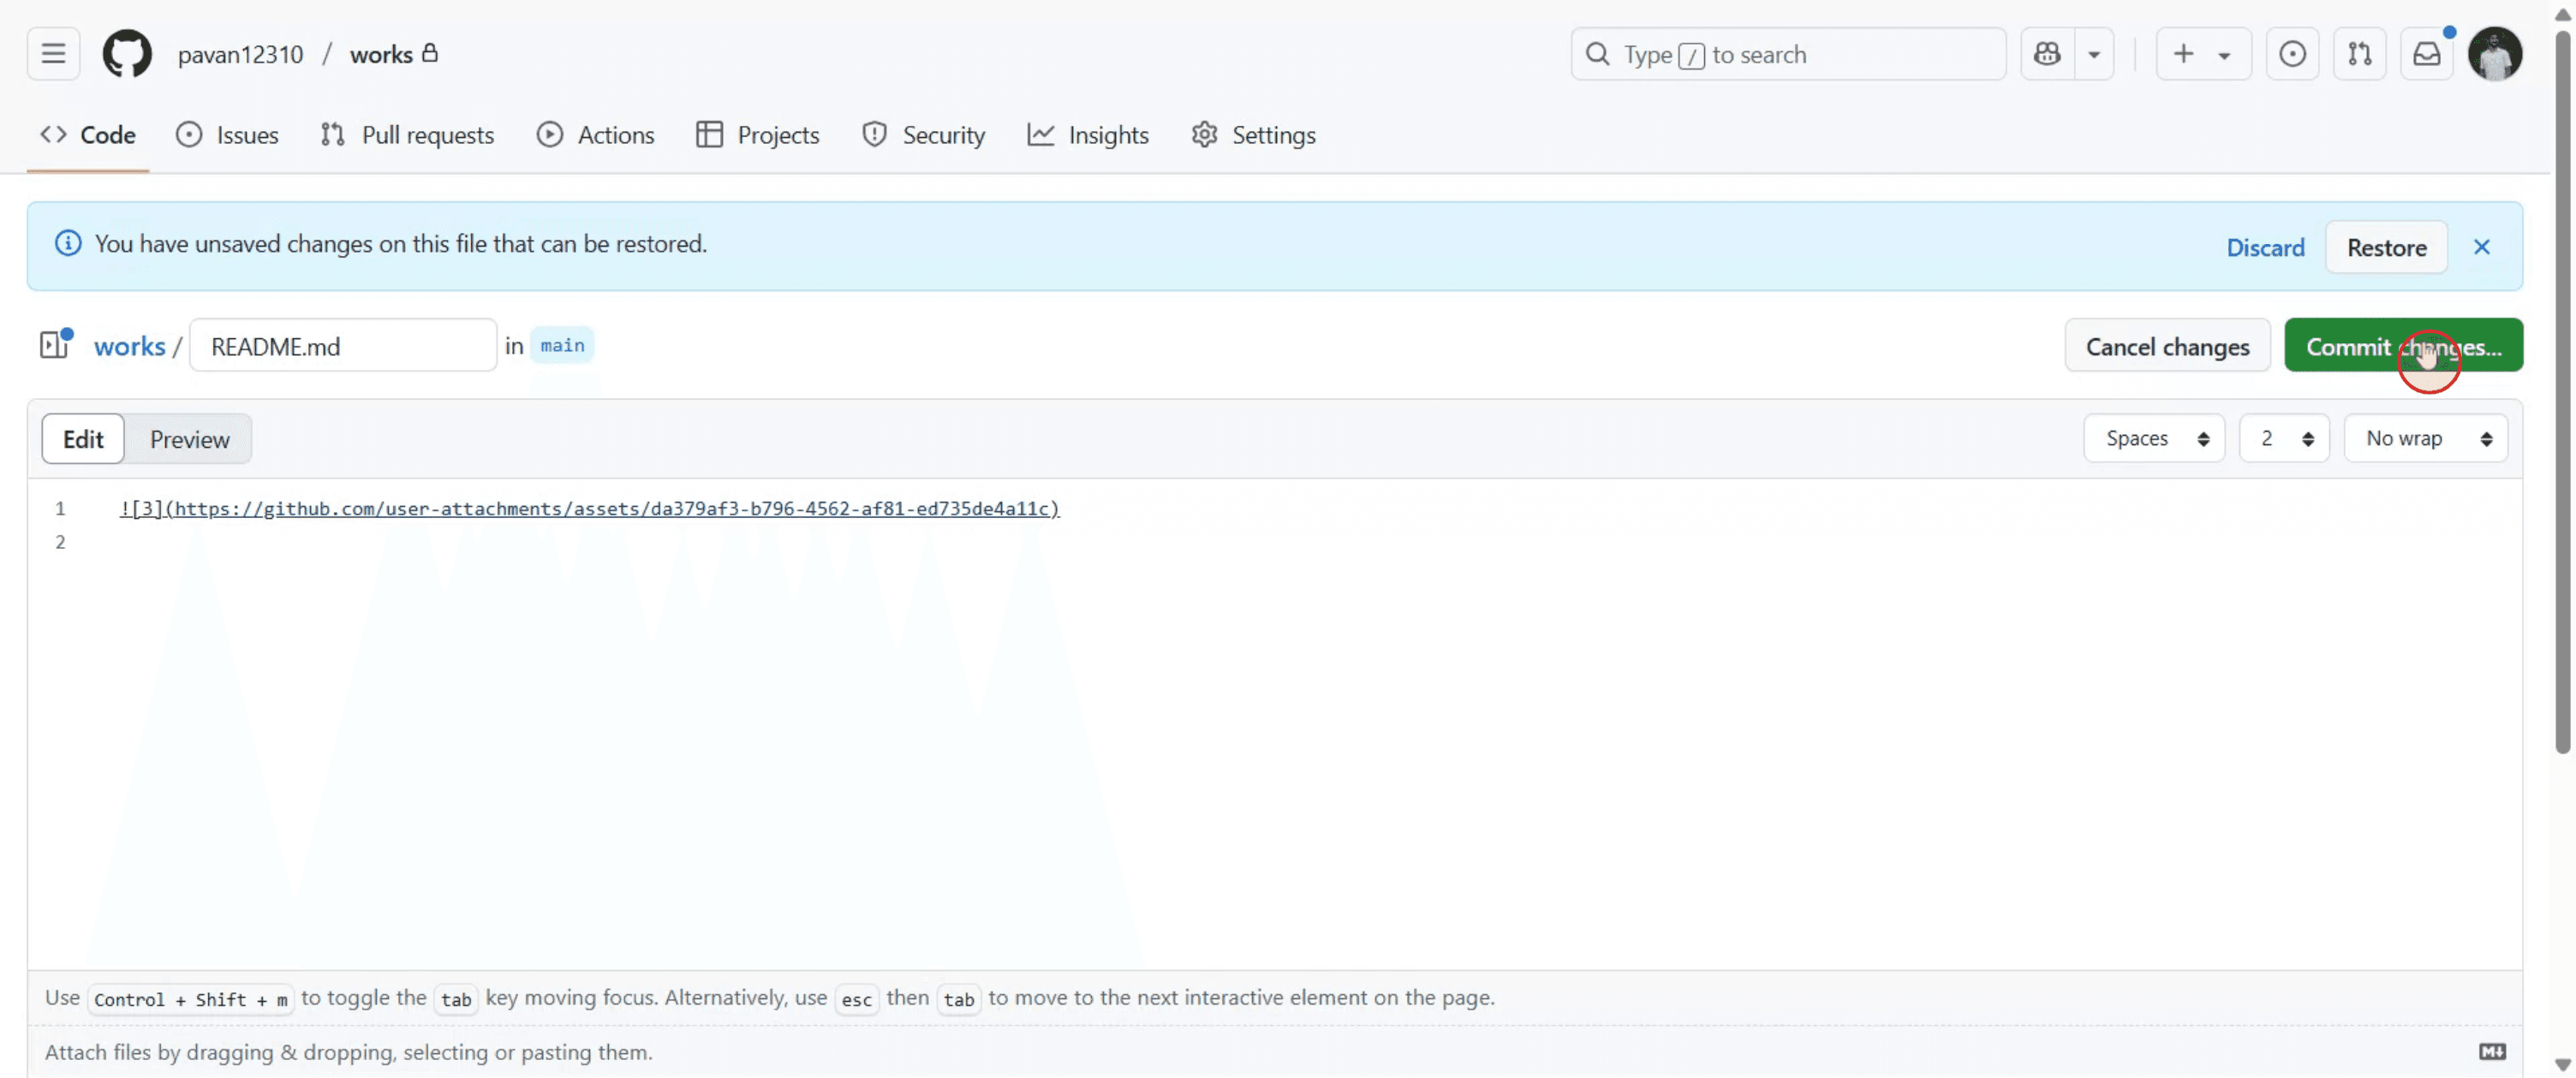
الخطوة 5
اختتم باختيار "Commit Changes" مرة أخرى.

نصائح احترافية لإضافة الصور إلى README في GitHub
ارفع الصورة إلى مستودعك
انتقل إلى مستودع GitHub الخاص بك، ثم انقر على زر Add file، وبعدها اختر Upload files. اسحب صورتك وأفلتها أو حددها من جهازك.انسخ رابط الصورة
بعد الرفع، انقر على ملف الصورة. سيفتح في صفحة جديدة. انقر بزر الفأرة الأيمن على الصورة واختر Copy image address.افتح ملف README.md أو أنشئه
عد إلى مستودعك. إذا لم يكن هناك ملف README.md، فانقر Add file ثم اختر Create new file. سمّه README.md.أدخل الصورة باستخدام صياغة Markdown
استخدم هذا التنسيق لإدراج الصورة في ملف README:
استبدل image-url بالرابط المنسوخ، وAlt text بوصف قصير للصورة.اعرض المعاينة ثم نفّذ commit للتغييرات
استخدم علامة التبويب Preview في المحرر للتحقق من شكل الصورة. إذا كان كل شيء يبدو جيدًا، فمرّر لأسفل وانقر Commit changes للحفظ.
الأخطاء الشائعة وكيفية تجنبها
الصورة لا يتم تحميلها
تأكد من أن الصورة مخزنة في مستودع عام أو مستضافة على منصة تدعم الربط المباشر للصور.تنسيق Markdown غير صحيح
التنسيق الصحيح هو: تحقّق جيدًا من عدم وجود أقواس مربعة أو دائرية مفقودة.تم استخدام مسار ملف محلي
لا تستخدم مسارات الملفات من جهازك المحلي. استخدم فقط عناوين URL أو مسارات المستودع.رابط معطّل أو قديم
إذا نقلت الصورة أو حذفتها من المستودع، فسيتم كسر الرابط. استخدم دائمًا مسار الملف النهائي.حجم الصورة كبير جدًا
غيّر حجم الصور الكبيرة أو اضغطها قبل الرفع للحفاظ على README مرتبًا وسريع التحميل.
الأسئلة الشائعة حول إضافة الصور إلى README في GitHub
كيف أضيف صورة محلية إلى README في GitHub؟
ارفع الصورة إلى مستودعك أولًا، ثم استخدم صياغة صورة Markdown للإشارة إليها.هل يمكنني استخدام رابط صورة خارجي؟
نعم، يمكن استخدام أي رابط صورة متاح للعامة في صياغة Markdown.ما هي صياغة Markdown الصحيحة لإضافة صورة؟
التنسيق هوهل يمكنني توسيط الصورة في ملف README؟
لا يدعم Markdown التوسيط مباشرةً، لكن يمكنك استخدام HTML مثل <p align="center"> للتحكم في التنسيق.هل يمكن تغيير حجم صورة في GitHub ReadMe؟
ليس باستخدام Markdown وحده. للتحكم في الحجم، استخدم HTML بسيطًا مثل <img src="image-url" width="300"/> داخل ملف README.كيف أسجل الشاشة على Mac؟
لتسجيل الشاشة على جهاز Mac، يمكنك استخدام Trupeer AI. فهو يتيح لك التقاط الشاشة بالكامل ويوفر إمكانيات ذكاء اصطناعي مثل إضافة صور رمزية بالذكاء الاصطناعي، وإضافة تعليق صوتي، وإضافة التكبير والتصغير داخل الفيديو. ومع ميزة ترجمة الفيديو بالذكاء الاصطناعي من Trupeer، يمكنك ترجمة الفيديو إلى أكثر من 30 لغة.كيف أضيف صورة رمزية بالذكاء الاصطناعي إلى تسجيل الشاشة؟
لإضافة صورة رمزية بالذكاء الاصطناعي إلى تسجيل شاشة، ستحتاج إلى استخدام أداة لتسجيل الشاشة بالذكاء الاصطناعي. Trupeer AI هي أداة لتسجيل الشاشة بالذكاء الاصطناعي، وتساعدك على إنشاء فيديوهات بعدة صور رمزية، كما تساعدك في إنشاء صورتك الرمزية الخاصة للفيديو.كيف أسجل الشاشة على Windows؟
لتسجيل الشاشة على Windows، يمكنك استخدام شريط Game Bar المدمج (Windows + G) أو أداة ذكاء اصطناعي متقدمة مثل Trupeer AI للحصول على ميزات أكثر تقدمًا مثل الصور الرمزية بالذكاء الاصطناعي، والتعليق الصوتي، والترجمة، إلخ.كيف أضيف تعليقًا صوتيًا إلى الفيديو؟
لإضافة تعليق صوتي إلى مقاطع الفيديو، حمّل إضافة Trupeer AI على Chrome. بعد التسجيل، ارفع فيديوك مع الصوت، واختر التعليق الصوتي المطلوب من Trupeer ثم صدّر الفيديو المعدّل.كيف أُكبِّر في تسجيل الشاشة؟
لتكبير الشاشة أثناء تسجيلها، استخدم تأثيرات التكبير في Trupeer AI التي تتيح لك التكبير والتصغير في لحظات محددة، مما يعزز التأثير البصري لمحتوى الفيديو الخاص بك.
دروس ذات صلة

