

How To Lock Cells In Google Sheets – Protect Data Easily
Learn how to lock specific cells in Google Sheets to prevent unwanted edits. Follow this step-by-step guide using sheet protection and permissions settings.
This document outlines the process of securing specific cells in a Google Spreadsheet by using the protect range feature.
By following these steps, you can prevent unauthorized edits to critical data within your spreadsheet.
If you want to stop others from editing certain cells in Google Sheets, you can lock them using the "Protect sheets and ranges" feature. This lets you control who can make changes—or just show a warning before anyone edits.
Follow these steps to lock cells:
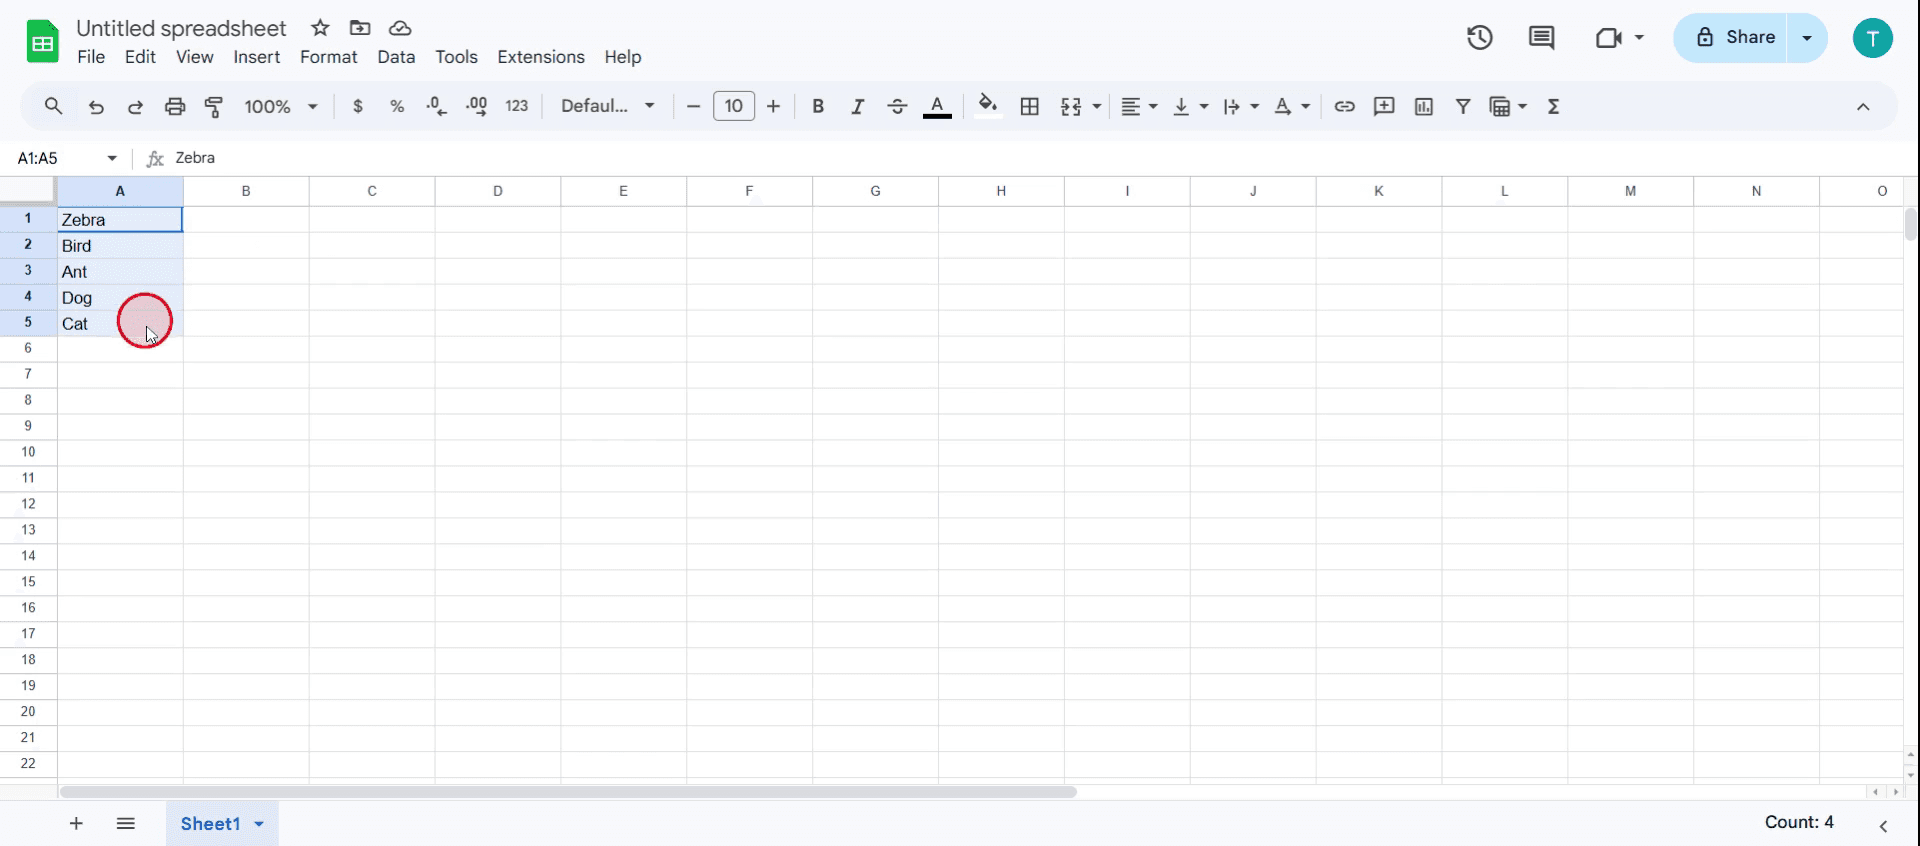
1. Select the cells you want to protect:
Click and drag to highlight the cell or range you want to lock.
2. Open the Protected sheets and ranges panel:
Option 1: Click on Data in the top menu, then choose Protect sheets and ranges.
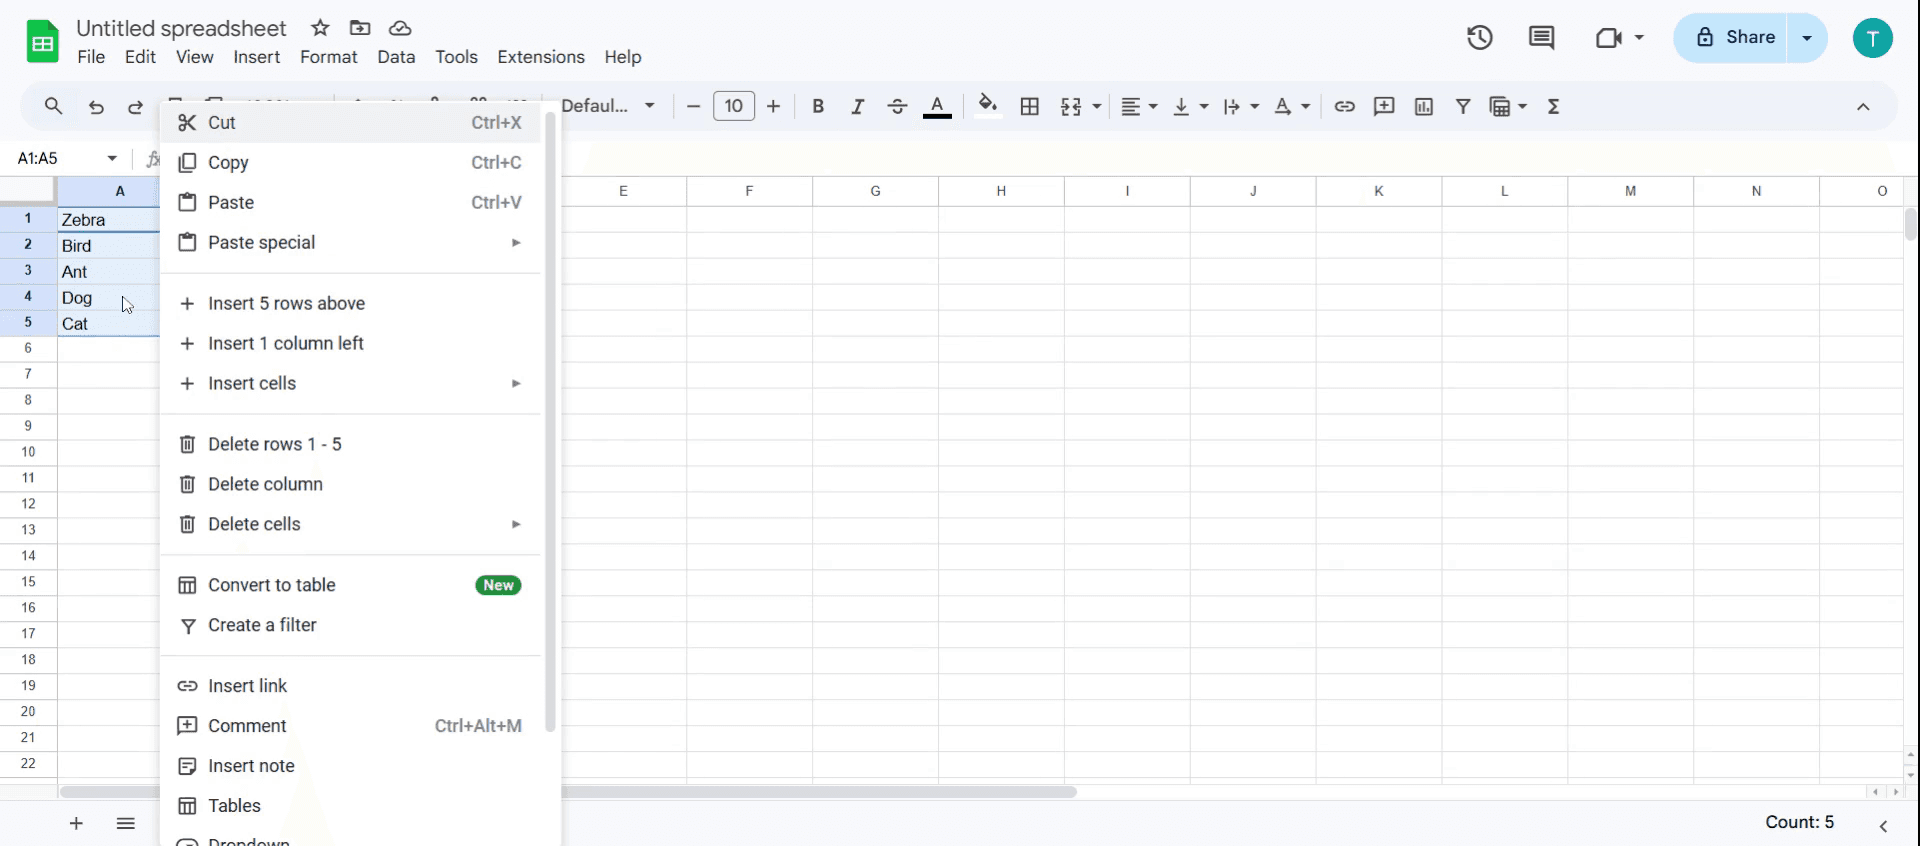
Option 2: Right-click on the selected cells, choose View more cell actions, and click Protect range.
3. Set your permissions:
Show a warning before editing: This gives a gentle heads-up to anyone who tries to change the cells.
Restrict editing: Limit access so that only you or selected collaborators can make changes.
Add a description (optional): Adding a short note can help explain what the locked range is for especially helpful if you have several protected sections.
4. Apply the protection:
Click Done, and your settings will take effect.
Now, whenever someone tries to edit those locked cells, they'll either get a warning or be blocked completely depending on the settings you chose.
Step-by-Step Guide: How To Lock Cells In Google Sheets
Step 1
Select the specific cells or range of cells you wish to lock
Step 2
Right-click on the selected cells, and a pop-up menu will appear.
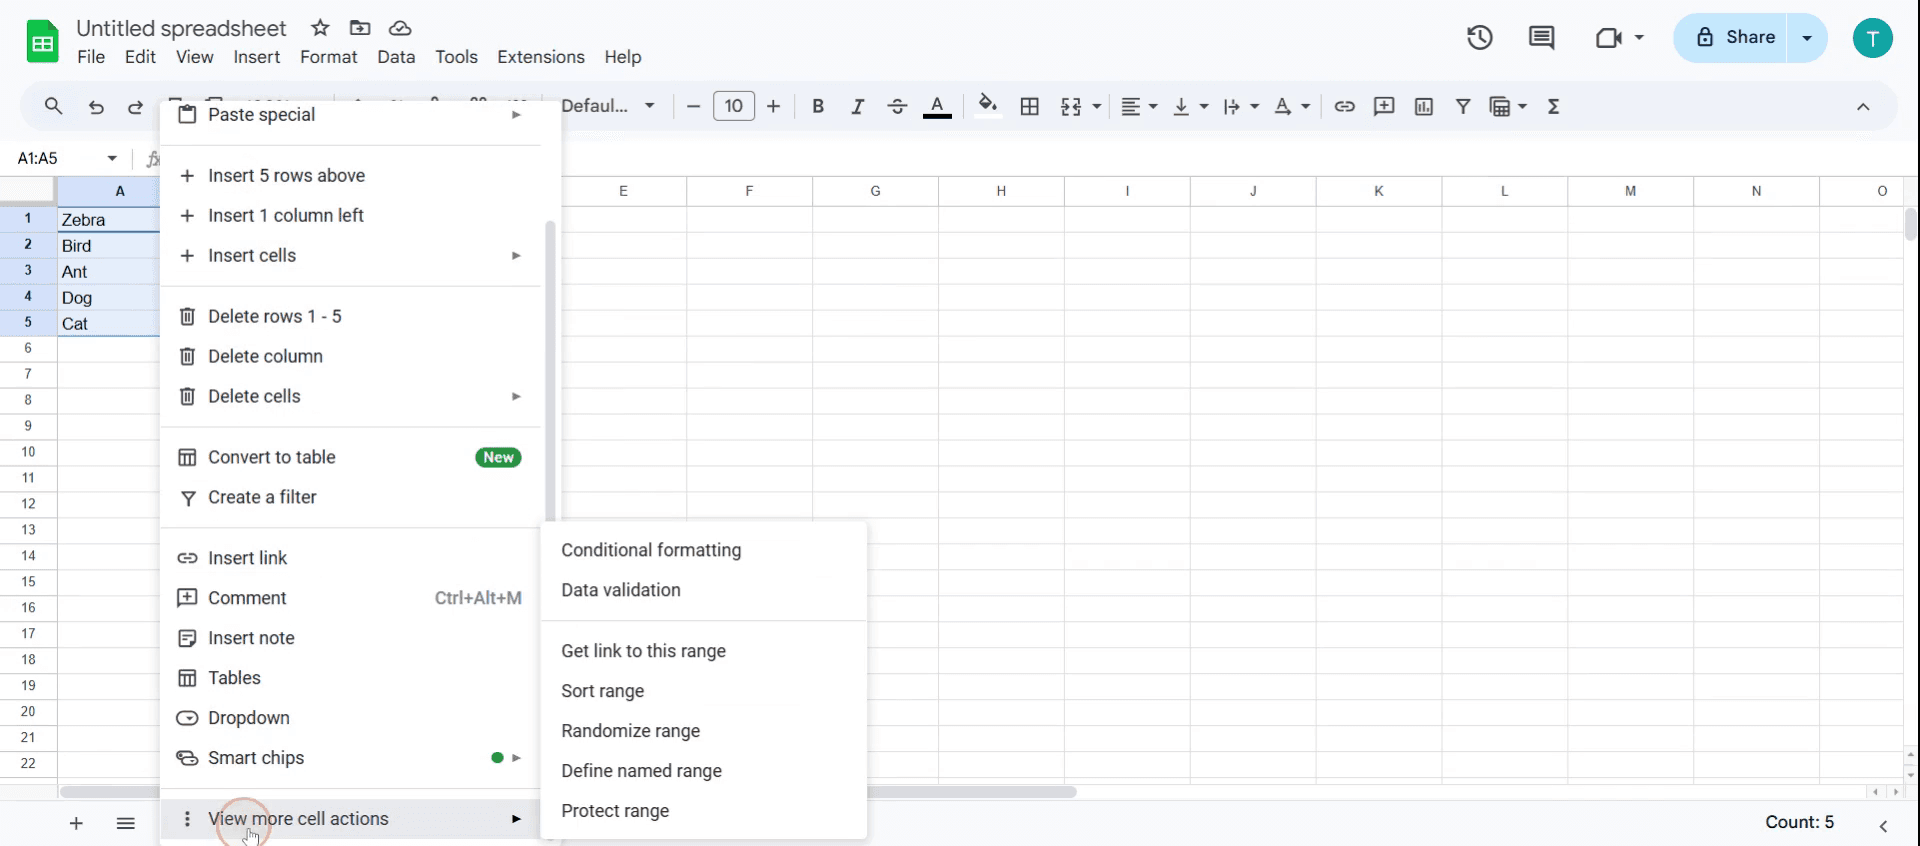
Step 3
Scroll down in the pop-up menu to find the View more cell actions option. Click on it
Step 4
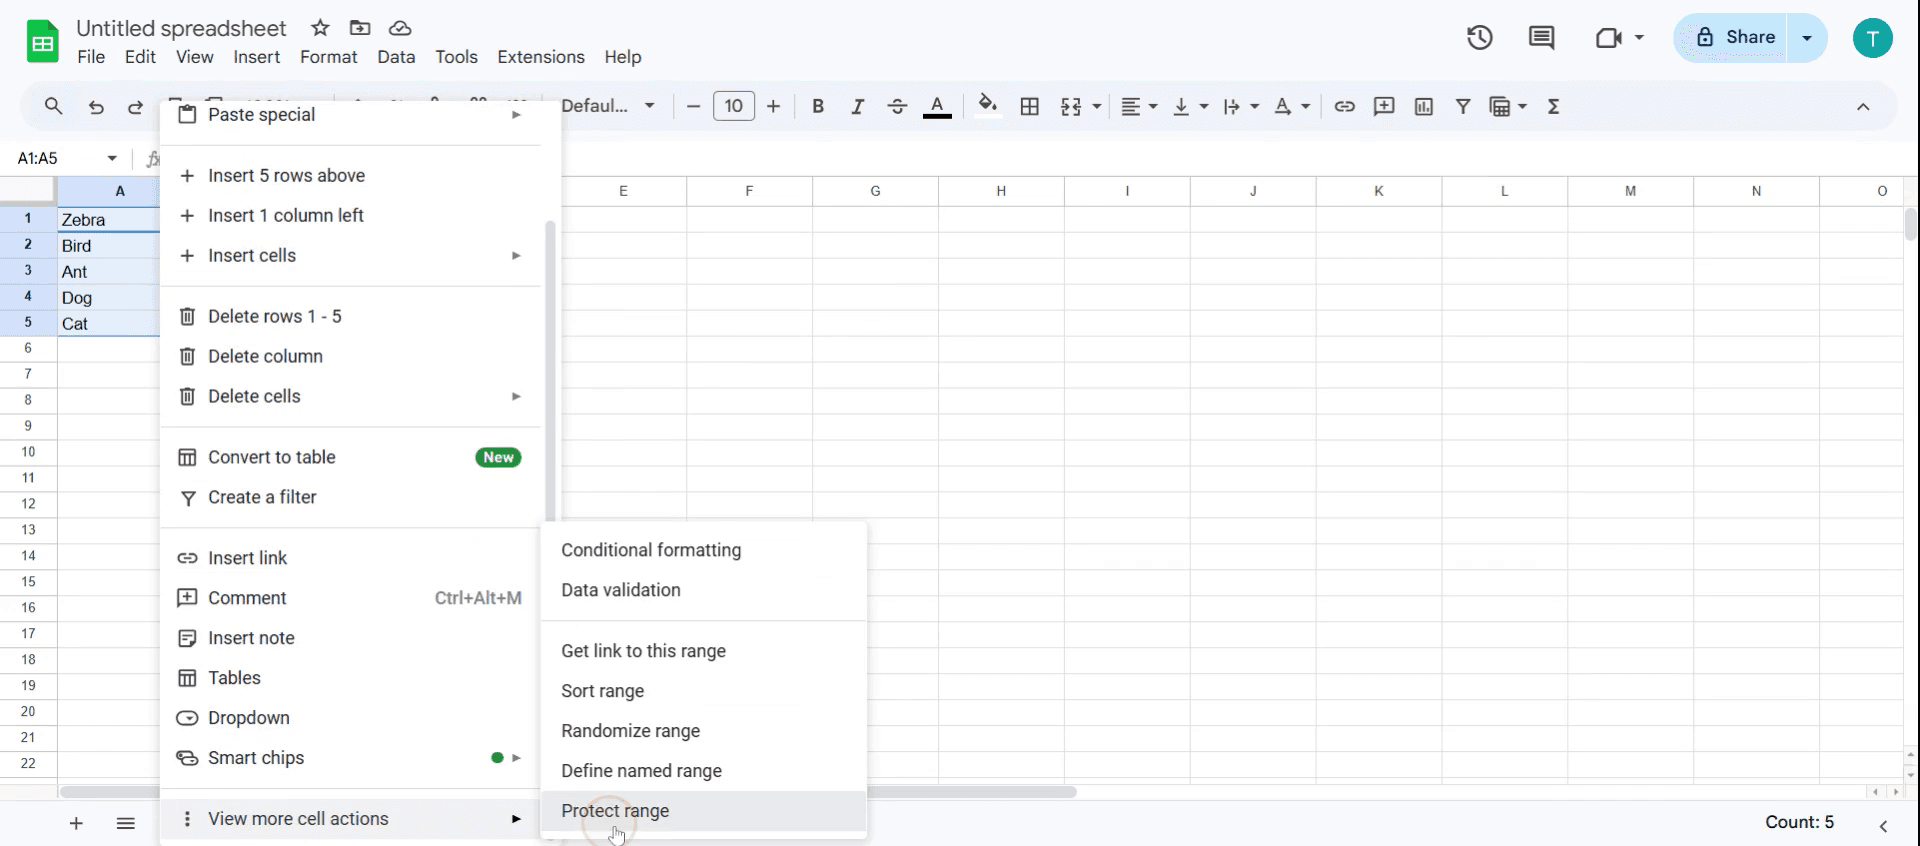
Select Protect range from the options.
Step 5
This will open the Protected sheets and ranges dialog box.
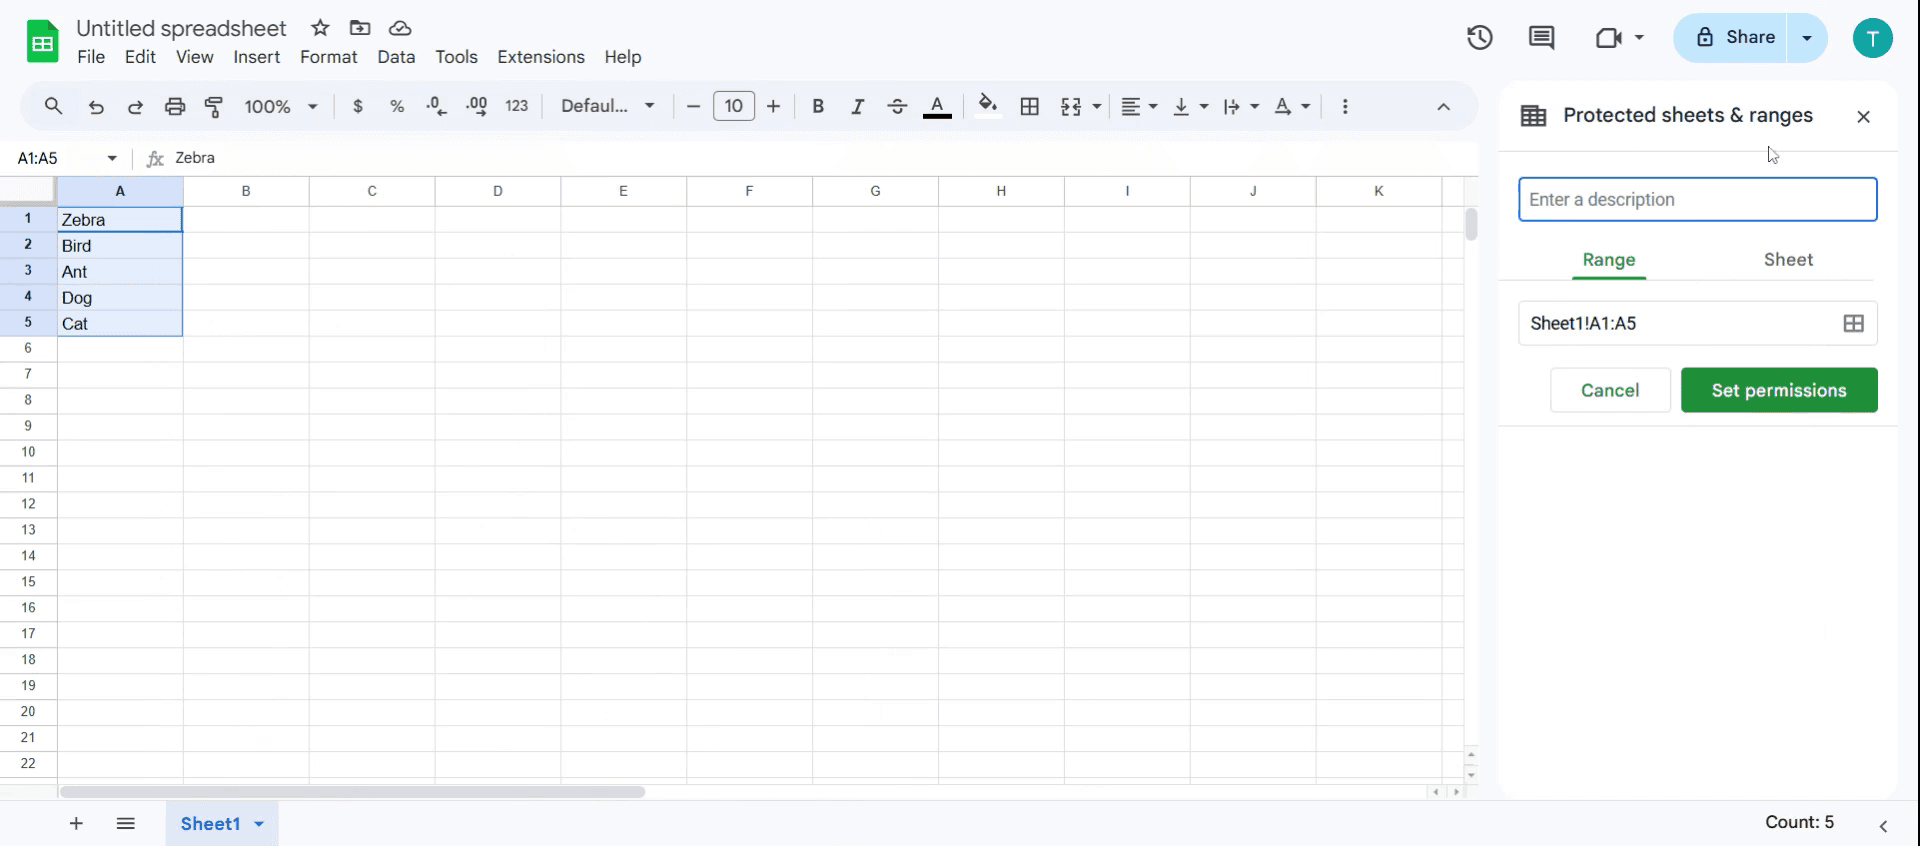
Step 6
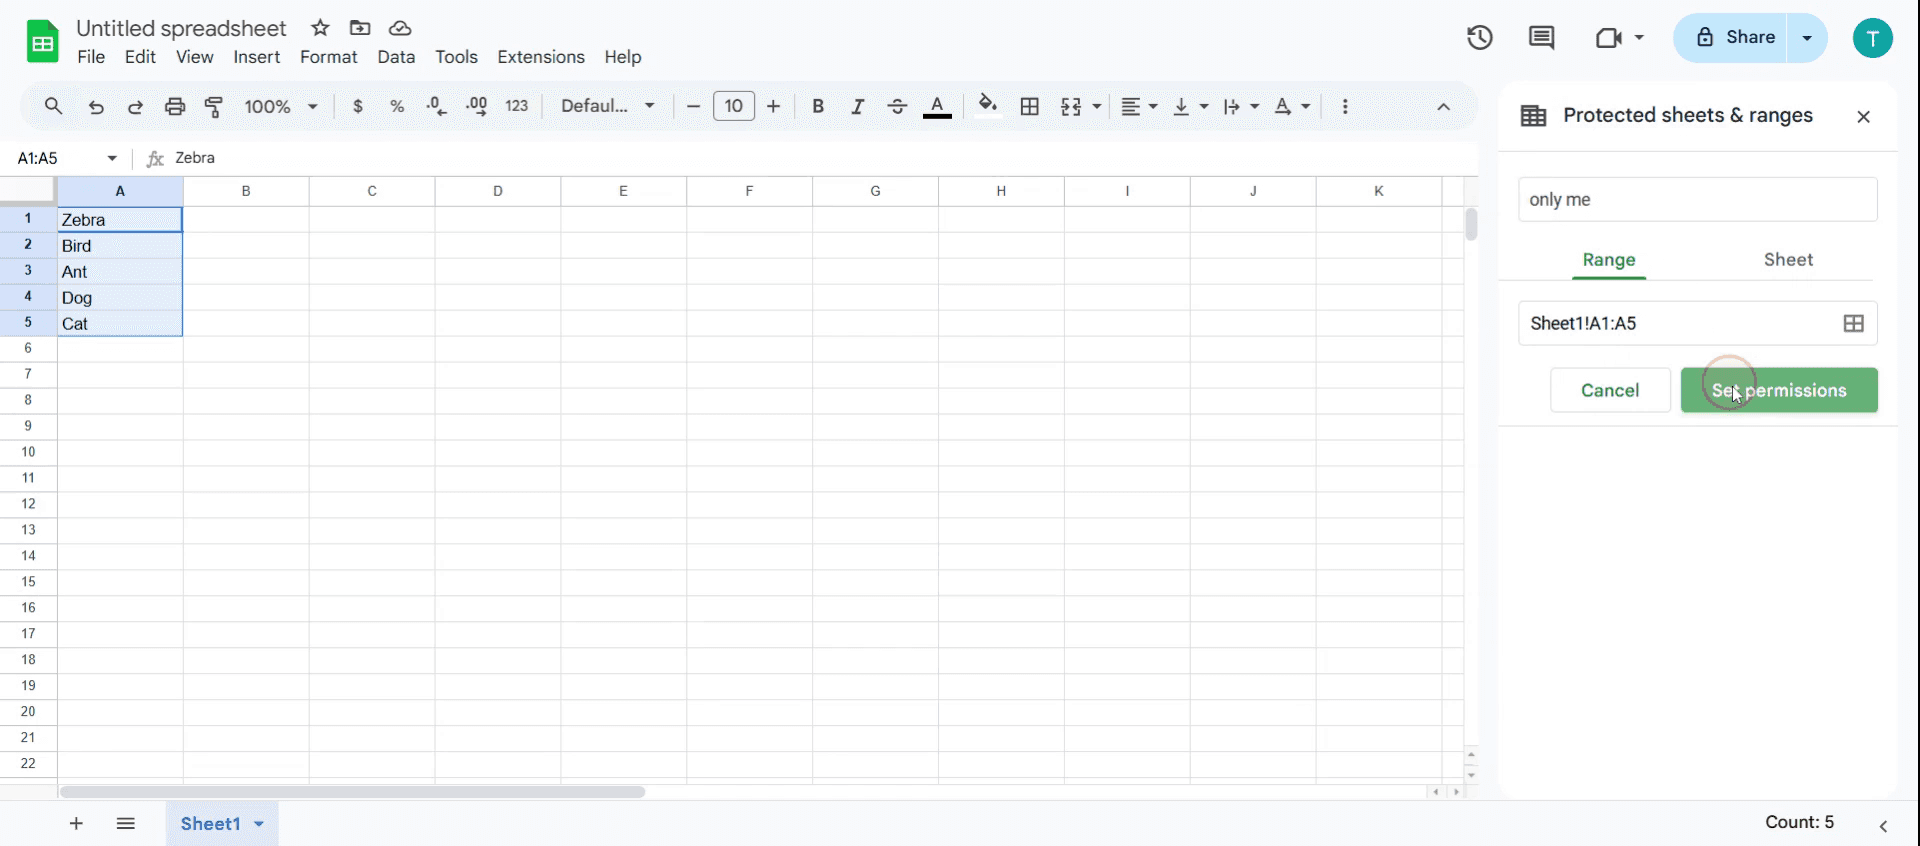
In the description field, enter explanation for the protection.

Step 7
Click Set permissions to configure who can edit the range
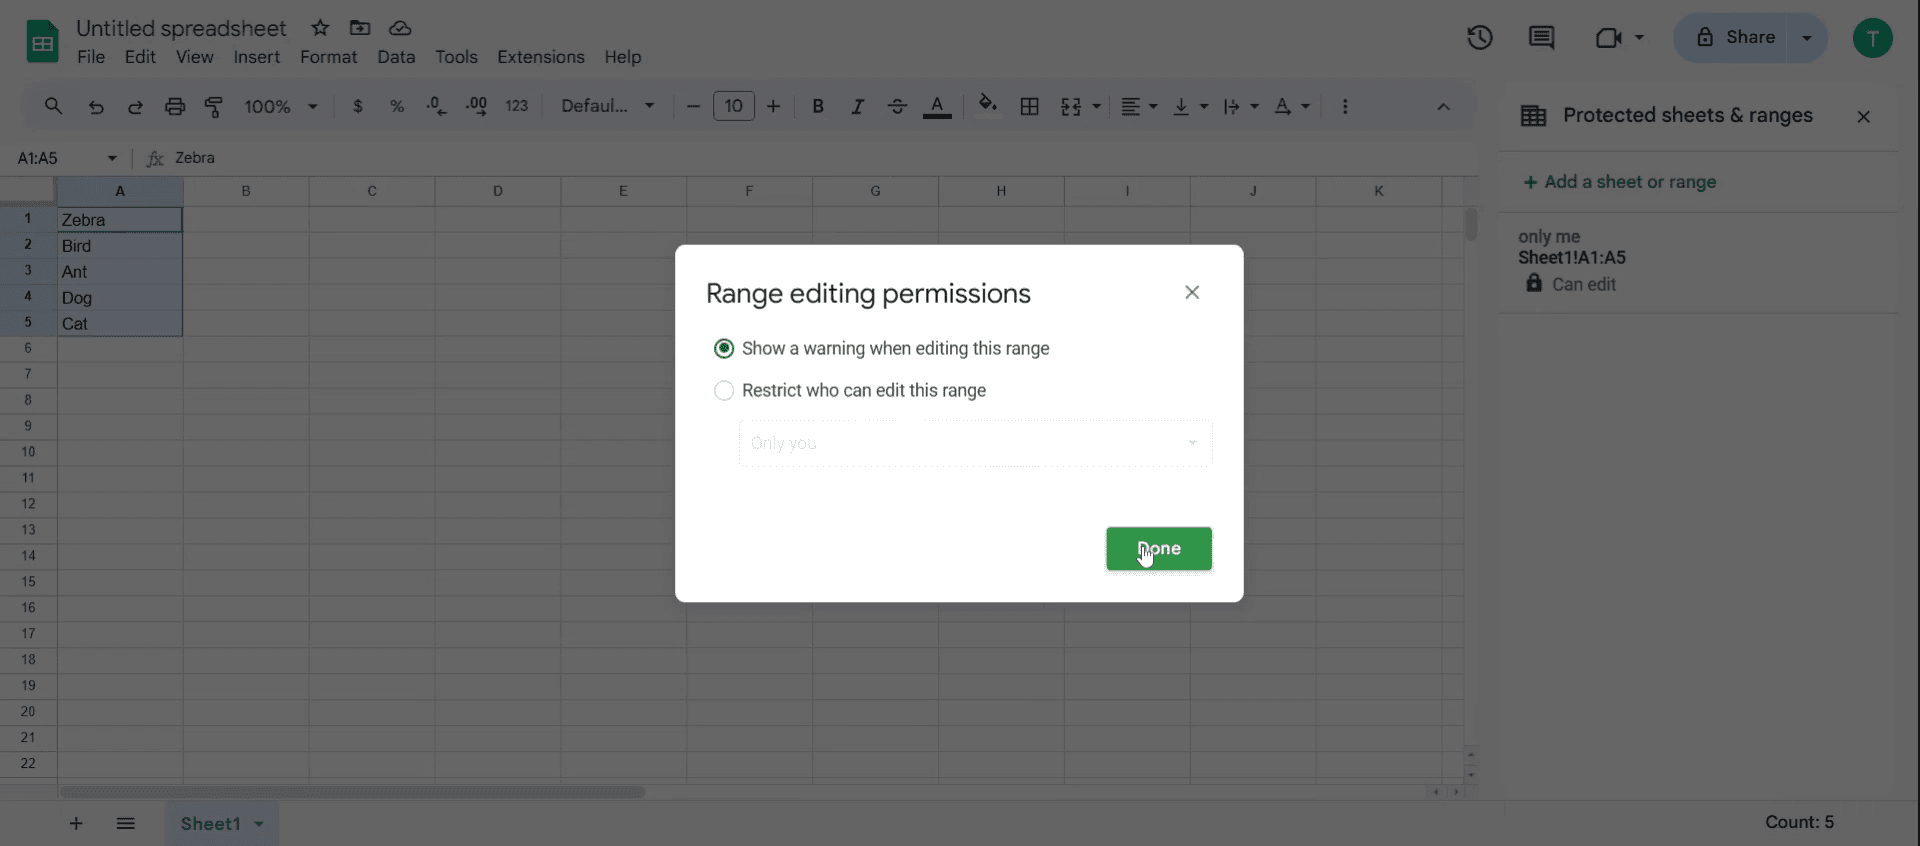
Step 8
You will see options to either Restrict who can edit this range or Show a warning when editing this range. Select the option based on your requirement.
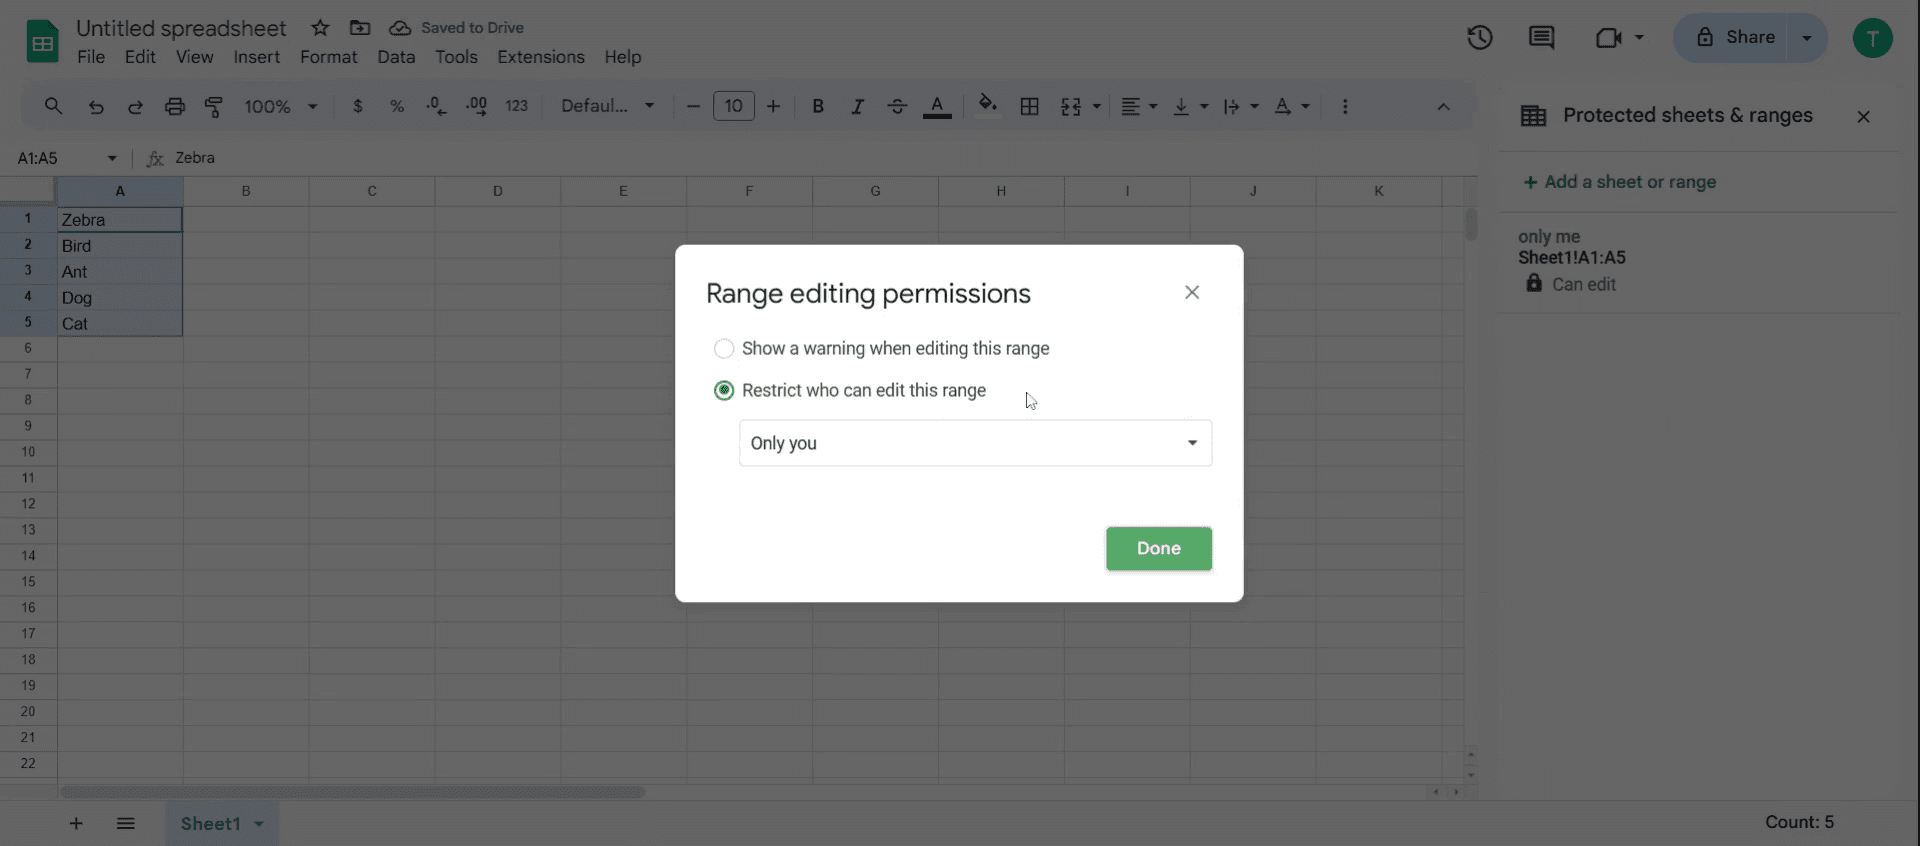
Step 9
And then click Done.
Pro tips for to lock cells in Google Sheets
Use range protection for specific cells – Instead of locking the entire sheet, go to Data > Protect sheets and ranges to lock only selected cells.
Set different permission levels – Assign View-Only, Comment, or Edit Access to specific users to control who can modify locked cells.
Combine data validation with locking – Use data validation rules alongside locked cells to prevent incorrect data entry without restricting access completely.
Common pitfalls and how to avoid them
Forgetting to apply permissions – Simply locking cells isn’t enough ensure proper sharing settings to prevent unauthorized edits.
Locking entire sheets unnecessarily – Instead of restricting the whole sheet, use range protection to allow flexibility for other users.
Not notifying collaborators – Users may get confused if they can't edit locked cells, so communicate restrictions beforehand.
Common FAQs for locking cells in Google Sheets
How do I allow some users to edit locked cells while restricting others? After locking a range or sheet, click Set permissions. Choose Custom and add specific users who can edit the range. Click Done to apply the changes.
How can I unlock locked cells in Google Sheets? Click Data > Protect sheets and ranges. Select the locked range or sheet. Click the Trash icon to remove protection. The cells will now be editable by anyone with editing access.
What happens when someone tries to edit a locked cell? If a user without permission tries to edit a locked cell, they will see a warning message saying they don’t have permission. If they need access, they can request edit access from the owner.
How to screen record on mac?
To screen record on a Mac, you can use Trupeer AI. It allows you to capture the entire screen and provides AI capabilities such as adding AI avatars, add voiceover, add zoom in and out in the video. With trupeer’s AI video translation feature, you can translate the video into 30+ languages.How to add an AI avatar to screen recording?
To add an AI avatar to a screen recording, you'll need to use an AI screen recording tool. Trupeer AI is an AI screen recording tool, which helps you create videos with multiple avatars, also helps you in creating your own avatar for the video.How to screen record on windows?
To screen record on Windows, you can use the built-in Game Bar (Windows + G) or advanced AI tool like Trupeer AI for more advanced features such as AI avatars, voiceover, translation etc.How to add voiceover to video?
To add voiceover to videos, download trupeer ai chrome extension. Once signed up, upload your video with voice, choose the desired voiceover from trupeer and export your edited video.How do I Zoom in on a screen recording?
To zoom in during a screen recording, use the zoom effects in Trupeer AI which allows you to zoom in and out at specific moments, enhancing the visual impact of your video content.
Suggested Reads
Technical Documentation Generator
How to Turn an Image into a Coloring Page in Canva
How to Print Double Sided on Canva
Related Tutorials

