
Como definir o tempo das animações no Canva – Definir durações personalizadas
Aprenda a temporizar animações no Canva ajustando a hora de início, a duração e a sequência usando o editor de linha temporal. Siga este tutorial simples e crie guias com o Trupeer.
Este documento oferece um guia completo sobre a criação e a temporização de animações no Canva.
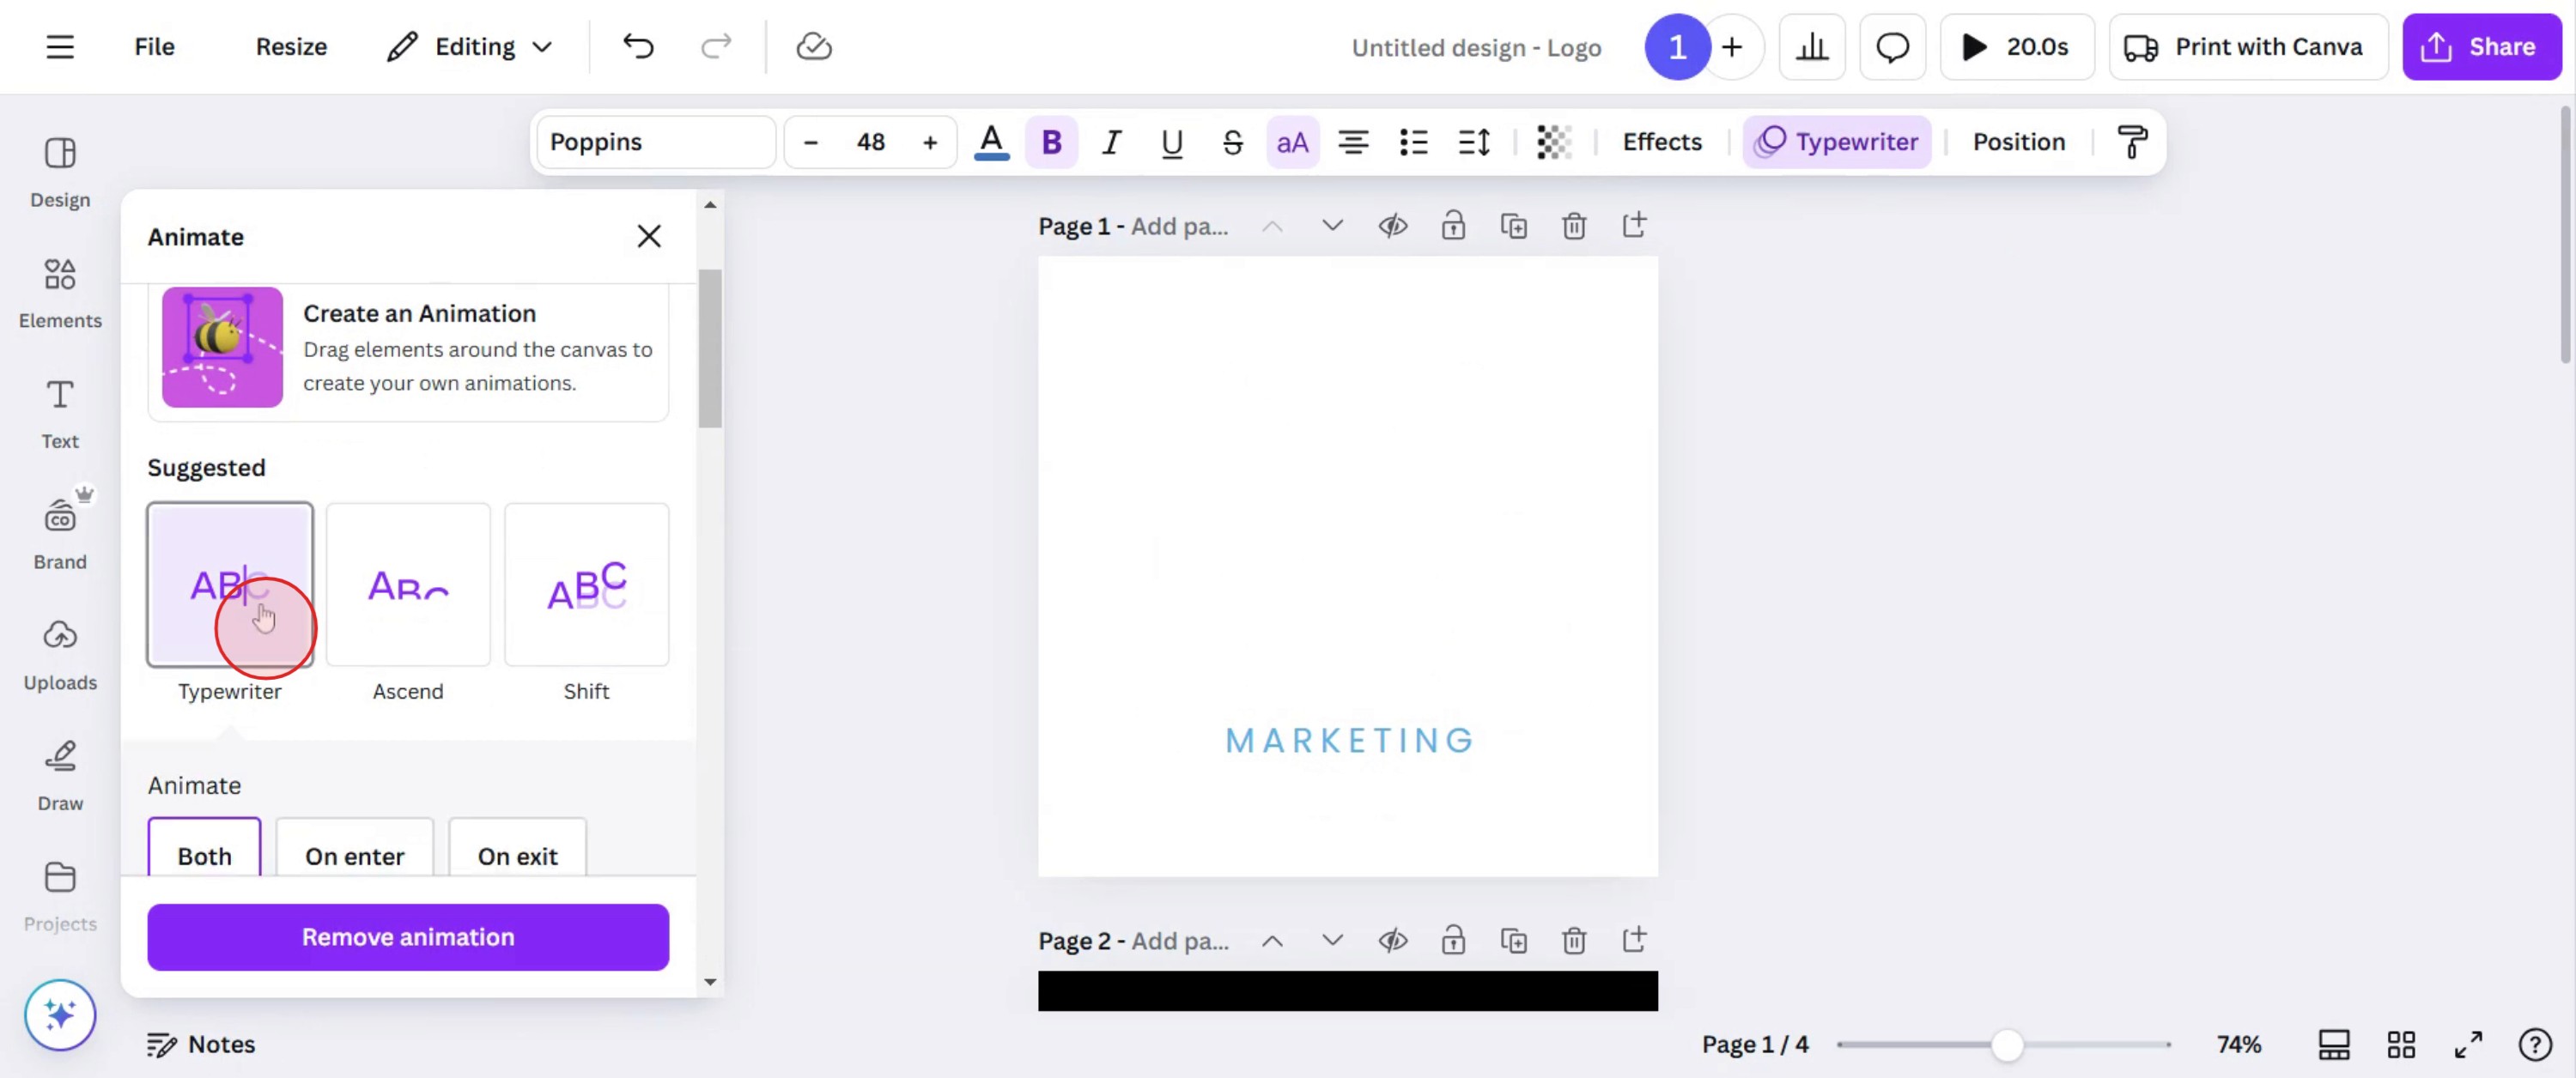
Siga estes passos simples para aplicar animações ao texto de forma eficaz, personalizar estilos de animação e ajustar a velocidade da animação, elevando os seus projetos de design com elementos visuais dinâmicos.
Se quiser mais controlo sobre a forma como as animações são reproduzidas no Canva, pode personalizar o tempo de elementos individuais e das transições de página. O Canva permite-lhe afinar quando as animações começam e quanto tempo duram usando a funcionalidade "Mostrar temporização".
Guia passo a passo:
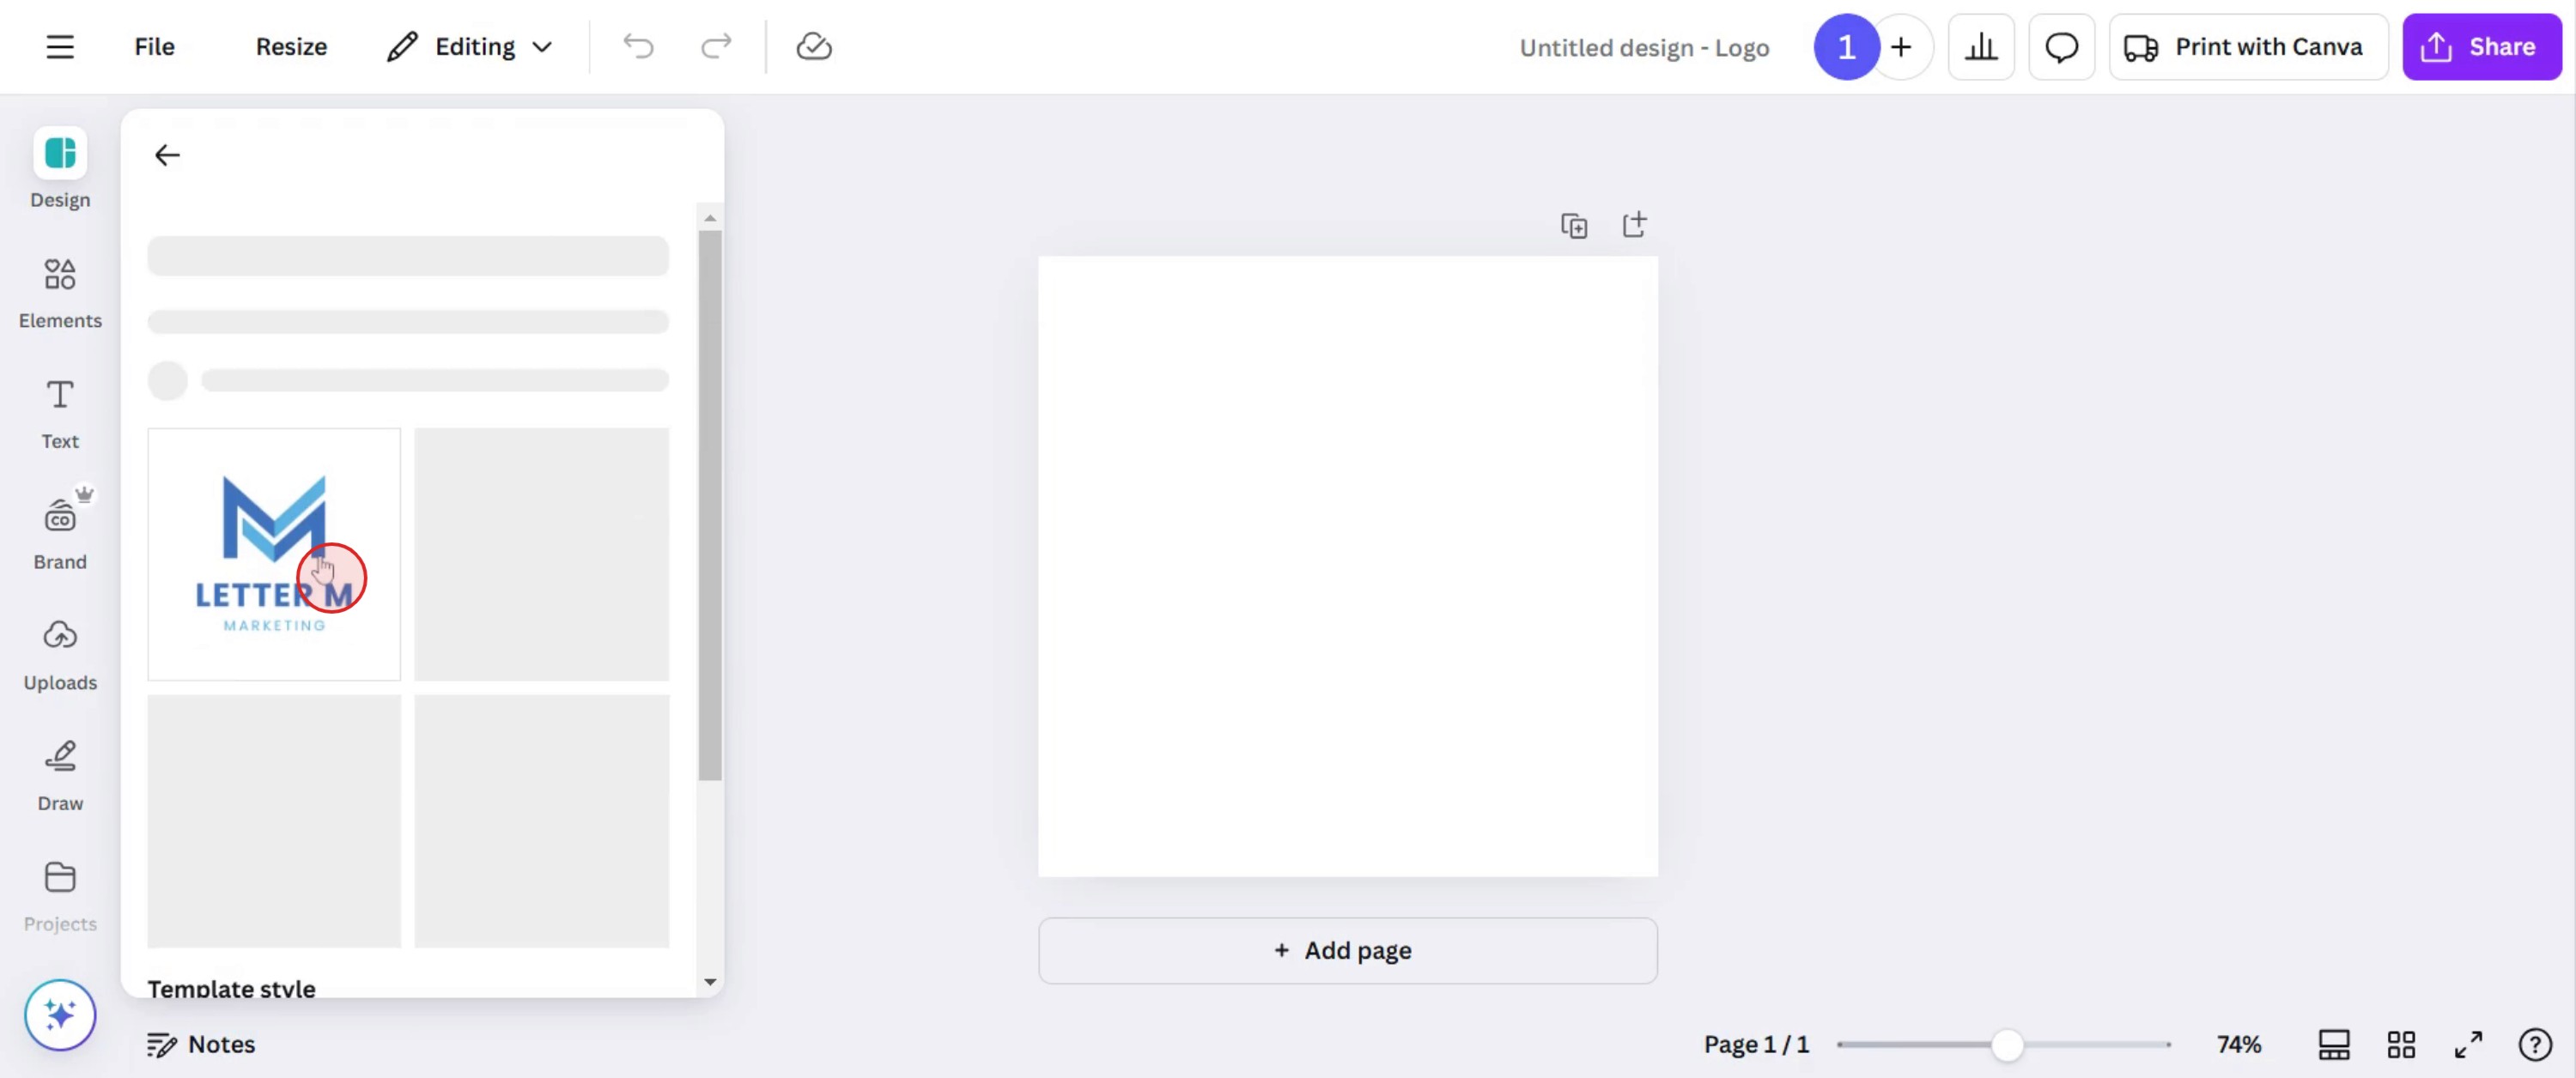
Abra o seu design
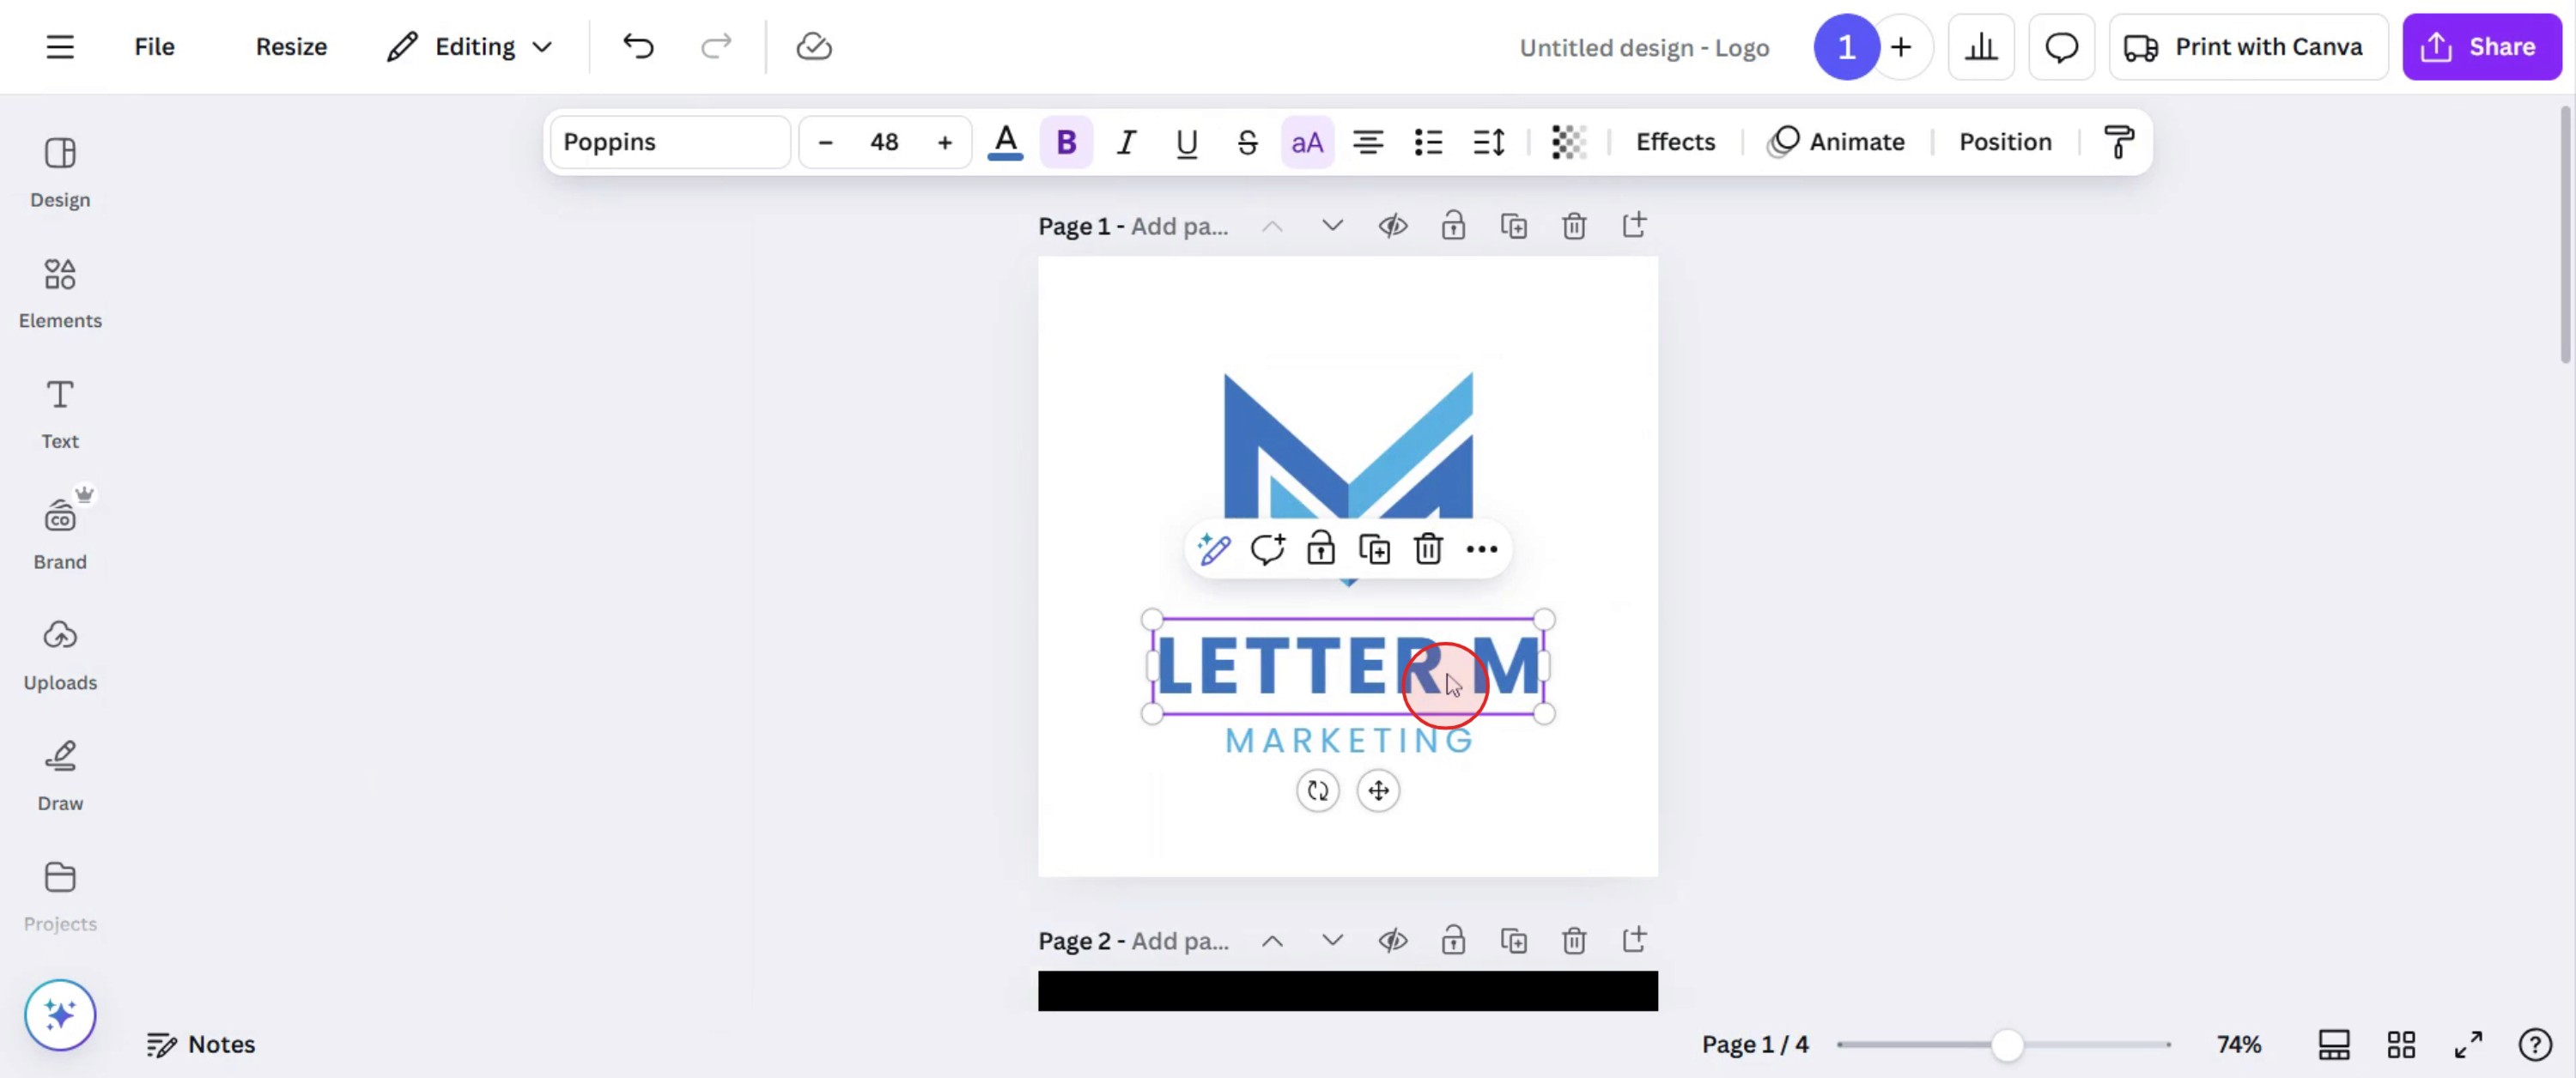
Comece por abrir o projeto do Canva que contém a animação que pretende ajustar.Selecione o elemento animado
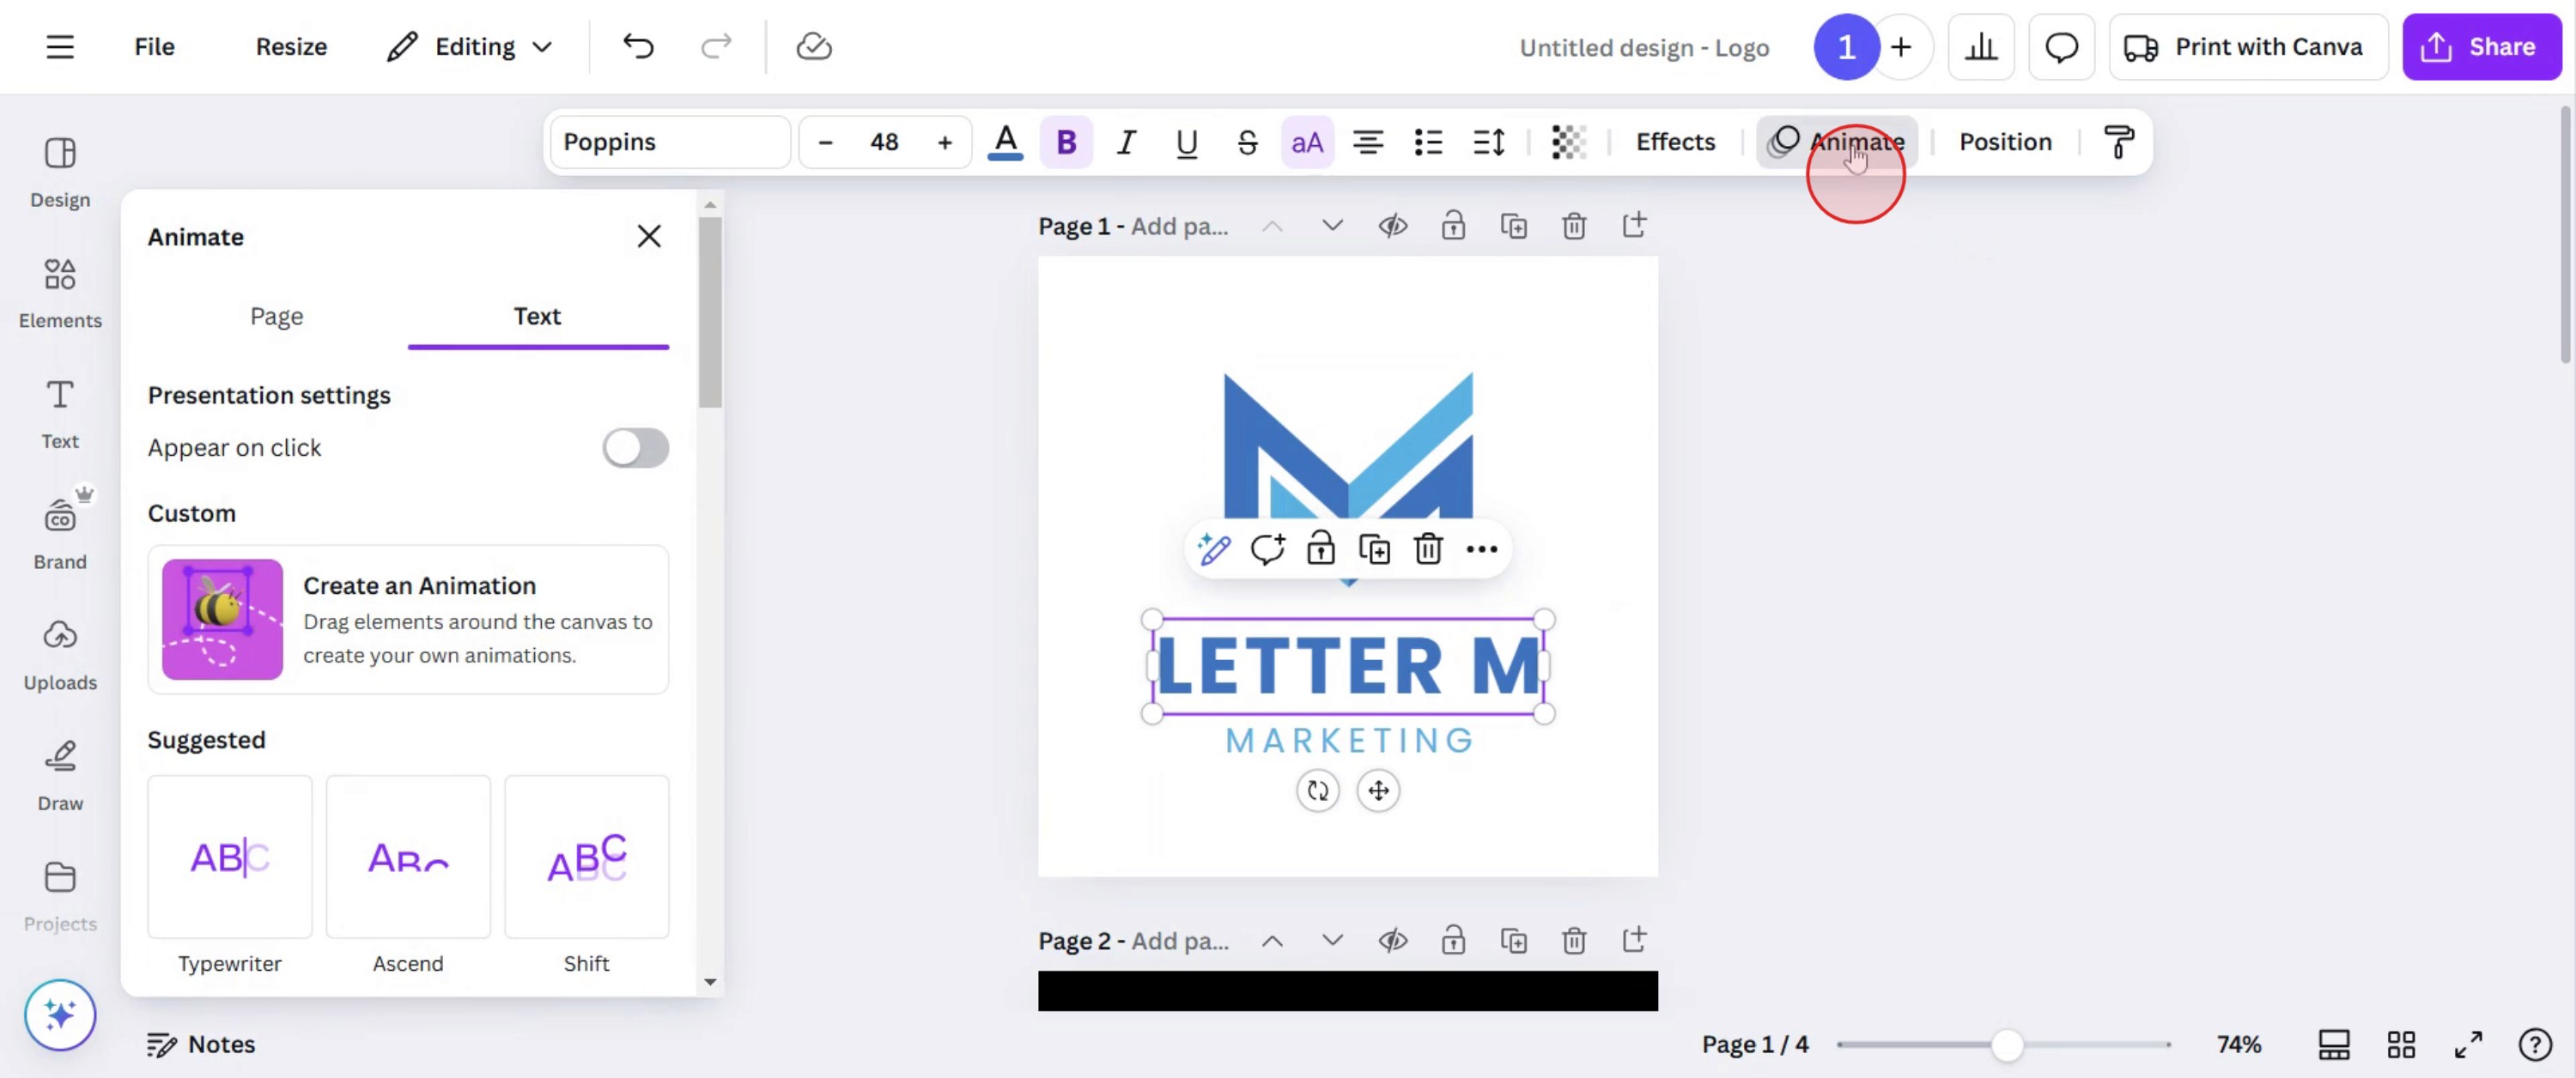
Clique no texto, imagem ou objeto que já tenha uma animação aplicada.Aceda ao painel de temporização
Clique nos três pontos (Mais) ou clique com o botão direito no objeto.
Selecione “Mostrar temporização” no menu.
Uma barra de linha temporal aparecerá na parte inferior do ecrã.
Ajuste a temporização da animação
Verá alças brancas de corte em ambos os lados da barra do elemento animado na linha temporal.
Arraste as alças para definir a hora de início e a hora de fim da animação.
Isto permite-lhe controlar quão cedo a animação aparece e durante quanto tempo dura.
Ajuste a temporização da transição da página (opcional)
Clique no número da página na parte inferior.
Escolha “Transição”, e depois ajuste o controlo deslizante da duração para controlar quão rapidamente ou lentamente a página avança para a seguinte.
Reordenar animações (opcional)
Se existirem vários elementos animados, pode arrastar e reordenar as respetivas barras na linha temporal para alterar a sequência.
Pré-visualize e aplique
Clique no botão Reproduzir para pré-visualizar a temporização da sua animação.
Quando estiver satisfeito, as suas alterações serão guardadas automaticamente, ou pode clicar em Concluído para as aplicar.
Guia passo a passo: como temporizar animações no Canva
Passo 1
Selecione o design que pretende animar.
Passo 2
Clique ou selecione a parte do design que pretende animar.
Passo 3
Clique na opção Animação e explore estilos e efeitos de animação
Passo 4
Selecione o estilo pretendido que se adequa às suas necessidades e clique nele.
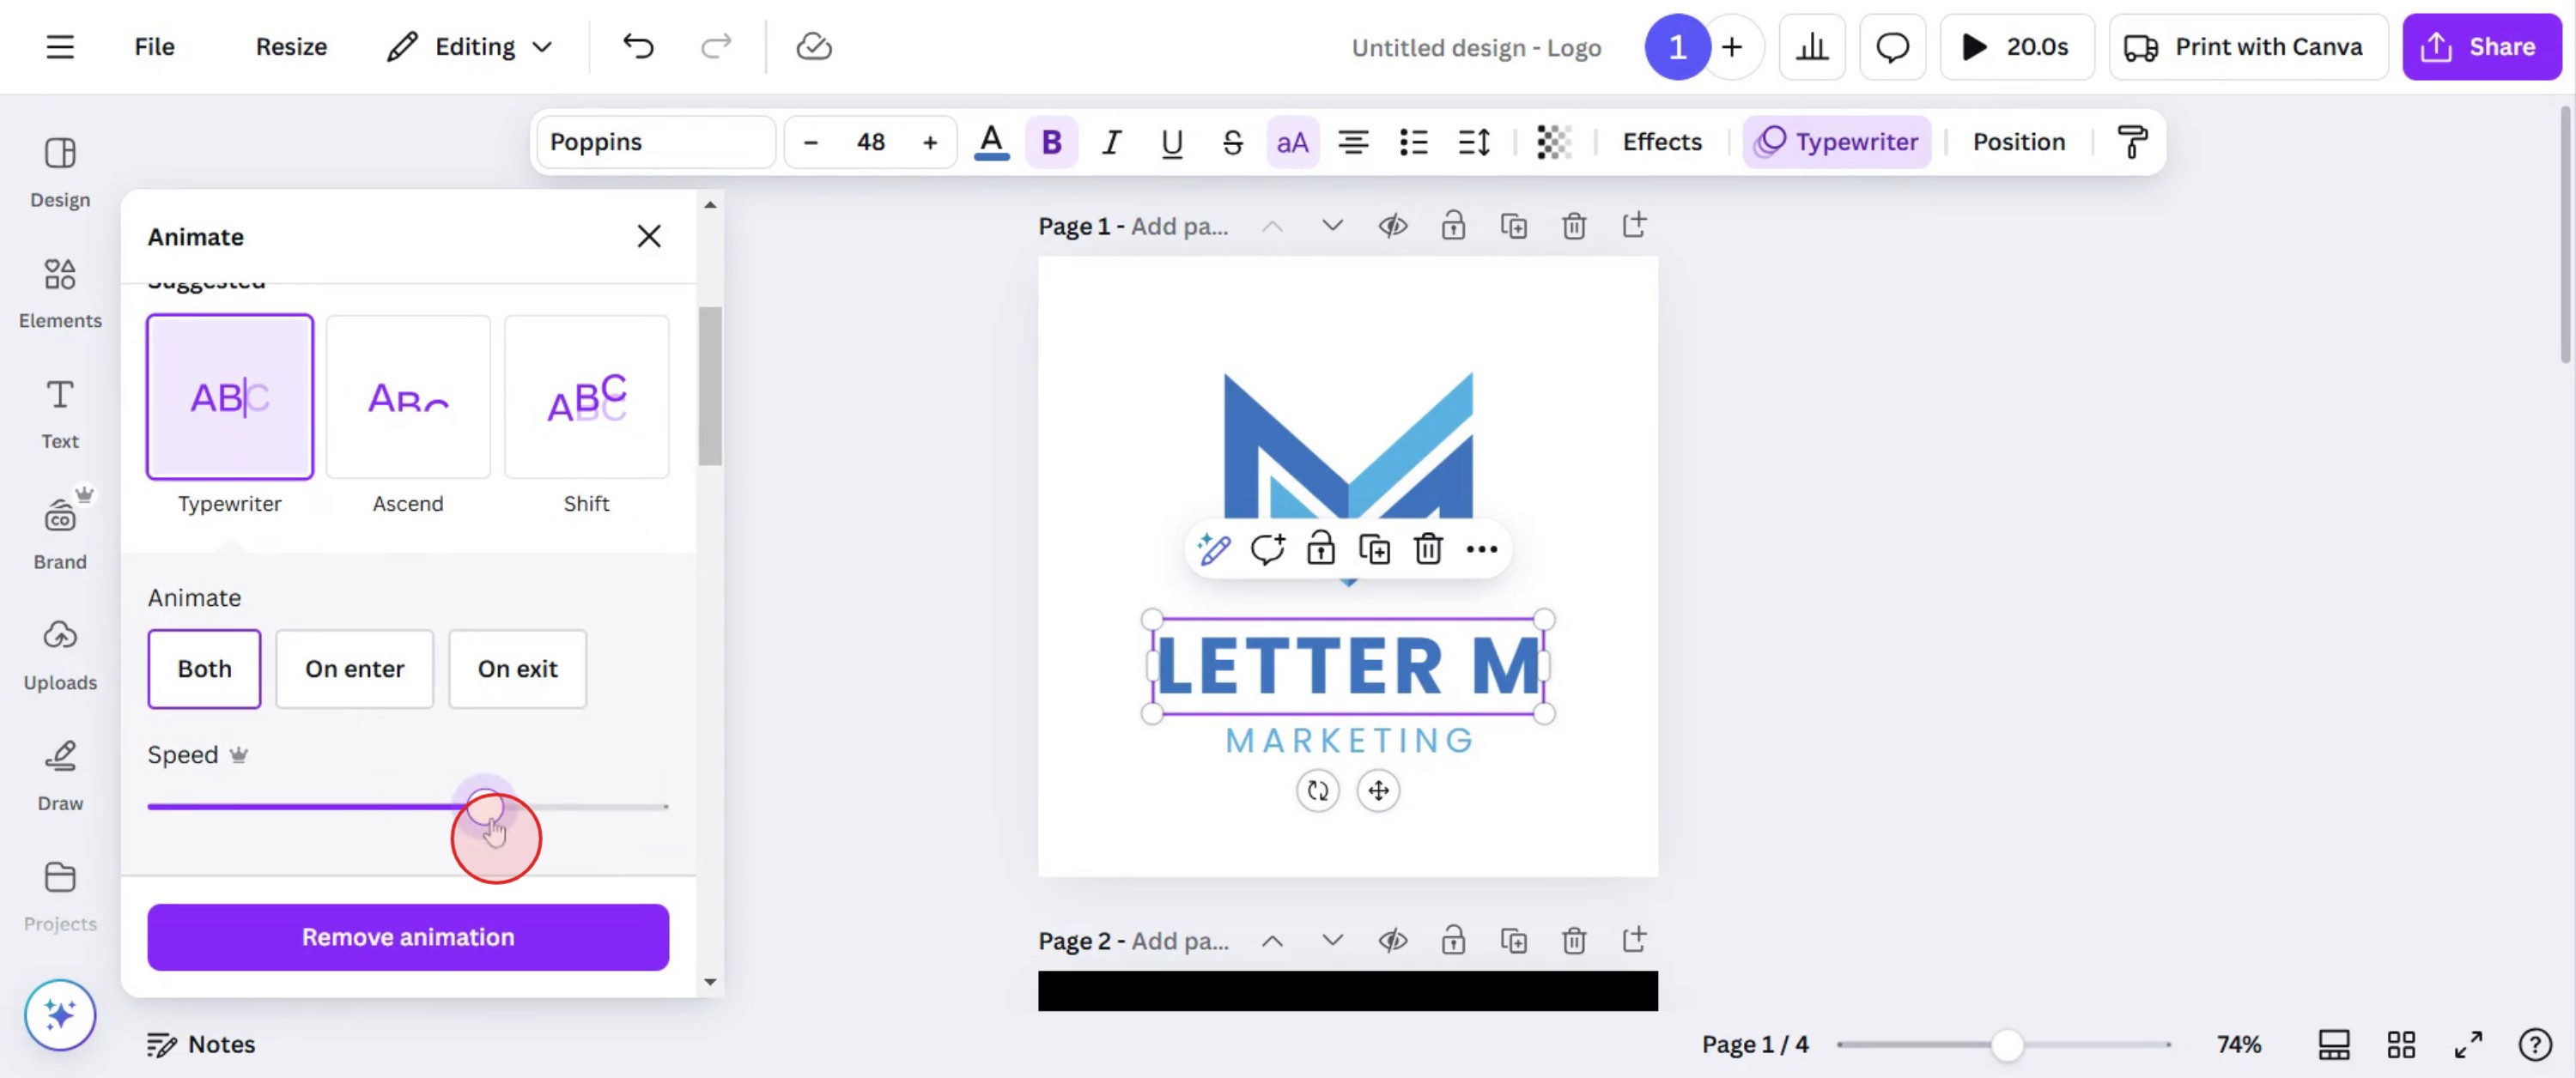
Passo 5
Ajuste a velocidade da animação, aumentando-a ou diminuindo-a, para se adequar às suas preferências.
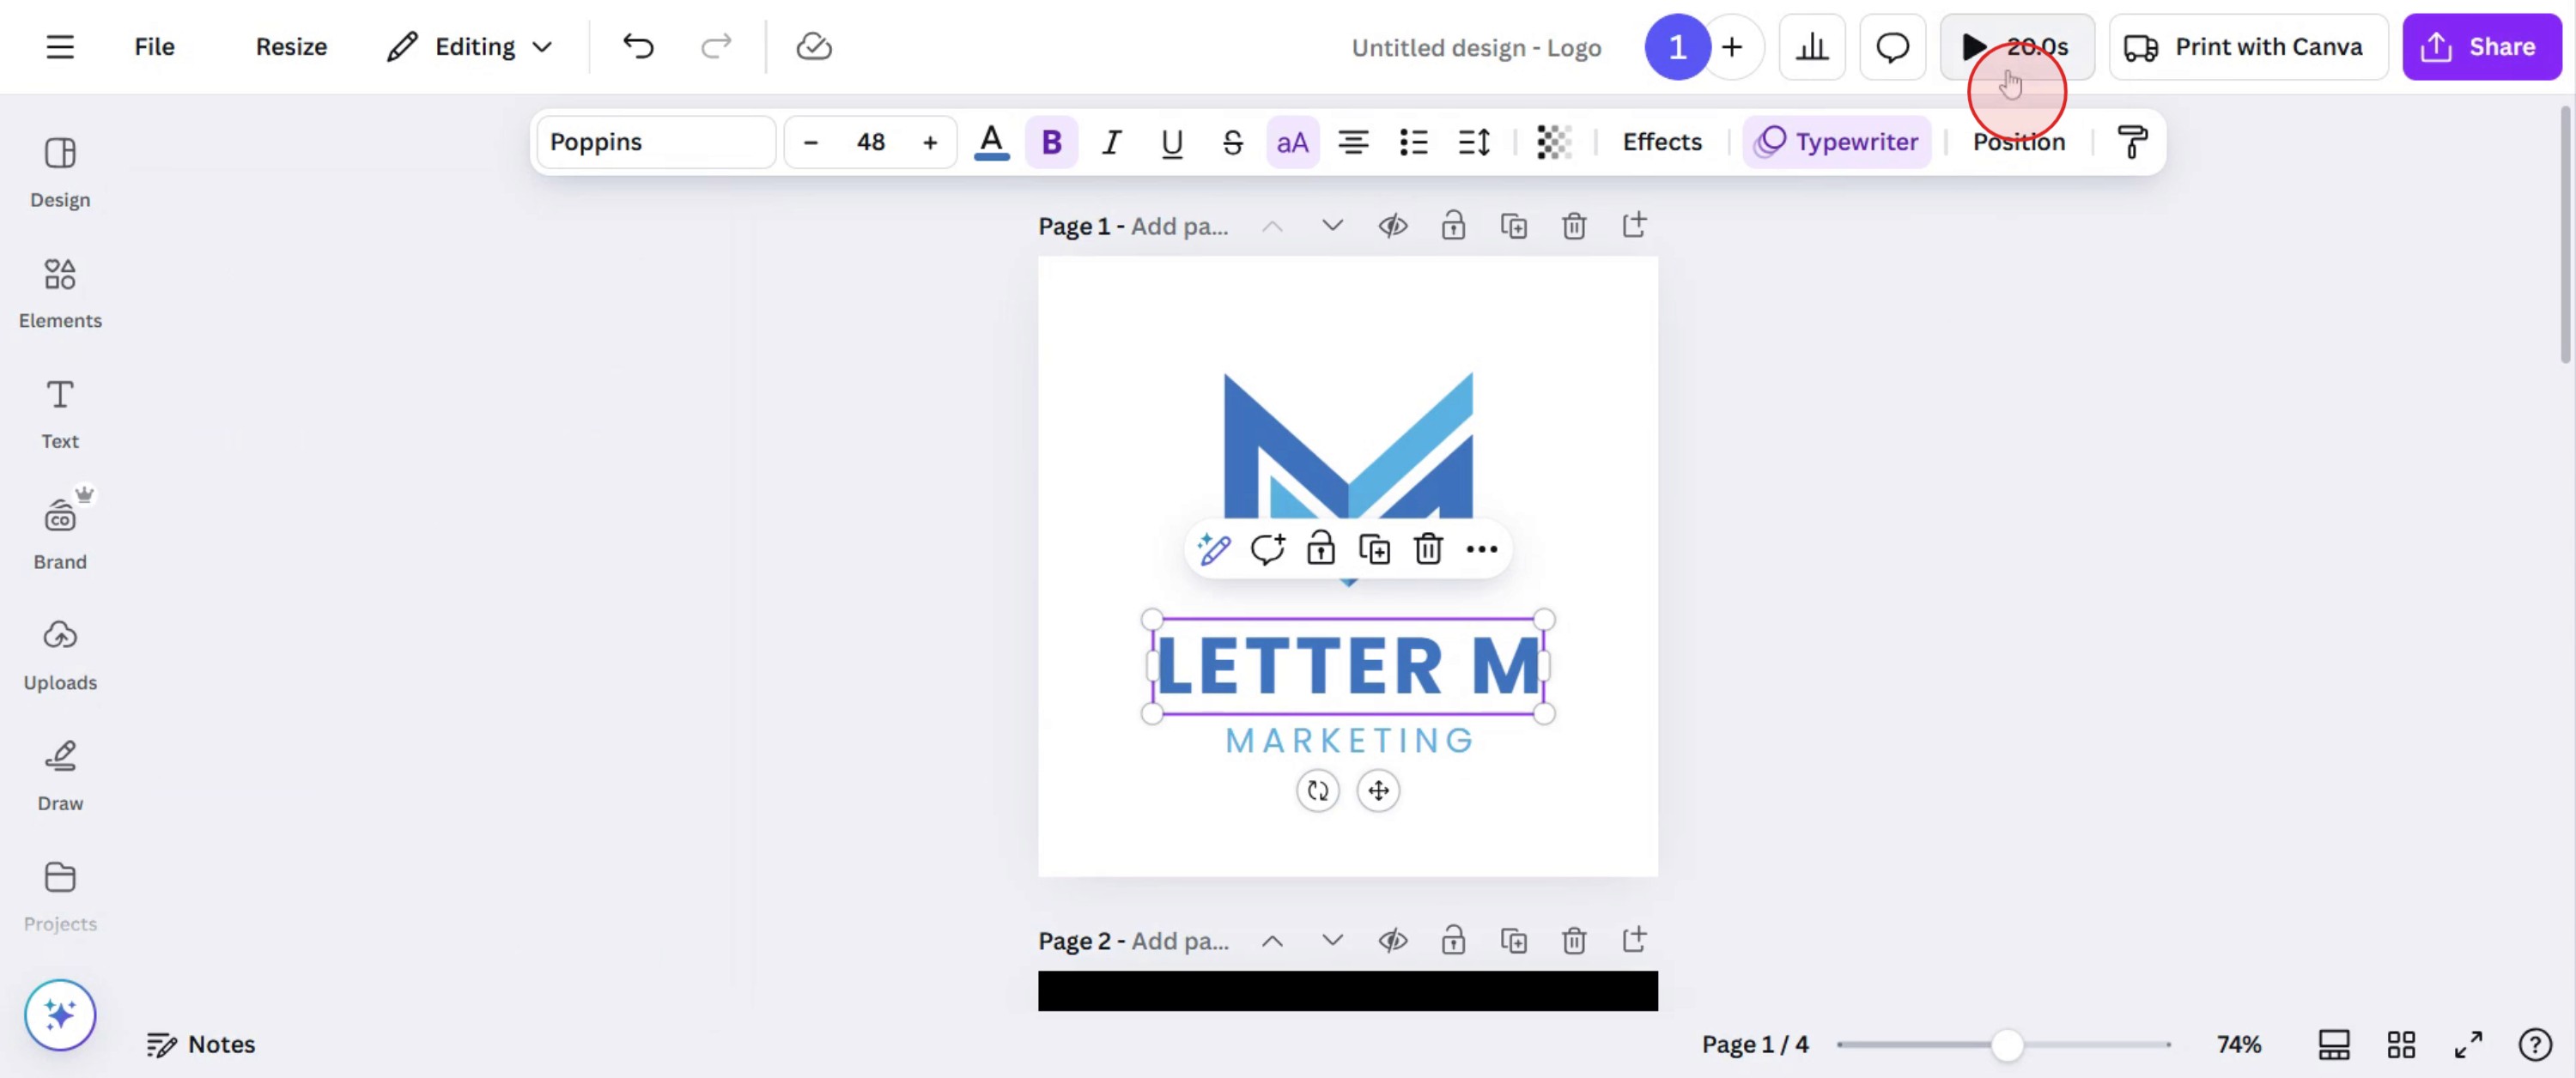
Passo 6
Quando estiver satisfeito com as definições da animação, pré-visualize a animação para garantir que corresponde às suas expectativas.
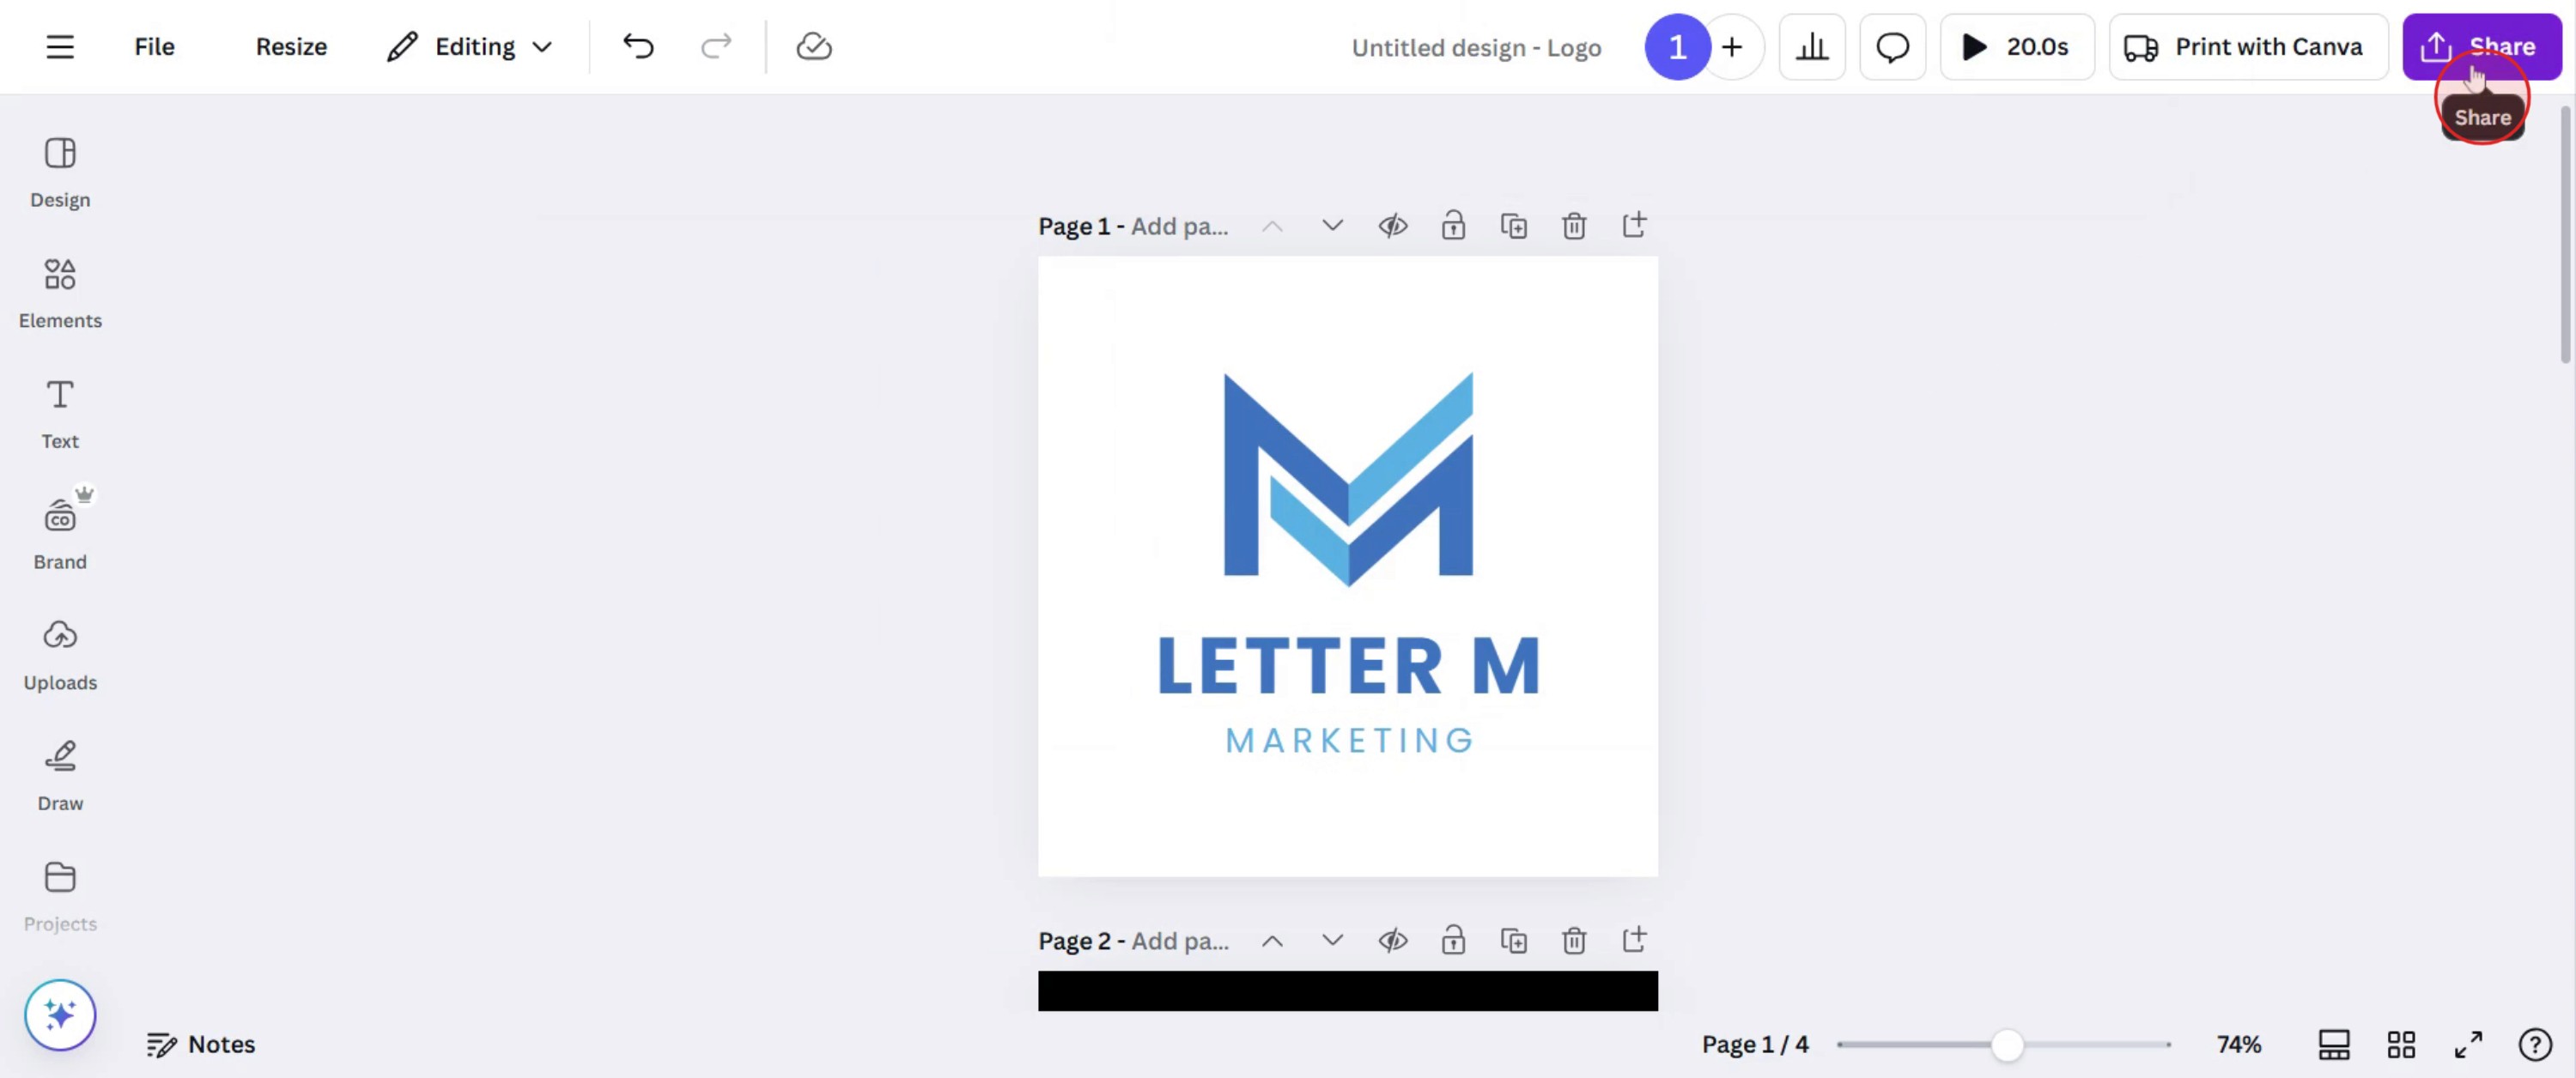
Passo 7
Se tudo estiver satisfatório, clique no botão Partilhar para partilhar o seu design concluído.
Dicas profissionais para cronometrar animações no Canva
Use o editor de cronologia para ajustar a duração de cada animação para transições suaves.
Mantenha as animações curtas e subtis para manter um aspeto profissional e evitar distrações.
Utilize a funcionalidade de Atraso para desfasar as animações e criar efeitos de movimento cativantes.
Erros comuns e como evitá-los ao cronometrar animações no Canva
Definir animações demasiado longas pode tornar o design lento; mantenha as durações entre 0,5 e 3 segundos.
Sobrepor demasiadas animações pode criar um efeito desordenado; use a sobreposição em camadas de forma estratégica.
Esquecer-se de pré-visualizar a animação final pode resultar em problemas de temporização indesejados; teste sempre antes de exportar.
Perguntas frequentes comuns sobre a temporização das animações no Canva
Posso personalizar a duração das animações no Canva?
Sim, pode ajustar a temporização usando o editor de linha temporal, arrastando a barra da animação para alterar a sua duração.Como posso atrasar uma animação no Canva?
Use a opção Atraso nas definições de animação para escalonar as animações e criar uma sequência fluida.Posso aplicar temporizações diferentes a várias animações num só design?
Sim, cada elemento animado pode ter a sua própria temporização e duração, permitindo efeitos de movimento únicos.Como gravar o ecrã num Mac?
Para gravar o ecrã num Mac, pode usar o Trupeer AI. Permite capturar o ecrã inteiro e disponibiliza capacidades de IA, como adicionar avatares de IA, adicionar locução e aplicar zoom in e out no vídeo. Com a funcionalidade de tradução de vídeo por IA da Trupeer, pode traduzir o vídeo para mais de 30 idiomas.Como adicionar um avatar de IA a uma gravação de ecrã?
Para adicionar um avatar de IA a uma gravação de ecrã, terá de usar uma ferramenta de gravação de ecrã com IA. O Trupeer AI é uma ferramenta de gravação de ecrã com IA, que o ajuda a criar vídeos com vários avatares e também o ajuda a criar o seu próprio avatar para o vídeo.Como gravar o ecrã no Windows?
Para gravar o ecrã no Windows, pode usar a Barra de Jogo integrada (Windows + G) ou uma ferramenta avançada de IA como o Trupeer AI, para funcionalidades mais avançadas, como avatares de IA, locução, tradução, etc.Como adicionar locução a um vídeo?
Para adicionar locução a vídeos, descarregue a extensão Chrome do trupeer ai. Depois de se registar, carregue o seu vídeo com voz, escolha a locução pretendida no Trupeer e exporte o seu vídeo editado.Como faço zoom in num registo de ecrã?
Para ampliar durante um registo de ecrã, use os efeitos de zoom no Trupeer AI, que permitem ampliar e reduzir em momentos específicos, melhorando o impacto visual do conteúdo do seu vídeo.
Leituras sugeridas
Gerador de documentação técnica
Software de base de conhecimento
Como desbloquear uma página no Canva
Como transformar uma imagem numa página para colorir no Canva
Tutoriais relacionados

