

Hoe u een map naar GitHub uploadt
Leer hoe je een map naar GitHub uploadt met de webinterface of Git-opdrachten om projectbestanden toe te voegen en repositories eenvoudig te beheren. Volg deze snelle tutorial met Trupeer.
Deze handleiding biedt een gestroomlijnd proces voor het toevoegen van een nieuwe map aan een GitHub-repository.
Volg de onderstaande stappen om naadloos een nieuwe map in de structuur van uw bestaande repository te integreren.
Stapsgewijze handleiding: hoe u een map naar GitHub uploadt
Stap 1
Ga naar de GitHub-repository waaraan u de map wilt toevoegen en klik erop.

Stap 2
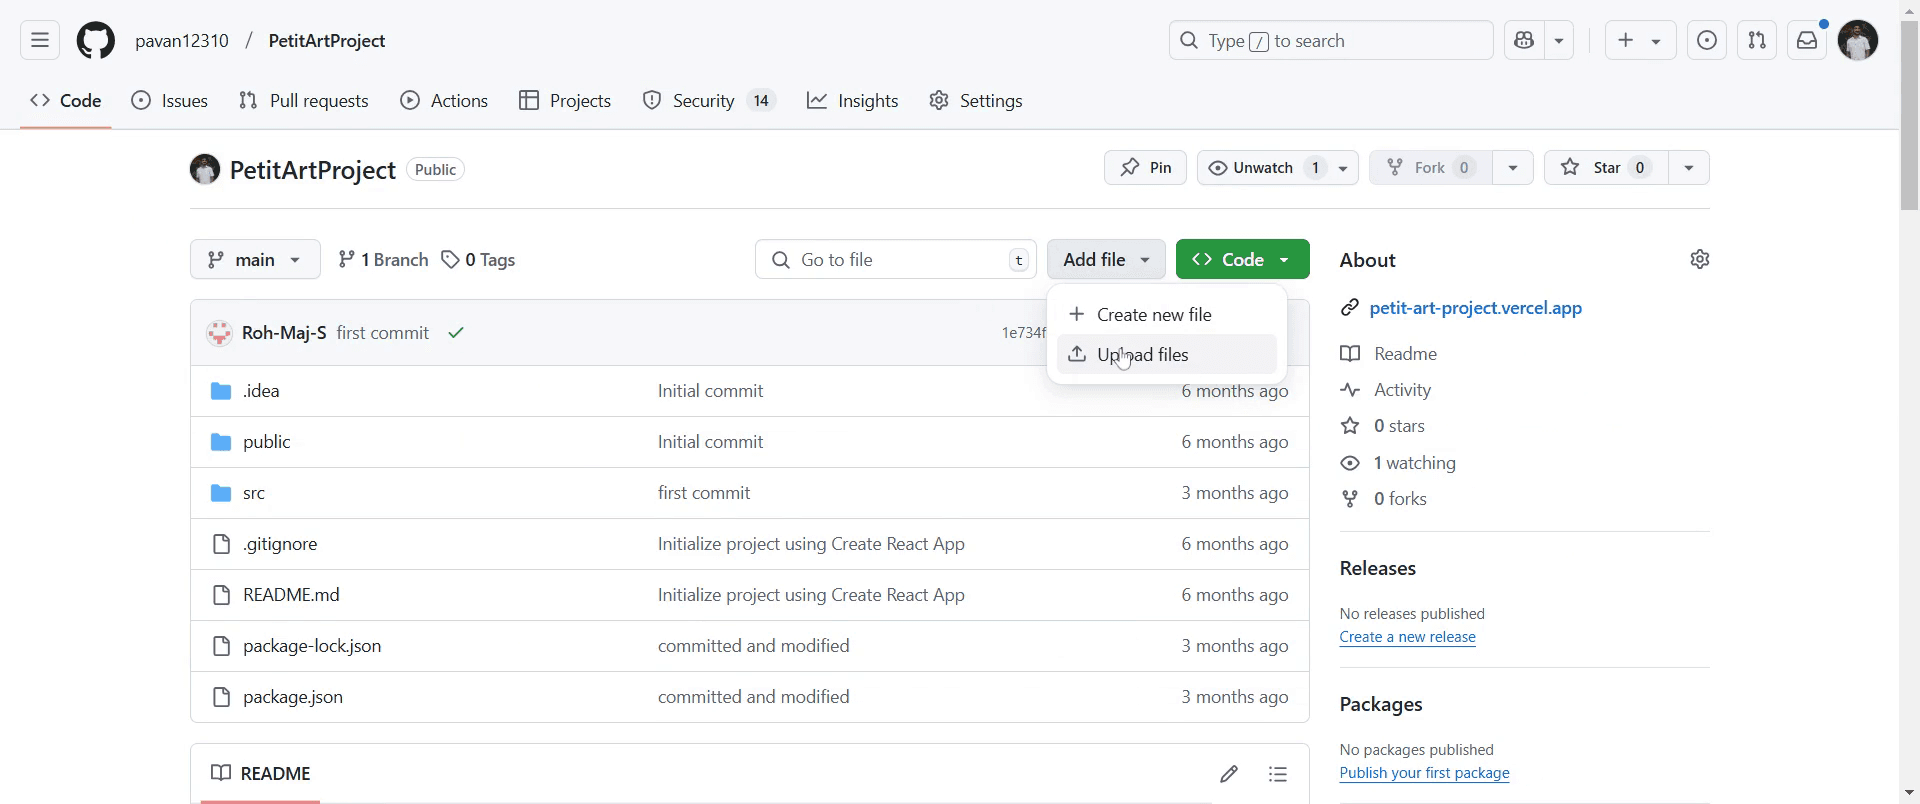
Ga vervolgens in uw repository-interface naar de optie "Bestand toevoegen" en klik erop.

Stap 3
Selecteer "Bestanden uploaden" om verder te gaan met het toevoegen van uw map.
Stap 4
Kies nu de bestanden die u in uw nieuwe map wilt opnemen door op de betreffende optie te klikken.
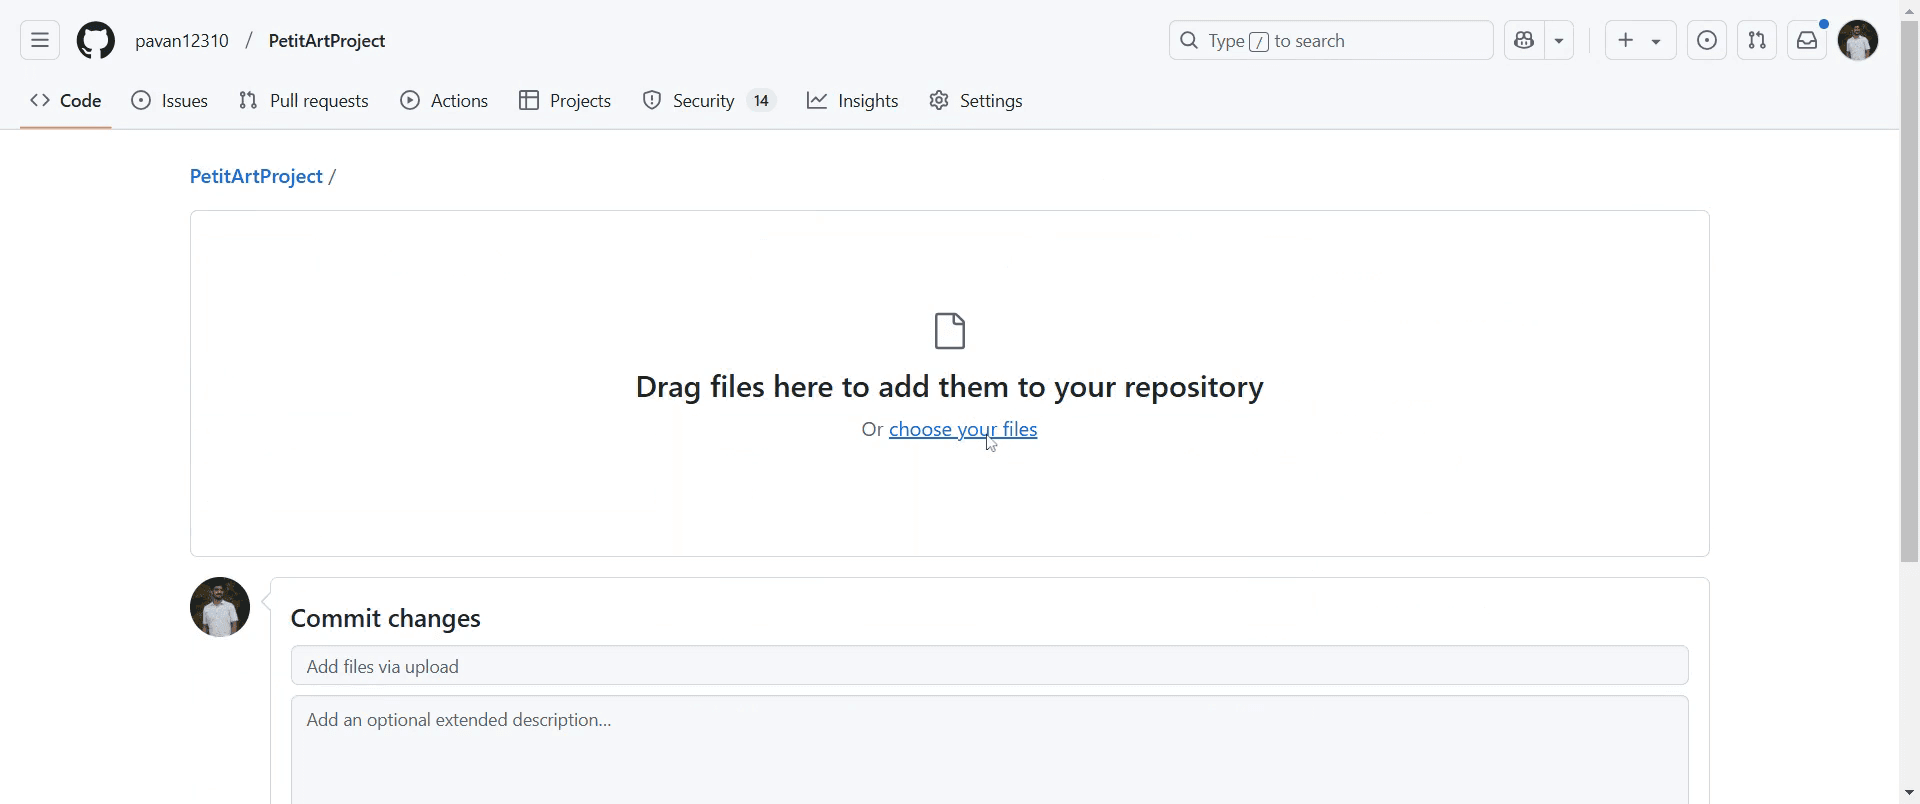
Stap 5
Indien gewenst kunt u een commitbericht toevoegen en een beschrijving van de wijzigingen geven voor extra context.

Stap 6
Bevestig ten slotte de actie door op "Wijzigingen vastleggen" te klikken.

Stap 7
Zodra u klaar bent, wordt uw map succesvol aan de repository toegevoegd.

Pro-tips voor het uploaden van een map naar GitHub
Gebruik de Git-opdrachtregel door naar de map te navigeren en
git add .,git commit -m "Add folder"engit push origin mainuit te voeren om alle bestanden te uploaden.Als je de webinterface van GitHub gebruikt, comprimeer de map dan eerst tot een ZIP-bestand voordat je uploadt, omdat GitHub geen directe uploads van mappen ondersteunt.
Organiseer de structuur van je repository goed voordat je uploadt om duidelijkheid en eenvoudige navigatie te waarborgen.
Veelvoorkomende valkuilen & hoe je ze kunt vermijden bij het uploaden van een map naar GitHub
Proberen een map rechtstreeks via de webinterface van GitHub te uploaden; GitHub ondersteunt alleen het uploaden van afzonderlijke bestanden.
Vergeten Git te initialiseren vóór het pushen; voer altijd
git inituit voordat je wijzigingen vastlegt in een nieuwe lokale repository.Het
.gitignore-bestand niet controleren; zorg ervoor dat noodzakelijke bestanden niet onbedoeld worden genegeerd.
Veelgestelde vragen over het uploaden van een map naar GitHub
Kan ik een map uploaden via de GitHub-webinterface?
Nee, GitHub ondersteunt geen directe uploads van mappen, maar je kunt afzonderlijke bestanden of een ZIP-archief uploaden.Hoe voeg ik een lege map toe aan GitHub?
Maak een.gitkeep-bestand in de map voordat je deze commit en pusht.Wat moet ik doen als mijn mapupload niet zichtbaar is op GitHub?
Voergit statusuit om te controleren op niet-gecommitte wijzigingen, en commit en push daarna opnieuw.Kan ik een map uploaden naar een specifieke branch?
Ja, schakel over naar de gewenste branch metgit checkout <branch-name>voordat je de map toevoegt en pusht.Hoe neem ik een schermopname op Mac?
Om schermopname te maken op een Mac, kun je Trupeer AI gebruiken. Het stelt je in staat het volledige scherm vast te leggen en biedt AI-mogelijkheden zoals het toevoegen van AI-avatar's, voice-over toevoegen en in- en uitzoomen in de video. Met de AI-videotranslatiefunctie van trupeer kun je de video vertalen naar meer dan 30 talen.Hoe voeg ik een AI-avatar toe aan een schermopname?
Om een AI-avatar toe te voegen aan een schermopname, moet je een AI-tool voor schermopnames gebruiken. Trupeer AI is een AI-tool voor schermopnames, waarmee je video's met meerdere avatars kunt maken en die je ook helpt bij het maken van je eigen avatar voor de video.Hoe neem ik een schermopname op in Windows?
Om een schermopname op Windows te maken, kun je de ingebouwde Game Bar (Windows + G) gebruiken of een geavanceerde AI-tool zoals Trupeer AI voor uitgebreidere functies zoals AI-avatar's, voice-over, vertaling enz.Hoe voeg ik voice-over toe aan video?
Om voice-over aan video's toe te voegen, download je de Trupeer AI Chrome-extensie. Na registratie upload je je video met stem, kies je de gewenste voice-over van trupeer en exporteer je je bewerkte video.Hoe zoom ik in op een schermopname?
Om tijdens een schermopname in te zoomen, gebruik je de zoomeffecten in Trupeer AI, waarmee je op specifieke momenten in en uit kunt zoomen en de visuele impact van je videocontent kunt versterken.
Aanbevolen artikelen
Generator voor technische documentatie
Hoe voeg je het roepiesymbool toe in Google Sheets
Hoe wijzig je de valutaopmaak in Google Sheets
Hoe voeg je opsommingstekens toe in Google Sheets
Gerelateerde tutorials

