

Hoe verwijder je een branch in GitHub
Leer hoe je een branch in GitHub verwijdert via zowel de website als de Git-opdrachtregel. Verwijder lokale en externe branches veilig met deze stapsgewijze handleiding.
Om een Zoom-vergaderings-ID te vinden, kun je deze vinden in de Zoom-applicatie, de uitnodiging voor de vergadering of via de vergaderlink. Als je de organisator bent, kun je deze vinden in het tabblad "Vergaderingen" van de Zoom-desktopapp of het webportaal. Als deelnemer is de ID ingebed in de vergaderlink of uitnodiging. Je kunt deze ook in het vergaderingsvenster zelf vinden door op het pictogram "Info" te klikken.
De Meeting-ID vinden als organisator:
In de Zoom-desktopapp:Open de Zoom-app en ga naar het tabblad "Vergaderingen". Zoek je geplande vergadering en klik erop om de details te bekijken, inclusief de Meeting-ID. In het Zoom-webportaal:Log in op het Zoom-webportaal. Navigeer naar "Vergaderingen" en vervolgens naar "Aankomende vergaderingen". Selecteer de vergadering om de details, inclusief de ID, te bekijken. In een vergadering:Klik op het pictogram "Info" (meestal een "i" in een cirkel) in de linkerbovenhoek van het vergaderingsvenster. De Meeting-ID wordt weergegeven
De Meeting-ID vinden als deelnemer:
Via de vergaderlink:De Meeting-ID is meestal opgenomen na /j/ in de Zoom-vergader-URL.Voorbeeld: in https://zoom.us/j/1234567890 is de Meeting-ID 1234567890.Via de uitnodiging voor de vergadering:De uitnodiging voor de vergadering, of deze nu via e-mail of kalender is verzonden, bevat doorgaans de Meeting-ID.Tijdens een vergadering:Klik op het pictogram "Info" (meestal een "i" in een cirkel) in de linkerbovenhoek van het vergaderingsvenster.De Meeting-ID wordt weergegeven.
De persoonlijke Meeting-ID (PMI) vinden:
In de Zoom-desktopapp:Klik op het tabblad "Vergaderingen". Klik op "Persoonlijke Meeting-ID" in de rechterbovenhoek. Je PMI en uitnodigingslink worden weergegeven. In het Zoom-webportaal:Log in op het Zoom-webportaal. Ga naar "Vergaderingen" en vervolgens naar "Persoonlijke ruimte". Je PMI en uitnodigingslink worden weergegeven. Tijdens een vergadering:Klik op het pictogram "Info" linksboven in het vergaderingsvenster. De PMI wordt weergegeven.
Stapsgewijze handleiding: Hoe je een branch verwijdert in GitHub
Stap 1
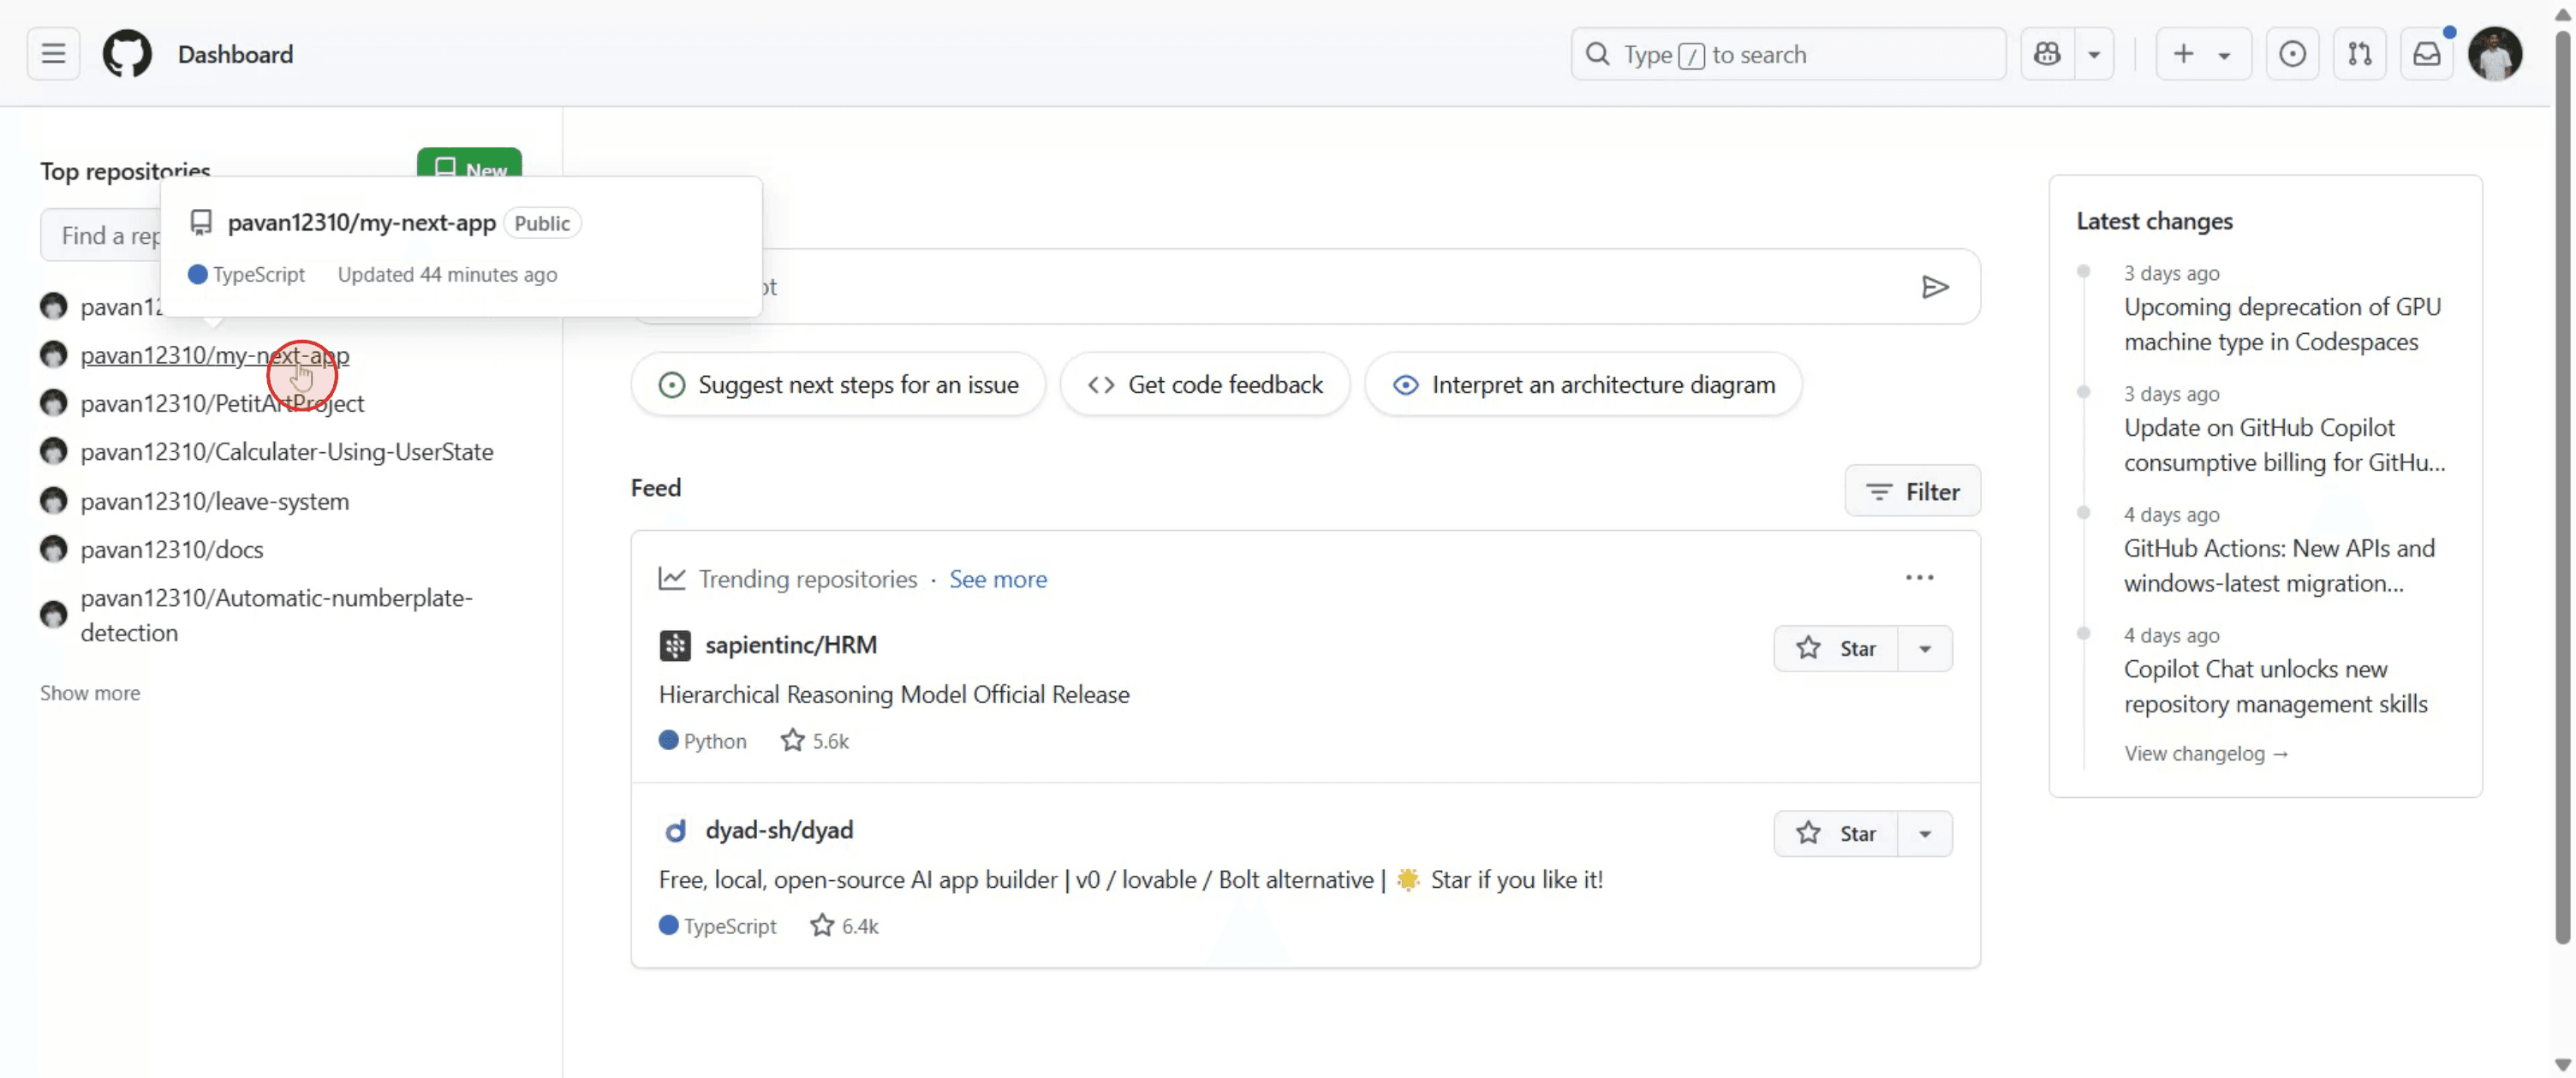
Navigeer naar de repository die je wilt openen.
Stap 2
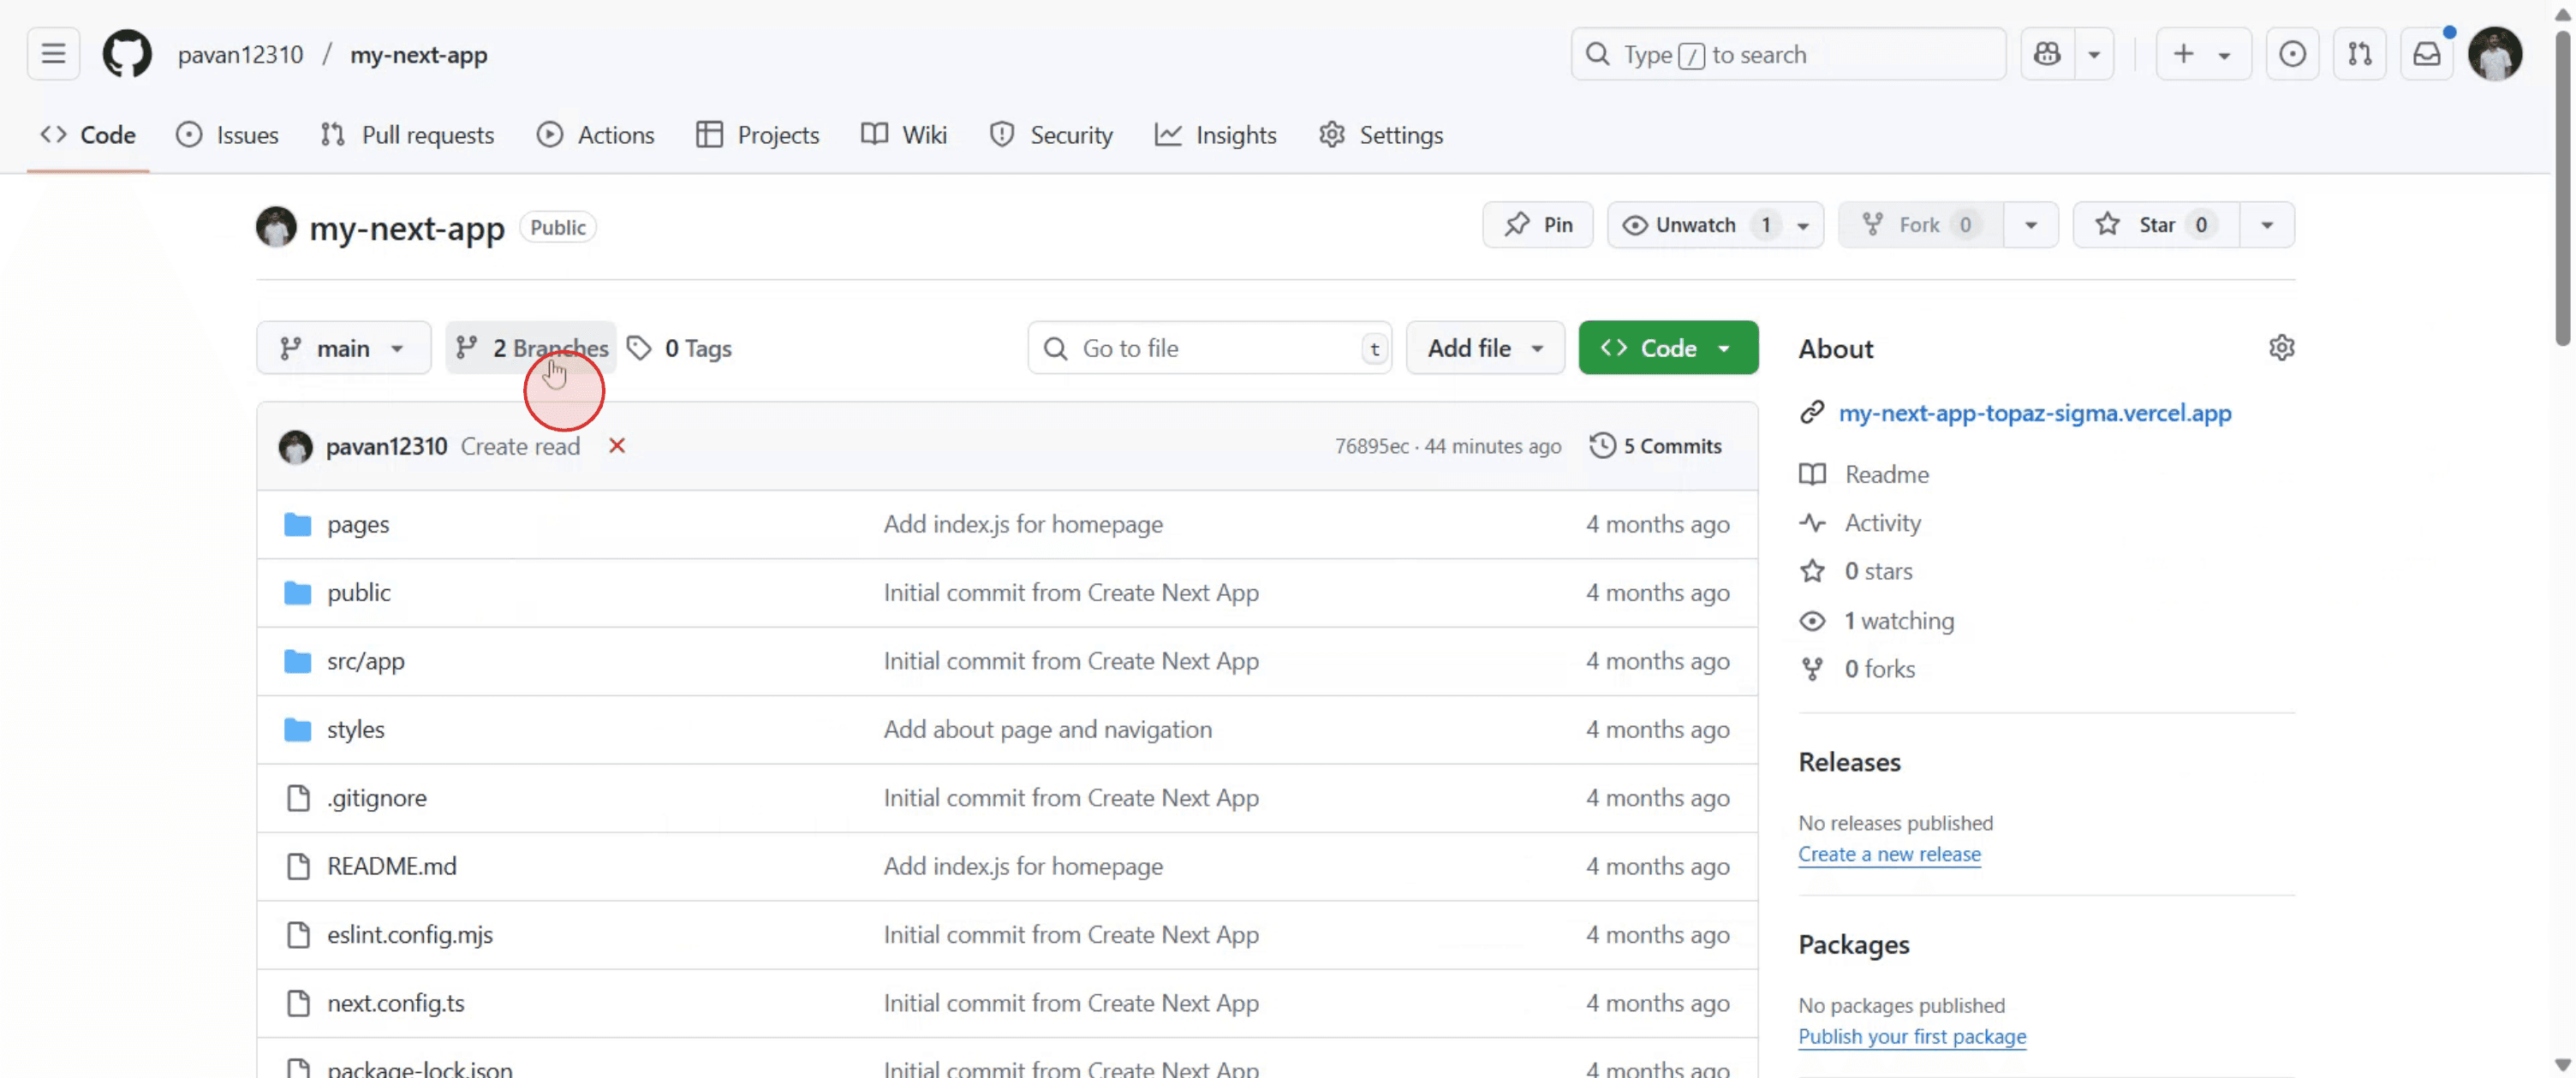
Selecteer 'Branches' om te openen.
Stap 3
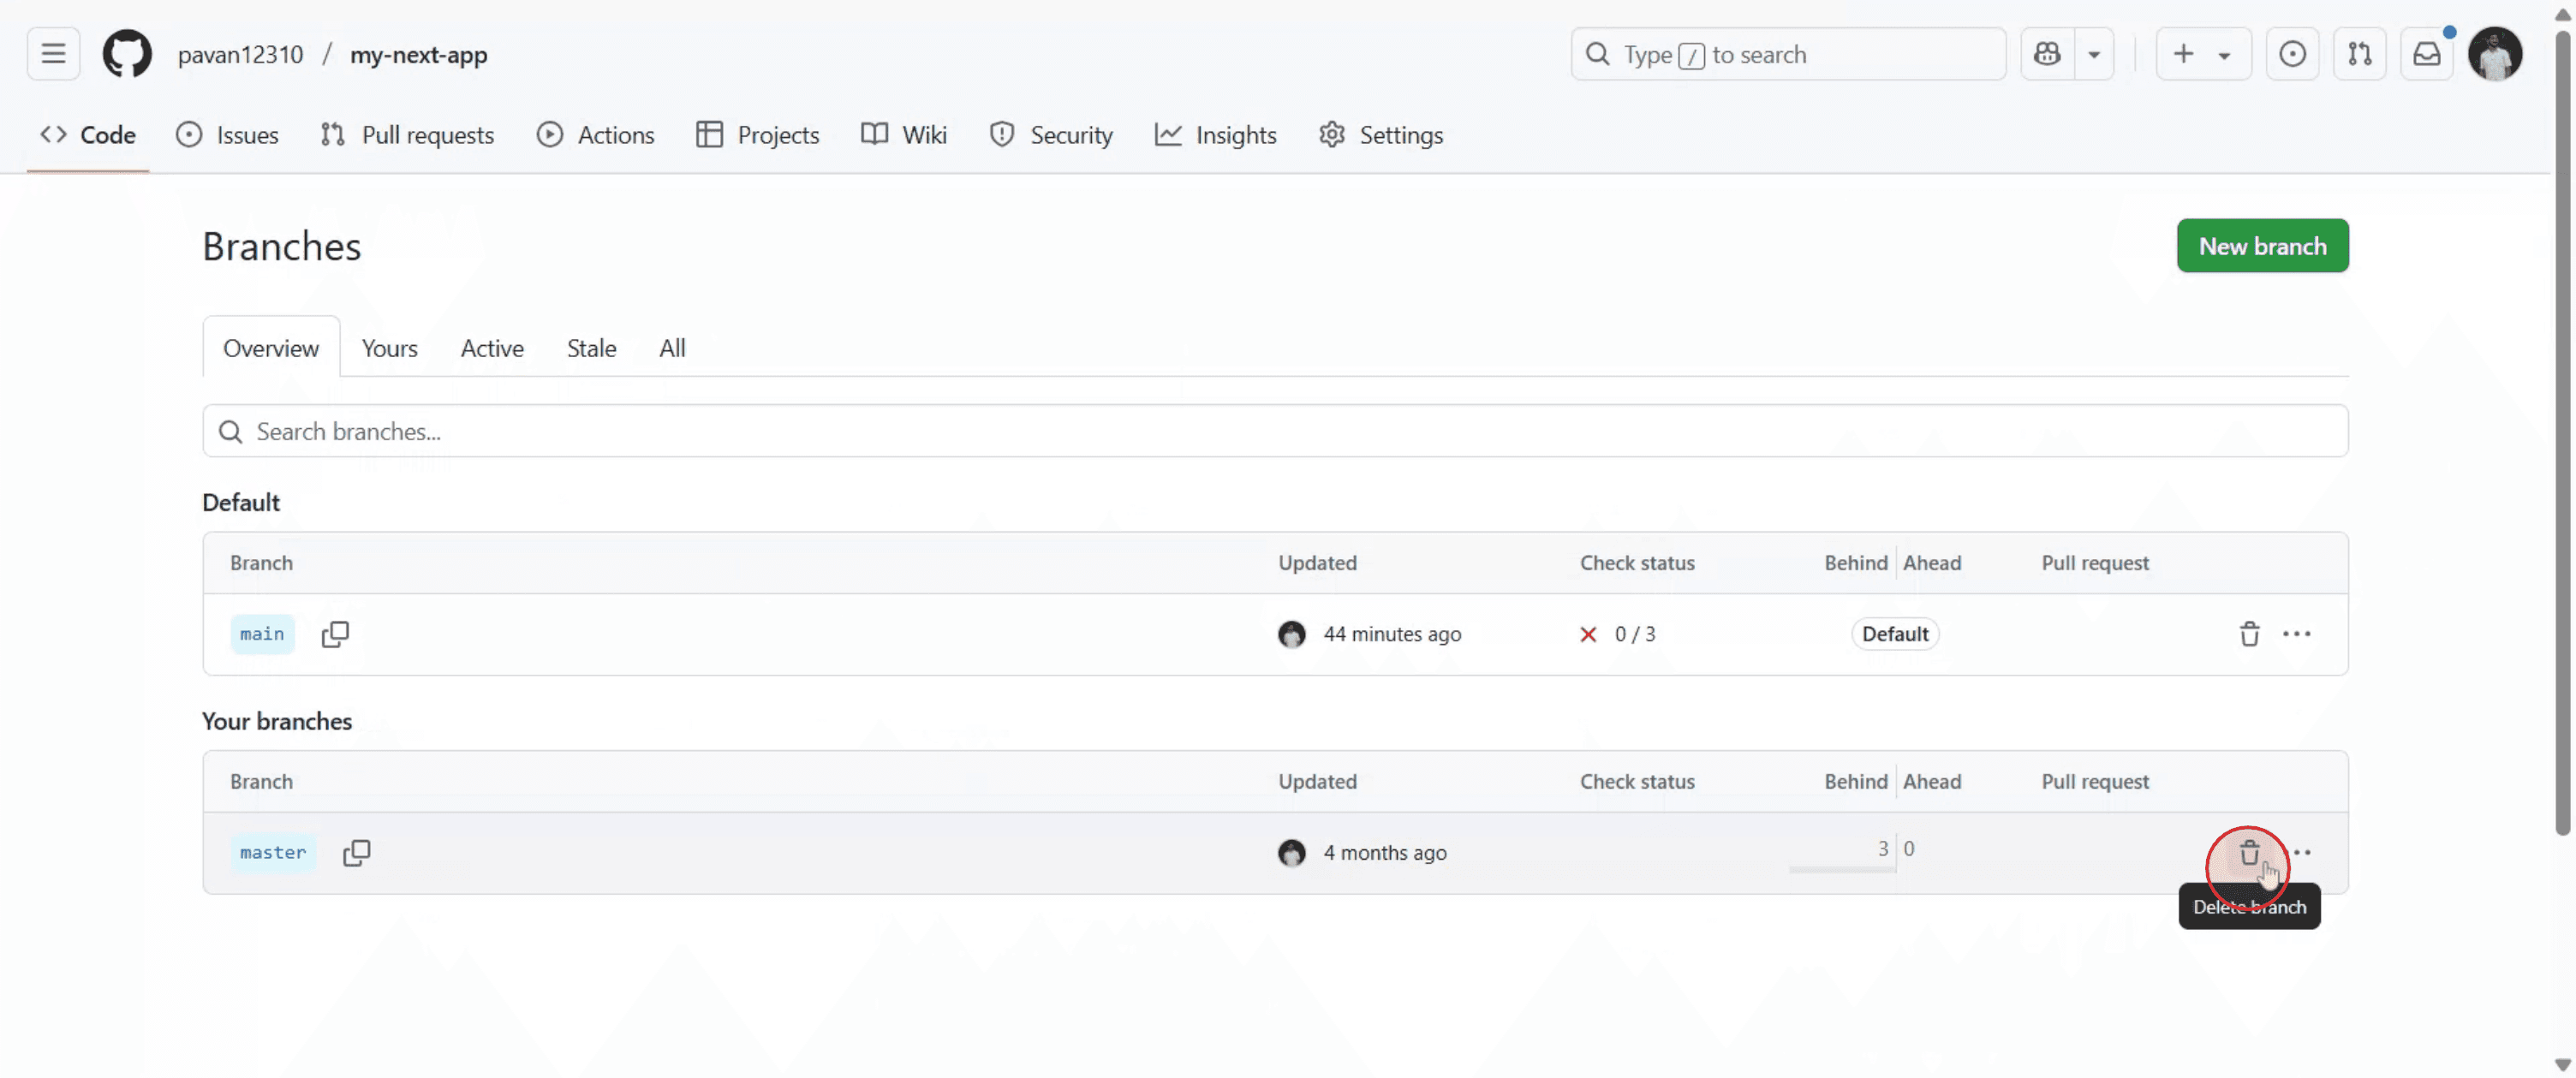
Ga naar de branch die je wilt verwijderen en klik op het prullenbakpictogram.
Stap 4
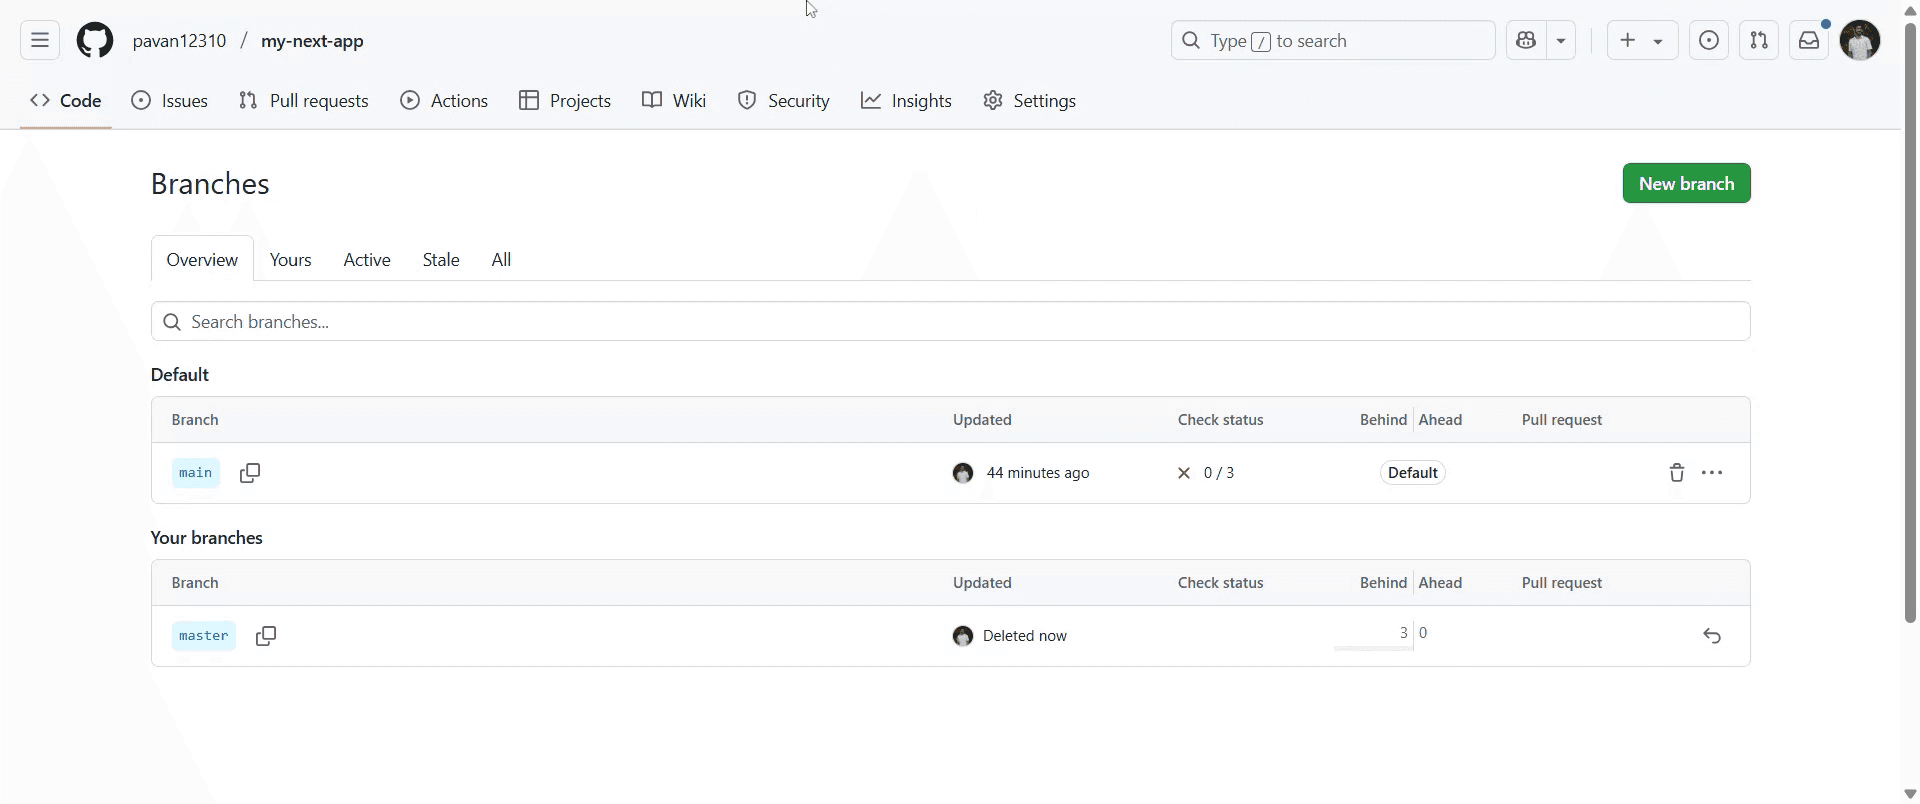
Zodra je de branch hebt verwijderd, wordt deze automatisch bijgewerkt.
Pro-tips voor het verwijderen van een branch in GitHub
Log in op GitHub
Ga naar github.com en log in met je inloggegevens.Navigeer naar de repository
Open de repository die de branch bevat die je wilt verwijderen.Ga naar de sectie “Branches”
Klik op het tabblad “Branches”. Je vindt het bovenaan je repository, net onder de naam van de repo en het navigatiemenu.Zoek de branch die je wilt verwijderen
Vind de branch die je wilt verwijderen onder de sectie “Active branches”. Zorg ervoor dat het niet de standaardbranch is.Klik op het prullenbakpictogram
Klik rechts van de branchnaam op het prullenbakpictogram om de branch te verwijderen.Bevestig de verwijdering
Er verschijnt een bevestigingsvenster. Klik op “Delete” om de branch permanent uit de repository te verwijderen.
Veelvoorkomende valkuilen en hoe je ze kunt vermijden
Proberen de standaardbranch te verwijderen
Je kunt de standaardbranch niet verwijderen. Indien nodig, wijzig eerst de standaardbranch via Settings > Branches.Een actieve of benodigde branch verwijderen
Controleer de inhoud van de branch nogmaals en bevestig dat deze niet langer nodig is voordat je hem verwijdert, om te voorkomen dat waardevol werk verloren gaat.Niet over de vereiste rechten beschikken
Je hebt schrijf- of beheerdersrechten nodig om een branch te verwijderen. Als je het prullenbakpictogram niet ziet, controleer dan je toegangsniveau.Vergeten de branch lokaal te verwijderen
Een branch verwijderen op GitHub verwijdert hem niet van je lokale machine. Voer lokaalgit branch -d branch-nameuit om op te ruimen.Per ongeluk de verkeerde branch verwijderen
Controleer altijd de branchnaam voordat je de verwijdering bevestigt, vooral in gedeelde projecten.
Veelgestelde vragen over het verwijderen van een GitHub-branch
Kan ik de standaardbranch verwijderen?
Nee, GitHub staat het verwijderen van de standaardbranch niet toe. Wijzig eerst de standaardbranch als je die wilt verwijderen.Verwijdert het verwijderen van een branch de code?
Ja, de branch en de commits zijn dan niet meer toegankelijk, tenzij ze vooraf in een andere branch zijn samengevoegd.Kan ik een verwijderde branch herstellen?
Niet rechtstreeks. Je kunt deze herstellen met de commit-hash als je die kent, maar GitHub biedt geen functie voor een 'prullenbak'.Hoe verwijder ik een branch lokaal?
Gebruik het commandogit branch -d branch-nameofgit branch -D branch-namein je terminal.Kan ik een branch verwijderen vanuit een pull request?
Ja, als de branch niet langer nodig is, geeft GitHub je de optie om deze te verwijderen nadat een pull request is samengevoegd.Hoe maak je een schermopname op een Mac?
Om een schermopname op een Mac te maken, kun je Trupeer AI gebruiken. Hiermee kun je het hele scherm vastleggen en krijg je AI-mogelijkheden zoals het toevoegen van AI-avatars, voice-over toevoegen en in- en uitzoomen in de video. Met de AI-videotranslatiefunctie van Trupeer kun je de video vertalen naar meer dan 30 talen.Hoe voeg ik een AI-avatar toe aan een schermopname?
Om een AI-avatar toe te voegen aan een schermopname, moet je een AI-tool voor schermopnames gebruiken. Trupeer AI is een AI-tool voor schermopnames, waarmee je video's met meerdere avatars kunt maken en die je ook helpt bij het maken van je eigen avatar voor de video.Hoe maak je een schermopname op Windows?
Om een schermopname op Windows te maken, kun je de ingebouwde Game Bar gebruiken (Windows + G) of een geavanceerde AI-tool zoals Trupeer AI voor meer geavanceerde functies zoals AI-avatars, voice-over, vertaling enz.Hoe voeg ik voice-over toe aan video?
Om voice-over toe te voegen aan video's, download je de Chrome-extensie van Trupeer AI. Nadat je je hebt aangemeld, upload je je video met stem, kies je de gewenste voice-over van Trupeer en exporteer je je bewerkte video.Hoe zoom ik in op een schermopname?
Om tijdens een schermopname in te zoomen, gebruik je de zoomeffecten in Trupeer AI, waarmee je op specifieke momenten kunt in- en uitzoomen en zo de visuele impact van je videocontent vergroot.
Mensen vragen ook
Generator voor technische documentatie
Hoe zet je een afbeelding om in een kleurplaat in Canva
Hoe print je dubbelzijdig in Canva
Gerelateerde tutorials

