
Cómo estirar una imagen en Canva
Aprende a estirar una imagen en Canva ajustando los tiradores de tamaño, la relación de aspecto y los ajustes de recorte. Sigue este sencillo tutorial y crea guías de diseño con Trupeer.
Aquí tienes un desglose más detallado:
Método: Usar los tiradores de las esquinas y la tecla Mayús
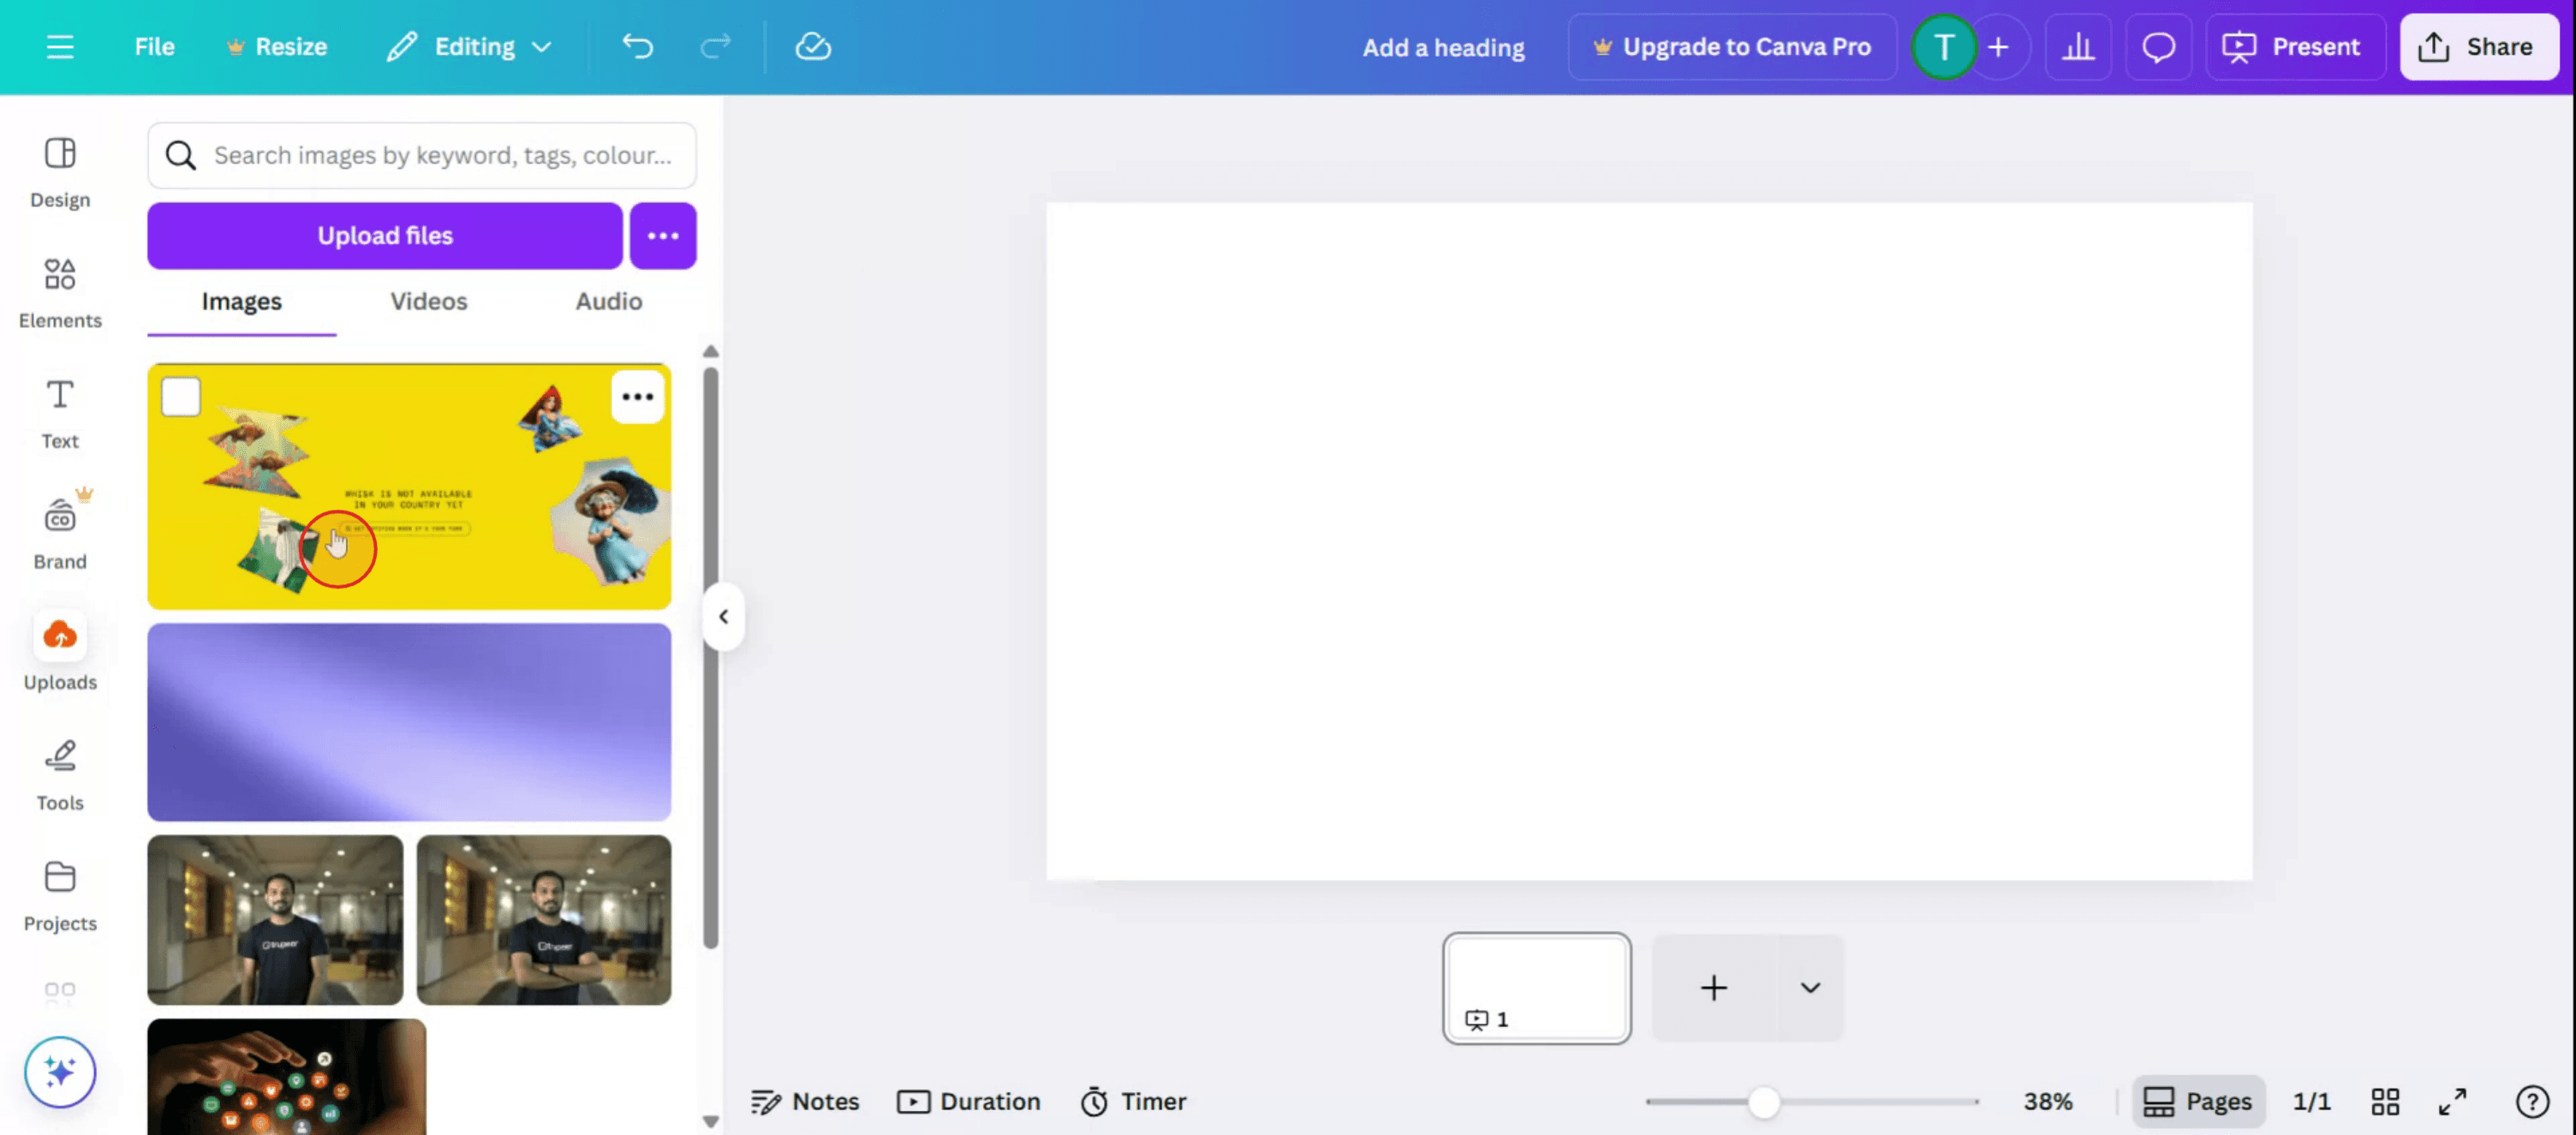
Selecciona la imagen: Haz clic en la imagen de tu diseño de Canva.
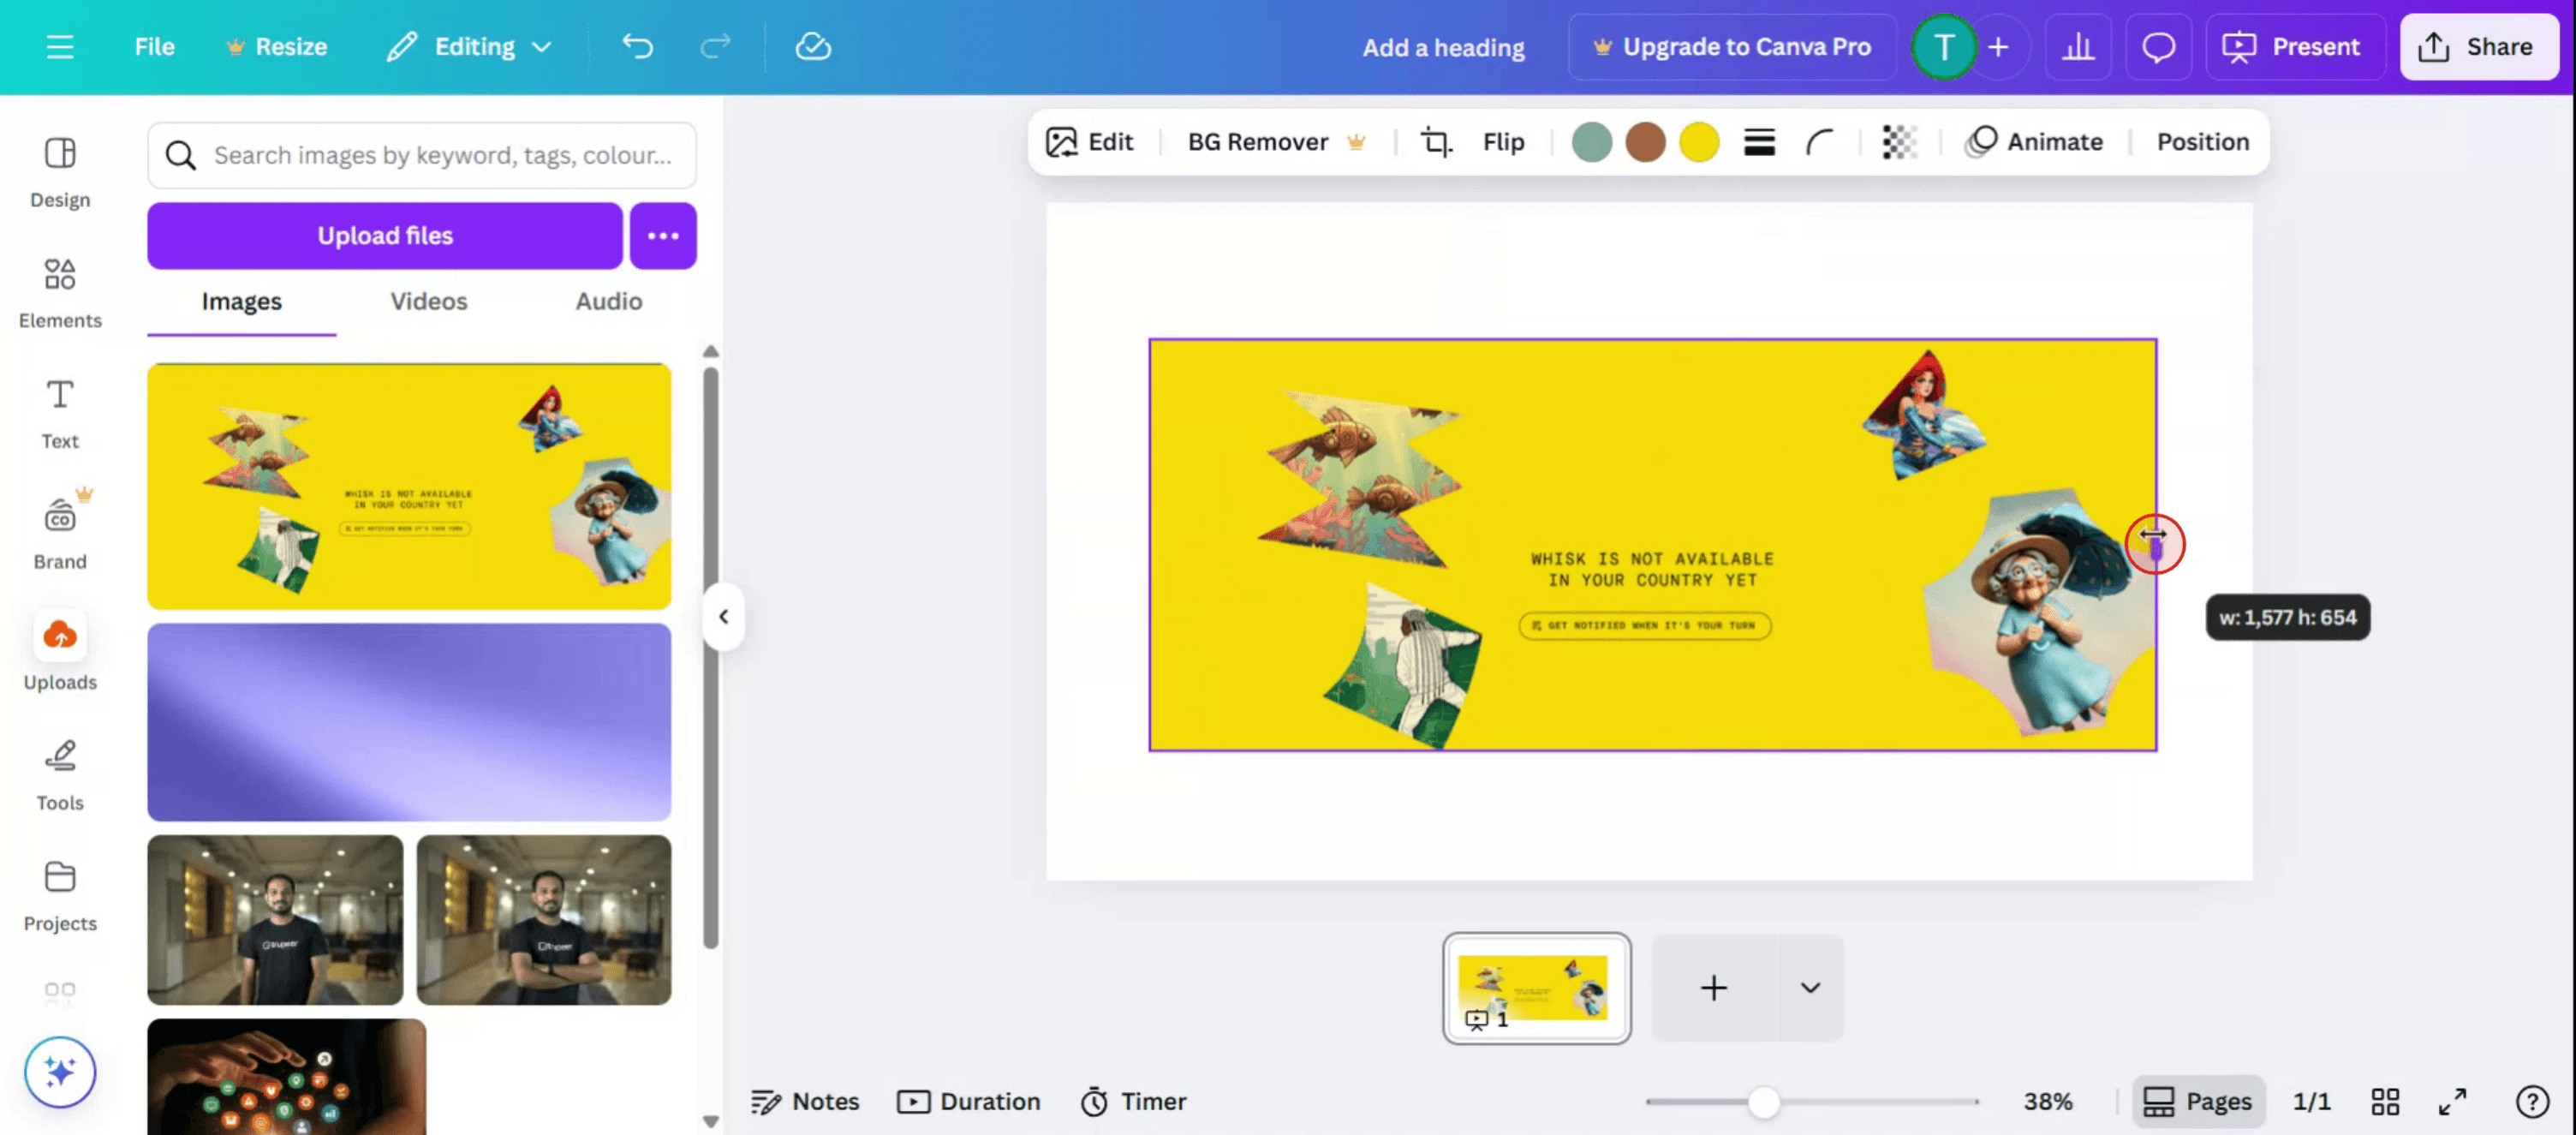
Localiza los tiradores de las esquinas: Verás círculos en cada esquina de la imagen.
Mantén pulsada la tecla Mayús: Pulsa y mantén pulsada la tecla Mayús en tu teclado.
Arrastra para estirar: Haz clic y arrastra uno de los tiradores de las esquinas mientras mantienes pulsada la tecla Mayús.
Suelta: Suelta el botón del ratón y luego la tecla Mayús cuando la imagen esté estirada al tamaño deseado.
Guía paso a paso: Cómo estirar una imagen en Canva
Paso 1
Comienza haciendo clic en la sección de carga en Canva.

Paso 2
Selecciona la imagen que deseas estirar.
Paso 3
También puedes estirar la imagen horizontalmente.
Paso 4
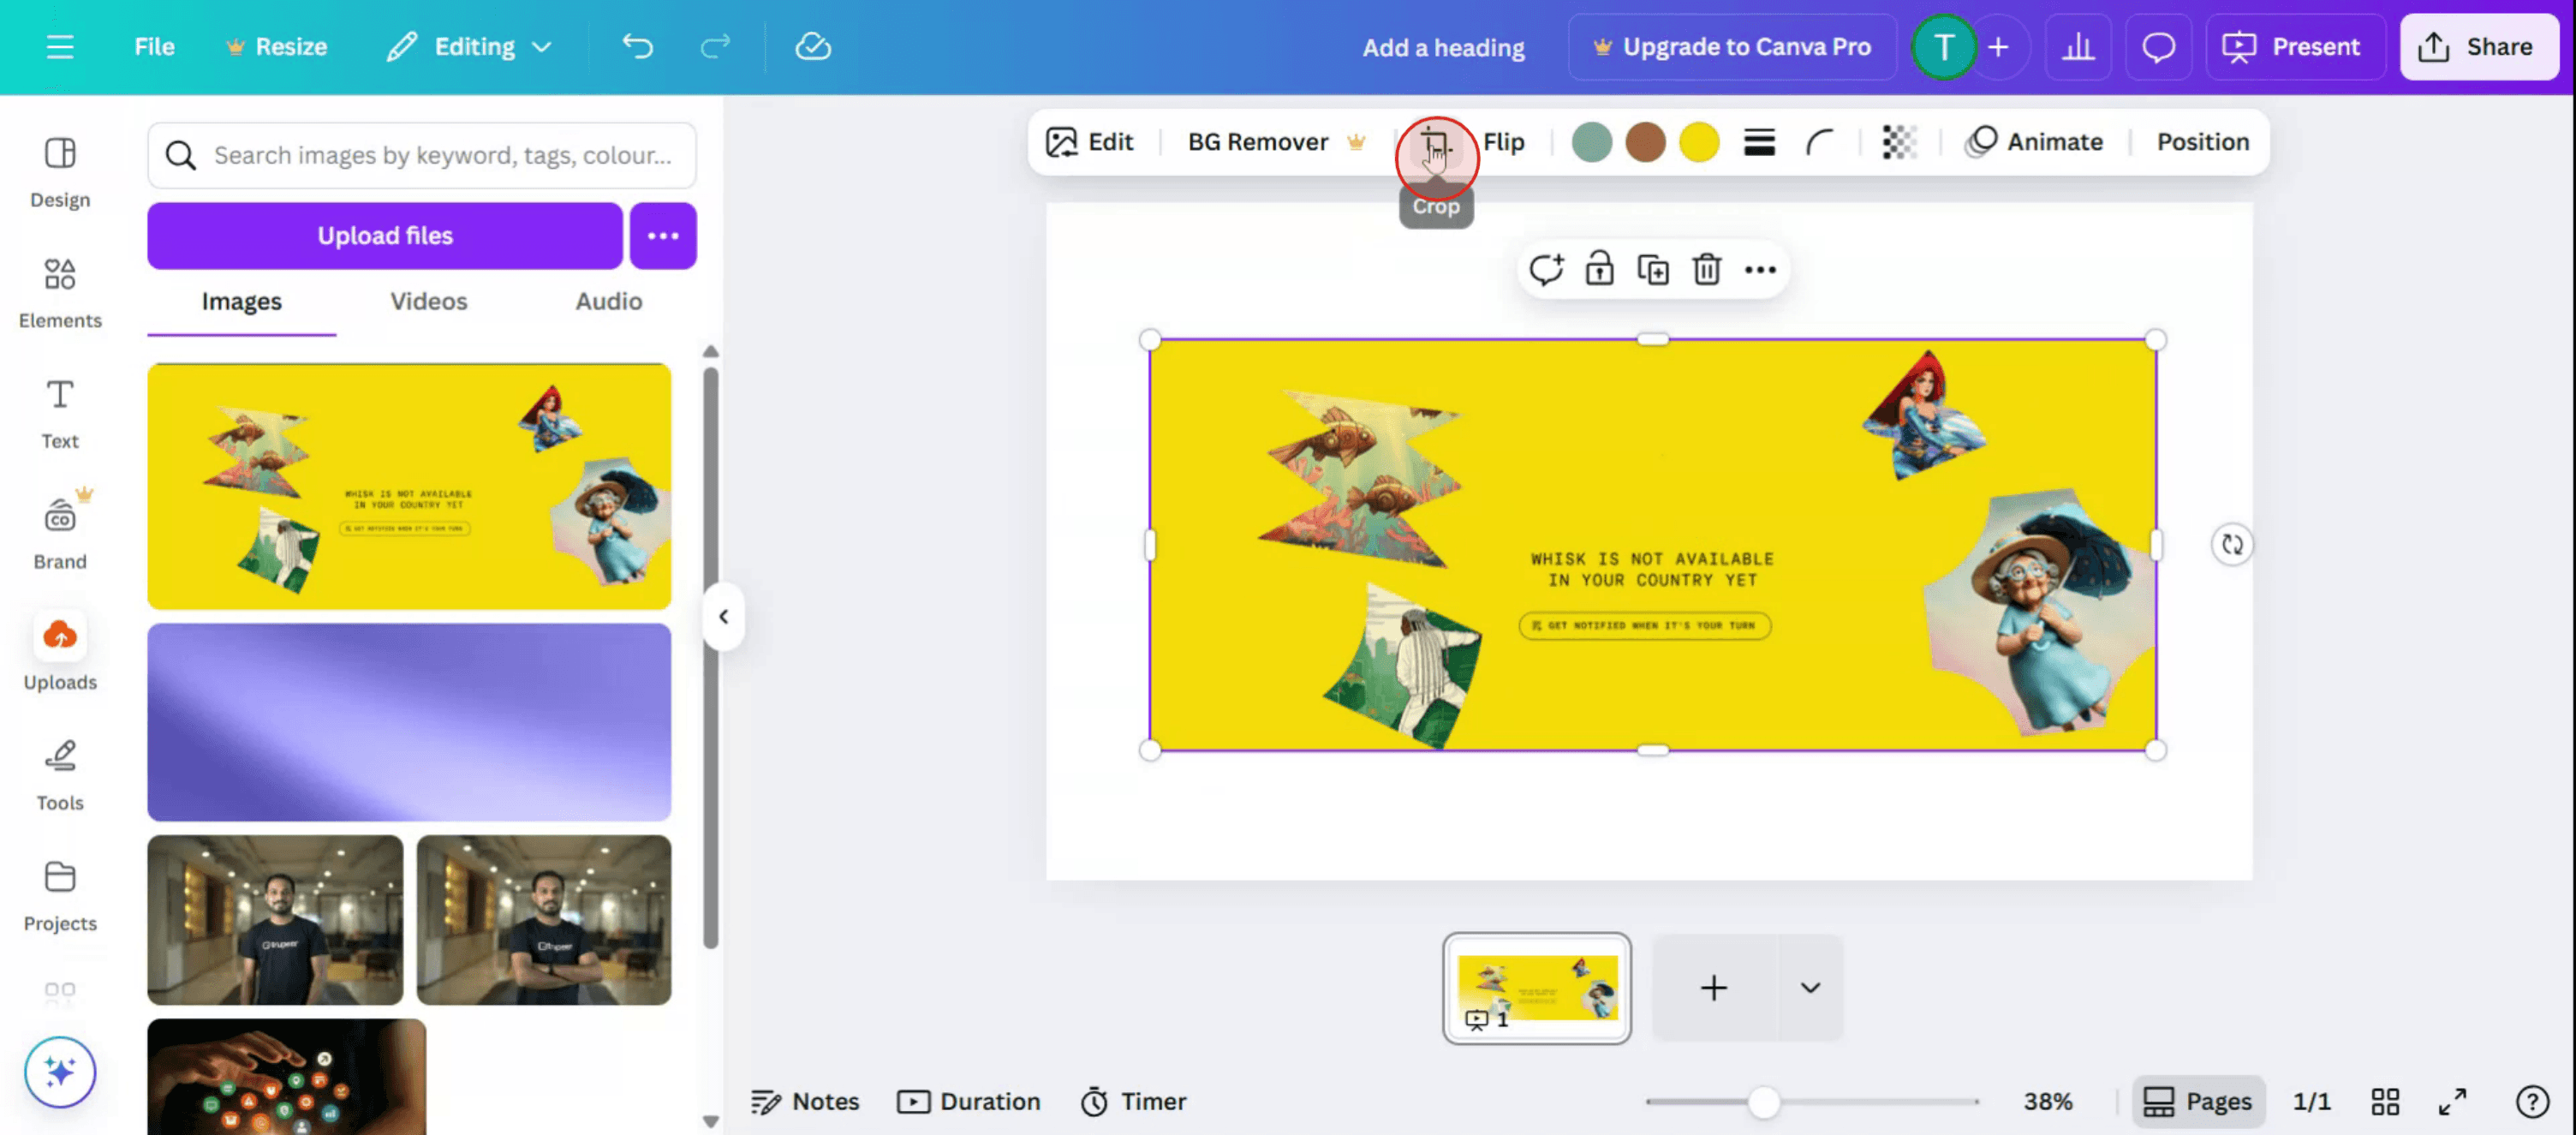
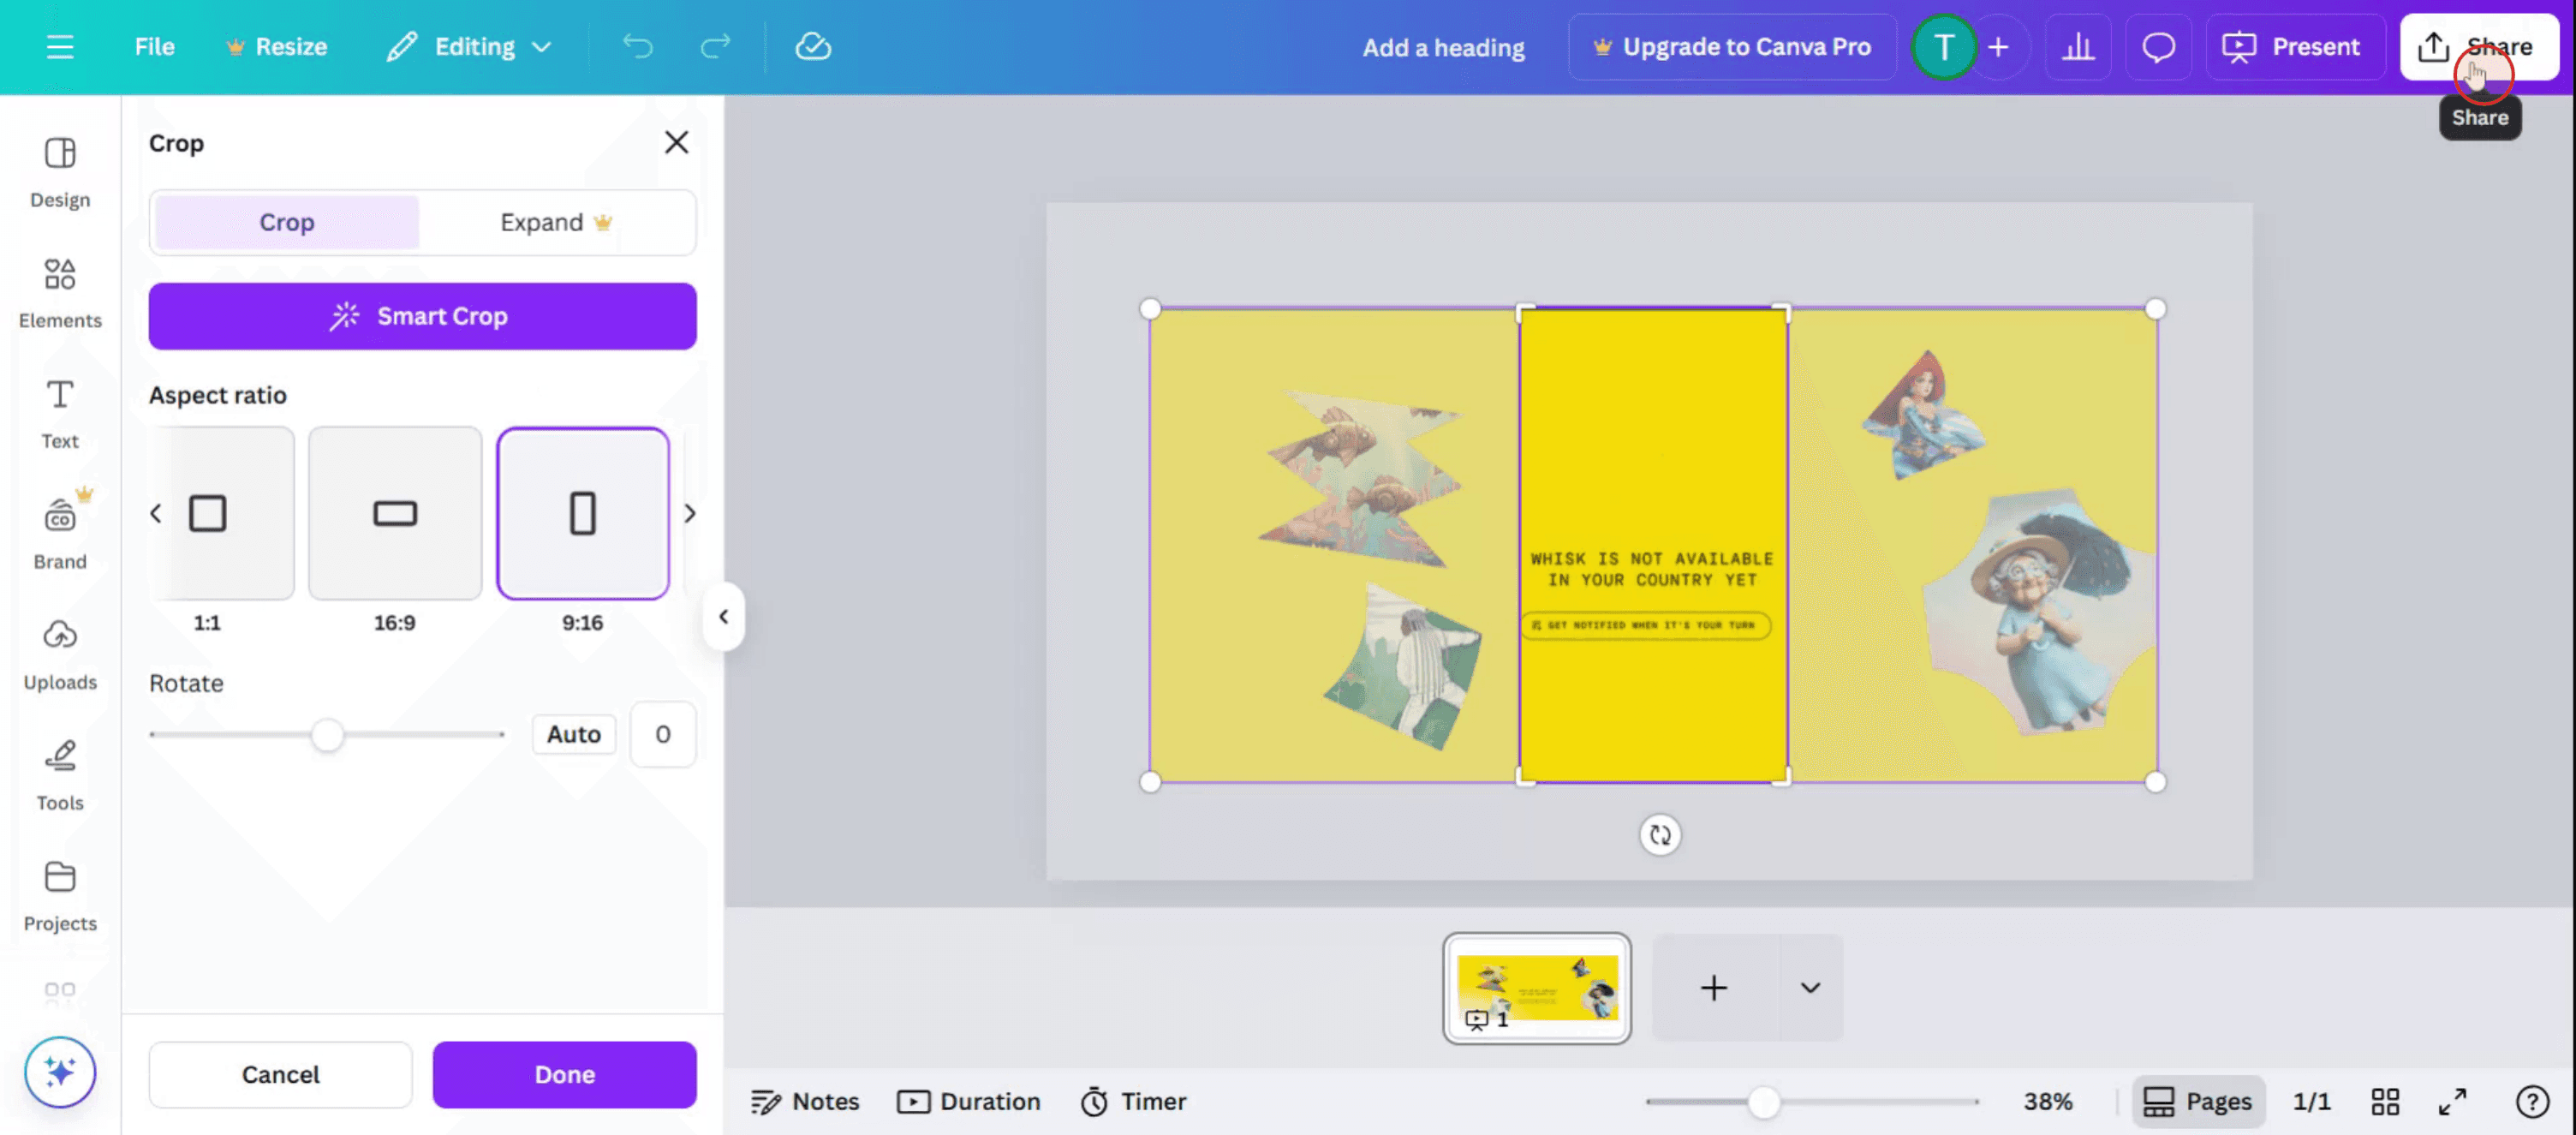
Haz clic en la opción de recorte.
Paso 5
En la opción de proporción de aspecto puedes seleccionar la relación de la imagen,

Paso 6
Haz clic en la opción de compartir.
Consejos profesionales para estirar una imagen en Canva
Sube o selecciona tu imagen
Empieza añadiendo tu imagen al lienzo. Puedes subir la tuya o elegir una de la biblioteca de imágenes de Canva.Haz clic en la imagen para activar los tiradores de ajuste de tamaño
Una vez que la imagen esté colocada en el lienzo, haz clic en ella. Verás aparecer tiradores circulares blancos en las esquinas y los lados.Usa los tiradores laterales para estirar horizontal o verticalmente
Para estirar la imagen, haz clic y arrastra los tiradores ubicados en los lados izquierdo o derecho (para estirarla horizontalmente) o en la parte superior o inferior (para estirarla verticalmente). Esto cambiará la relación de aspecto de la imagen.Mantén pulsada la tecla Shift para un estirado libre
Si quieres más control sobre el estirado (sin conservar la relación de aspecto), mantén pulsada la tecla Shift mientras arrastras un tirador de esquina.Usa el panel de posición y tamaño para mayor precisión
Para dimensiones exactas, usa los valores de “Posición” y “Tamaño” ubicados en la barra superior. Puedes introducir manualmente aquí los valores de ancho y alto.Revisa y ajusta según sea necesario
Después de estirar, comprueba la calidad de la imagen. Si se ve pixelada o distorsionada, prueba a usar una imagen de mayor resolución o reduce la cantidad de estirado.
Errores comunes y cómo evitarlos
La imagen se vuelve borrosa o pixelada
Un estirado excesivo puede reducir la nitidez de la imagen. Usa siempre imágenes de alta resolución al ampliar o estirar.La imagen se recorta accidentalmente
Asegúrate de estar redimensionando la imagen en sí, no ajustando los tiradores de recorte. Haz clic en “Restablecer recorte” en el panel de recorte si es necesario.Relación de aspecto bloqueada
De forma predeterminada, Canva puede mantener la relación de aspecto original al arrastrar desde las esquinas. Usa los tiradores laterales o mantén pulsada Shift para omitir esto.Estirar imágenes de fondo
Si tu imagen está configurada como fondo, no puedes estirarla usando los tiradores. En su lugar, quítala como fondo y luego vuelve a insertarla como una imagen normal.Diseño desalineado después de estirar
Estirar una imagen puede desalinear tu diseño general. Usa las herramientas de alineación para recolocar los elementos y mantener la coherencia.
Preguntas frecuentes comunes sobre estirar imágenes en Canva
¿Cómo estiro una imagen sin mantener la relación de aspecto?
Haz clic en la imagen y arrastra desde los tiradores laterales o mantén pulsada la tecla Mayús mientras arrastras desde una esquina.¿Puedo estirar una imagen de fondo?
No directamente. Elimínala como fondo y vuelve a añadirla como imagen para estirarla libremente.¿Afectará el estiramiento de una imagen a su calidad?
Sí, estirar puede reducir la calidad de la imagen, especialmente en archivos de baja resolución. Usa imágenes de alta resolución para obtener mejores resultados.¿Cómo deshago un estiramiento si no me gusta el resultado?
Usa el botón Deshacer (Ctrl+Z o Cmd+Z) o restablece la imagen redimensionándola manualmente hasta volver al tamaño que prefieras.¿Puedo estirar imágenes en la app móvil de Canva?
Sí, toca la imagen y usa los puntos azules de la esquina o del lateral para estirarla. Pellizca para escalar libremente en dispositivos con pantalla táctil.¿Cómo grabar la pantalla en Mac?
Para grabar la pantalla en un Mac, puedes usar Trupeer AI. Te permite capturar toda la pantalla y ofrece funciones de IA como añadir avatares de IA, añadir voz en off y hacer zoom in y out en el vídeo. Con la función de traducción de vídeos con IA de Trupeer, puedes traducir el vídeo a más de 30 idiomas.¿Cómo añadir un avatar de IA a una grabación de pantalla?
Para añadir un avatar de IA a una grabación de pantalla, necesitarás usar una herramienta de grabación de pantalla con IA. Trupeer AI es una herramienta de grabación de pantalla con IA, que te ayuda a crear vídeos con varios avatares, y también te ayuda a crear tu propio avatar para el vídeo.¿Cómo grabar la pantalla en Windows?
Para grabar la pantalla en Windows, puedes usar la barra de juegos integrada (Windows + G) o una herramienta avanzada de IA como Trupeer AI para funciones más avanzadas como avatares de IA, voz en off, traducción, etc.¿Cómo añadir una voz en off a un vídeo?
Para añadir voz en off a los vídeos, descarga la extensión de Chrome de Trupeer AI. Una vez registrado, sube tu vídeo con voz, elige la voz en off deseada de Trupeer y exporta tu vídeo editado.¿Cómo hago zoom en una grabación de pantalla?
Para acercar durante una grabación de pantalla, usa los efectos de zoom en Trupeer AI, que te permiten acercar y alejar en momentos específicos, mejorando el impacto visual del contenido de tu vídeo.
Lecturas sugeridas
Generador de documentación técnica
Software de base de conocimientos
Cómo imprimir a doble cara en Canva
Tutoriales relacionados

