

Cómo eliminar un ticket de Jira
Aprende a eliminar un ticket de Jira usando el menú de acciones y confirmando su eliminación permanente. Sigue este tutorial paso a paso y crea guías de flujo de trabajo con Trupeer.
Este documento ofrece una guía concisa sobre cómo eliminar un ticket de Jira. El proceso implica acceder al proyecto, localizar el ticket y ejecutar el comando de eliminación mediante una serie de pasos guiados.
Para eliminar un ticket de Jira, navega hasta la incidencia y selecciona "Eliminar" del menú de acciones, luego confirma la eliminación. Ten en cuenta que esta acción es permanente y no se puede deshacer.
Pasos para eliminar un ticket de Jira:
Abre el ticket: Ve a la incidencia específica de Jira que deseas eliminar. Accede al menú de acciones: Busca un menú (a menudo representado por tres puntos o un botón "Más"). Selecciona "Eliminar": Elige la opción "Eliminar" del menú. Confirma la eliminación: Es probable que se te pida que confirmes tu acción, ya que eliminar un ticket de Jira es permanente. Finaliza la eliminación: Haz clic de nuevo en "Eliminar" para finalizar el proceso.
Consideraciones importantes:
Permanencia: Eliminar un ticket es irreversible. Considera archivarlo en su lugar si podrías necesitar la información más adelante. Permisos: Asegúrate de tener los permisos necesarios para eliminar incidencias en el proyecto. Datos históricos: Eliminar incidencias las elimina del sistema, lo que puede afectar a los datos históricos y a los informes.
Guía paso a paso: Cómo eliminar un ticket de Jira
Paso 1
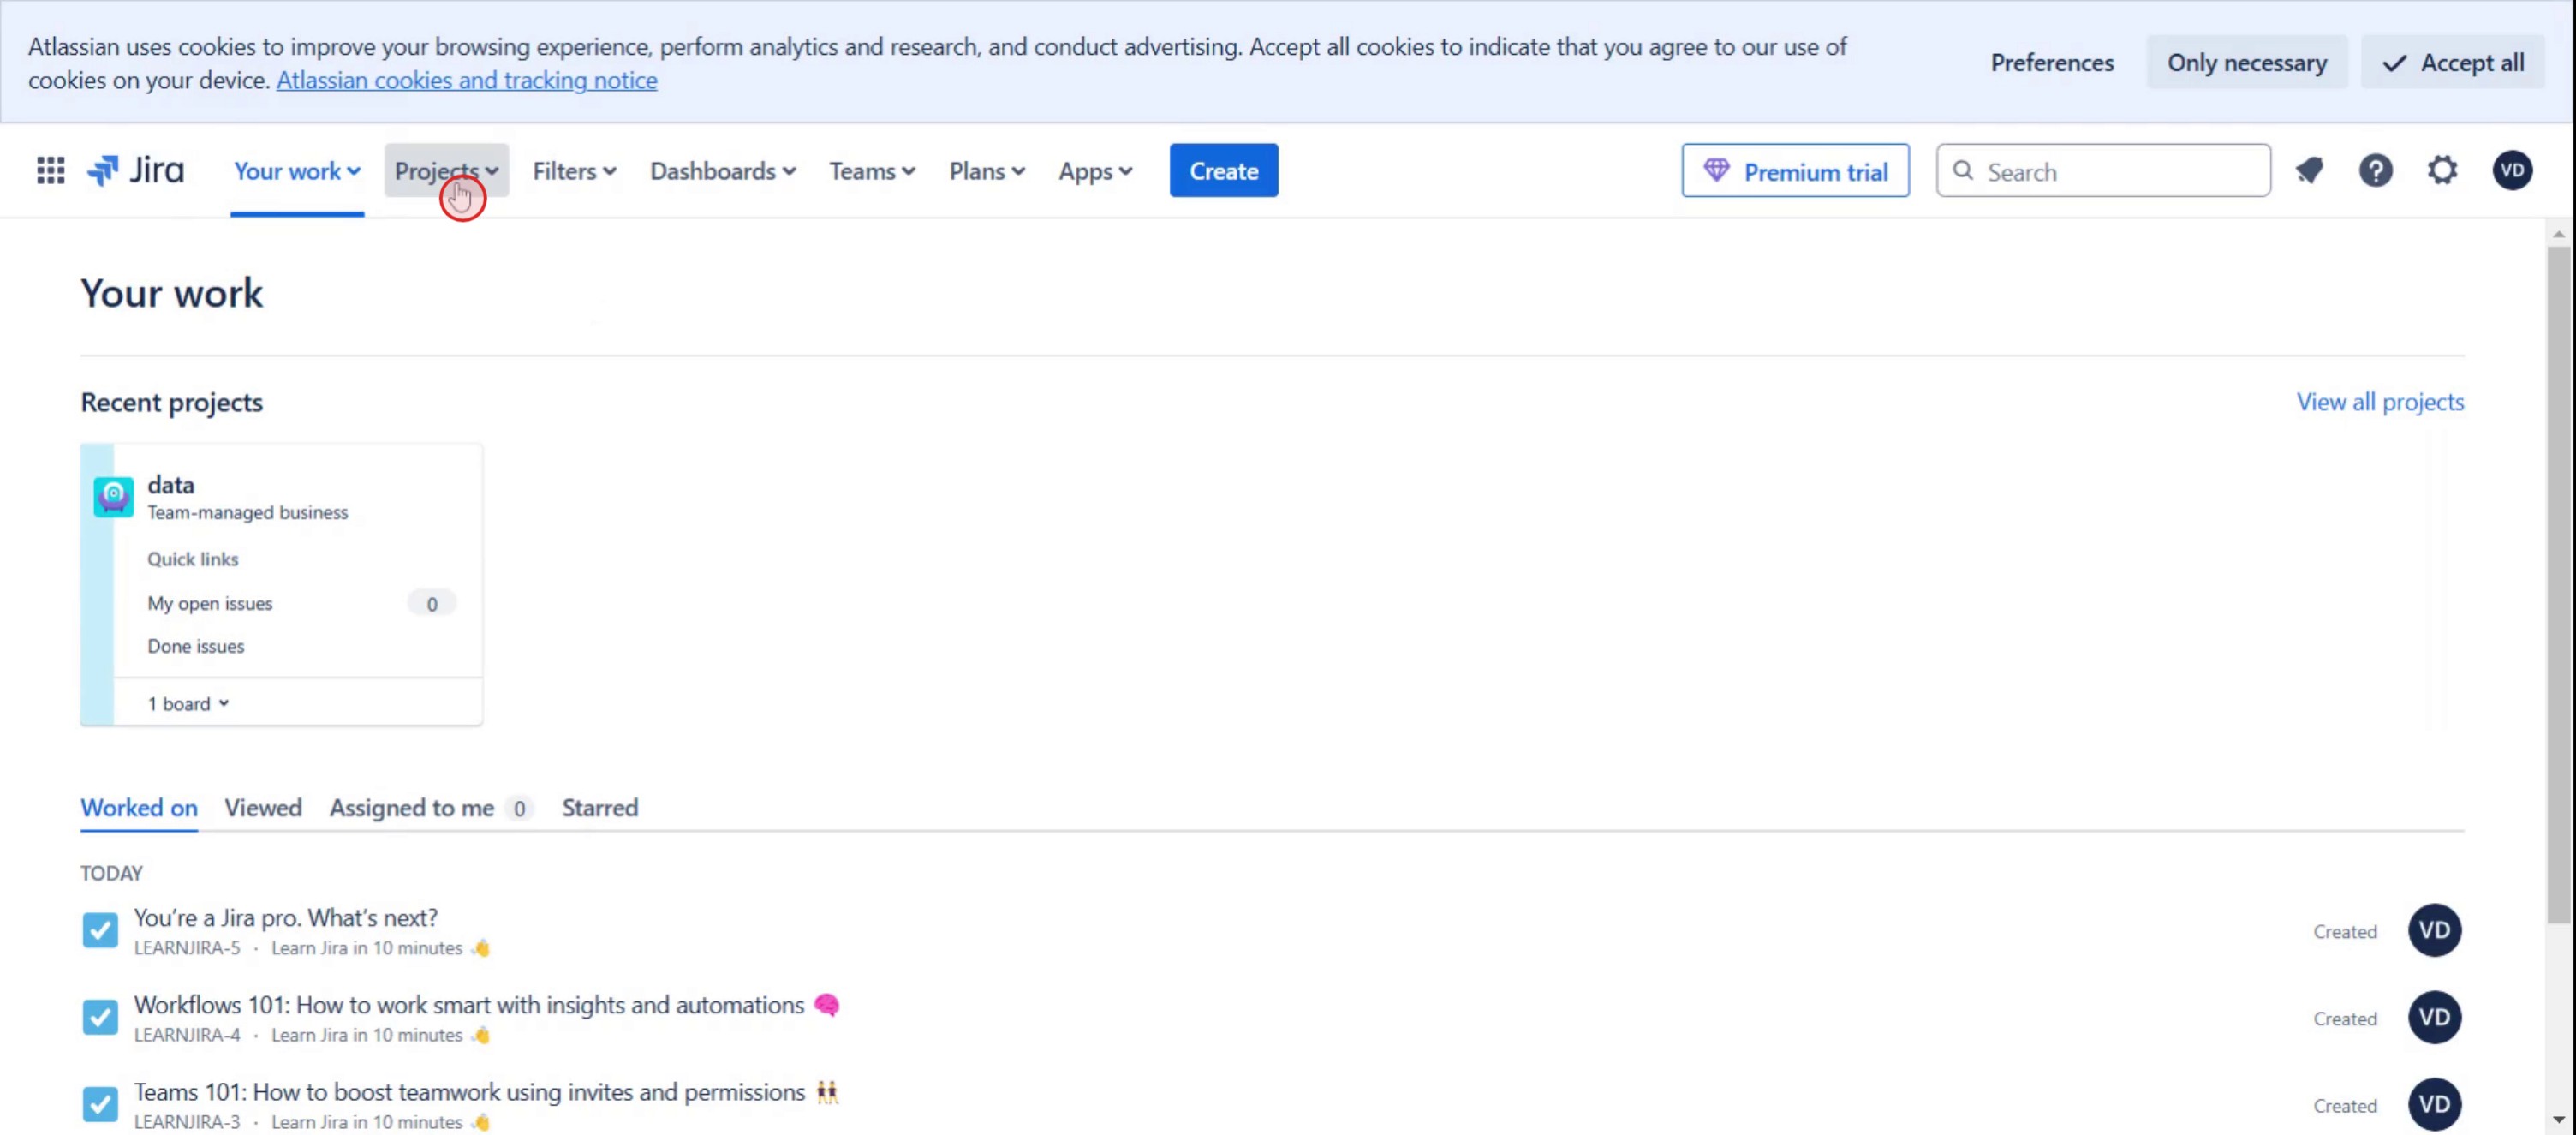
Haz clic en la sección Proyectos.
Paso 2
Selecciona el proyecto reciente en el que deseas trabajar.

Paso 3
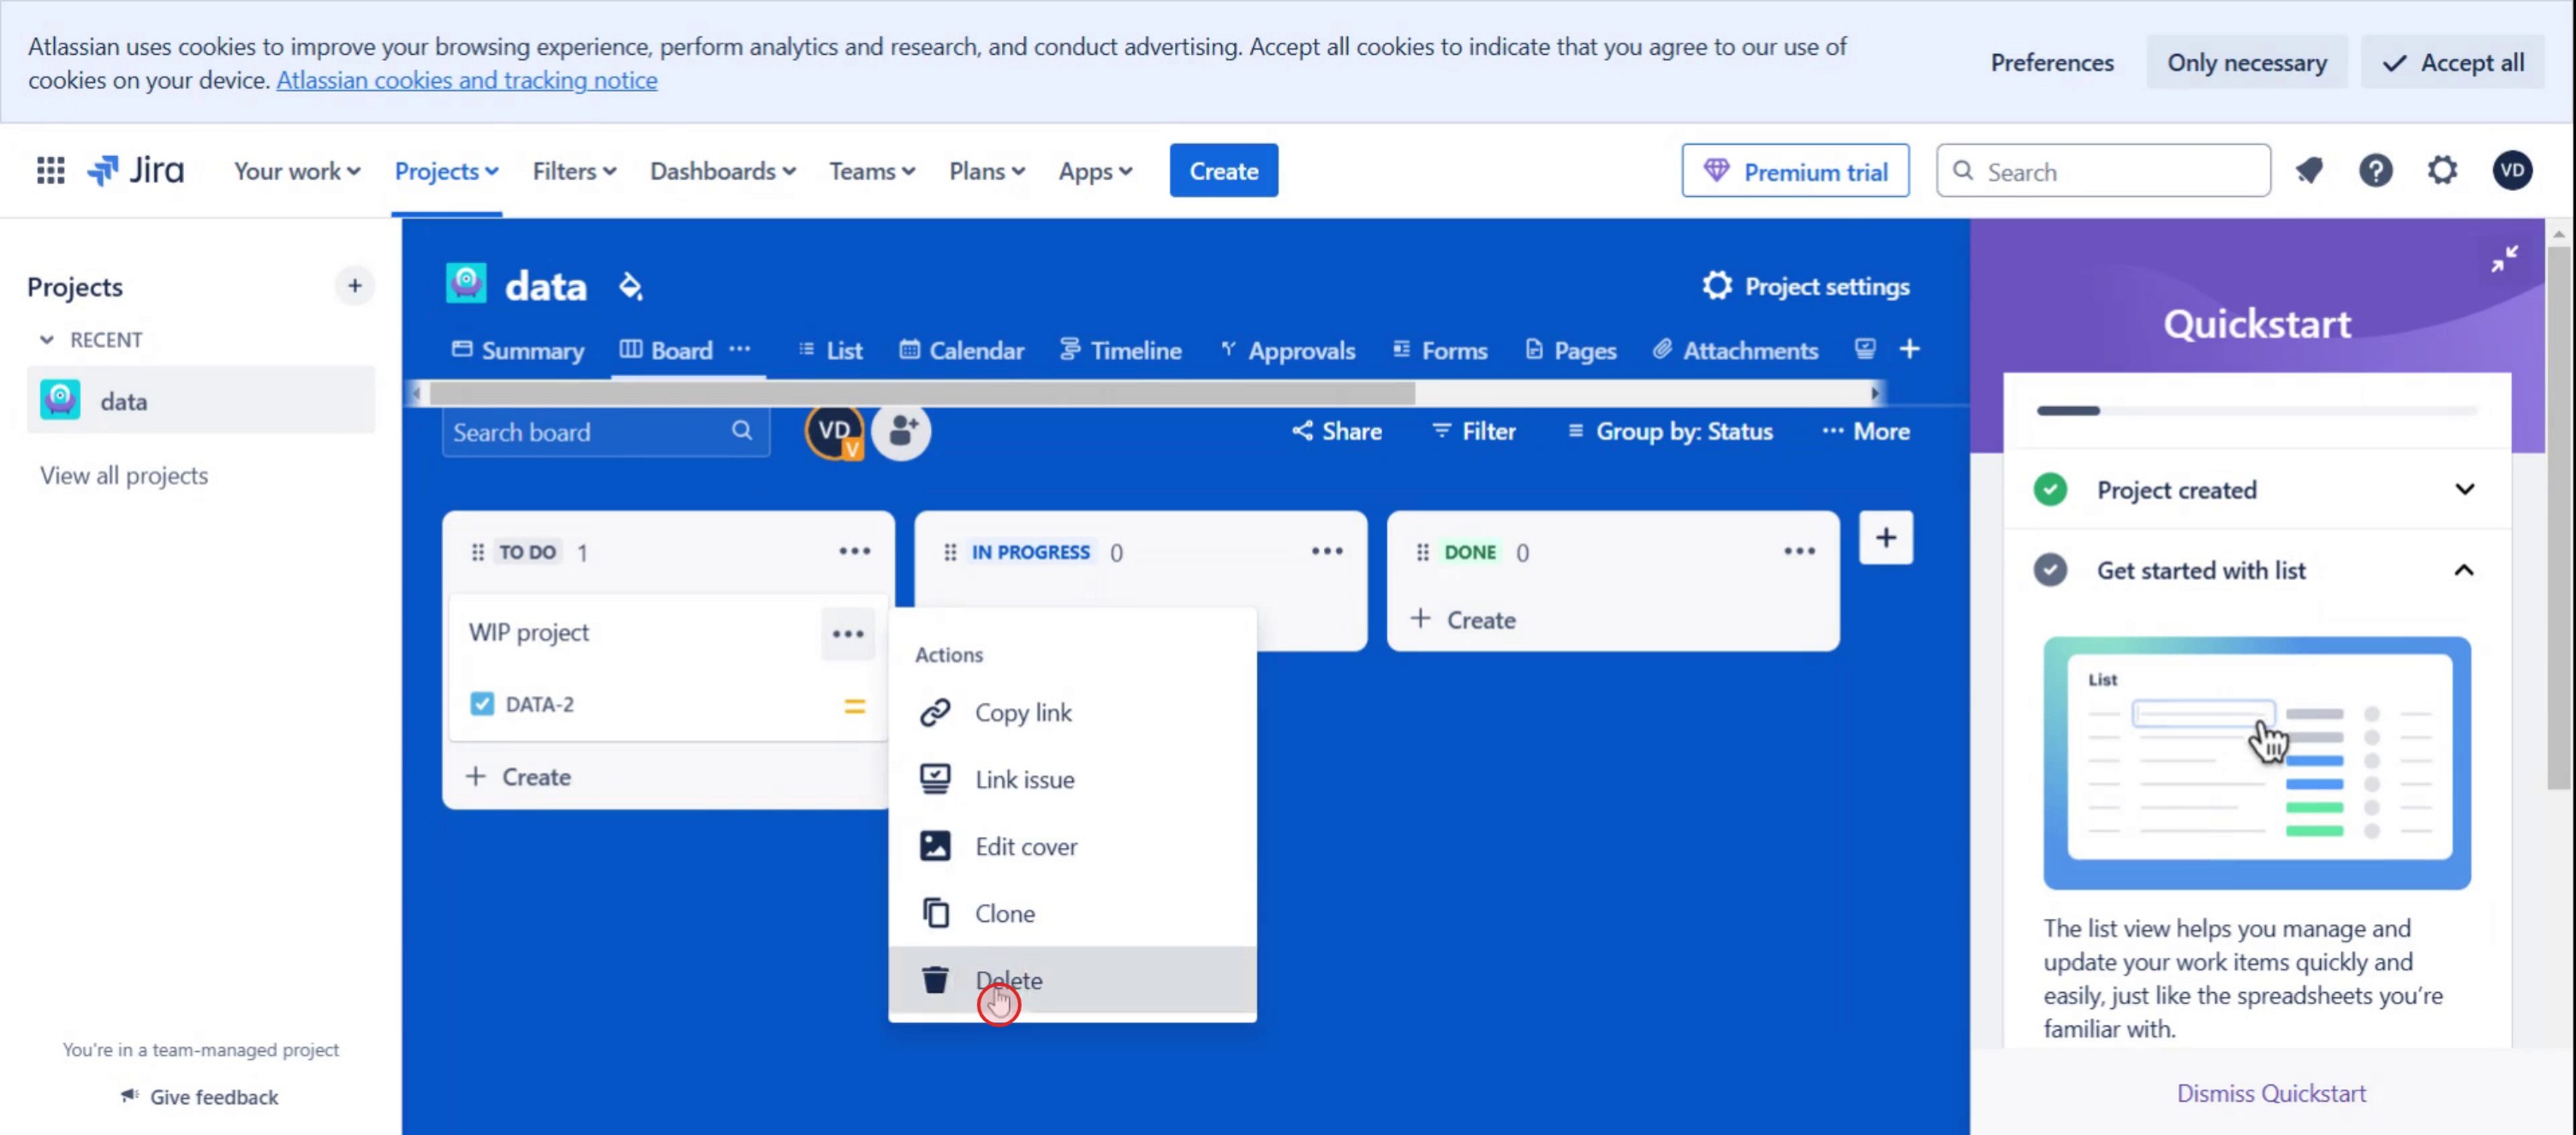
Selecciona la opción Tablero.

Paso 4
Haz clic en los tres puntos.

Paso 5
Luego selecciona la opción de eliminar.
Paso 6
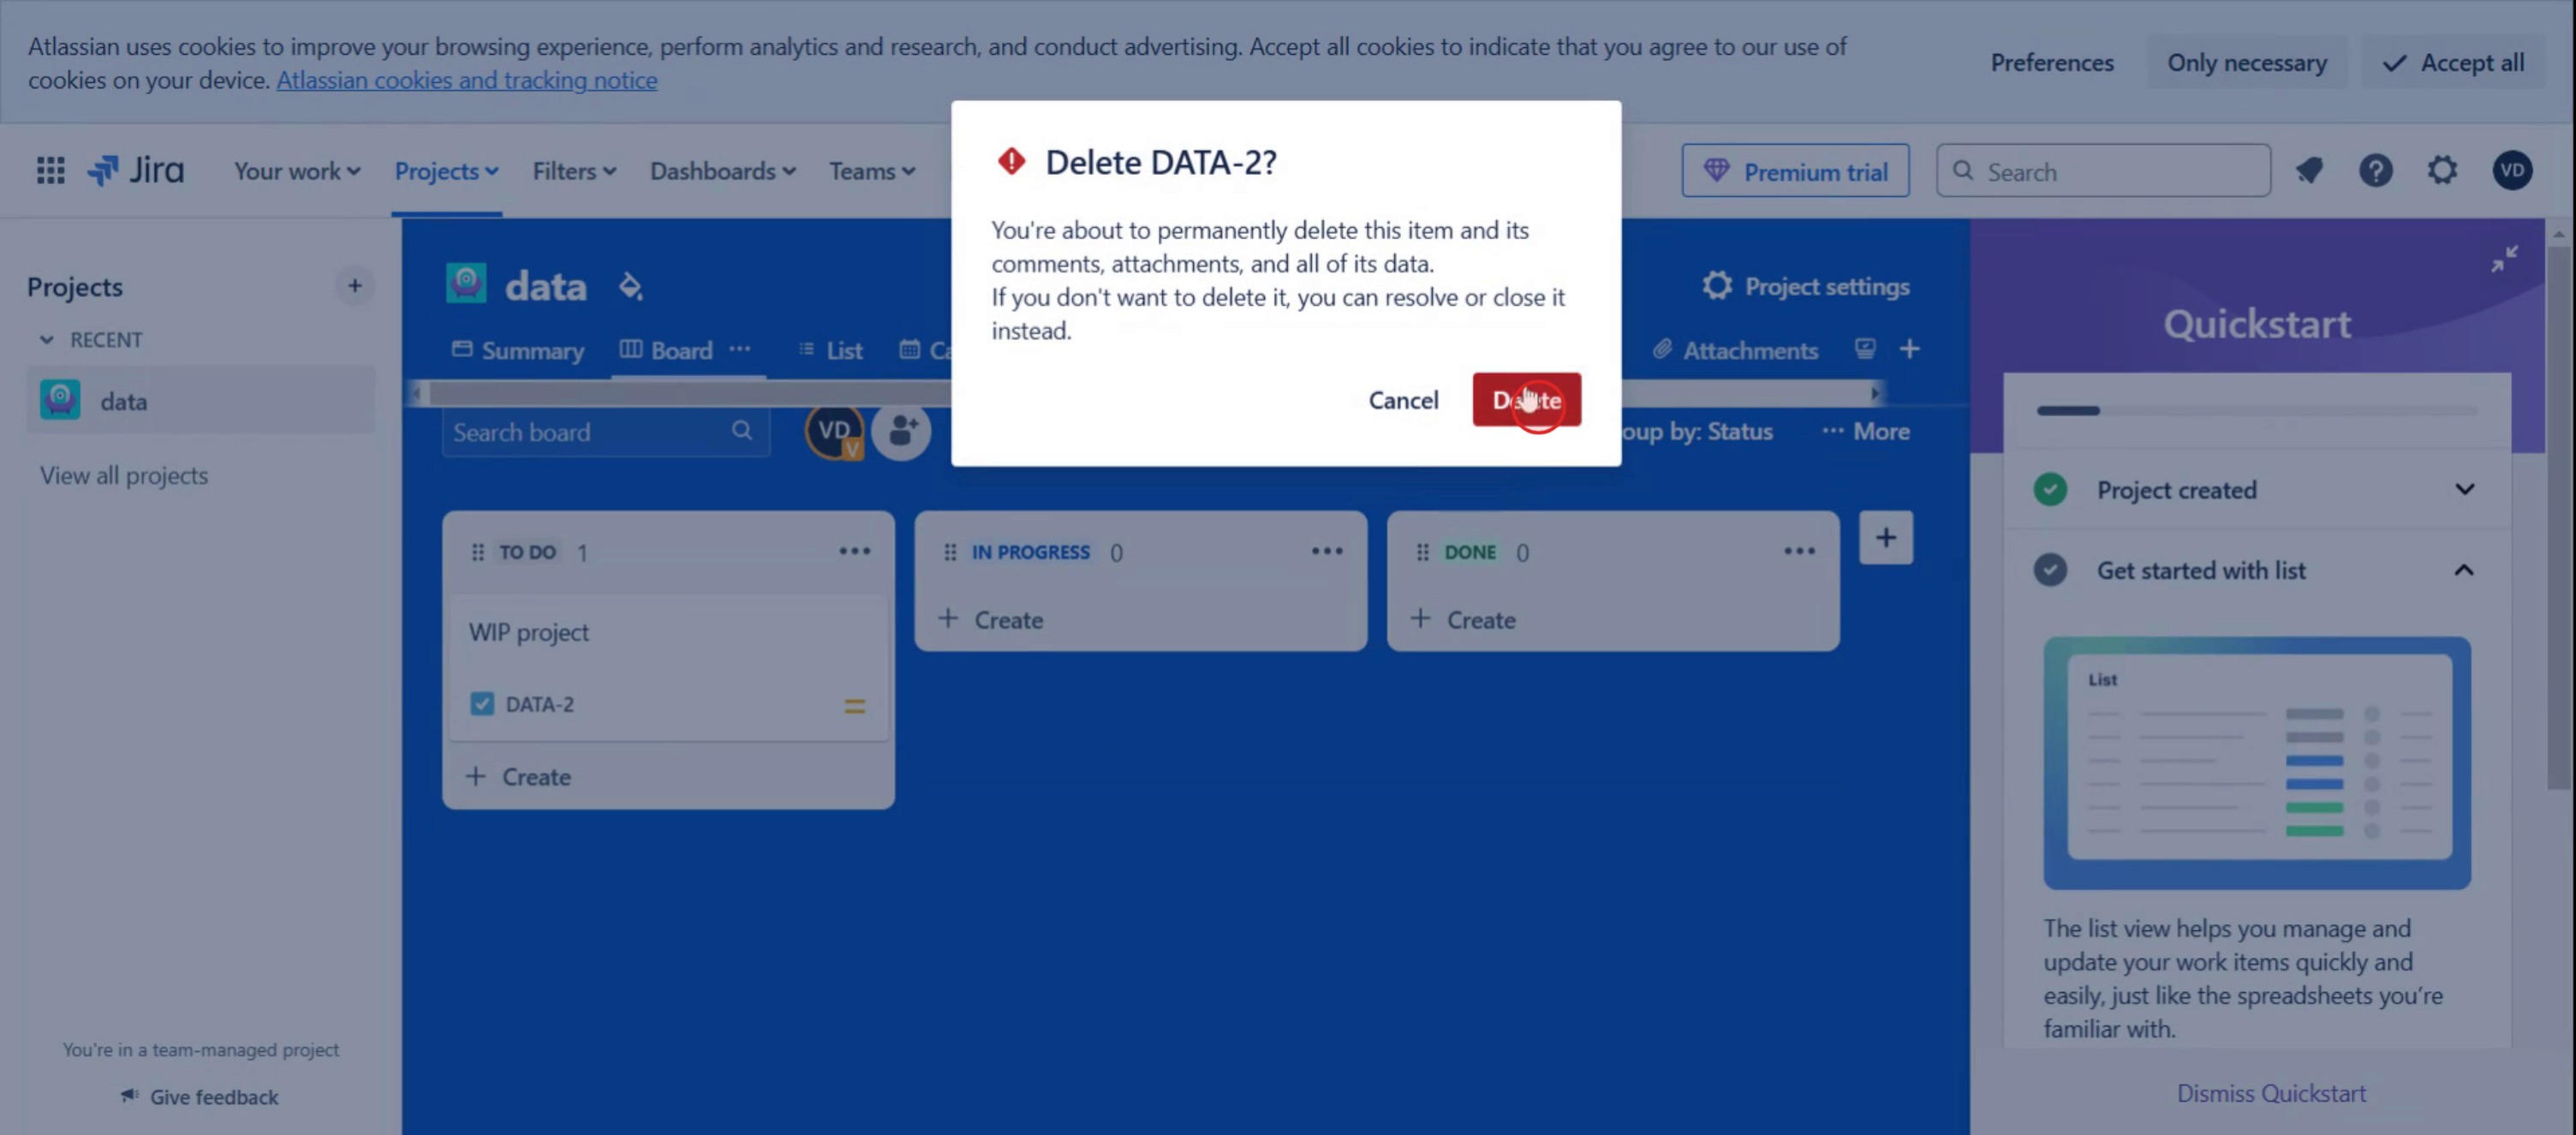
Y haz clic en eliminar,
Consejos profesionales para eliminar un ticket de Jira
Comprueba tus permisos – Solo los usuarios con el permiso Delete Issues en Jira pueden eliminar un ticket. Si no ves la opción de eliminar, pide acceso a tu administrador de Jira.
Considera archivarlo en su lugar – Si no quieres perder el ticket permanentemente, considera resolverlo o archivarlo en lugar de eliminarlo.
Ten cuidado al eliminar – Una vez que se elimina un ticket de Jira, no se puede recuperar. Asegúrate de tener una copia de seguridad o una captura de pantalla antes de eliminarlo.
Errores comunes y cómo evitarlos
Falta de permisos de eliminación – Si no puedes eliminar un ticket, consulta con tu administrador de Jira para que te conceda los permisos necesarios.
Eliminación accidental – Los tickets eliminados no se pueden restaurar. Confirma siempre antes de continuar.
Eliminar sin avisar a los miembros del equipo – Informa a tu equipo antes de eliminar un ticket, especialmente si está vinculado a otros tickets.
Intentar eliminar un ticket de un sprint – Los tickets vinculados a sprints activos pueden requerir reasignación o cierre antes de su eliminación.
Preguntas frecuentes comunes para eliminar un ticket de Jira
¿Puedo recuperar un ticket de Jira eliminado?
No, Jira no tiene una función integrada para restaurar tickets eliminados. Una vez eliminado, el ticket se elimina de forma permanente.¿Por qué no veo la opción de eliminar?
Es posible que no tengas el permiso de Delete Issues. Ponte en contacto con tu administrador de Jira para solicitar acceso.¿Puedo eliminar varios tickets de Jira a la vez?
Sí, puedes usar la función de eliminación masiva de Jira. Ve al navegador de incidencias, selecciona varios tickets y elige la opción de eliminar. Asegúrate de revisarlo bien antes de confirmar.¿Cómo grabar la pantalla en Mac?
Para grabar la pantalla en un Mac, puedes usar Trupeer AI. Te permite capturar toda la pantalla y ofrece capacidades de IA como añadir avatares de IA, añadir locución y hacer zoom de acercamiento y alejamiento en el vídeo. Con la función de traducción de vídeo con IA de Trupeer, puedes traducir el vídeo a más de 30 idiomas.¿Cómo añadir un avatar de IA a una grabación de pantalla?
Para añadir un avatar de IA a una grabación de pantalla, necesitarás usar una herramienta de grabación de pantalla con IA. Trupeer AI es una herramienta de grabación de pantalla con IA, que te ayuda a crear vídeos con varios avatares y también te ayuda a crear tu propio avatar para el vídeo.¿Cómo grabar la pantalla en Windows?
Para grabar la pantalla en Windows, puedes usar la Game Bar integrada (Windows + G) o una herramienta avanzada de IA como Trupeer AI para funciones más avanzadas como avatares de IA, locución, traducción, etc.¿Cómo añadir locución a un vídeo?
Para añadir locución a los vídeos, descarga la extensión de Chrome de Trupeer AI. Una vez registrado, sube tu vídeo con voz, elige la locución deseada de Trupeer y exporta tu vídeo editado.¿Cómo hago zoom en una grabación de pantalla?
Para hacer zoom durante una grabación de pantalla, usa los efectos de zoom de Trupeer AI, que te permiten acercar y alejar en momentos específicos, mejorando el impacto visual del contenido de tu vídeo.
Lecturas sugeridas
Generador de documentación técnica
Software de base de conocimientos
Cómo exportar el backlog de Jira a Excel
Cómo cambiar el tipo de incidencia en Jira
Tutoriales relacionados

