

So erstellst du einen Rahmen in Figma
Erfahre, wie du in Figma einen Frame erstellst, um deine UI-Designs und Layouts zu organisieren. Ein anfängerfreundlicher Leitfaden zur Verwendung des Frame-Tools für mehr Struktur und bessere Responsivität.
Detaillierte Schritte:
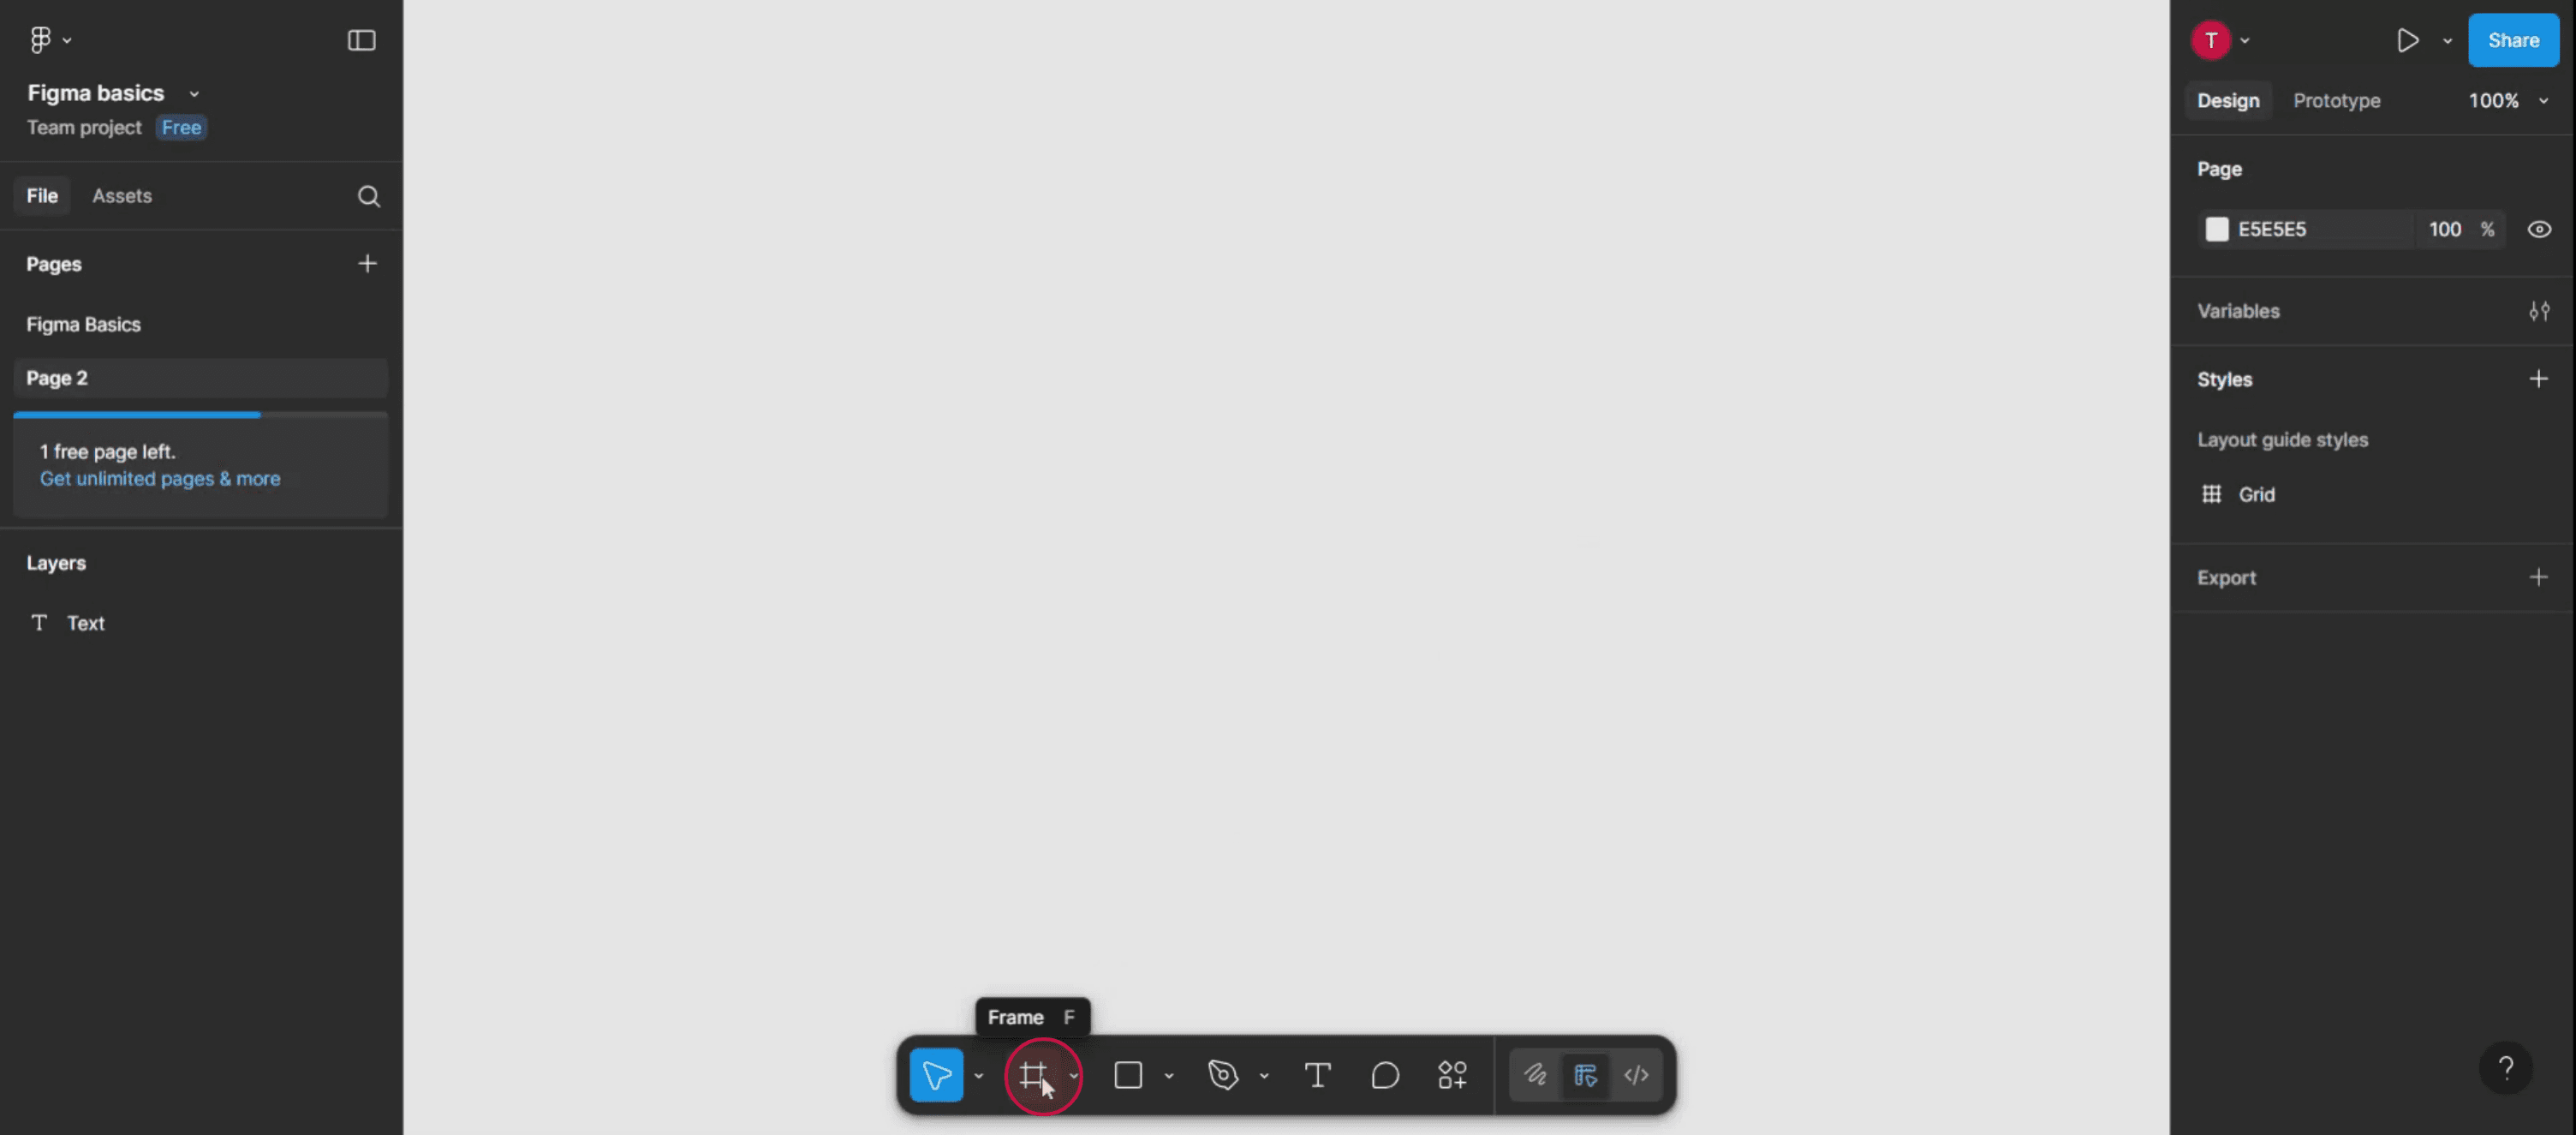
1. Wählen Sie das Frame-Werkzeug aus: Klicken Sie in der Symbolleiste auf das Rahmen-Symbol oder drücken Sie die Taste 'F'.
2. Wählen Sie eine Erstellungsmetode: Klicken und ziehen: Klicken und ziehen Sie auf der Arbeitsfläche, um einen Rahmen mit benutzerdefinierten Abmessungen zu erstellen.
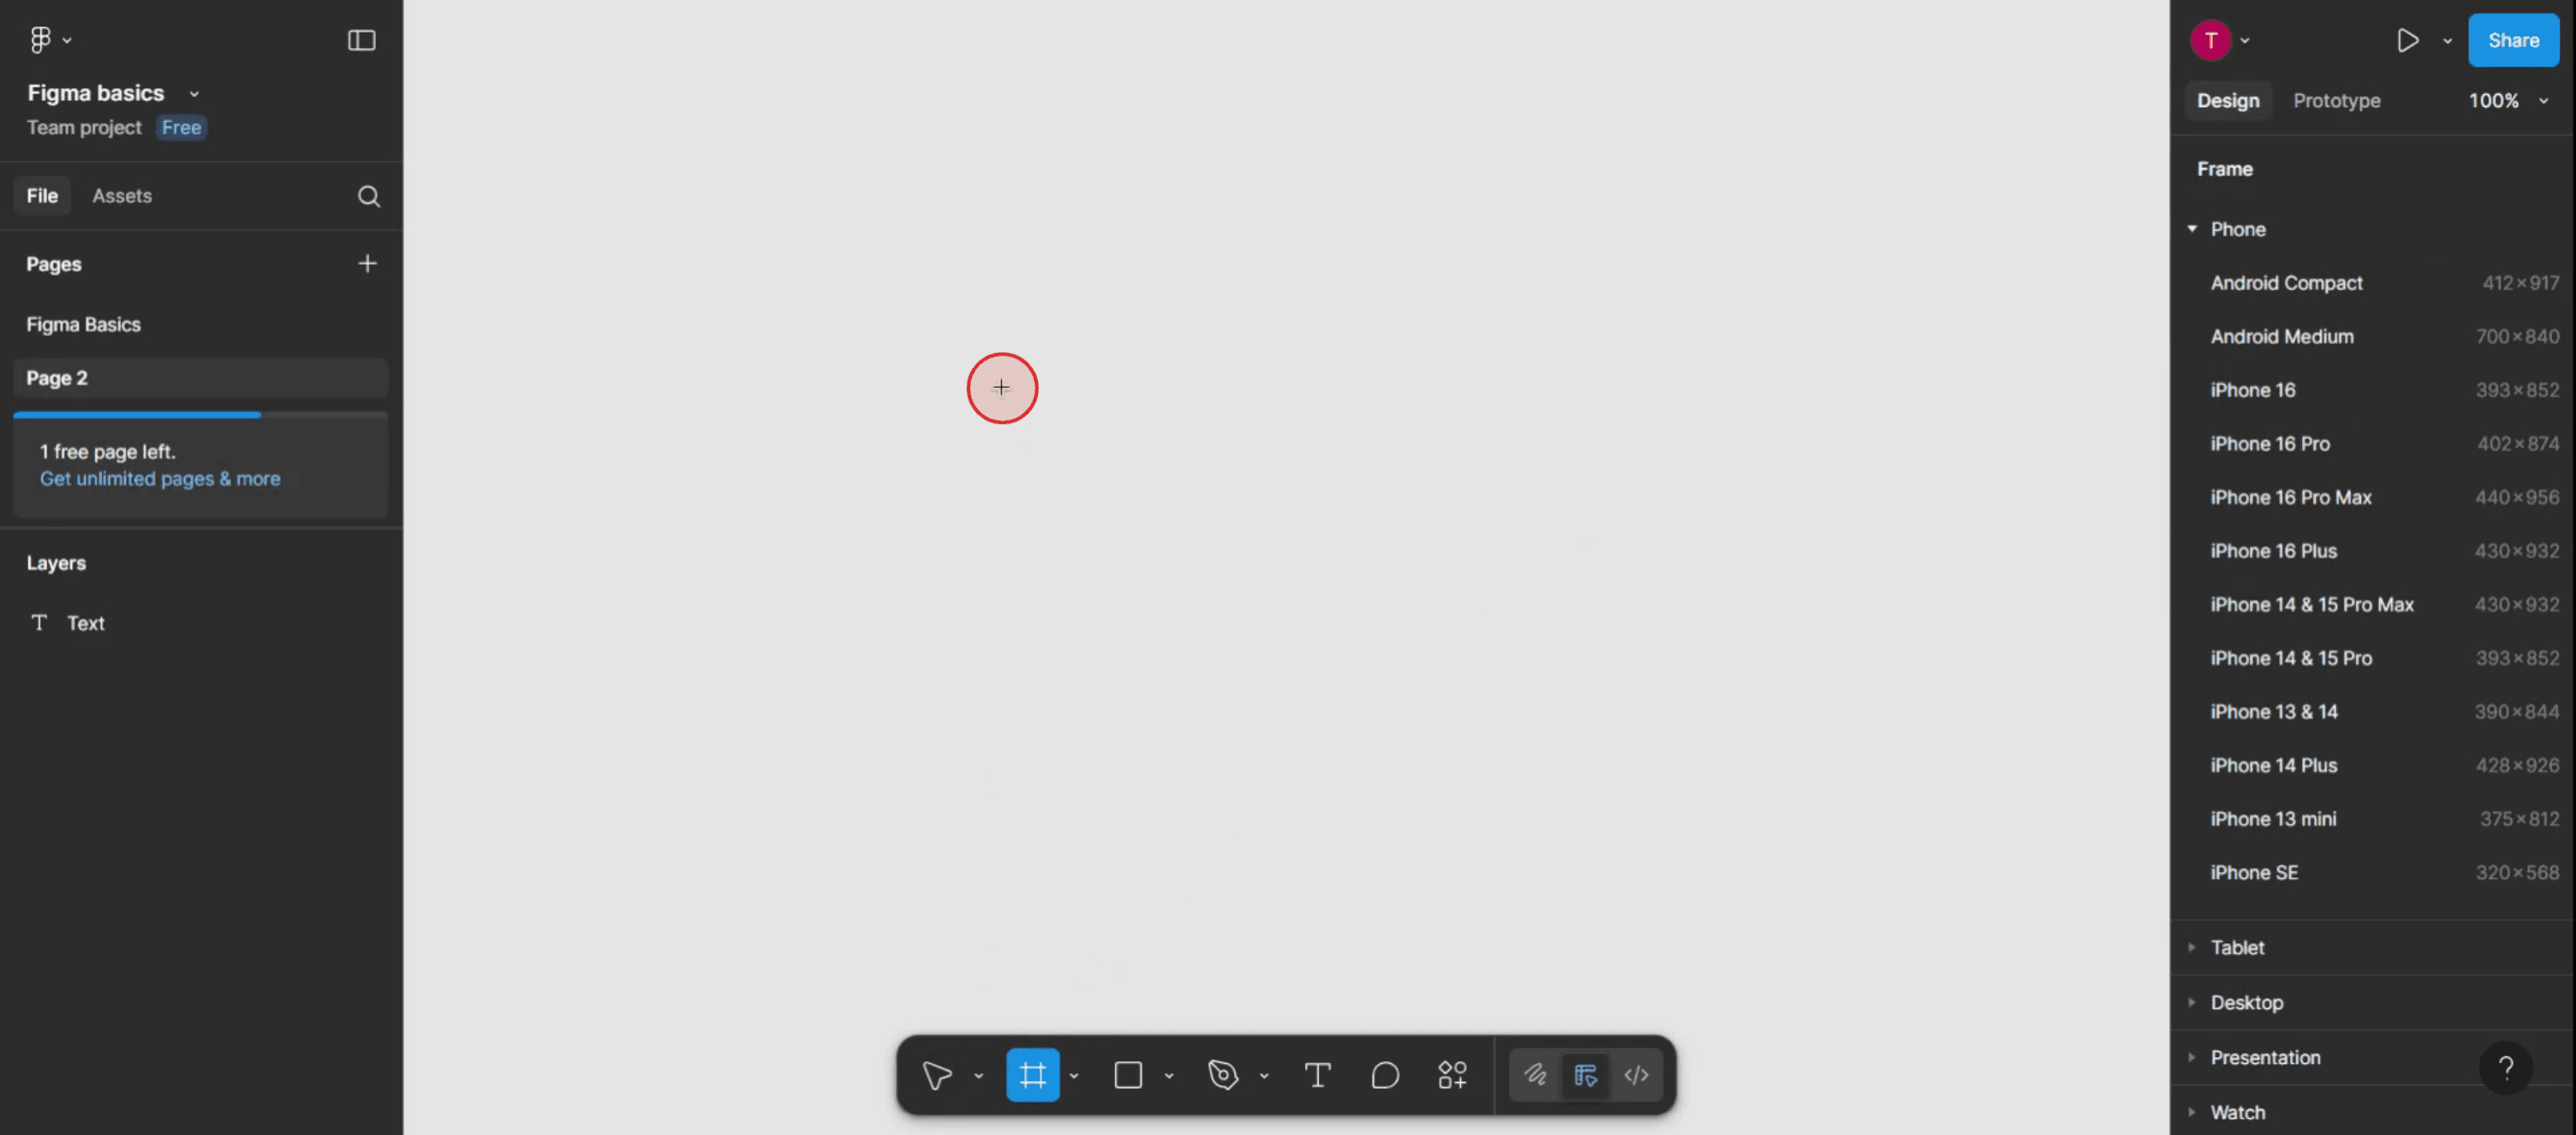
Vorgegebene Gerätegröße: Wählen Sie im Eigenschaftenbereich rechts eine voreingestellte Rahmengröße aus.
Rahmenauswahl: Wählen Sie vorhandene Elemente aus und konvertieren Sie sie in einen Rahmen.
3. Erstellen Sie einen Rahmen um vorhandene Elemente (Rahmenauswahl): Wählen Sie die gewünschten Elemente aus und drücken Sie dann Ctrl + Alt + G (Win) oder ⌘ + Opt + G (Mac), um einen Rahmen zu erstellen, der diese Elemente enthält.
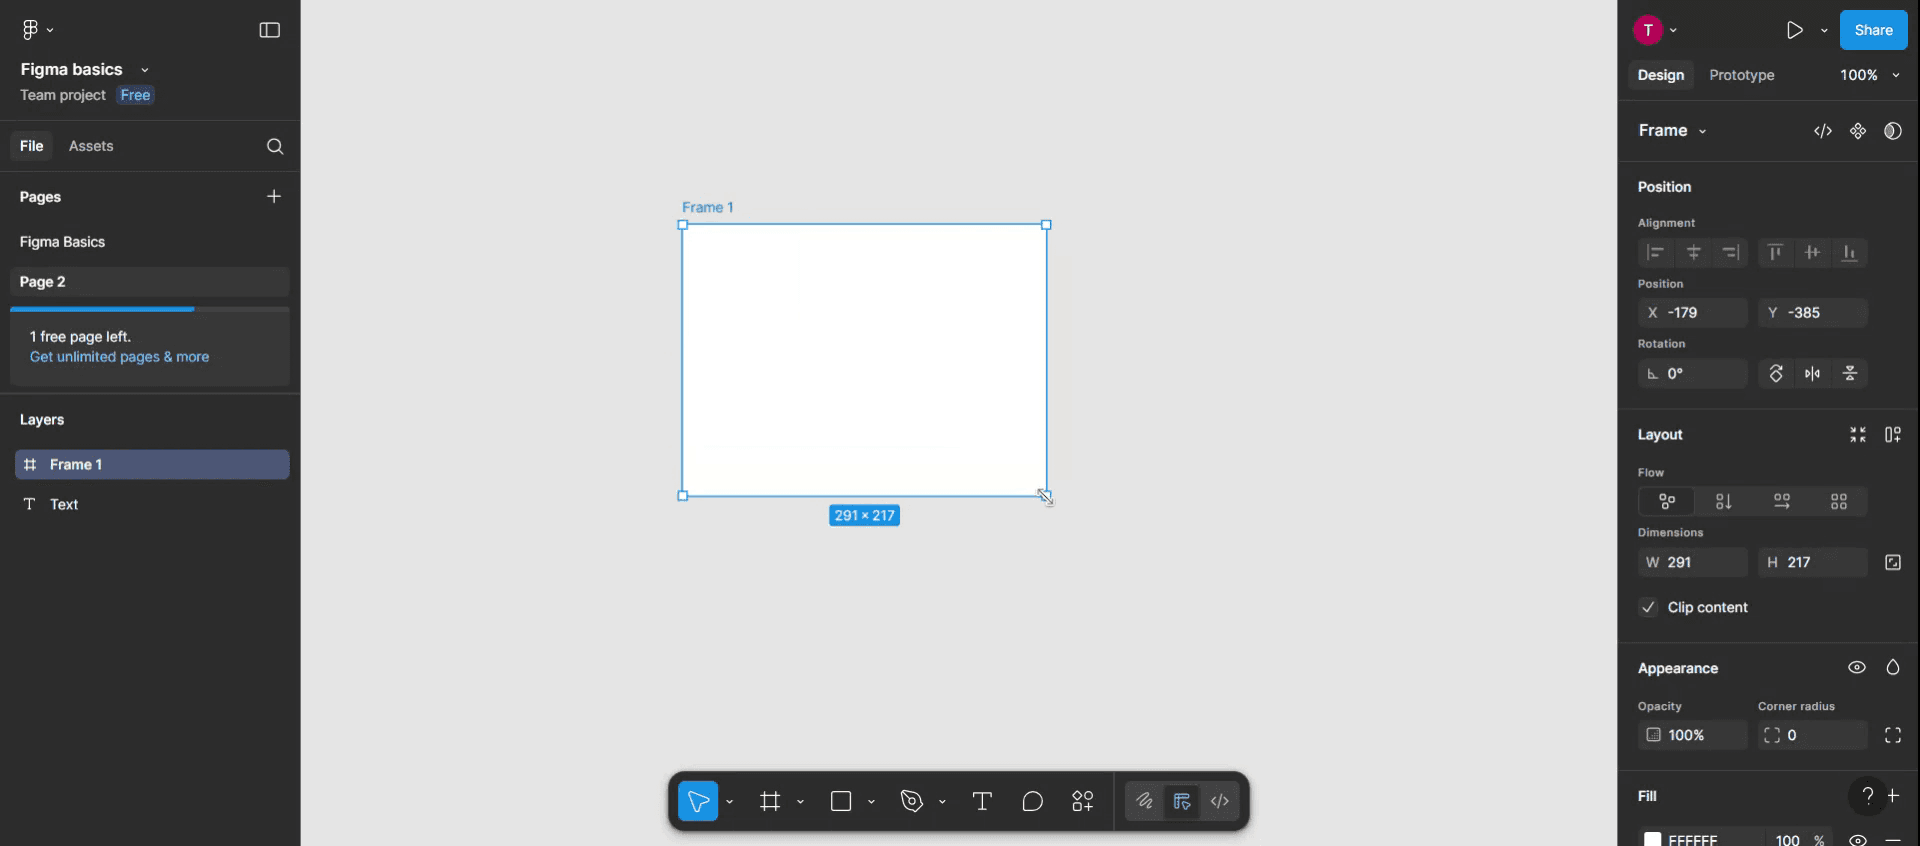
4. Passen Sie die Rahmeneigenschaften an: Nach der Erstellung können Sie die Eigenschaften des Rahmens (Größe, Farbe usw.) im rechten Bedienfeld ändern.
Schritt-für-Schritt-Anleitung: So erstellen Sie einen Rahmen in Figma
Schritt 1
Klicken Sie auf die Option "Frames", um den Rahmen-Erstellungsprozess zu starten.
Schritt 2
Nachdem Sie die Option "Frames" ausgewählt haben, tippen Sie irgendwo in der Figma-Vorlage auf die Stelle, an der Sie Ihren neuen Rahmen platzieren möchten.
Schritt 3
Sobald Sie geklickt haben, wird der Rahmen in der Vorlage angezeigt. Anschließend können Sie die Größe und Abmessungen des Rahmens an Ihre spezifischen Anforderungen anpassen.
Profi-Tipps zum Erstellen von Frames in Figma
Verwende die Tastenkombination für das Frame-Werkzeug
Drücke F auf deiner Tastatur, um das Frame-Werkzeug zu aktivieren. Klicke und ziehe dann auf der Arbeitsfläche, um einen Frame zu zeichnen. Dies ist die schnellste und am häufigsten verwendete Methode, um Frames zu erstellen.Erstelle einen Frame über die Symbolleiste
Klicke auf das Frame-Werkzeug-Symbol in der oberen linken Ecke der Symbolleiste (es sieht aus wie ein Hashtag oder ein Rechteck). Wähle dann rechts ein voreingestelltes Frame-Format (wie iPhone, Desktop oder Tablet) aus oder zeichne es manuell auf der Arbeitsfläche.Vorhandene Elemente in einen Frame umwandeln
Wähle die Elemente aus, die du gruppieren möchtest, klicke dann mit der rechten Maustaste und wähle „Frame selection“ im Kontextmenü. Dadurch werden die ausgewählten Elemente in einen neuen Frame eingefasst, was nützlich ist, um dein Design zu organisieren.Verwende Auto Layout in Frames
Nachdem du einen Frame erstellt hast, aktiviere Auto Layout, um ihn responsiv zu machen. Das ist hilfreich beim Gestalten von Buttons, Karten oder Abschnitten, die einen einheitlichen Abstand und eine konsistente Ausrichtung benötigen.Frames für eine bessere Struktur verschachteln
Du kannst einen Frame in einen anderen einfügen. Verschachtelte Frames eignen sich hervorragend, um komplexe UI-Designs und Komponenten wie Modals, Cards und Navigationsleisten zu organisieren.
Häufige Fehler und wie man sie vermeidet
Frames mit Gruppen verwechseln
Gruppen fassen Elemente nur zusammen, aber Frames können Layoutregeln und Einschränkungen enthalten. Verwende Frames, wenn du Struktur, Ausrichtung oder Responsivität brauchst.Keine Constraints festlegen
Wenn du responsive Komponenten entwirfst, kann das Vergessen, innerhalb eines Frames Constraints festzulegen, dazu führen, dass sich Elemente beim Skalieren unerwartet verhalten. Überprüfe die Constraints immer im rechten Bereich.Frames übermäßig verwenden
Die Verwendung zu vieler unnötiger Frames kann dein Ebenen-Panel überladen und das Bearbeiten erschweren. Verwende Frames strategisch—nur, wenn Layoutkontrolle erforderlich ist.Falsche Verschachtelung
Vermeide es, Frames versehentlich in den falschen übergeordneten Frames zu platzieren. Das kann deine Layout-Hierarchie zerstören. Verwende das Ebenen-Panel, um die Struktur im Blick zu behalten.Das Benennen überspringen
Wenn du deinen Frames keine Namen gibst, wird die Zusammenarbeit verwirrend. Benenne deine Frames immer klar (wie „Navbar“, „Footer“ oder „iPhone 14 Screen“), damit alles organisiert bleibt.
Häufig gestellte Fragen zum Erstellen von Frames in Figma
Was ist der Unterschied zwischen einem Frame und einer Zeichenfläche?
In Figma funktioniert ein Frame wie eine Zeichenfläche in anderen Tools, verfügt jedoch über mehr Layout- und Responsive-Funktionen. Frames können als Container mit Constraints und Auto Layout dienen.Kann ich die Größe eines Frames nach dem Erstellen ändern?
Ja. Wähle den Frame aus und ziehe an seinen Kanten oder gib die genauen Abmessungen im Eigenschaftenbereich rechts ein.Können Frames exportiert werden?
Ja. Frames können als PNG, JPG, SVG oder PDF exportiert werden. Wähle den Frame aus und verwende den Export-Bereich im Eigenschaftenbereich.Gibt es voreingestellte Frame-Größen in Figma?
Ja. Wenn du das Frame-Werkzeug aktivierst, siehst du rechts eine Liste mit Voreinstellungen—etwa Smartphone-Bildschirme, Desktop-Größen, Tablets und Social-Media-Abmessungen.Kann ich Frames innerhalb von Komponenten erstellen?
Absolut. Frames können Teil von Komponenten oder Instanzen sein, sodass du Designelemente effizient strukturieren und wiederverwenden kannst.Wie nimmt man den Bildschirm auf dem Mac auf?
Um den Bildschirm auf einem Mac aufzunehmen, kannst du Trupeer AI verwenden. Es ermöglicht dir, den gesamten Bildschirm aufzunehmen und bietet KI-Funktionen wie das Hinzufügen von KI-Avataren, das Hinzufügen von Voiceover sowie das Hinein- und Herauszoomen im Video. Mit der KI-Videoübersetzungsfunktion von trupeer kannst du das Video in über 30 Sprachen übersetzen.Wie füge ich einer Bildschirmaufnahme einen KI-Avatar hinzu?
Um einen KI-Avatar zu einer Bildschirmaufnahme hinzuzufügen, musst du ein KI-Bildschirmaufzeichnungstool. verwenden. Trupeer AI ist ein KI-Bildschirmaufzeichnungstool, das dir hilft, Videos mit mehreren Avataren zu erstellen, und dir außerdem dabei hilft, deinen eigenen Avatar für das Video zu erstellen.Wie nimmt man den Bildschirm unter Windows auf?
Um den Bildschirm unter Windows aufzunehmen, kannst du die integrierte Game Bar (Windows + G) oder ein fortschrittliches KI-Tool wie Trupeer AI für fortgeschrittenere Funktionen wie KI-Avatare, Voiceover, Übersetzung usw. verwenden.Wie füge ich einem Video ein Voiceover hinzu?
Um Voiceover zu Videos hinzuzufügen, lade die Trupeer-AI-Chrome-Erweiterung herunter. Nach der Anmeldung lade dein Video mit Stimme hoch, wähle das gewünschte Voiceover von Trupeer aus und exportiere dein bearbeitetes Video.Wie zoome ich in eine Bildschirmaufnahme hinein?
Um während einer Bildschirmaufnahme hineinzuzoomen, verwende die Zoom-Effekte in Trupeer AI, mit denen du zu bestimmten Momenten hinein- und herauszoomen kannst und so die visuelle Wirkung deines Videoinhalts verbesserst.
Vorgeschlagene Lektüre
Generator für technische Dokumentation
So blendest du Framennamen in Figma aus
So speicherst du eine Figma-Datei
So erstellst du ein Raster in Figma
Verwandte Tutorials

