

How to Create a Frame in Figma
Learn how to create a frame in Figma to organize your UI designs and layouts. A beginner-friendly guide on using the frame tool for better structure and responsiveness.
Detailed Steps:
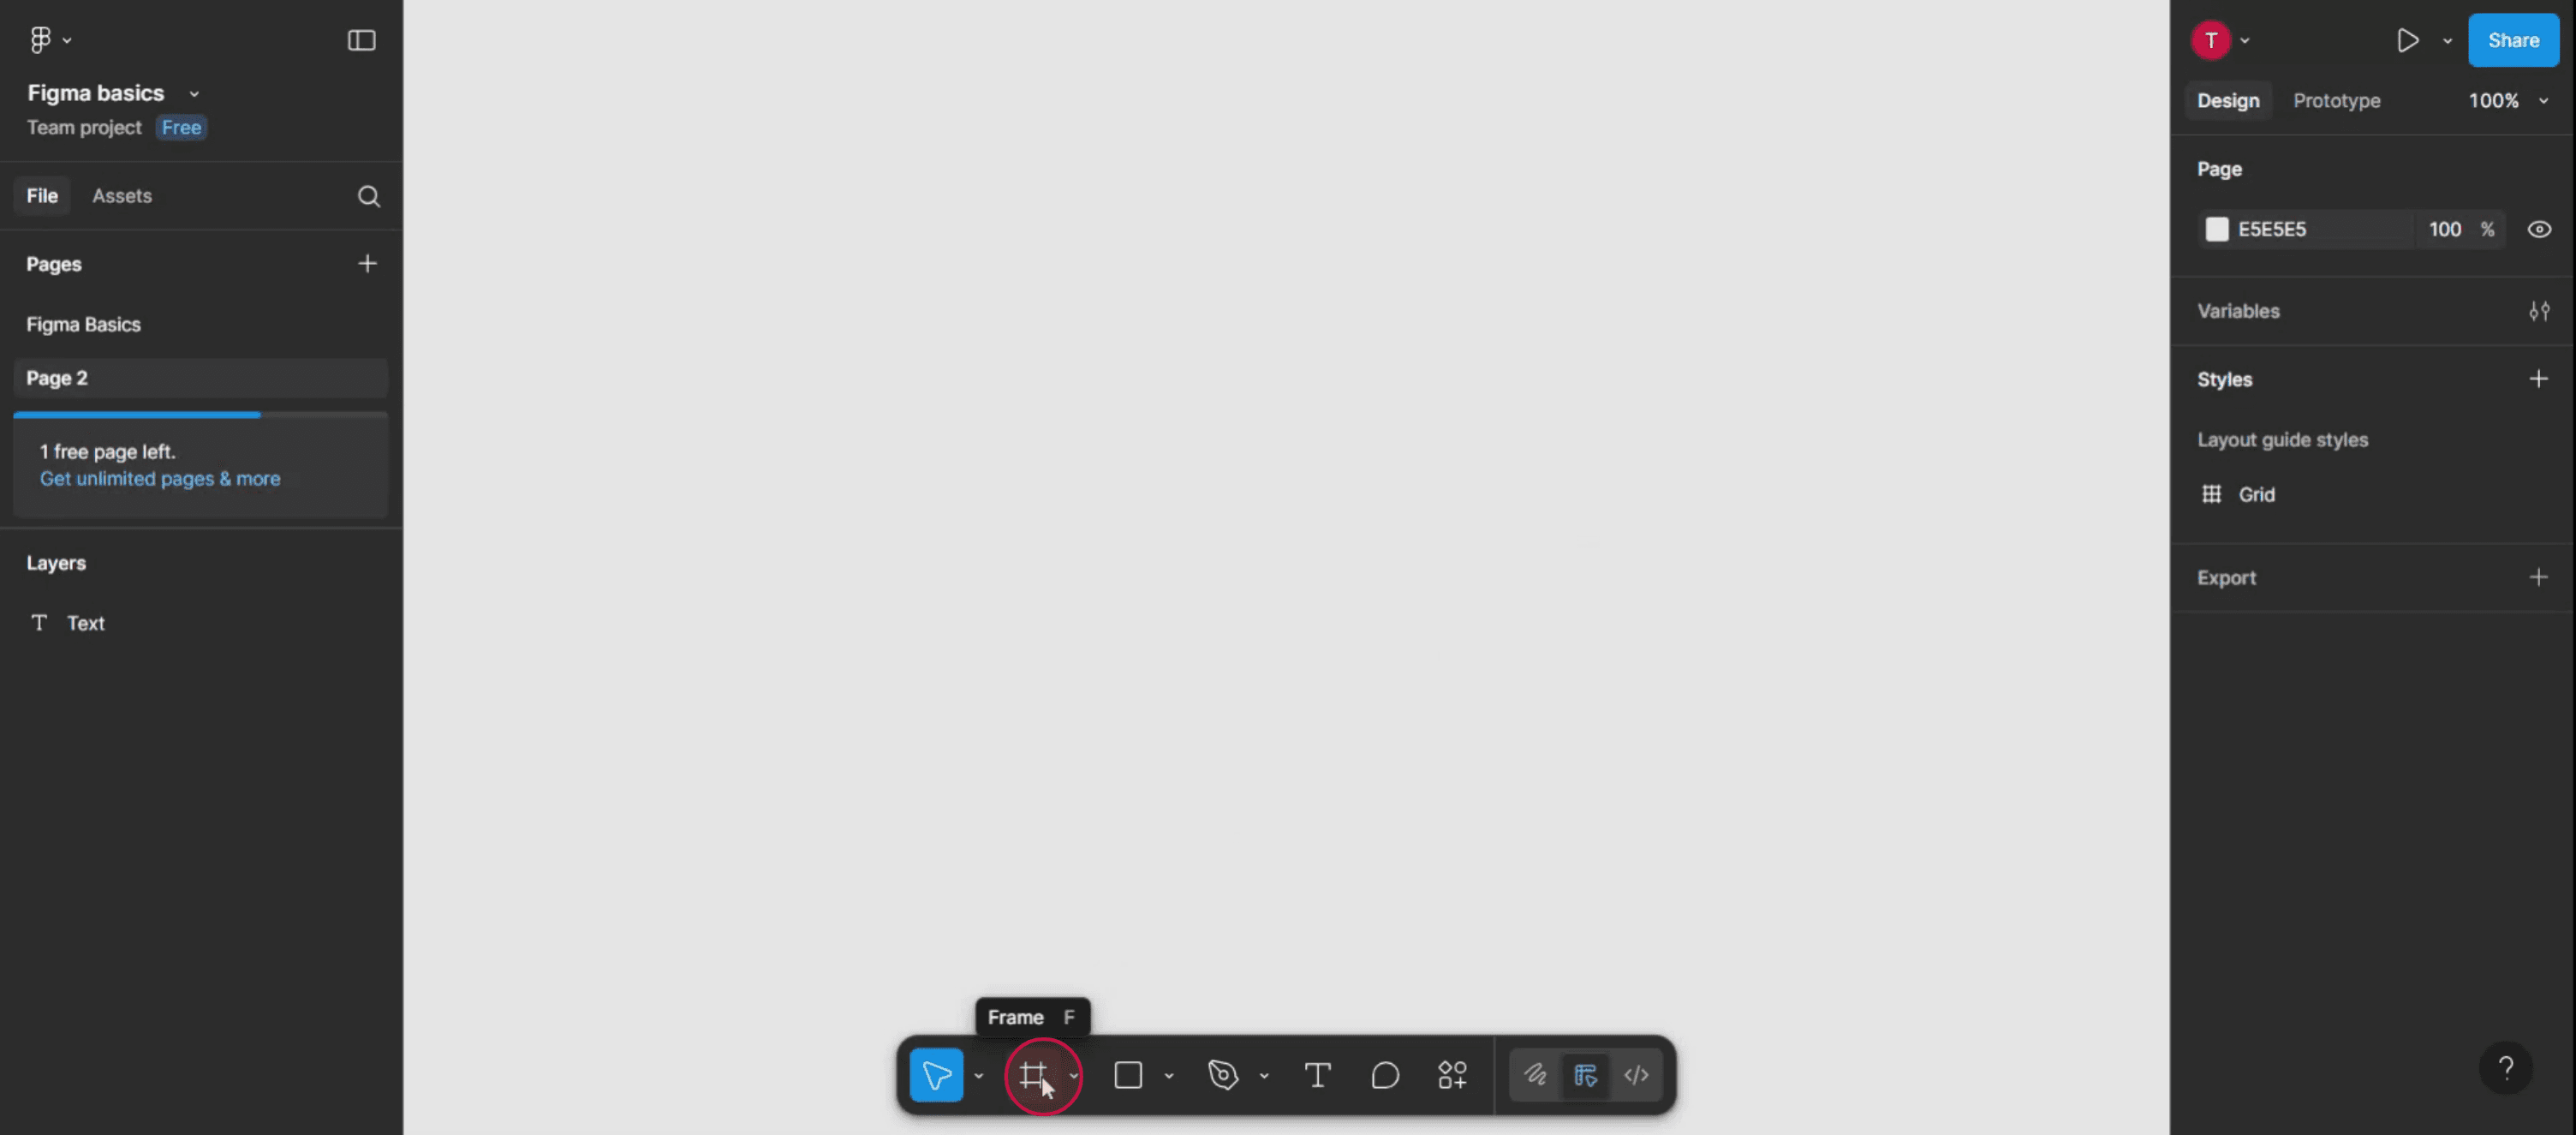
1. Select the Frame tool: Click on the Frame tool icon in the toolbar or press the 'F' key.
2. Choose a creation method: Click and drag: Click and drag on the canvas to create a frame with custom dimensions.
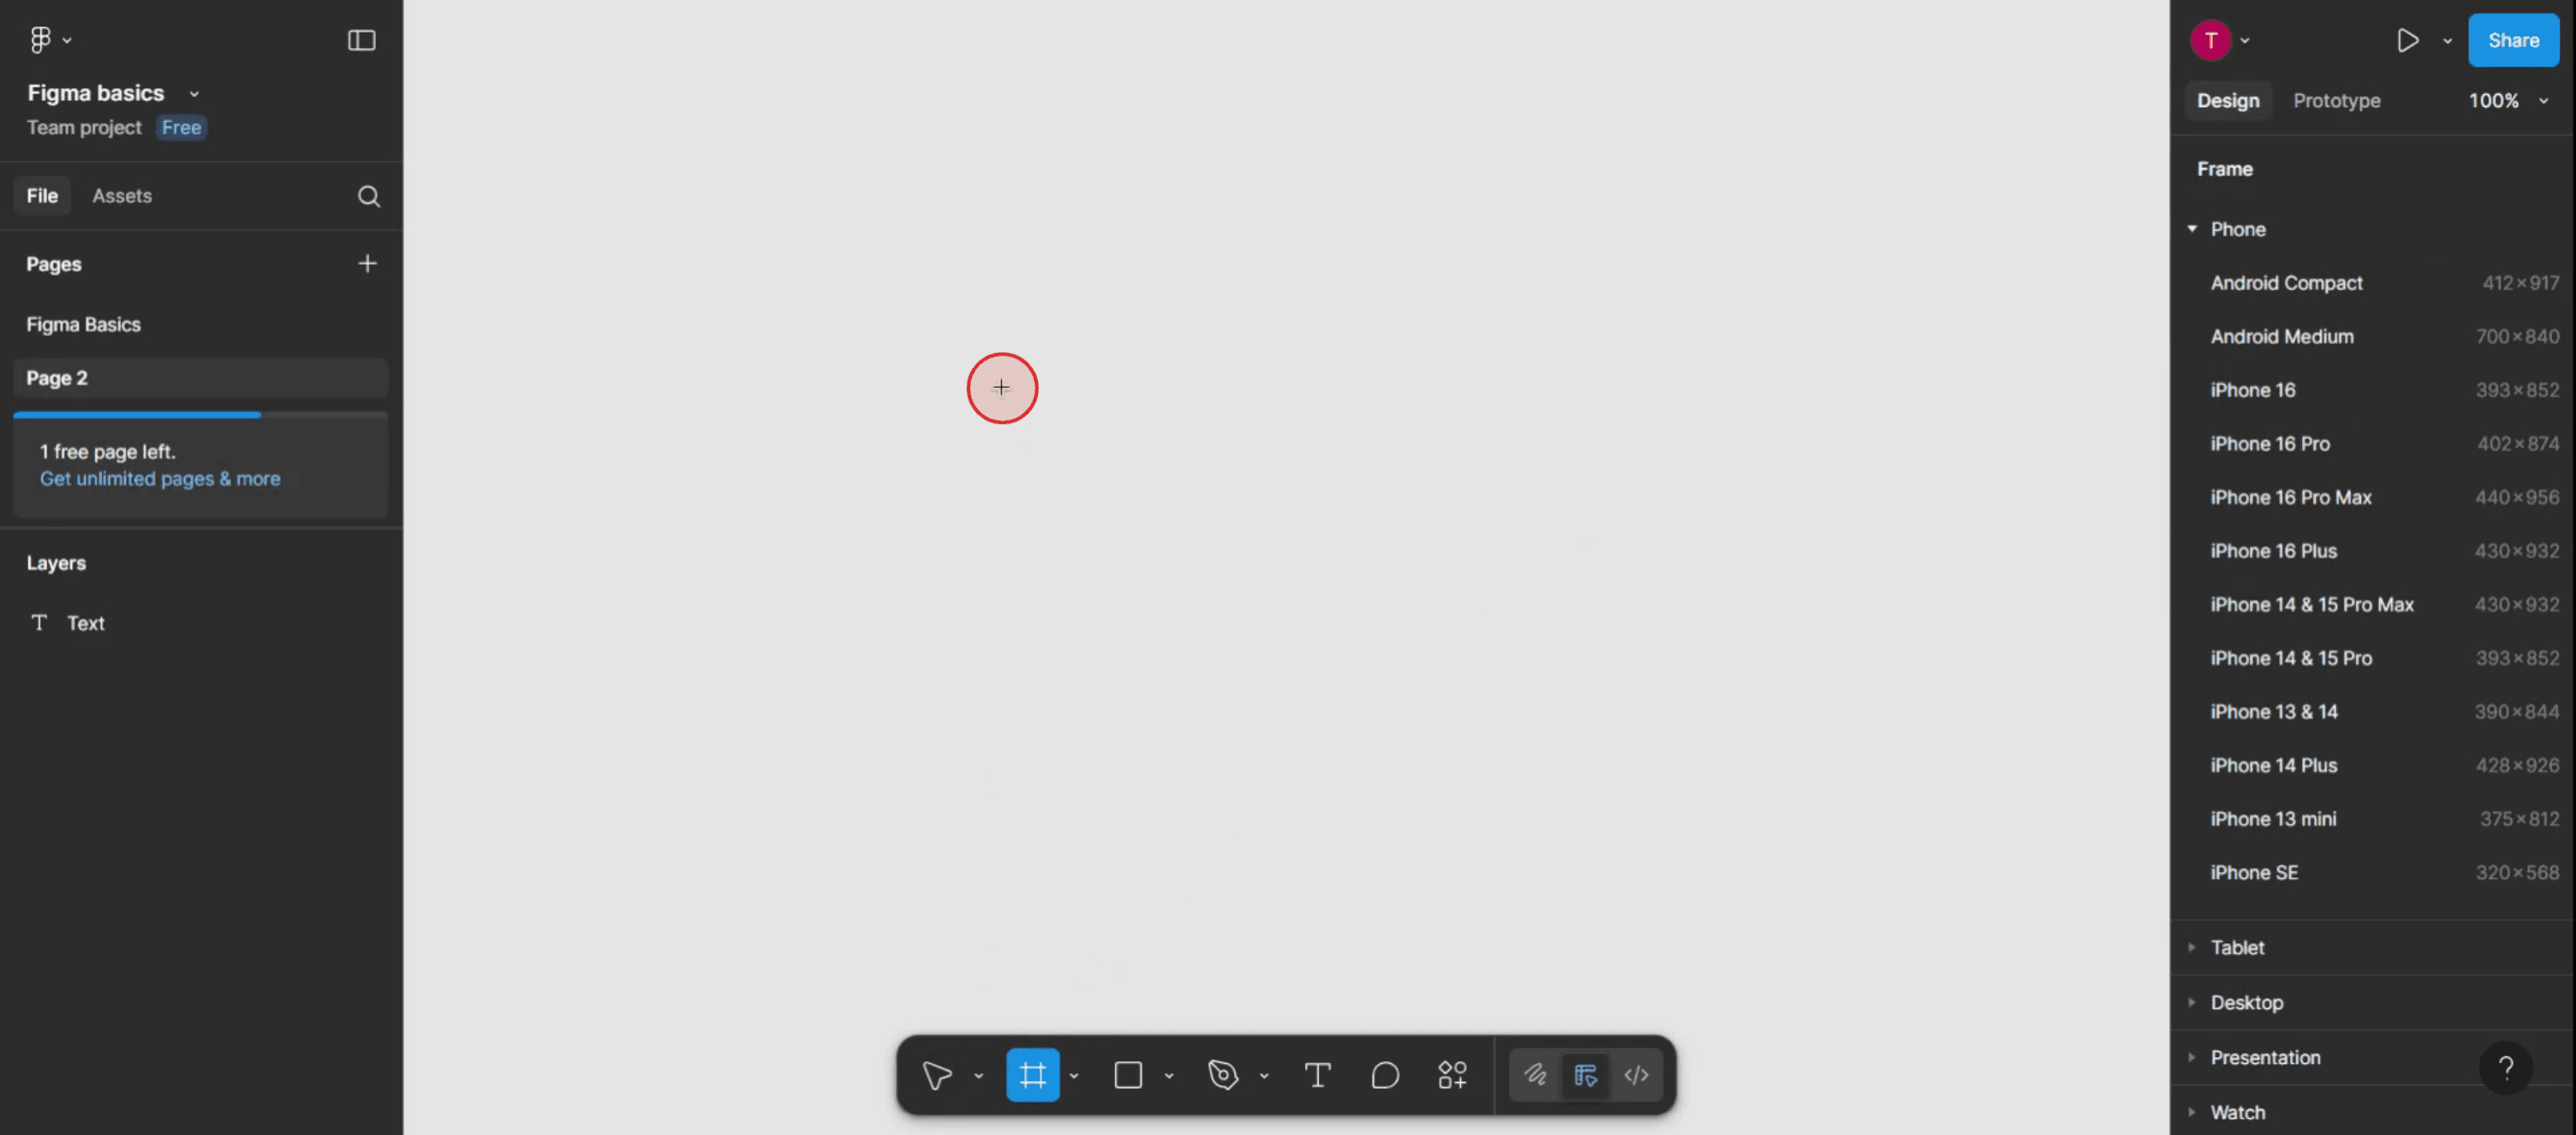
Preset device size: Select a pre-set frame size from the properties panel on the right.
Frame selection: Select existing elements and convert them into a frame.
3. Create a frame around existing elements (Frame selection): Select the desired elements, then press Ctrl + Alt + G (Win) or ⌘ + Opt + G (Mac) to create a frame containing those elements.
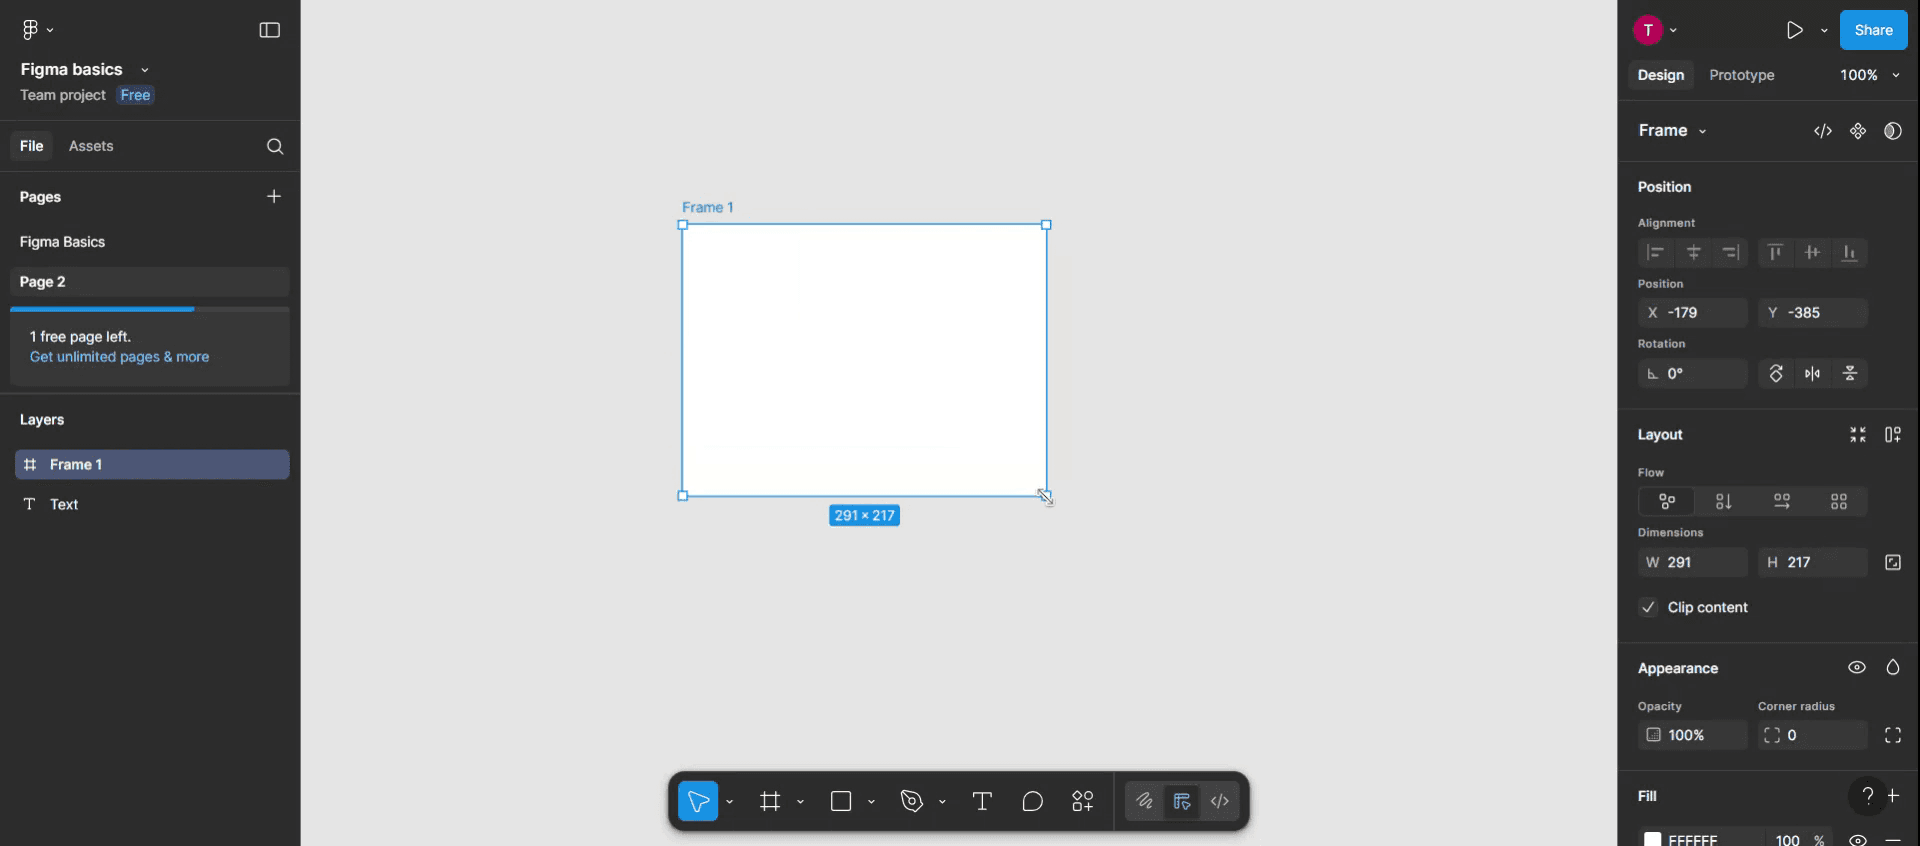
4. Adjust frame properties: Once created, you can modify the frame's properties (size, color, etc.) in the right-hand panel.
Step-by-Step Guide: How to Create a Frame in Figma
Step 1
Click on the "Frames" option to initiate the frame creation process.
Step 2
After selecting the "Frames" option, tap anywhere on the Figma template where you want to place your new frame.
Step 3
Once you've clicked, the frame will appear on the template. You can then adjust the size and dimensions of the frame according to your specific requirements.
Pro Tips for Creating Frames in Figma
Use the Frame Tool Shortcut
Press F on your keyboard to activate the Frame tool. Then click and drag on the canvas to draw a frame. This is the fastest and most commonly used method to create frames.Create a Frame from the Toolbar
Click the Frame tool icon from the top-left corner of the toolbar (it looks like a hashtag or rectangle). Then select a preset frame size (like iPhone, Desktop, or Tablet) from the right panel or draw one manually on the canvas.Convert Existing Elements into a Frame
Select the elements you want to group, then right-click and choose “Frame selection” from the context menu. This wraps the selected elements in a new frame, useful for organizing your design.Use Auto Layout in Frames
After creating a frame, turn on Auto Layout to make it responsive. This helps when designing buttons, cards, or sections that need consistent spacing and alignment.Nest Frames for Better Structure
You can place one frame inside another. Nested frames are great for organizing complex UI designs and components like modals, cards, and navigation bars.
Common Pitfalls and How to Avoid Them
Confusing Frames with Groups
Groups only bundle elements together, but frames can contain layout rules and constraints. Use frames when you need structure, alignment, or responsiveness.Not Setting Constraints
When designing responsive components, forgetting to set constraints inside a frame can cause elements to behave unexpectedly when resizing. Always check the constraints in the right panel.Overusing Frames
Using too many unnecessary frames can clutter your layer panel and make editing difficult. Use frames strategically—only when layout control is needed.Incorrect Nesting
Avoid accidentally placing frames inside the wrong parent frames. It can break your layout hierarchy. Use the layer panel to keep track of structure.Skipping Naming
Not naming your frames makes collaboration confusing. Always name your frames clearly (like “Navbar”, “Footer”, or “iPhone 14 Screen”) to keep things organized.
Common FAQs About Creating Frames in Figma
What is the difference between a frame and an artboard?
In Figma, a frame functions like an artboard in other tools, but with more layout and responsive features. Frames can act as containers with constraints and Auto Layout.Can I resize a frame after creating it?
Yes. Select the frame and drag its edges or enter exact dimensions in the right-hand properties panel.Can frames be exported?
Yes. Frames can be exported as PNG, JPG, SVG, or PDF. Select the frame and use the export section in the properties panel.Are there preset frame sizes in Figma?
Yes. When you activate the Frame tool, you’ll see a list of presets on the right—such as phone screens, desktop sizes, tablets, and social media dimensions.Can I create frames inside components?
Absolutely. Frames can be part of components or instances, allowing you to structure and reuse design elements efficiently.How to screen record on mac?
To screen record on a Mac, you can use Trupeer AI. It allows you to capture the entire screen and provides AI capabilities such as adding AI avatars, add voiceover, add zoom in and out in the video. With trupeer’s AI video translation feature, you can translate the video into 30+ languages.How to add an AI avatar to screen recording?
To add an AI avatar to a screen recording, you'll need to use an AI screen recording tool. Trupeer AI is an AI screen recording tool, which helps you create videos with multiple avatars, also helps you in creating your own avatar for the video.How to screen record on windows?
To screen record on Windows, you can use the built-in Game Bar (Windows + G) or advanced AI tool like Trupeer AI for more advanced features such as AI avatars, voiceover, translation etc.How to add voiceover to video?
To add voiceover to videos, download trupeer ai chrome extension. Once signed up, upload your video with voice, choose the desired voiceover from trupeer and export your edited video.How do I Zoom in on a screen recording?
To zoom in during a screen recording, use the zoom effects in Trupeer AI which allows you to zoom in and out at specific moments, enhancing the visual impact of your video content.
Suggested Reads
Technical Documentation Generator

