
如何在 Google 文档中添加副标题——快速指南
只需 2 分钟,学习如何在 Google 文档中添加小标题。使用正确的格式来组织文档,使其更清晰,也更便于导航。
本指南提供了在 Google Docs 中添加小标题的分步过程。
按照以下说明,通过将“标题 2”样式应用于所选文本,有效格式化文档。
小标题有助于组织内容,使其更易阅读。以下是在 Google Docs 中快速添加它们的方法:
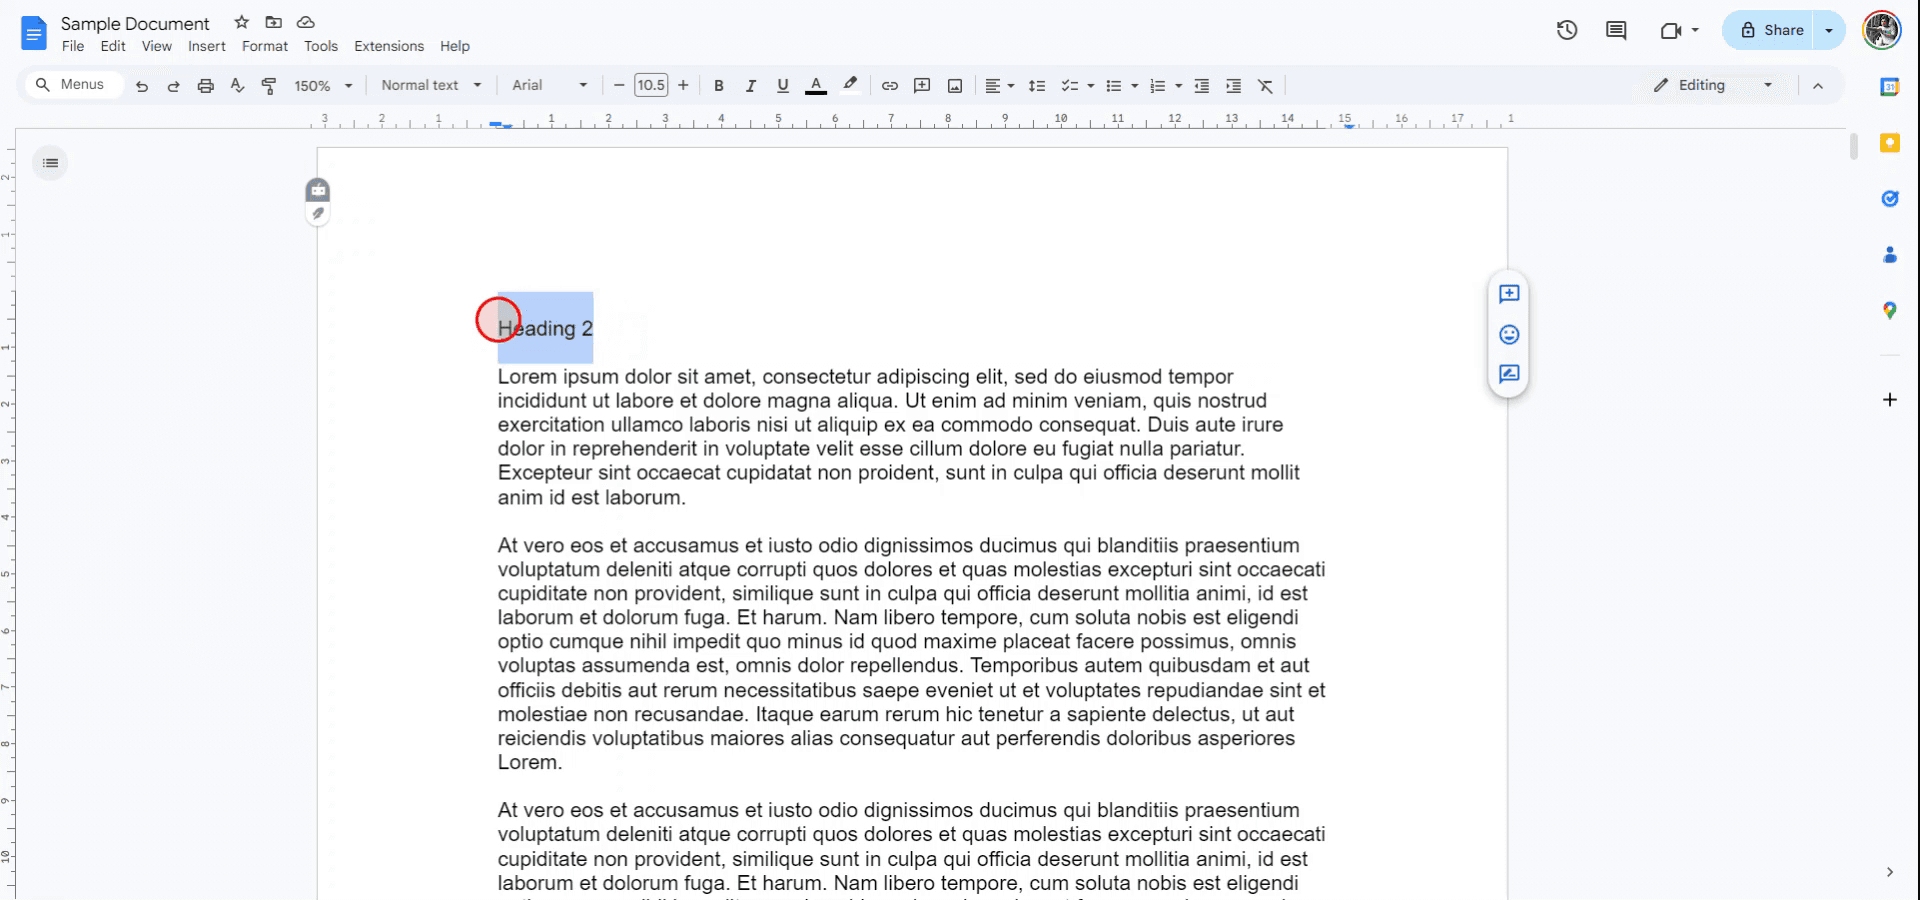
1. 高亮显示文本
选择您想要转换为 小标题 的文本。
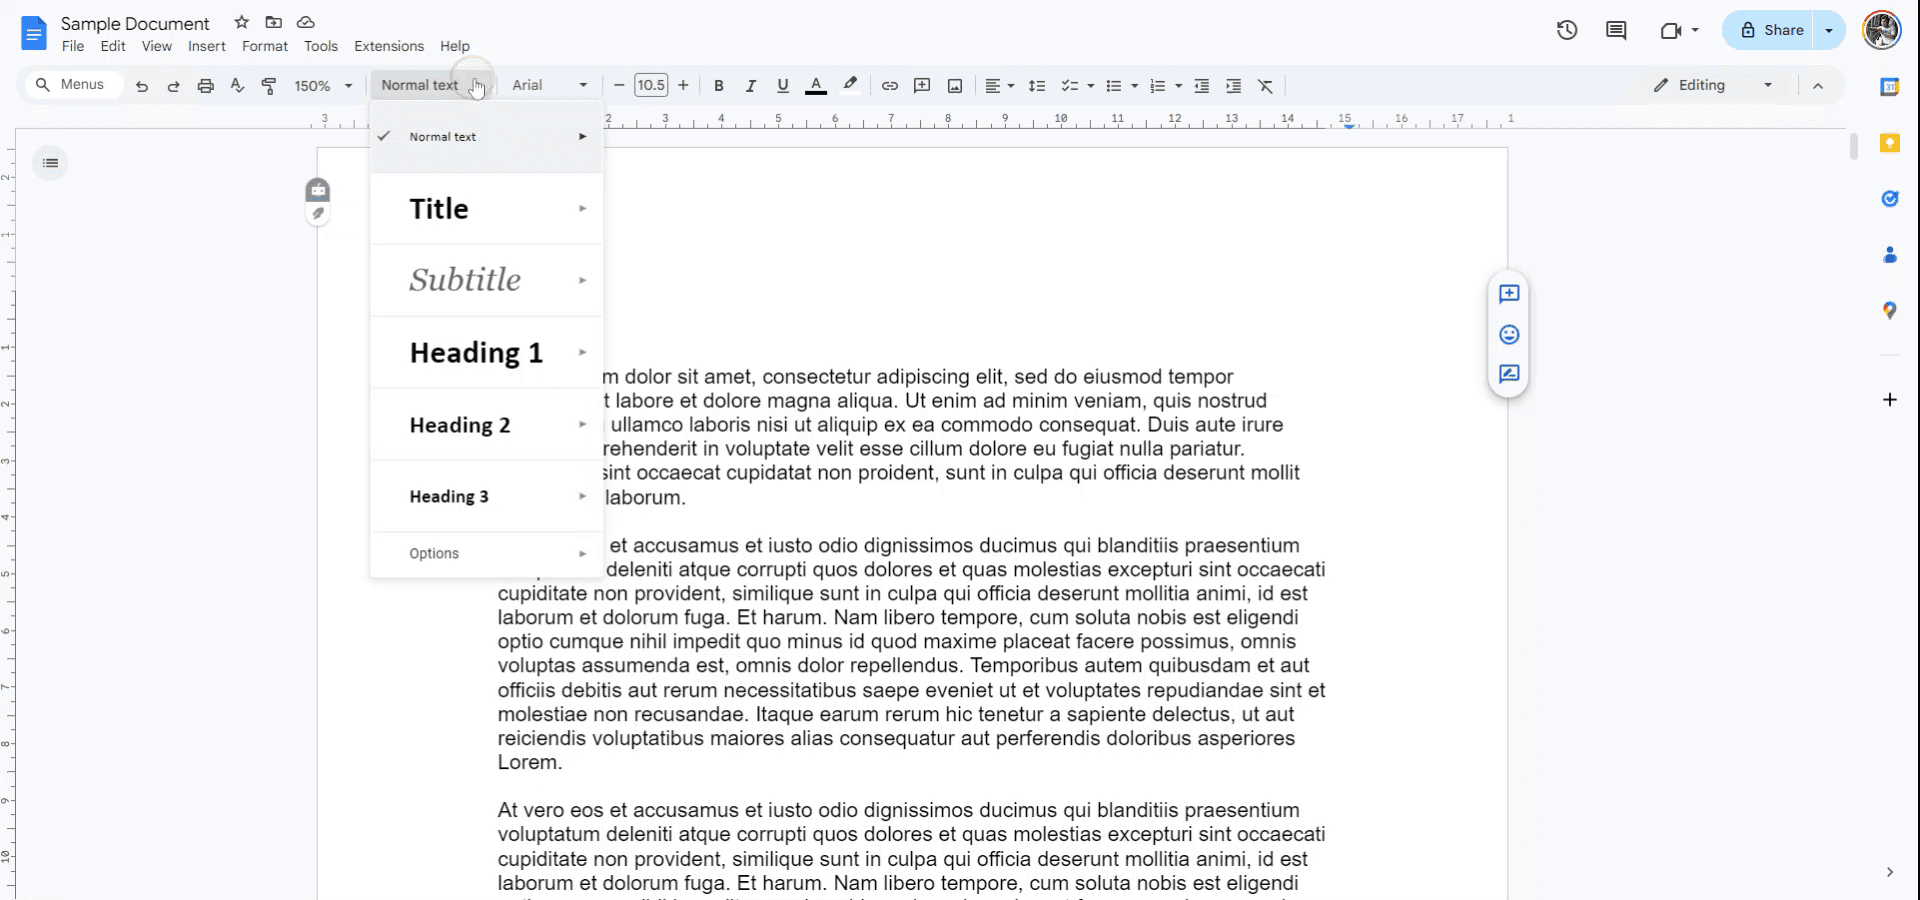
2. 应用标题样式
转到顶部工具栏,点击显示“普通文本”的下拉菜单。
从列表中选择“标题 2”、“标题 3”或任何其他级别,具体取决于您希望如何组织文档。
3. 或者使用“格式”菜单
如果您更喜欢使用菜单栏:
点击“格式” > “文本” > “样式”。
然后从列表中选择“标题 1”、“标题 2”等。
4. 想要还原?
只需选中该 小标题 ,并在同一个样式下拉菜单中将其切换回“普通文本”。
分步指南:如何在 Google Docs 中添加小标题
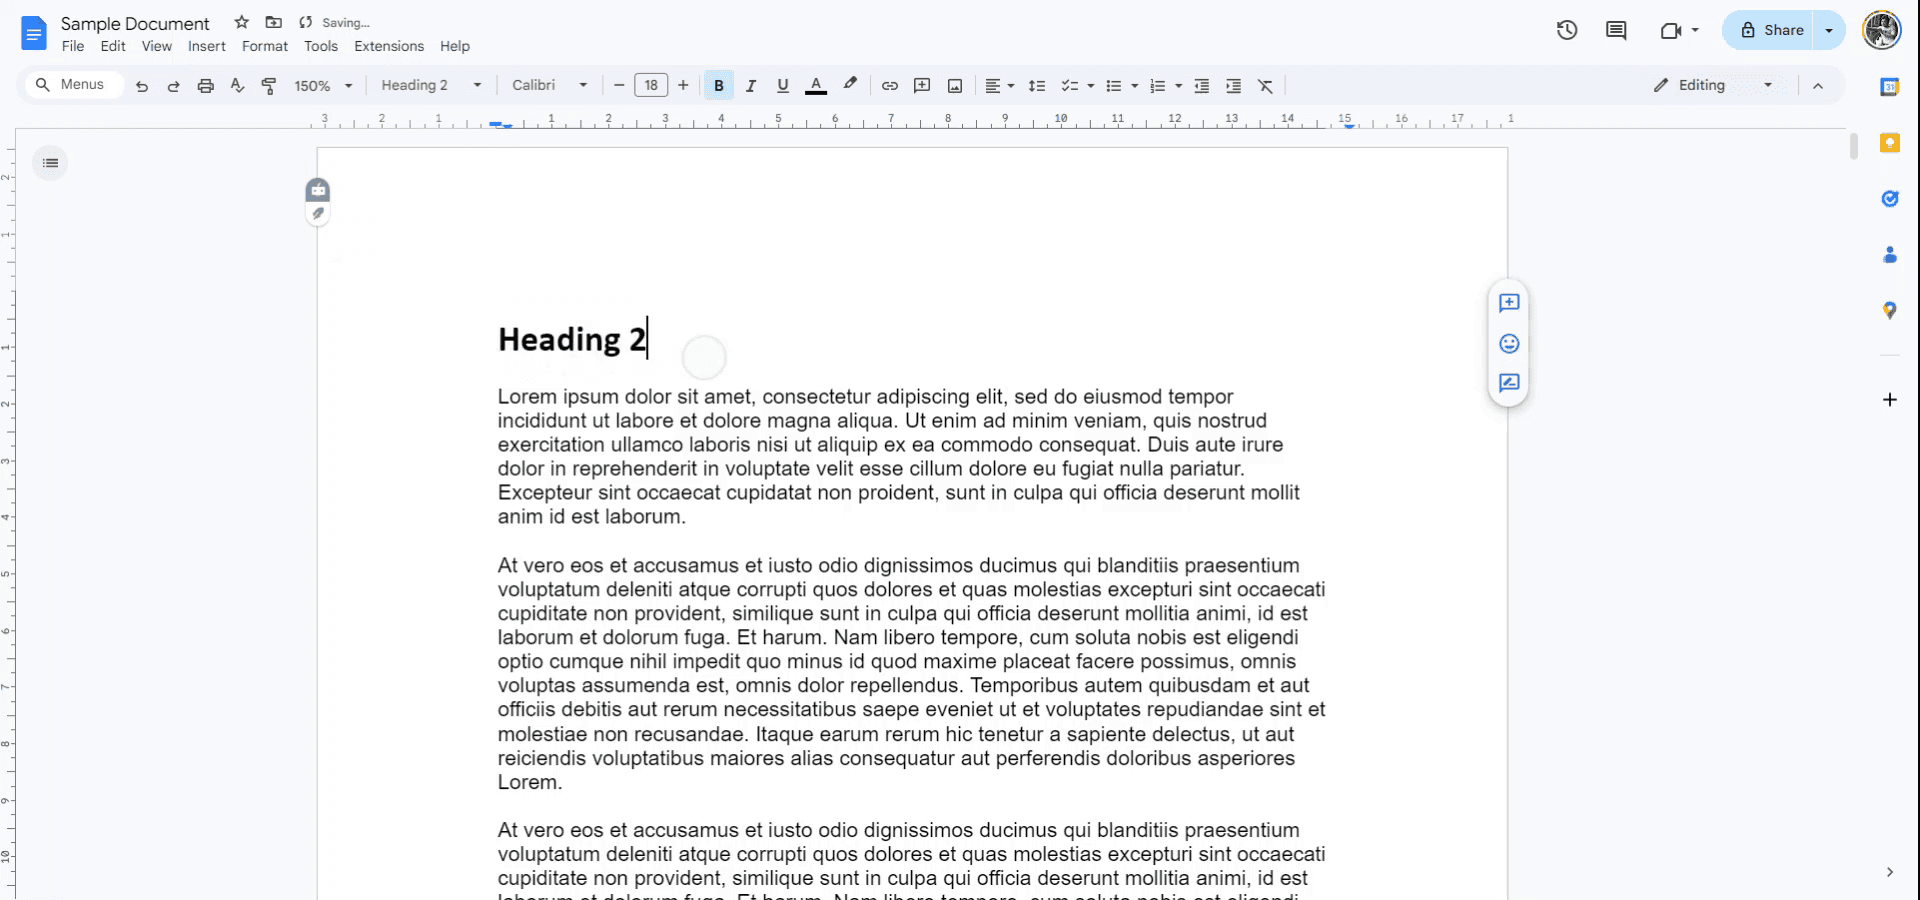
步骤 1
要在 Google Docs 中添加小标题,首先打开您想要插入小标题的文档。然后,选择您希望格式化为小标题的文本。
步骤 2
在工具栏中找到“样式”菜单。
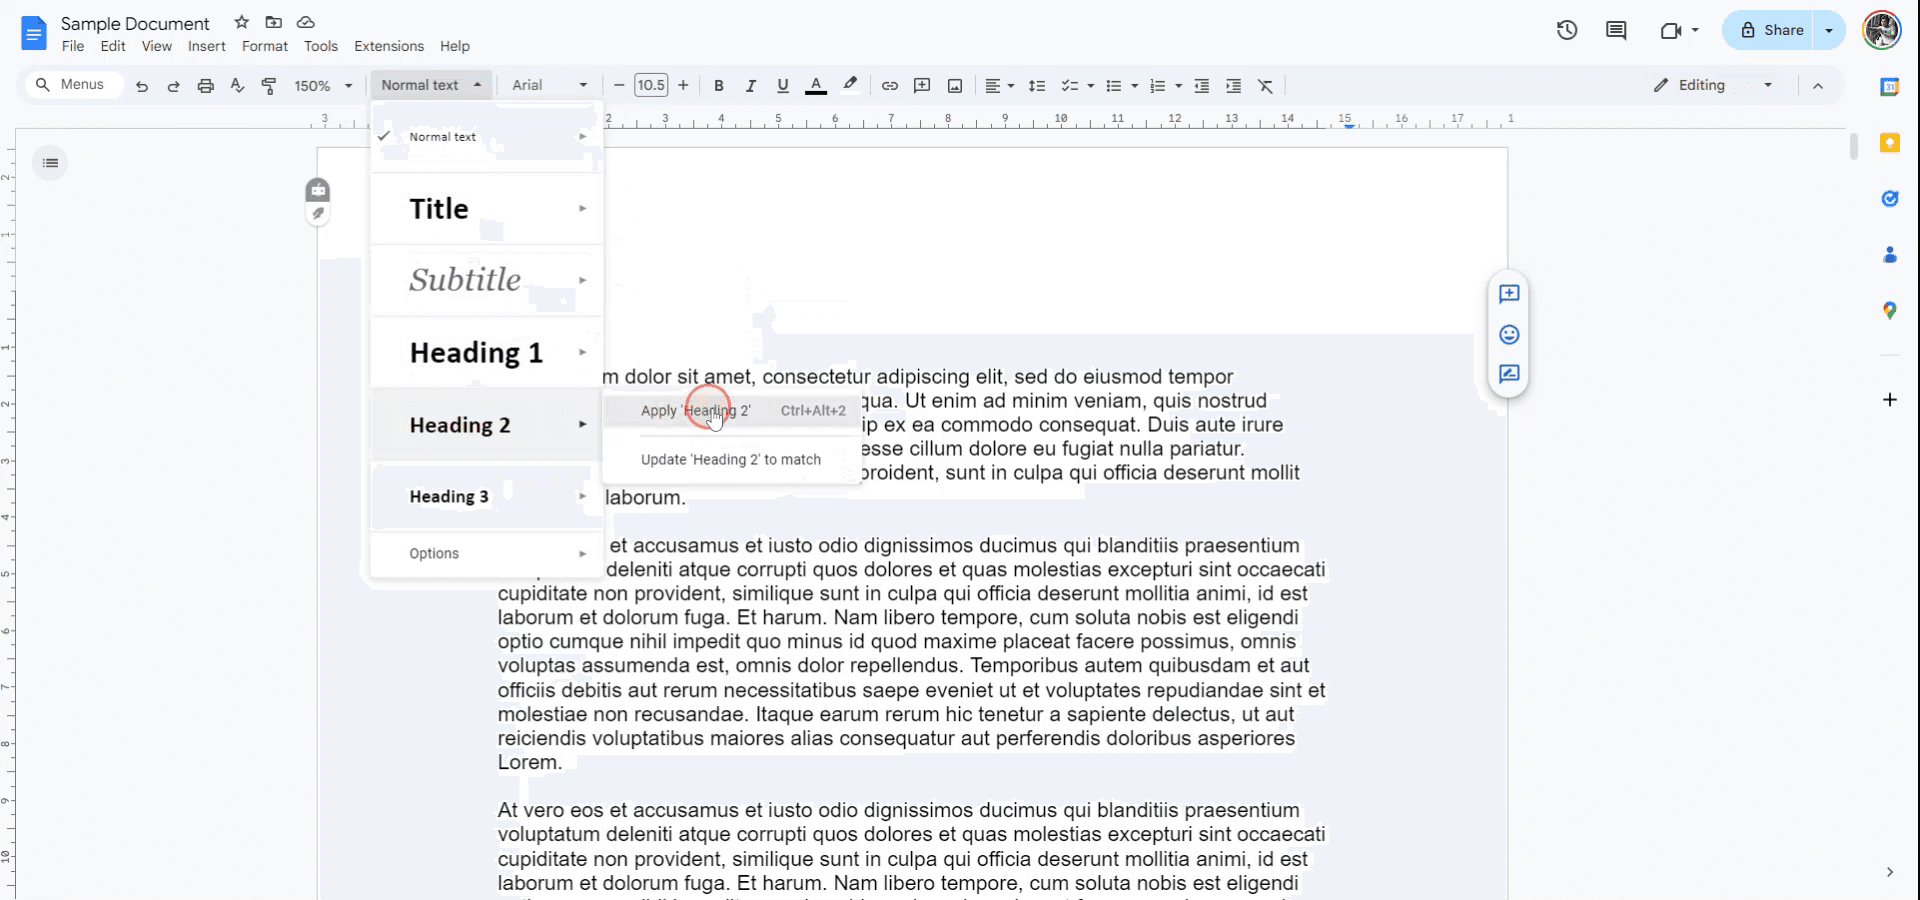
步骤 3
从下拉菜单中选择“标题 2”,并将其应用于所选文本。或者,您也可以使用键盘快捷键 CTRL-ALT-2 达到相同效果。
步骤 4
所选文本现在将被格式化为“标题 2”小标题。
在 Google 文档中添加小标题的专业提示
使用内置样式: 为了保持格式一致,请使用“样式”工具栏(例如,标题 1、标题 2)来创建小标题。这有助于保持统一,并便于导航。
自定义小标题: 通过在工具栏中选择标题样式并点击“更新‘标题 X’以匹配”,来修改小标题的字体、字号、颜色或样式,将其设为默认样式。
大纲视图: 通过“视图 > 显示文档大纲”打开大纲功能,以便轻松查看并浏览所有小标题。
使用编号列表: 对于多级小标题,可使用编号列表来创建层级结构,帮助保持各部分井然有序。
应用一致的格式: 在整个文档中对相同层级的小标题使用相同的标题样式,以保持一致性,确保外观整洁且专业。
在 Google 文档中添加小标题的常见陷阱及避免方法
格式不一致: 手动更改小标题的字号或样式,而不更新样式,可能会导致格式不一致。
请始终通过“样式”工具栏更新样式,以保持整个文档的格式一致。未使用样式设置小标题: 跳过使用内置标题样式会让大文档更难进行格式设置和导航。
请将标题样式(例如,标题 1、标题 2)用于小标题,以利用 Google 文档内置的格式和大纲功能。小标题未显示在大纲视图中: 如果您没有使用正确的标题样式,小标题可能不会显示在文档大纲中。
请确保为小标题应用适当的标题样式,然后启用大纲视图,以便更好地导航。小标题与正文重叠: 如果没有足够的间距,小标题可能会与上方文本重叠。
请使用行距选项在小标题前后添加空白,以保持版面整洁。忘记更新标题样式: 在修改小标题后,很容易忘记更新标题样式以保持统一。
自定义标题后,请点击“样式”下拉菜单,并选择“更新‘标题 X’以匹配”,以将更改应用于所有相似标题。
关于如何在 Google 文档中添加副标题的常见问答
如何在 Google 文档中创建副标题?
突出显示你想设为副标题的文本,然后在样式工具栏中选择一个标题样式(例如 Heading 2、Heading 3)。我可以自定义副标题的样式吗?
可以,你可以更改字体、大小、颜色和对齐方式,然后通过选择“更新 'Heading X' 以匹配”来更新样式,以便将更改全局应用。如何查看并在文档中导航副标题?
前往“视图 > 显示文档大纲”以启用大纲视图,这将显示你所有的副标题,便于导航。Heading 1 和 Heading 2 有什么区别?
Heading 1 通常用于主标题,而 Heading 2 及以下用于副标题和文档的子部分。我可以添加多级副标题吗?
可以,你可以使用 Heading 1、Heading 2、Heading 3 等来创建多级结构,以层级方式组织内容。如何在 Mac 上录屏?
要在 Mac 上录屏,你可以使用 Trupeer AI。它可以让你捕获整个屏幕,并提供 AI 功能,例如添加 AI 虚拟形象、添加旁白,以及在视频中放大和缩小。借助 trupeer 的 AI 视频翻译功能,你可以将视频翻译成 30 多种语言。如何为录屏添加 AI 虚拟形象?
要为录屏添加 AI 虚拟形象,你需要使用一款AI 屏幕录制工具。Trupeer AI 是一款 AI 屏幕录制工具,可帮助你制作带有多个虚拟形象的视频,也能帮助你为视频创建自己的虚拟形象。如何在 Windows 上录屏?
在 Windows 上录屏时,你可以使用内置的游戏栏(Windows + G),或者使用像 Trupeer AI 这样的高级 AI 工具,以获得 AI 虚拟形象、旁白、翻译等更高级的功能。如何为视频添加旁白?
要为视频添加旁白,请下载 trupeer ai Chrome 扩展程序。注册后,上传你带有声音的视频,从 trupeer 中选择所需的旁白,然后导出你编辑后的视频。如何在录屏中放大画面?
要在录屏过程中放大画面,请使用 Trupeer AI 中的缩放效果,它允许你在特定时刻放大和缩小,从而增强视频内容的视觉效果。

