

Wie man ein Jira-Ticket löscht
Erfahren Sie, wie Sie ein Jira-Ticket über das Aktionsmenü löschen und das dauerhafte Entfernen bestätigen. Folgen Sie dieser Schritt-für-Schritt-Anleitung und erstellen Sie mit Trupeer Workflow-Leitfäden.
Dieses Dokument bietet eine kurze Anleitung zum Löschen eines Jira-Tickets. Der Prozess umfasst den Zugriff auf das Projekt, das Auffinden des Tickets und das Ausführen des Löschbefehls in einer Reihe geführter Schritte.
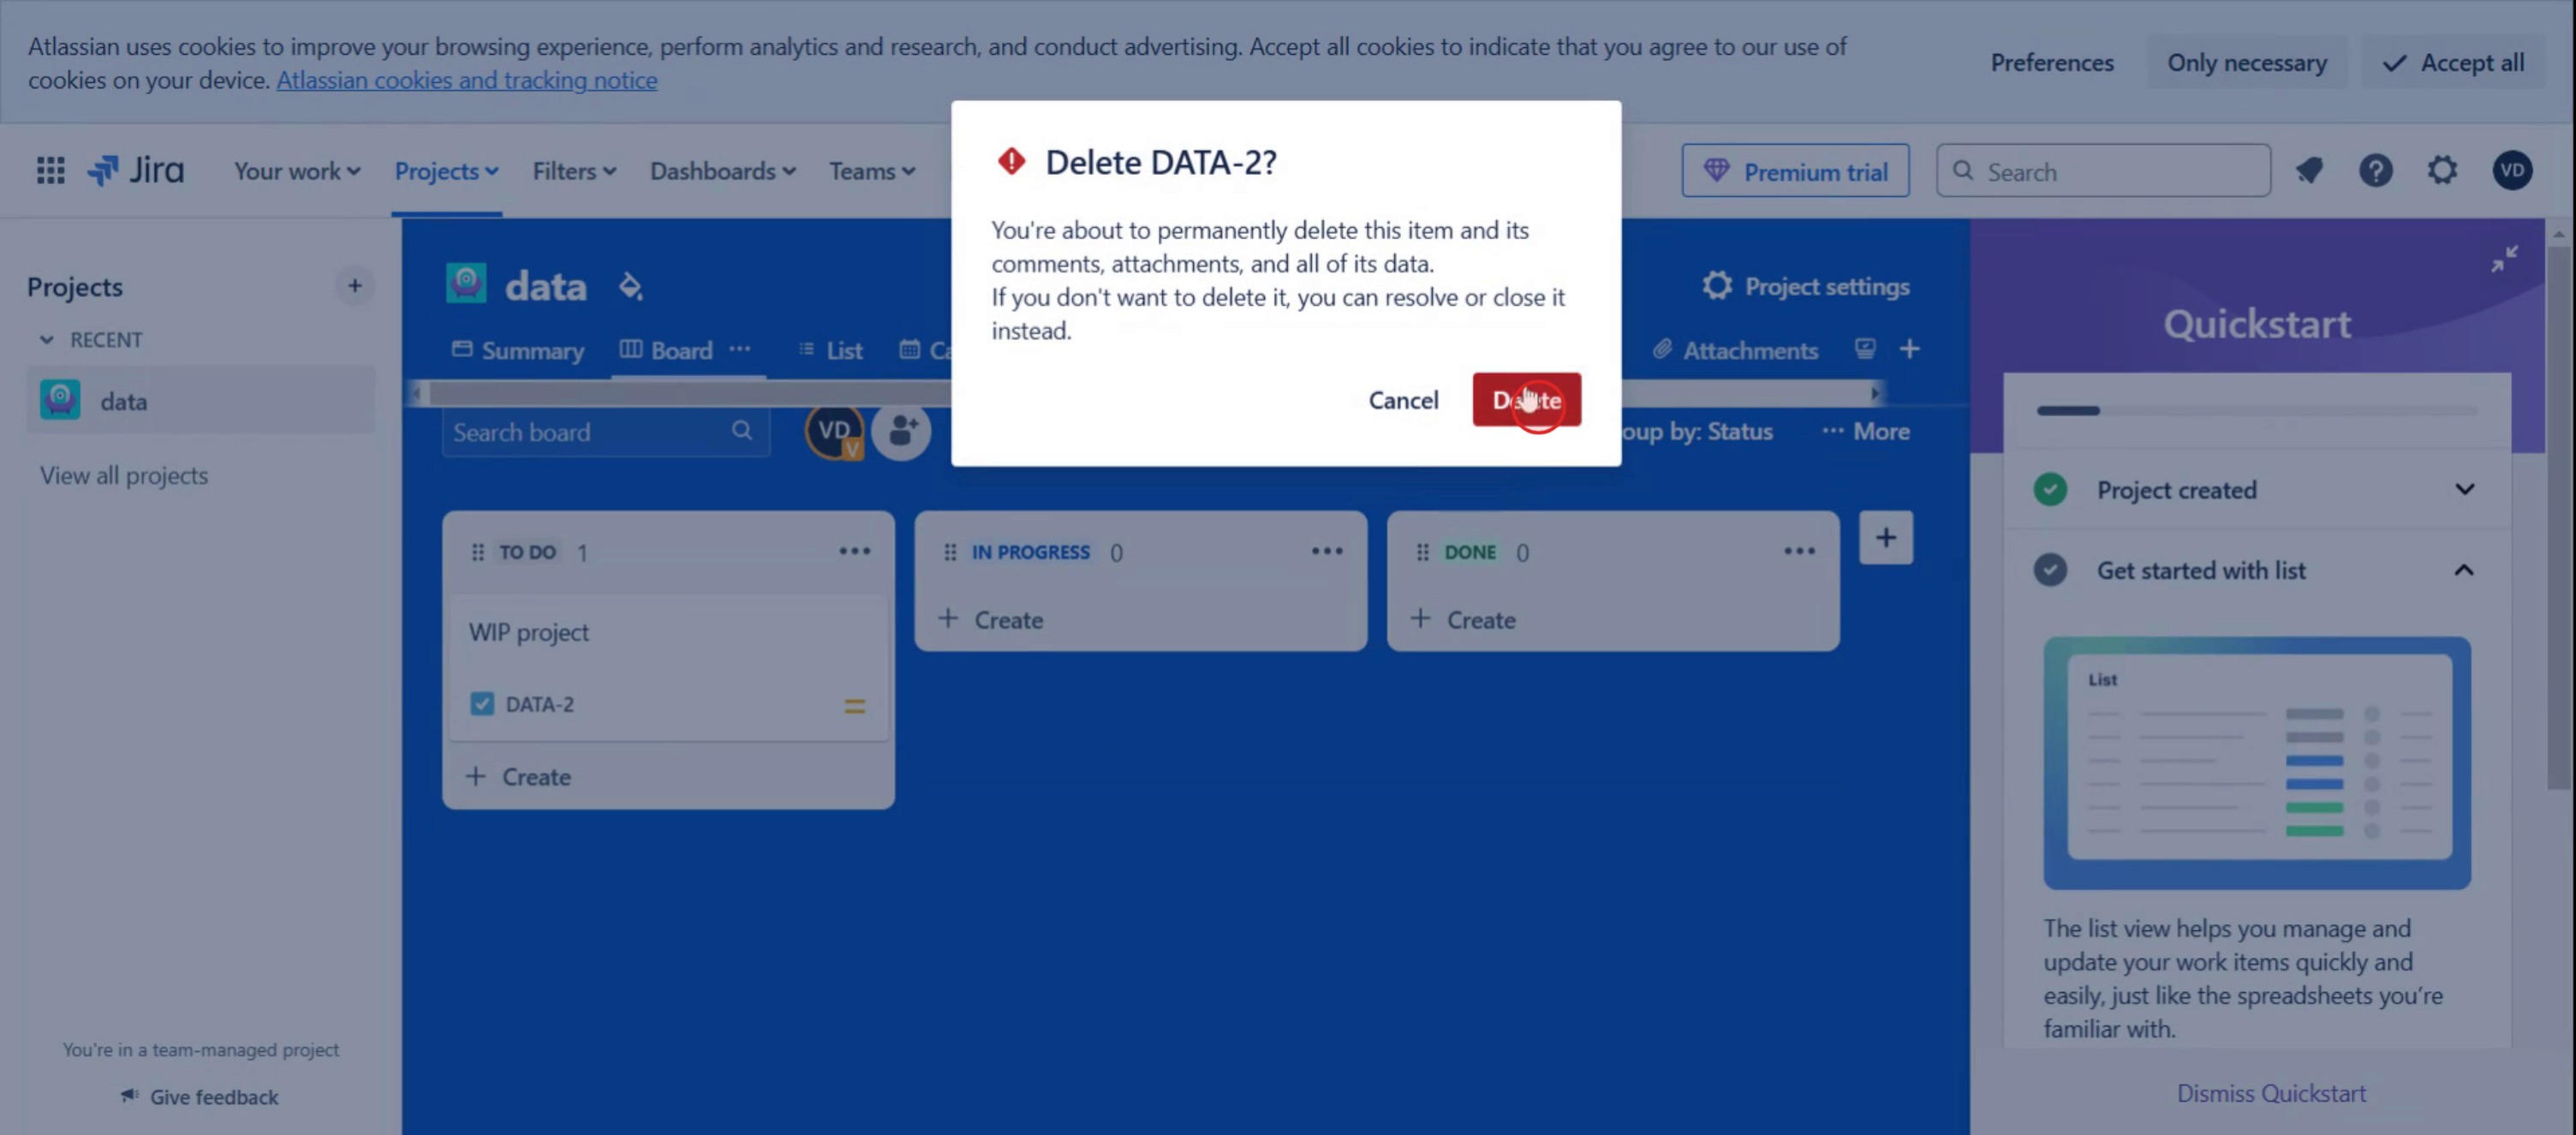
Um ein Jira-Ticket zu löschen, navigieren Sie zum Vorgang und wählen Sie "Löschen" aus dem Aktionsmenü, und bestätigen Sie dann das Löschen. Beachten Sie, dass dies eine dauerhafte Aktion ist und nicht rückgängig gemacht werden kann.
Schritte zum Löschen eines Jira-Tickets:
Ticket öffnen: Gehen Sie zum spezifischen Jira-Vorgang, den Sie löschen möchten. Aktionsmenü öffnen: Suchen Sie nach einem Menü (oft durch drei Punkte oder eine "Mehr"-Schaltfläche dargestellt). Wählen Sie "Löschen": Wählen Sie die Option "Löschen" aus dem Menü. Löschung bestätigen: Sie werden wahrscheinlich aufgefordert, Ihre Aktion zu bestätigen, da das Löschen eines Jira-Tickets dauerhaft ist. Löschung abschließen: Klicken Sie erneut auf "Löschen", um den Vorgang abzuschließen.
Wichtige Hinweise:
Dauerhaftigkeit: Das Löschen eines Tickets ist irreversibel. Erwägen Sie stattdessen, es zu archivieren, wenn Sie die Informationen später möglicherweise noch benötigen. Berechtigungen: Stellen Sie sicher, dass Sie über die erforderlichen Berechtigungen verfügen, um Vorgänge im Projekt zu löschen. Historische Daten: Das Löschen von Vorgängen entfernt sie aus dem System und kann historische Daten sowie Berichte beeinträchtigen.
Schritt-für-Schritt-Anleitung: So löschen Sie ein Jira-Ticket
Schritt 1
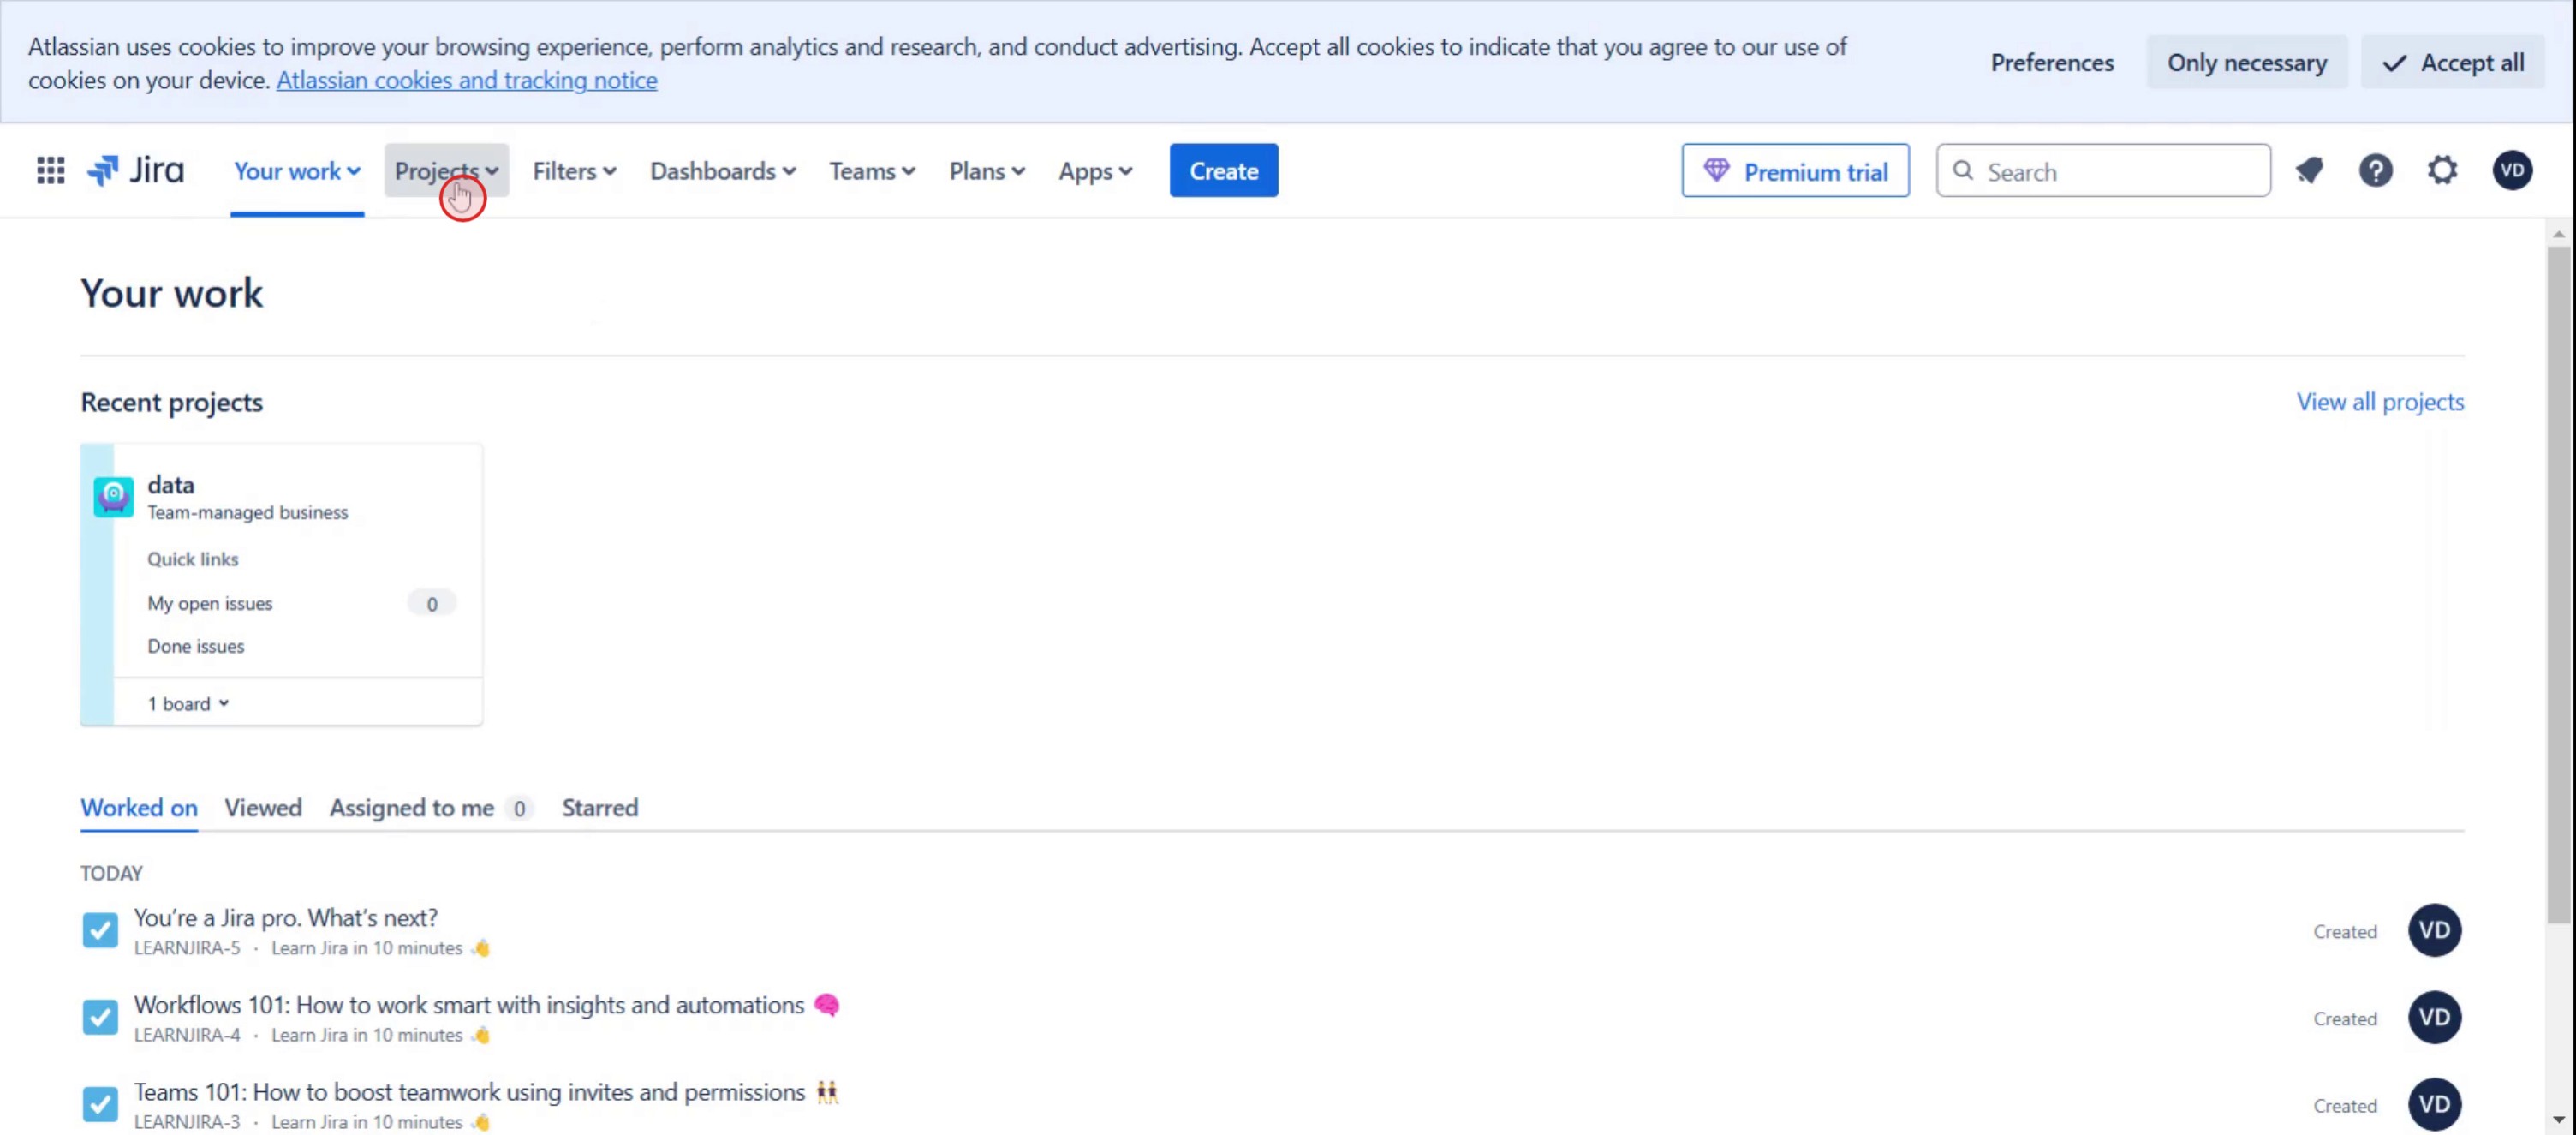
Klicken Sie auf den Bereich Projekte.
Schritt 2
Wählen Sie das aktuelle Projekt aus, an dem Sie arbeiten möchten.

Schritt 3
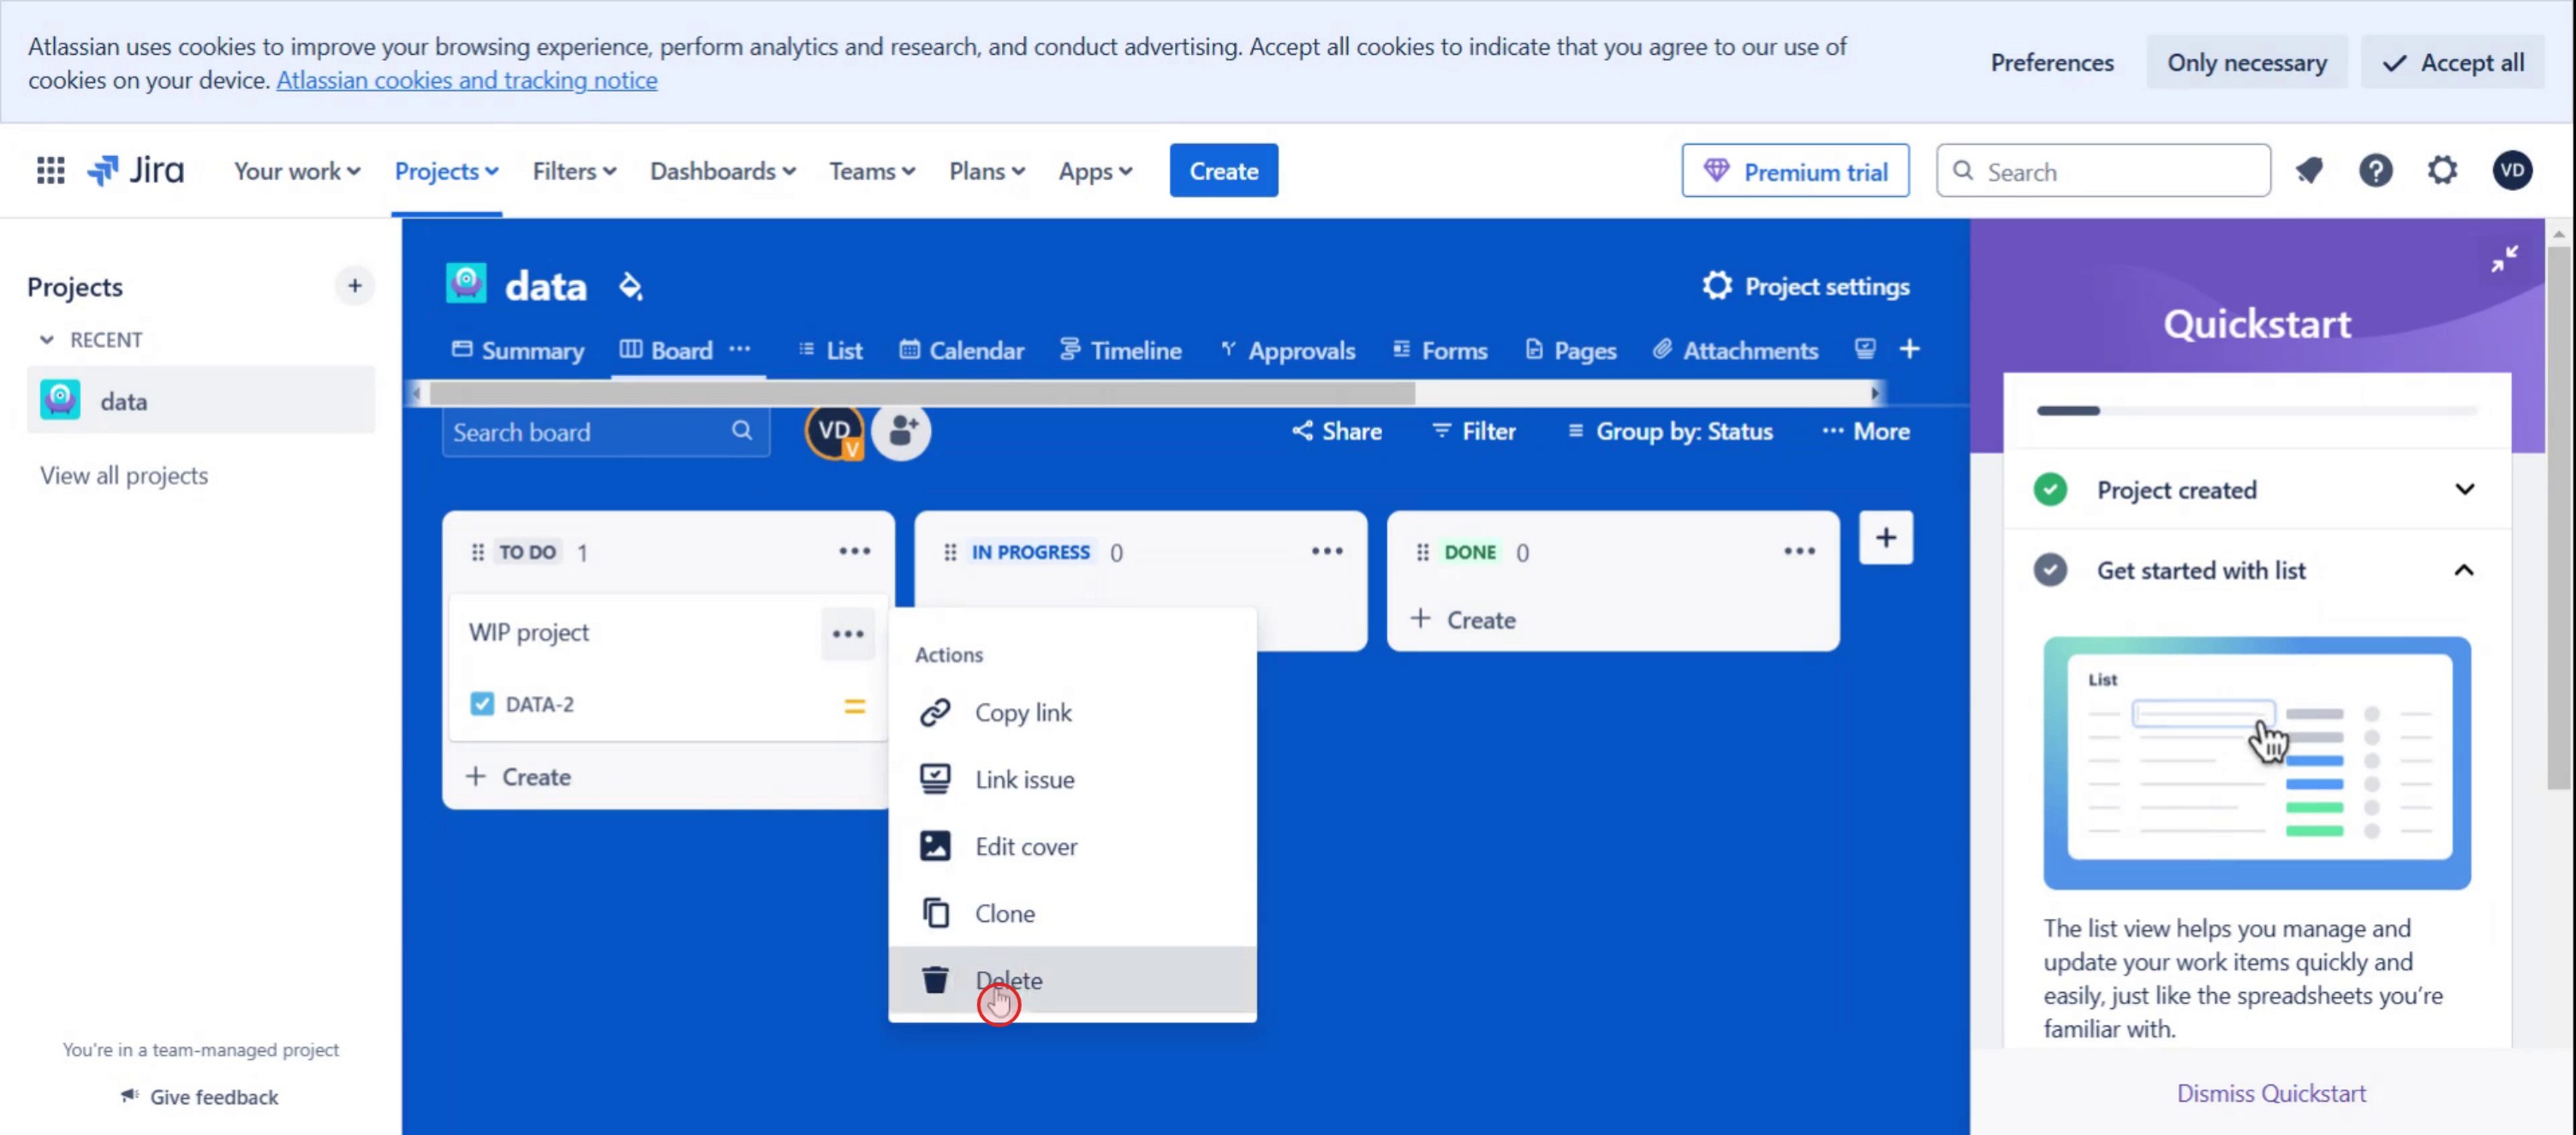
Wählen Sie die Board-Option.

Schritt 4
Klicken Sie auf die drei Punkte.

Schritt 5
Dann wählen Sie die Löschoption.
Schritt 6
Und klicken Sie auf Löschen,
Profi-Tipps zum Löschen eines Jira-Tickets
Prüfen Sie Ihre Berechtigungen – Nur Benutzer mit der Berechtigung „Issues löschen“ in Jira können ein Ticket löschen. Wenn Sie die Löschoption nicht sehen, bitten Sie Ihren Jira-Administrator um Zugriff.
Ziehen Sie stattdessen das Archivieren in Betracht – Wenn Sie das Ticket nicht dauerhaft verlieren möchten, sollten Sie es lieber als gelöst markieren oder archivieren, anstatt es zu löschen.
Seien Sie beim Löschen vorsichtig – Sobald ein Jira-Ticket gelöscht wurde, kann es nicht wiederhergestellt werden. Stellen Sie vor dem Löschen sicher, dass Sie ein Backup oder einen Screenshot haben.
Häufige Fehler & wie man sie vermeidet
Fehlende Löschberechtigungen – Wenn Sie ein Ticket nicht löschen können, wenden Sie sich an Ihren Jira-Administrator, um die erforderlichen Berechtigungen zu erhalten.
Aus Versehen gelöscht – Gelöschte Tickets können nicht wiederhergestellt werden. Bestätigen Sie immer vor dem Fortfahren.
Löschen, ohne Teammitglieder zu informieren – Informieren Sie Ihr Team vor dem Löschen eines Tickets, insbesondere wenn es mit anderen Vorgängen verknüpft ist.
Versuchen, ein Sprint-Ticket zu löschen – Tickets, die mit aktiven Sprints verknüpft sind, erfordern möglicherweise vor dem Löschen eine Neuzuweisung oder das Schließen.
Häufige FAQs zum Löschen eines Jira-Tickets
Kann ich ein gelöschtes Jira-Ticket wiederherstellen?
Nein, Jira hat keine integrierte Wiederherstellungsfunktion für gelöschte Tickets. Sobald es gelöscht wurde, wird das Ticket dauerhaft entfernt.Warum sehe ich die Löschoption nicht?
Möglicherweise verfügen Sie nicht über die Berechtigung für „Delete Issues“. Wenden Sie sich an Ihren Jira-Administrator, um Zugriff anzufordern.Kann ich mehrere Jira-Tickets auf einmal löschen?
Ja, Sie können Jiras Stapellöschfunktion verwenden. Gehen Sie zum Vorgangsnavigator, wählen Sie mehrere Tickets aus und wählen Sie die Löschoption. Stellen Sie sicher, dass Sie vor dem Bestätigen alles noch einmal überprüfen.Wie nimmt man den Bildschirm auf einem Mac auf?
Um den Bildschirm auf einem Mac aufzuzeichnen, können Sie Trupeer AI verwenden. Es ermöglicht Ihnen, den gesamten Bildschirm aufzunehmen, und bietet KI-Funktionen wie das Hinzufügen von KI-Avataren, das Hinzufügen von Sprachkommentaren sowie das Vergrößern und Verkleinern im Video. Mit der KI-Videotranslationsfunktion von trupeer können Sie das Video in über 30 Sprachen übersetzen.Wie fügt man einer Bildschirmaufnahme einen KI-Avatar hinzu?
Um einer Bildschirmaufnahme einen KI-Avatar hinzuzufügen, müssen Sie ein KI-Bildschirmaufzeichnungstool verwenden. Trupeer AI ist ein KI-Bildschirmaufzeichnungstool, mit dem Sie Videos mit mehreren Avataren erstellen können; außerdem hilft es Ihnen, Ihren eigenen Avatar für das Video zu erstellen.Wie nimmt man den Bildschirm unter Windows auf?
Um den Bildschirm unter Windows aufzuzeichnen, können Sie die integrierte Game Bar (Windows + G) oder ein fortschrittliches KI-Tool wie Trupeer AI für erweiterte Funktionen wie KI-Avatare, Sprachkommentar, Übersetzung usw. verwenden.Wie fügt man einem Video einen Sprachkommentar hinzu?
Um Videos einen Sprachkommentar hinzuzufügen, laden Sie die Chrome-Erweiterung von trupeer ai herunter. Nach der Anmeldung laden Sie Ihr Video mit Stimme hoch, wählen Sie den gewünschten Sprachkommentar von trupeer aus und exportieren Sie Ihr bearbeitetes Video.Wie vergrößere ich eine Bildschirmaufnahme?
Um während einer Bildschirmaufnahme hineinzuzoomen, verwenden Sie die Zoom-Effekte in Trupeer AI, mit denen Sie an bestimmten Momenten hinein- und herauszoomen können, was die visuelle Wirkung Ihrer Videoinhalte verbessert.
Empfohlene Lektüre
Generator für technische Dokumentation
So exportieren Sie das Jira-Backlog nach Excel
So ändern Sie den Vorgangstyp in Jira
So führen Sie eine Massenaktualisierung in Jira durch
Verwandte Tutorials

