

Text in Figma bearbeiten
Lernen Sie, wie Sie Text in Figma bearbeiten, indem Sie Textebenen auswählen und Schriftarten, Größe und Formatierung im Eigenschaftenbereich anpassen. Folgen Sie diesem kurzen Tutorial und erstellen Sie mit Trupeer Anleitungen.
Auswählen der Textebene:
Doppelklicken: Suchen Sie die Textebene auf Ihrer Leinwand und doppelklicken Sie darauf.
Eingabe/Return: Wählen Sie die Textebene aus und drücken Sie die Eingabetaste (oder Return auf dem Mac).
Text-Werkzeug (T): Wählen Sie das Text-Werkzeug (T) in der Symbolleiste aus und klicken Sie auf die Textebene.
Ebenenbedienfeld: Sie können die Textebene auch im Ebenenbedienfeld auf der linken Seite der Figma-Oberfläche auswählen.
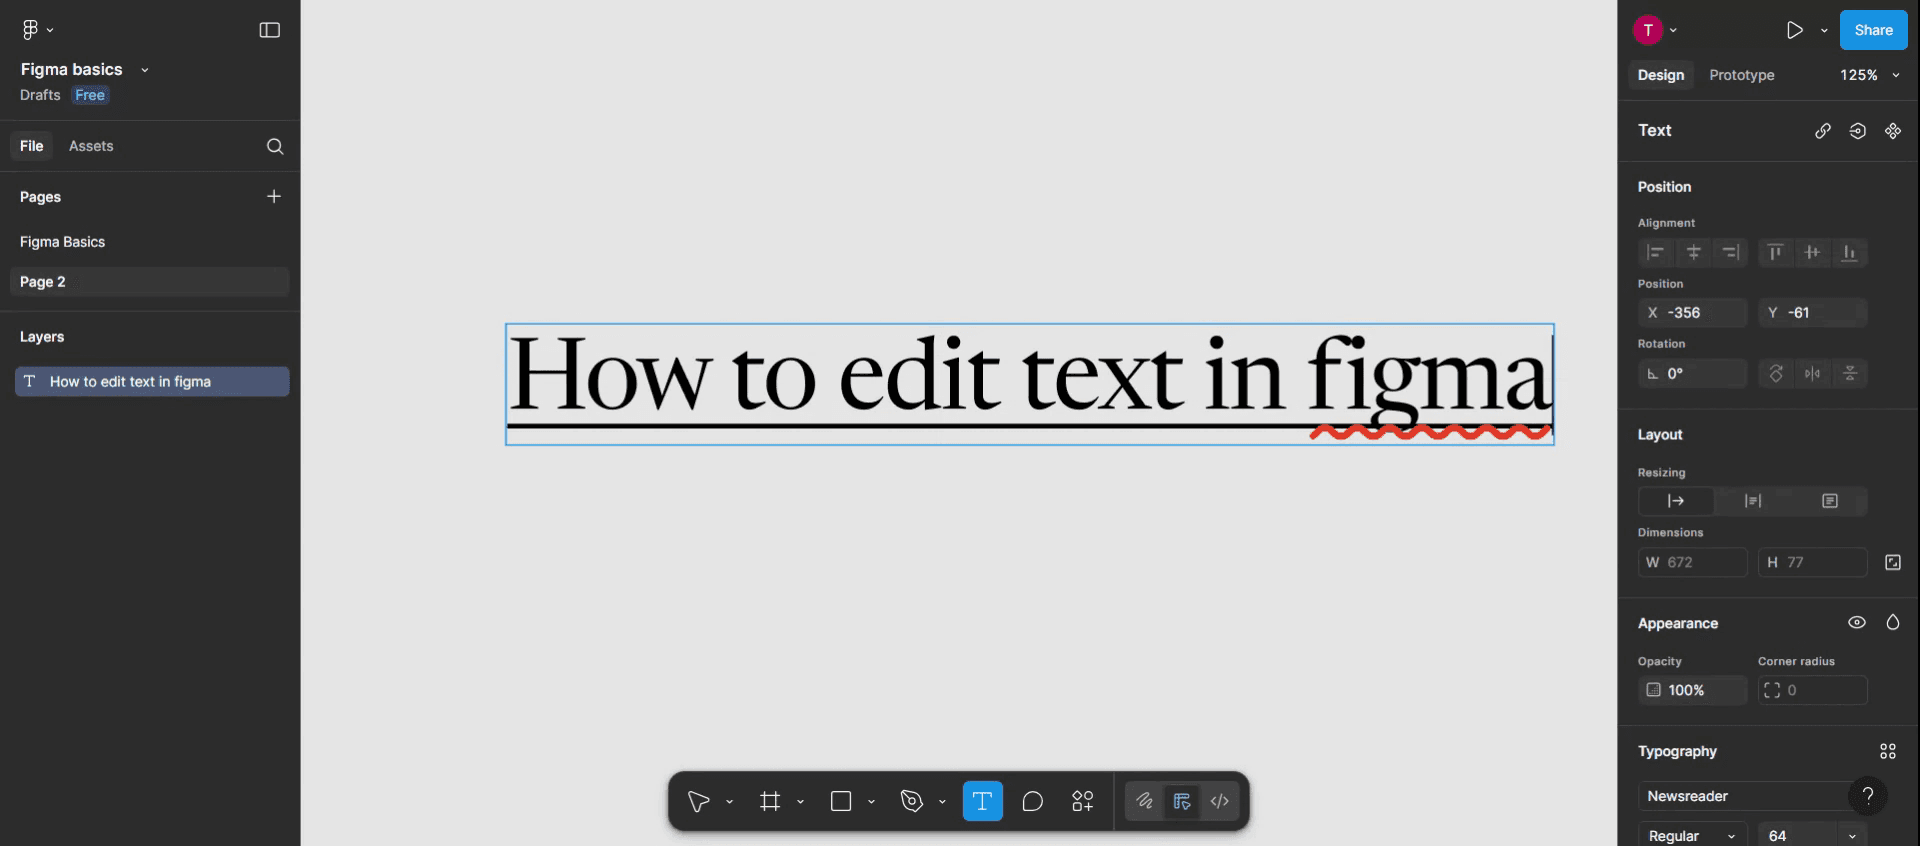
Schritt-für-Schritt-Anleitung: So bearbeiten Sie den Text in Figma
Schritt 1
Klicken Sie auf die Option „Text“ und wählen Sie den spezifischen Text aus, den Sie bearbeiten möchten.

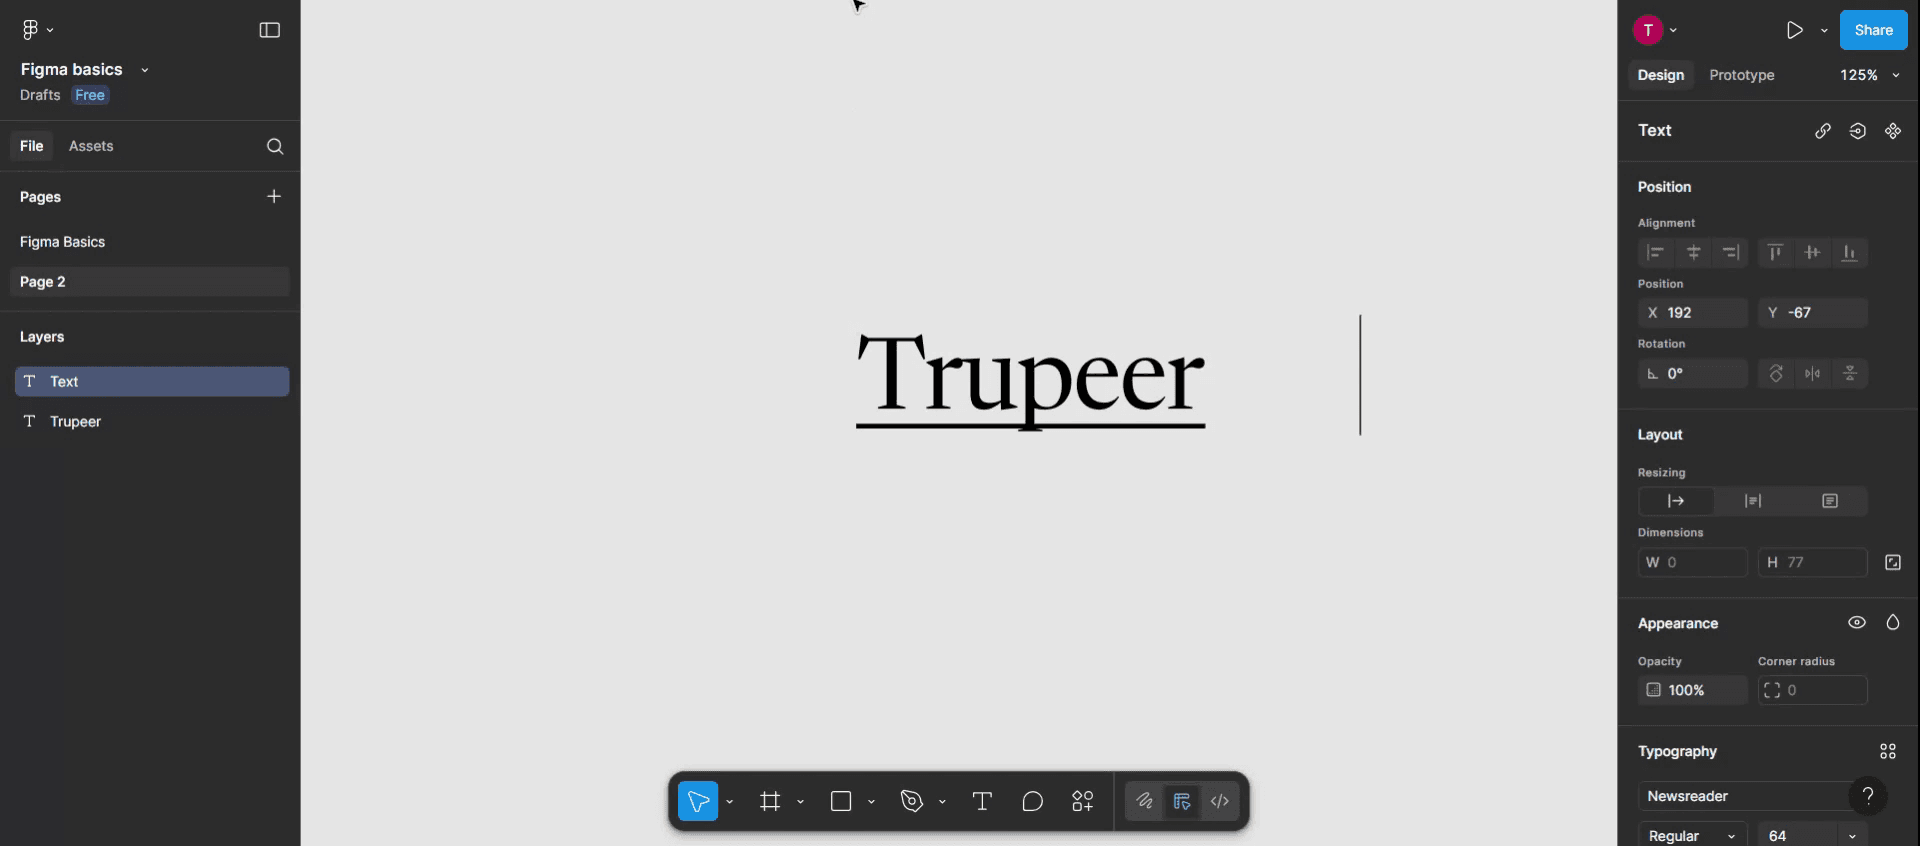
Schritt 2
Hier haben Sie die Möglichkeit, den Text nach Bedarf zu erstellen oder zu ändern.
Schritt 3
Nachdem Sie Ihre Änderungen vorgenommen haben, klicken Sie irgendwo auf die Vorlage, um den Text zu speichern.

Schritt 4
So können Sie Text in Figma bearbeiten. Vielen Dank.
Profi-Tipps zum Bearbeiten von Text in Figma
Wählen Sie das Text-Werkzeug aus
Klicken Sie in der Symbolleiste auf das Symbol „T“ oder drücken Sie T auf Ihrer Tastatur, um das Text-Werkzeug zu aktivieren. Dadurch können Sie irgendwo auf der Leinwand klicken, um ein neues Textfeld zu erstellen oder vorhandenen Text auszuwählen.Doppelklicken, um vorhandenen Text zu bearbeiten
Um vorhandenen Text zu bearbeiten, doppelklicken Sie direkt auf die Textebene. Dadurch wird das Textfeld aktiviert und Sie können den Inhalt eingeben oder ändern.Verwenden Sie das Eigenschaftenbedienfeld
Sobald der Text ausgewählt ist, zeigt das Eigenschaftenbedienfeld auf der rechten Seite Optionen zum Ändern von Schriftart, Größe, Schriftschnitt, Farbe, Zeilenhöhe, Zeichenabstand und mehr an.Verwenden Sie Tastenkürzel zur Formatierung
Beschleunigen Sie Ihren Arbeitsablauf mit Tastenkürzeln. Verwenden Sie zum Beispiel Strg + B (oder Command + B auf dem Mac), um Text fett zu machen, Strg + I für Kursivschrift und Strg + U zum Unterstreichen.Größe des Textfelds ändern
Klicken und ziehen Sie den Begrenzungsrahmen der Textebene, um ihre Breite oder Höhe zu ändern. Das hilft bei der Anpassung von Layout und Textumbruch.
Häufige Fehler und wie Sie sie vermeiden
Die falsche Ebene bearbeiten
Wenn Sie Text nicht bearbeiten können, haben Sie möglicherweise eine Gruppe oder einen Frame statt der tatsächlichen Textebene ausgewählt. Doppelklicken Sie, bis das Textfeld aktiviert ist.Textüberlauf oder Abschneiden
Stellen Sie sicher, dass Ihr Textfeld die richtige Größe hat. „Auto-Höhe“ löst Probleme mit abgeschnittenem Text in der Regel, wenn der Text den Container überläuft.Änderungen werden nicht auf alle Komponenten angewendet
Wenn Sie Text innerhalb einer Komponente bearbeiten, werden Änderungen möglicherweise nicht in allen Instanzen angezeigt, es sei denn, Sie bearbeiten die Hauptkomponente oder lösen die Instanz.Inkonsistente Formatierung
Vermeiden Sie es, jedes Textfeld manuell zu formatieren. Verwenden Sie Textstile, um in Ihrem Projekt eine einheitliche Typografie beizubehalten.Vergessen, Stile zu speichern
Wenn Sie einen neuen Textstil erstellen, ihn aber nicht speichern, verlieren Sie die Konsistenz und verbringen mehr Zeit damit, Formate erneut anzuwenden.
Häufige FAQs zum Bearbeiten von Text in Figma
Wie bearbeite ich eine Textebene in Figma?
Doppelklicken Sie auf den Text oder wählen Sie ihn mit dem Verschieben-Werkzeug aus und geben Sie dann den neuen Inhalt ein.Kann ich Text in einer Komponente bearbeiten?
Ja, aber wenn die Komponente gesperrt ist oder Überschreibungen hat, müssen Sie möglicherweise die Instanz lösen oder die Hauptkomponente bearbeiten.Wie ändere ich Schriftart und Größe?
Wählen Sie den Text aus und verwenden Sie das Eigenschaftenbedienfeld auf der rechten Seite, um Schriftfamilie, Größe und andere Attribute anzupassen.Warum kann ich den Text in Figma nicht bearbeiten?
Vielleicht wählen Sie eine Gruppe oder Vektorebene aus. Doppelklicken Sie weiter oder prüfen Sie den Ebenennamen im linken Bedienfeld.Kann ich denselben Stil auf mehrere Textebenen anwenden?
Ja, wählen Sie alle gewünschten Textebenen aus und wenden Sie einen gespeicherten Textstil oder eine Formatierung über das Eigenschaftenbedienfeld an.Wie nimmt man auf dem Mac den Bildschirm auf?
Um auf einem Mac den Bildschirm aufzuzeichnen, können Sie Trupeer AI verwenden. Es ermöglicht Ihnen, den gesamten Bildschirm aufzuzeichnen und bietet KI-Funktionen wie das Hinzufügen von KI-Avataren, Voiceover sowie das Ein- und Auszoomen im Video. Mit der KI-Videoübersetzungsfunktion von Trupeer können Sie das Video in über 30 Sprachen übersetzen.Wie fügt man einer Bildschirmaufnahme einen KI-Avatar hinzu?
Um einer Bildschirmaufnahme einen KI-Avatar hinzuzufügen, müssen Sie ein KI-Bildschirmaufzeichnungstool verwenden. Trupeer AI ist ein KI-Bildschirmaufzeichnungstool, mit dem Sie Videos mit mehreren Avataren erstellen können; außerdem hilft es Ihnen, Ihren eigenen Avatar für das Video zu erstellen.Wie nimmt man unter Windows den Bildschirm auf?
Unter Windows den Bildschirm aufzuzeichnen, können Sie die integrierte Game Bar (Windows + G) oder ein fortschrittliches KI-Tool wie Trupeer AI für erweiterte Funktionen wie KI-Avatare, Voiceover, Übersetzung usw. verwenden.Wie fügt man einem Video ein Voiceover hinzu?
Um Videos ein Voiceover hinzuzufügen, laden Sie die Chrome-Erweiterung von Trupeer AI herunter. Nach der Anmeldung laden Sie Ihr Video mit Ton hoch, wählen das gewünschte Voiceover von Trupeer aus und exportieren Sie Ihr bearbeitetes Video.Wie zoome ich in eine Bildschirmaufnahme hinein?
Um während einer Bildschirmaufnahme hineinzuzoomen, verwenden Sie die Zoom-Effekte in Trupeer AI, mit denen Sie an bestimmten Stellen hinein- und herauszoomen können, um die visuelle Wirkung Ihrer Videoinhalte zu verbessern.
Verwandte Tutorials

