

So fügst du Giphy zu Slack hinzu
Erfahren Sie, wie Sie Giphy in Slack hinzufügen und verwenden, um in Ihren Unterhaltungen lustige animierte GIFs zu senden. Einfache Schritte, um Giphy zu aktivieren und die Einstellungen anzupassen.
Hier ist eine detailliertere Aufschlüsselung:
1. Giphy-App hinzufügen:
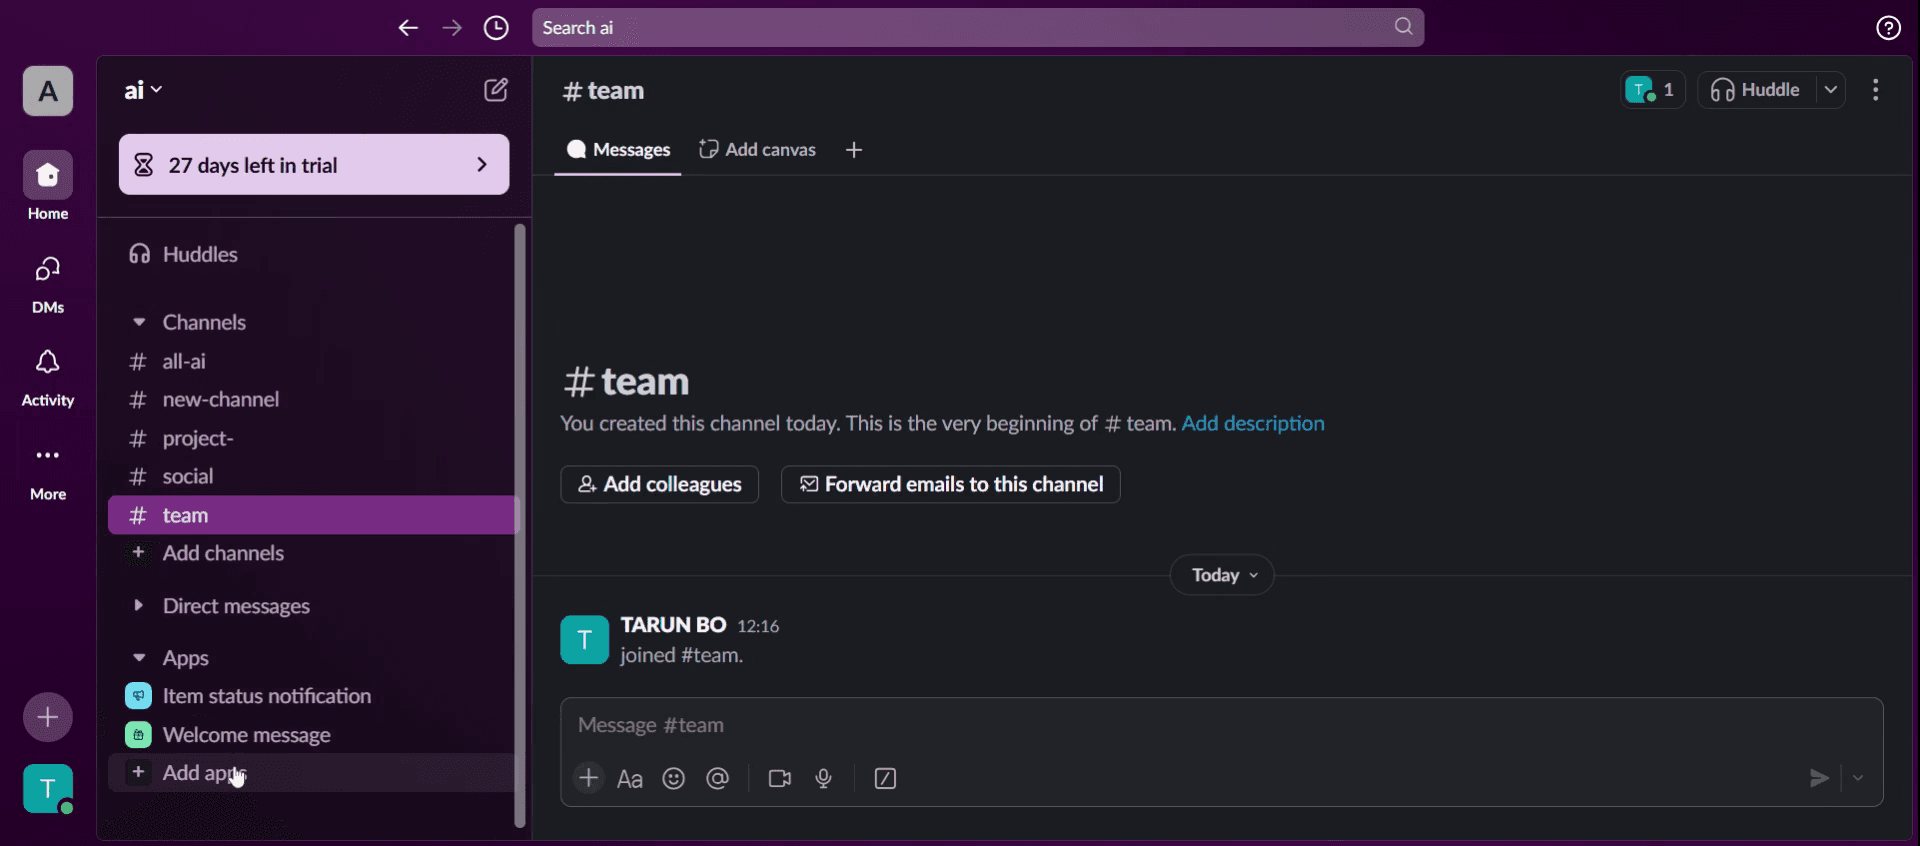
Öffnen Sie Ihren Slack-Workspace und gehen Sie zu Apps. (Dies kann je nach Client und Workspace-Einstellungen unter Mehr zu finden sein)
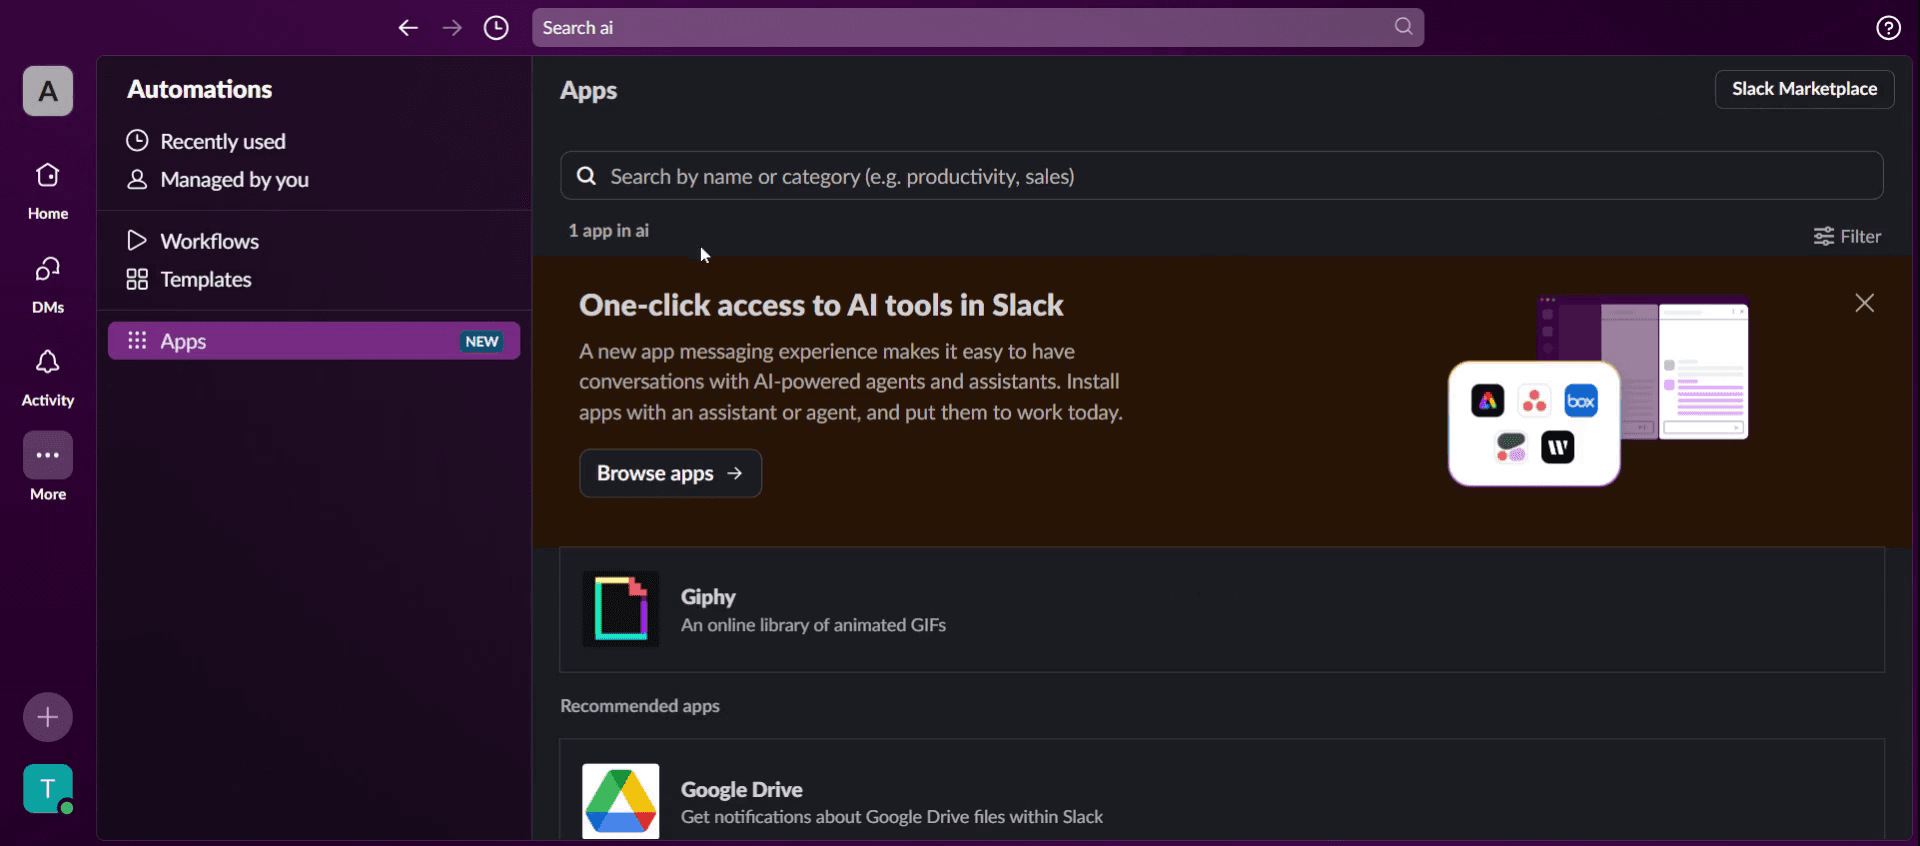
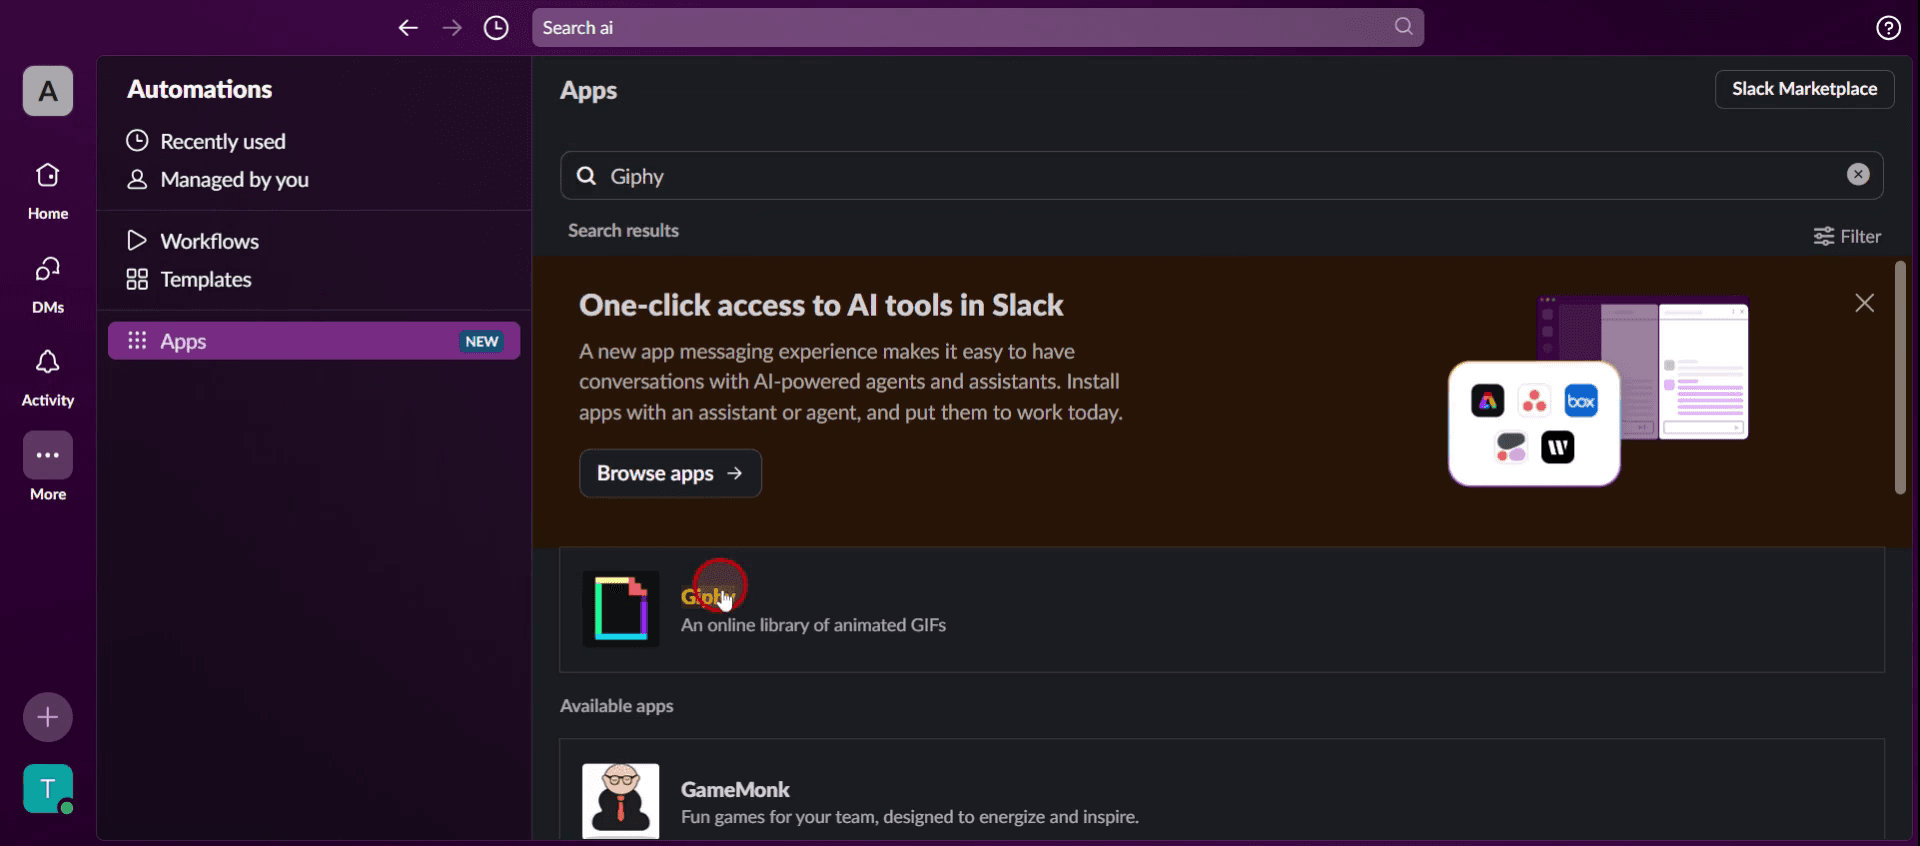
Suchen Sie im App-Verzeichnis nach "GIPHY".
Klicken Sie auf Zu Slack hinzufügen. Möglicherweise müssen Sie Ihren Admin bitten, die App hinzuzufügen, wenn Sie keine Berechtigung haben.
2. Einstellungen konfigurieren:
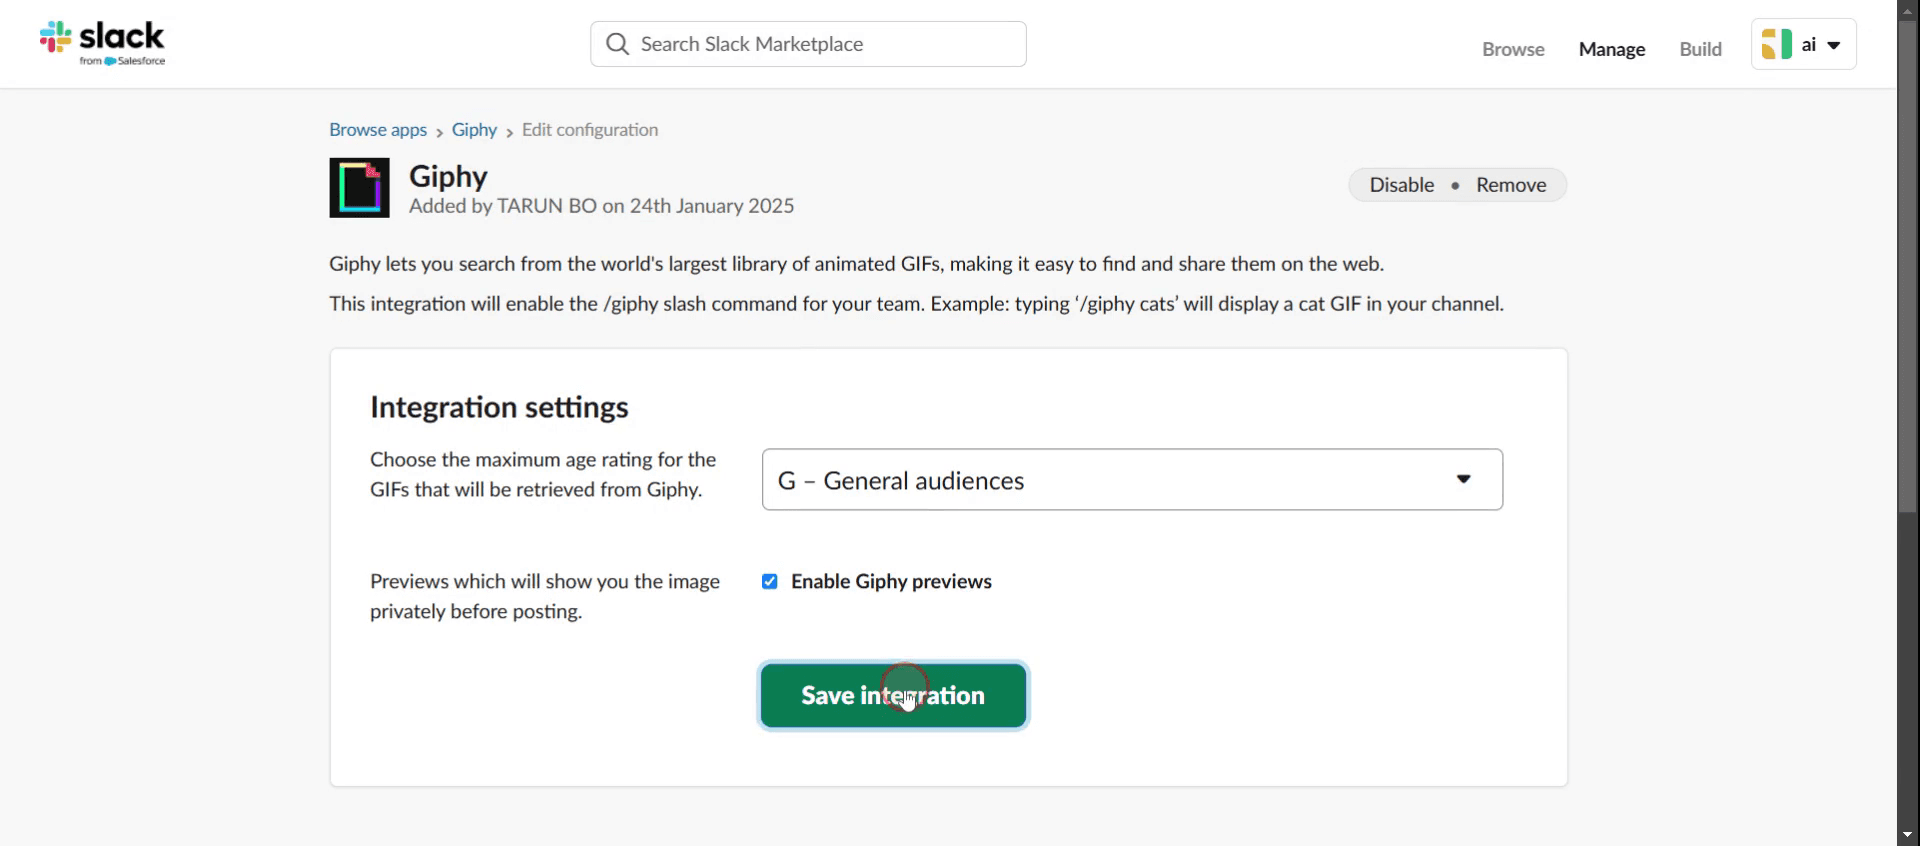
Nach dem Hinzufügen der App werden Sie aufgefordert, Einstellungen zu konfigurieren, z. B.:
Kanal: Wählen Sie den Kanal, in dem die Giphy-Integration aktiv sein soll.
Berechtigungen: Erteilen Sie die erforderlichen Berechtigungen, z. B. die Festlegung der maximalen Altersfreigabe für GIFs (G, PG, PG-13 oder R).
GIF-Vorschauen: Entscheiden Sie, ob Sie die GIPHY-Vorschauen aktivieren oder deaktivieren möchten (Anzeige des GIFs vor dem Senden). Es wird allgemein empfohlen, Vorschauen zu aktivieren.
3. Klicken Sie auf Integration speichern.
Schritt-für-Schritt-Anleitung: Wie man Giphy zu Slack hinzufügt
Schritt 1
Melden Sie sich bei Ihrem Slack-Konto an.
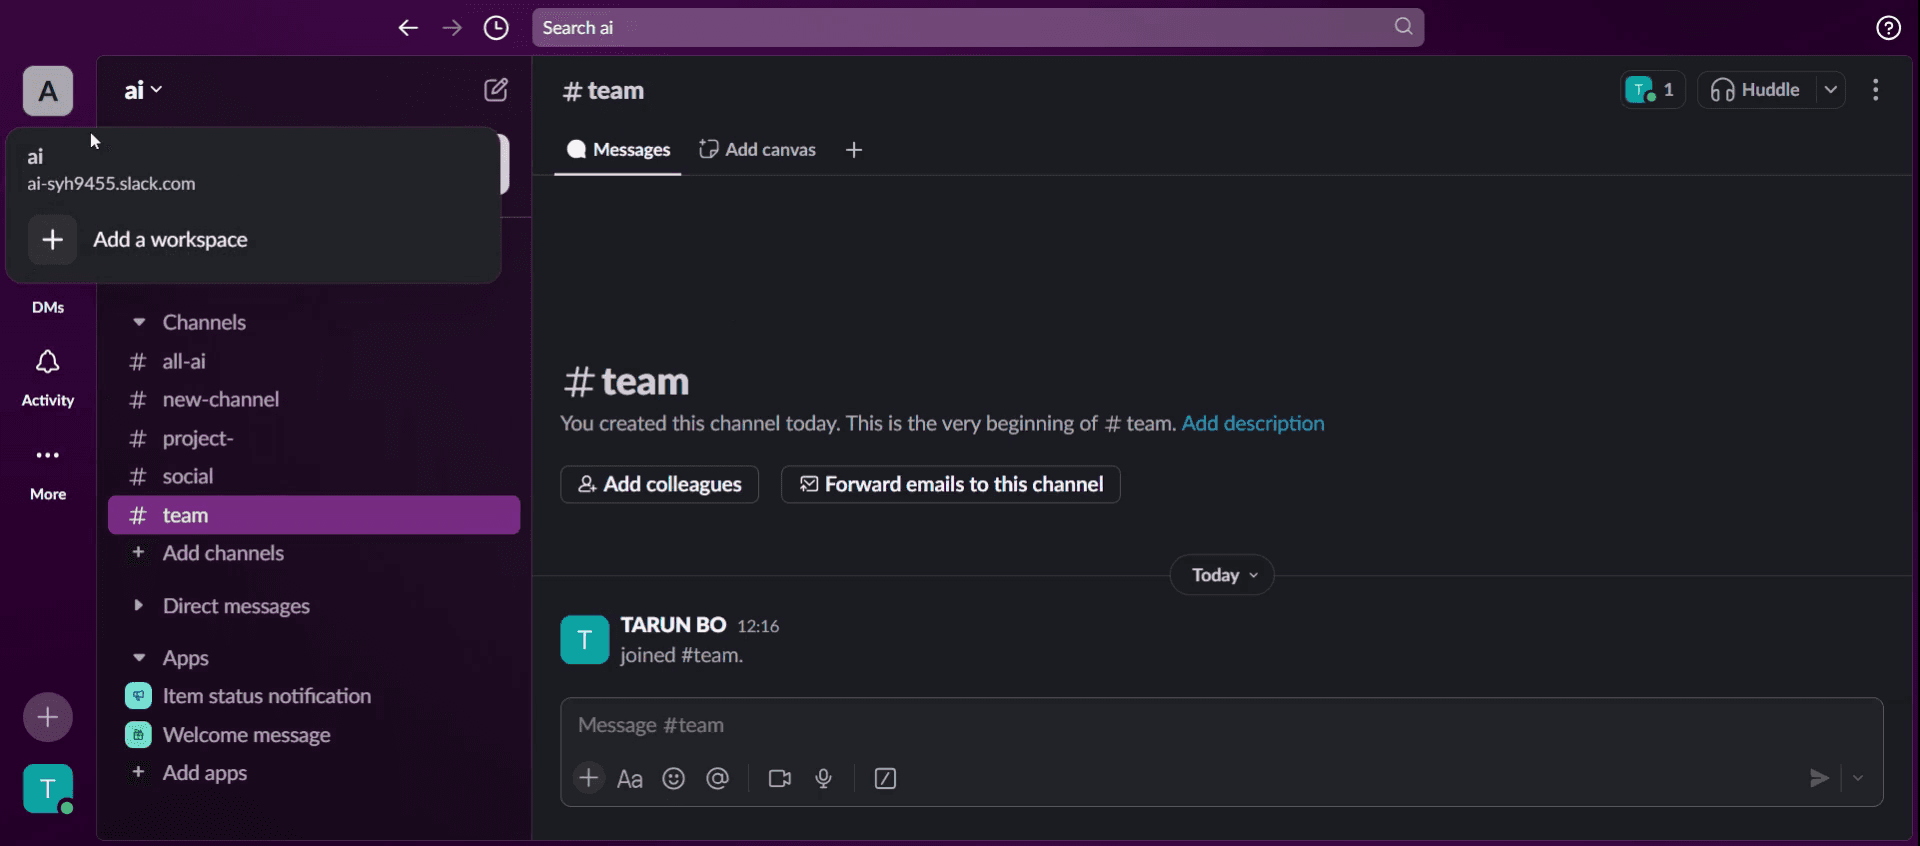
Schritt 2
Klicken Sie auf die Option Apps hinzufügen.
Schritt 3
Geben Sie GIF/GIPHY ein, um die entsprechende Anwendung zu finden.
Schritt 4
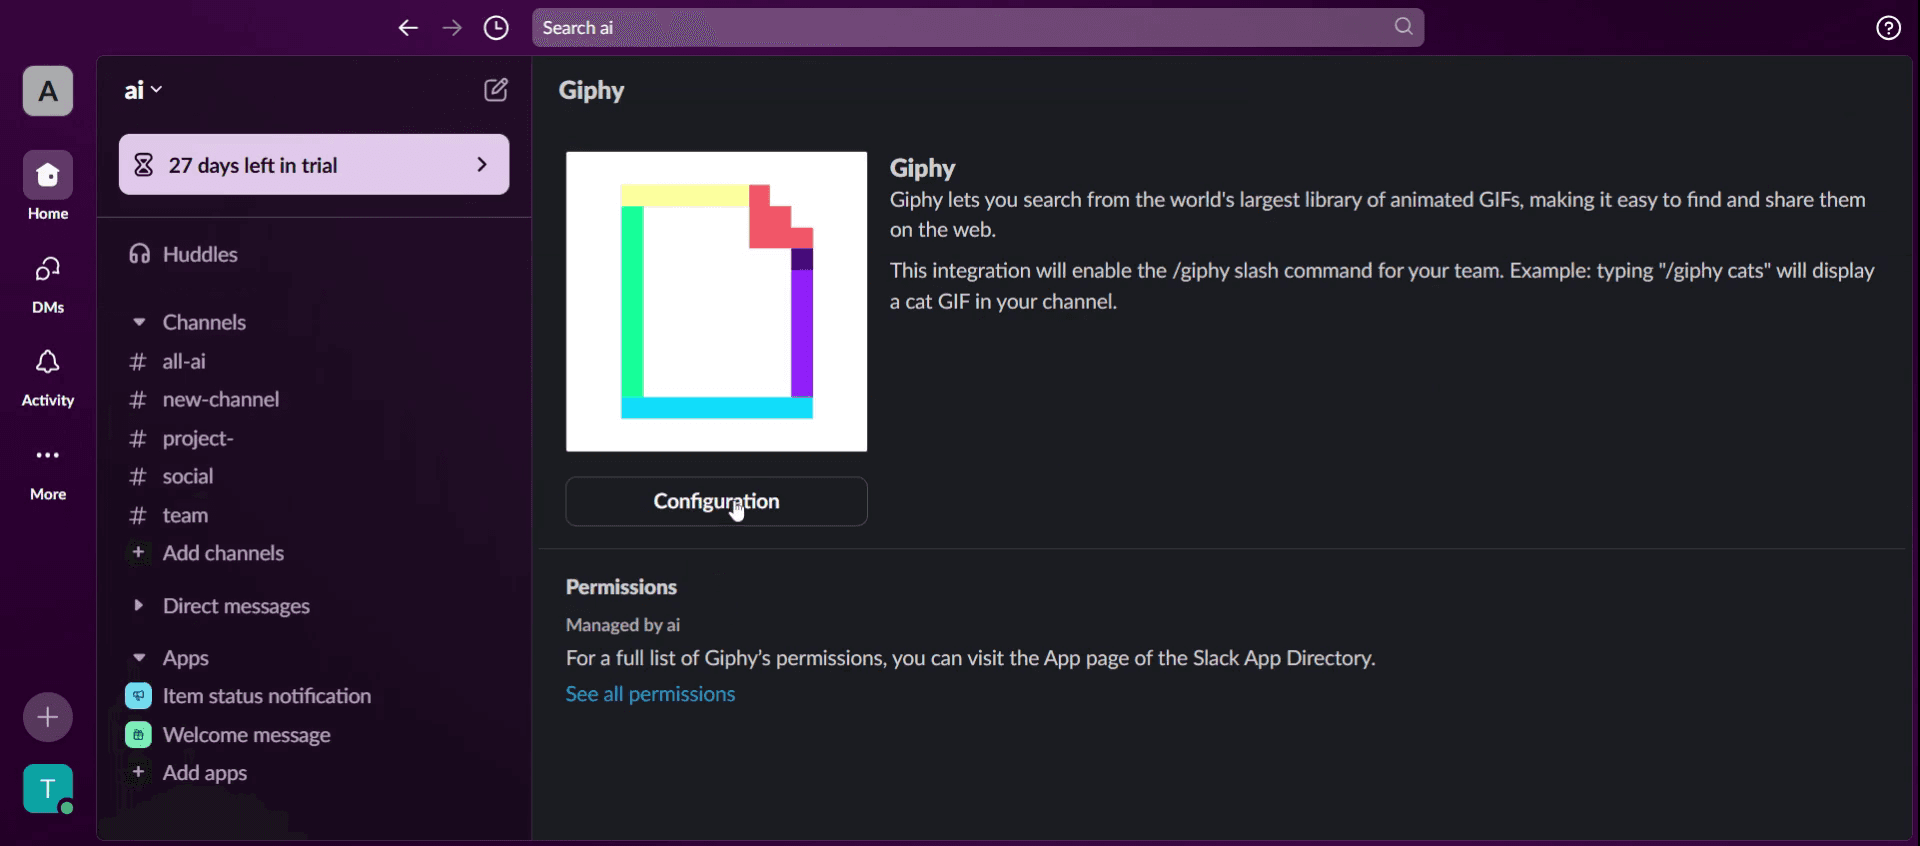
Sobald Sie die GIF-Anwendung gefunden haben, klicken Sie darauf, um fortzufahren.
Schritt 5
Klicken Sie auf Konfiguration,
Schritt 6
Und wählen Sie Integration speichern.
Schritt 7
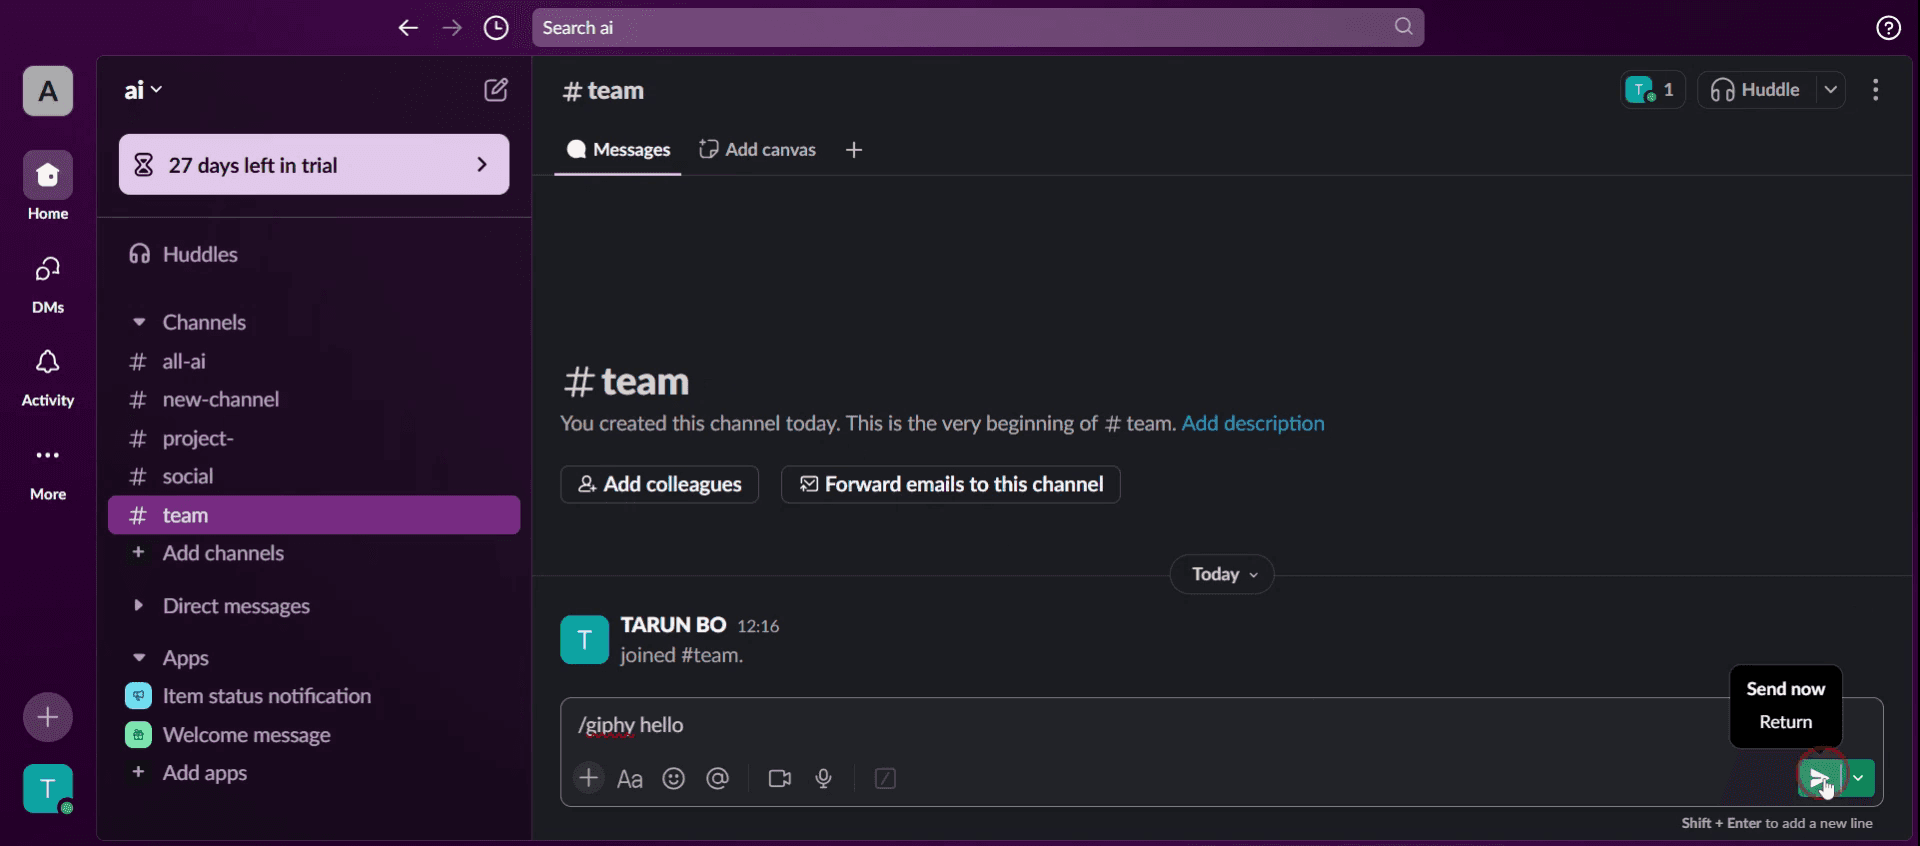
Klicken Sie auf einen bestimmten Kanal.

Schritt 8
Geben Sie in der Nachrichtenkonsole einen mit / beginnenden Befehl ein, um das Senden eines GIFs zu starten.

Schritt 9
Klicken Sie auf die Senden-Option.
Profi-Tipps zum Senden von GIFs in Slack
Verwenden Sie den
/giphyBefehl für schnelle GIFs: Die schnellste Möglichkeit, GIFs in Slack zu senden, ist die Verwendung des/giphyBefehls. Geben Sie einfach/giphygefolgt von einem Schlüsselwort ein (z. B./giphy funny cat), und Slack schlägt ein GIF vor, das zu Ihrem Suchbegriff passt.Laden Sie eigene GIFs für mehr Personalisierung hoch Wenn Sie ein bestimmtes GIF senden möchten, das in Slacks Integrationen nicht verfügbar ist, können Sie es manuell hochladen. Ziehen Sie das GIF einfach per Drag & Drop in einen Slack-Chat oder klicken Sie auf das Büroklammer-Symbol, um eine Datei anzuhängen.
Integrieren Sie Tenor für eine größere GIF-Bibliothek Slack ermöglicht die Integration von Drittanbieter-Apps wie Tenor. Dadurch wird Ihre GIF-Auswahl erweitert und das Senden von GIFs in Slack effizienter und unterhaltsamer.
Häufige Fallstricke und wie man sie vermeidet
GIFs werden nicht richtig angezeigt: Manchmal werden GIFs in Slack nicht geladen oder angezeigt. Um das zu beheben, überprüfen Sie Ihre Internetverbindung, stellen Sie sicher, dass GIF-Vorschauen in den Slack-Einstellungen aktiviert sind, oder versuchen Sie, die App neu zu laden.
Übermäßige Verwendung von GIFs in Arbeitskanälen: Obwohl GIFs die Kommunikation unterhaltsamer machen, kann ihre häufige Verwendung in professionellen Slack-Kanälen ablenkend sein. Um dies zu vermeiden, verwenden Sie sie sparsam und stellen Sie sicher, dass sie zum Gespräch passen.
Giphy zeigt irrelevante oder unangemessene GIFs an: Wenn Sie den
/giphyBefehl verwenden, wählt Slack zufällig ein GIF aus der Giphy-Bibliothek aus, das möglicherweise nicht immer angemessen ist. Um dies zu verhindern, passen Sie die Inhaltsbewertung von Giphy in den App-Einstellungen von Slack an oder laden Sie GIFs stattdessen manuell hoch.
Häufig gestellte Fragen zum Senden von GIFs in Slack
Warum funktioniert mein GIF nicht, wenn ich GIFs in Slack sende?
Wenn dein GIF in Slack nicht funktioniert, kann das an einer langsamen Internetverbindung, deaktivierten GIF-Vorschauen oder einem Problem mit der Slack-App liegen. Versuche, Slack zu aktualisieren, deine Einstellungen zu prüfen oder das GIF erneut hochzuladen.Kann ich meine eigenen GIFs senden, anstatt Giphy in Slack zu verwenden?
Ja! Du kannst deine eigenen GIFs in Slack manuell hochladen, indem du die Datei per Drag-and-drop in einen Chat ziehst oder das Büroklammer-Anhangssymbol verwendest. So stellst du sicher, dass du genau das GIF sendest, das du möchtest, ohne dich auf Giphy zu verlassen,Wie macht man eine Bildschirmaufnahme auf dem Mac?
Um eine Bildschirmaufnahme auf einem Mac zu machen, kannst du Trupeer AI verwenden. Es ermöglicht dir, den gesamten Bildschirm aufzunehmen, und bietet KI-Funktionen wie das Hinzufügen von KI-Avataren, Voiceover sowie Vergrößern und Verkleinern im Video. Mit der KI-Videoübersetzungsfunktion von Trupeer kannst du das Video in über 30 Sprachen übersetzen.Wie fügt man einen KI-Avatar zu einer Bildschirmaufnahme hinzu?
Um einen KI-Avatar zu einer Bildschirmaufnahme hinzuzufügen, musst du ein KI-Bildschirmaufnahme-Tool verwenden. Trupeer AI ist ein KI-Bildschirmaufnahme-Tool, mit dem du Videos mit mehreren Avataren erstellen kannst und das dir auch dabei hilft, deinen eigenen Avatar für das Video zu erstellen.Wie macht man eine Bildschirmaufnahme unter Windows?
Um eine Bildschirmaufnahme unter Windows zu machen, kannst du die integrierte Game Bar (Windows + G) oder ein fortgeschrittenes KI-Tool wie Trupeer AI für erweiterte Funktionen wie KI-Avatare, Voiceover, Übersetzung usw. verwenden.Wie fügt man Videos ein Voiceover hinzu?
Um Videos ein Voiceover hinzuzufügen, lade die Chrome-Erweiterung von Trupeer AI herunter. Nach der Anmeldung lädst du dein Video mit Stimme hoch, wählst das gewünschte Voiceover von Trupeer aus und exportierst dein bearbeitetes Video.Wie zoome ich in eine Bildschirmaufnahme hinein?
Um während einer Bildschirmaufnahme hineinzuzoomen, verwende die Zoom-Effekte in Trupeer AI, mit denen du an bestimmten Momenten hinein- und herauszoomen kannst und so die visuelle Wirkung deiner Videoinhalte verbesserst.
Auch gefragt
Generator für technische Dokumentation
Wie man in Slack ein Huddle startet
Wie man in Slack einen Link einfügt
Verwandte Tutorials

