

Wie man einen Branch auf GitHub löscht
Erfahren Sie, wie Sie einen Branch in GitHub sowohl über die Website als auch über die Git-Befehlszeile löschen. Entfernen Sie lokale und entfernte Branches mit dieser Schritt-für-Schritt-Anleitung sicher.
Um eine Zoom-Besprechungs-ID zu finden, können Sie sie in der Zoom-Anwendung, der Besprechungseinladung oder im Besprechungslink finden. Wenn Sie der Gastgeber sind, finden Sie sie im Tab „Meetings“ der Zoom-Desktop-App oder im Webportal. Als Teilnehmer ist die ID im Besprechungslink oder in der Einladung eingebettet. Sie können sie auch direkt im Besprechungsfenster finden, indem Sie auf das Symbol „Info“ klicken.
So finden Sie die Besprechungs-ID als Gastgeber:
In der Zoom-Desktop-App:Öffnen Sie die Zoom-App und wechseln Sie zum Tab „Meetings“. Suchen Sie Ihre geplante Besprechung und klicken Sie darauf, um die Details einschließlich der Besprechungs-ID anzuzeigen. Im Zoom-Webportal:Melden Sie sich im Zoom-Webportal an. Navigieren Sie zu „Meetings“ und dann zu „Bevorstehende Meetings“. Wählen Sie die Besprechung aus, um ihre Details einschließlich der ID anzuzeigen. In einer Besprechung:Klicken Sie auf das Symbol „Info“ (normalerweise ein „i“ in einem Kreis) in der oberen linken Ecke des Besprechungsfensters. Die Besprechungs-ID wird angezeigt
So finden Sie die Besprechungs-ID als Teilnehmer:
Über den Besprechungslink:Die Besprechungs-ID ist in der Zoom-Besprechungs-URL normalerweise hinter /j/ enthalten. Zum Beispiel ist in https://zoom.us/j/1234567890 die Besprechungs-ID 1234567890.Über die Besprechungseinladung:Die Besprechungseinladung, ob per E-Mail oder Kalender gesendet, enthält in der Regel die Besprechungs-ID.Während einer Besprechung:Klicken Sie auf das Symbol „Info“ (normalerweise ein „i“ in einem Kreis) in der oberen linken Ecke des Besprechungsfensters.Die Besprechungs-ID wird angezeigt.
So finden Sie die persönliche Besprechungs-ID (PMI):
In der Zoom-Desktop-App:Klicken Sie auf den Tab „Meetings“. Klicken Sie oben rechts auf „Persönliche Besprechungs-ID“. Ihre PMI und der Einladungslink werden angezeigt. Im Zoom-Webportal:Melden Sie sich im Zoom-Webportal an. Gehen Sie zu „Meetings“ und dann zu „Persönlicher Raum“. Ihre PMI und der Einladungslink werden angezeigt. Während einer Besprechung:Klicken Sie auf das Symbol „Info“ oben links im Besprechungsfenster. Die PMI wird angezeigt.
Schritt-für-Schritt-Anleitung: So löschen Sie einen Branch in GitHub
Schritt 1
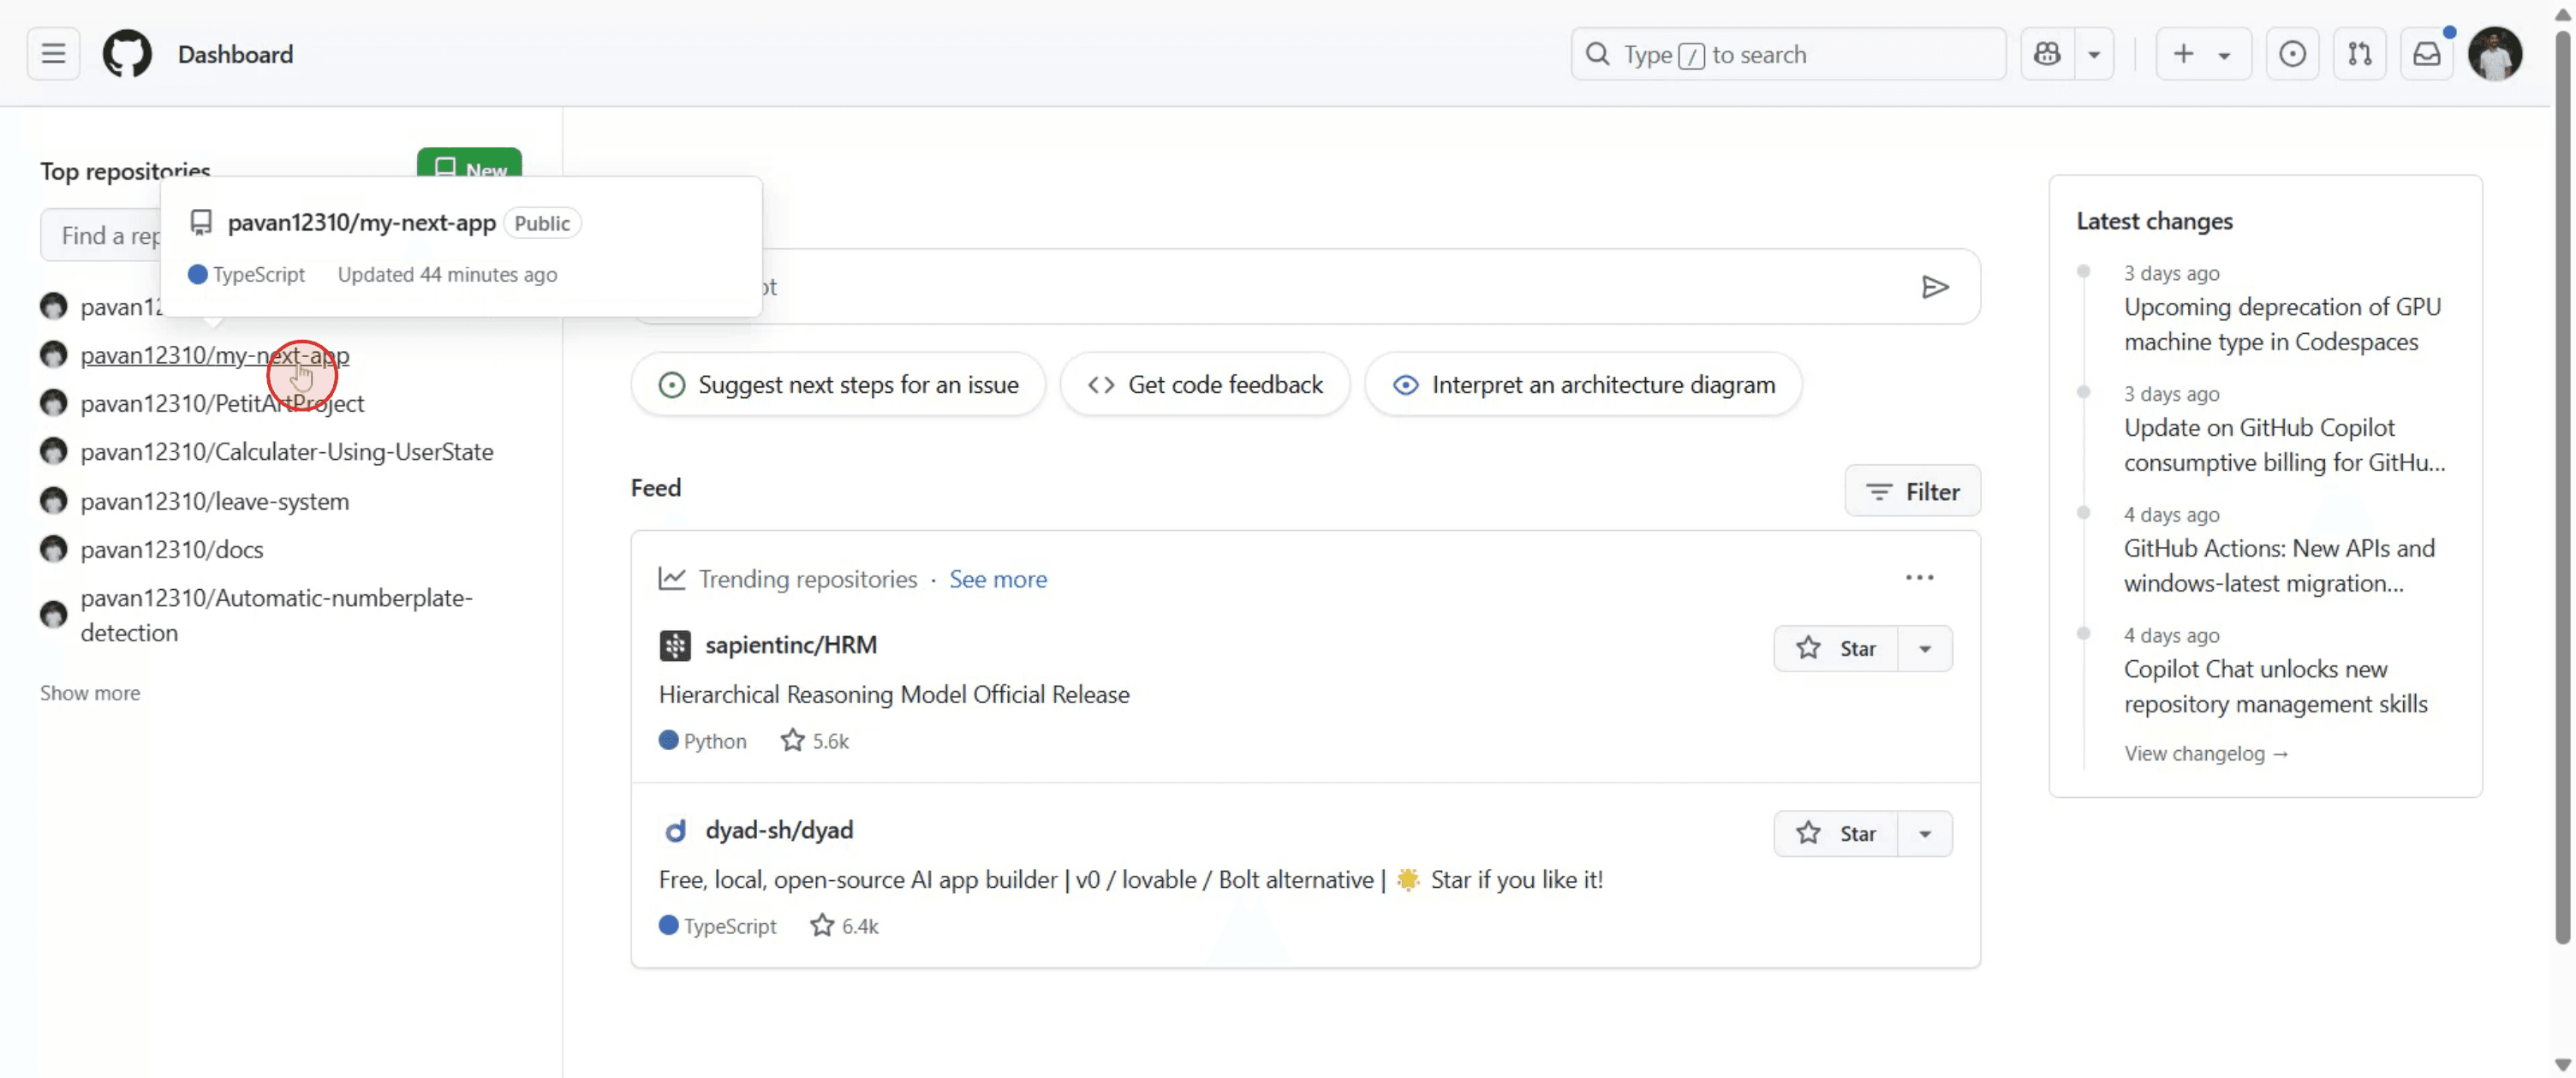
Navigieren Sie zu dem Repository, das Sie öffnen möchten.
Schritt 2
Wählen Sie „Branches“ aus, um es zu öffnen.
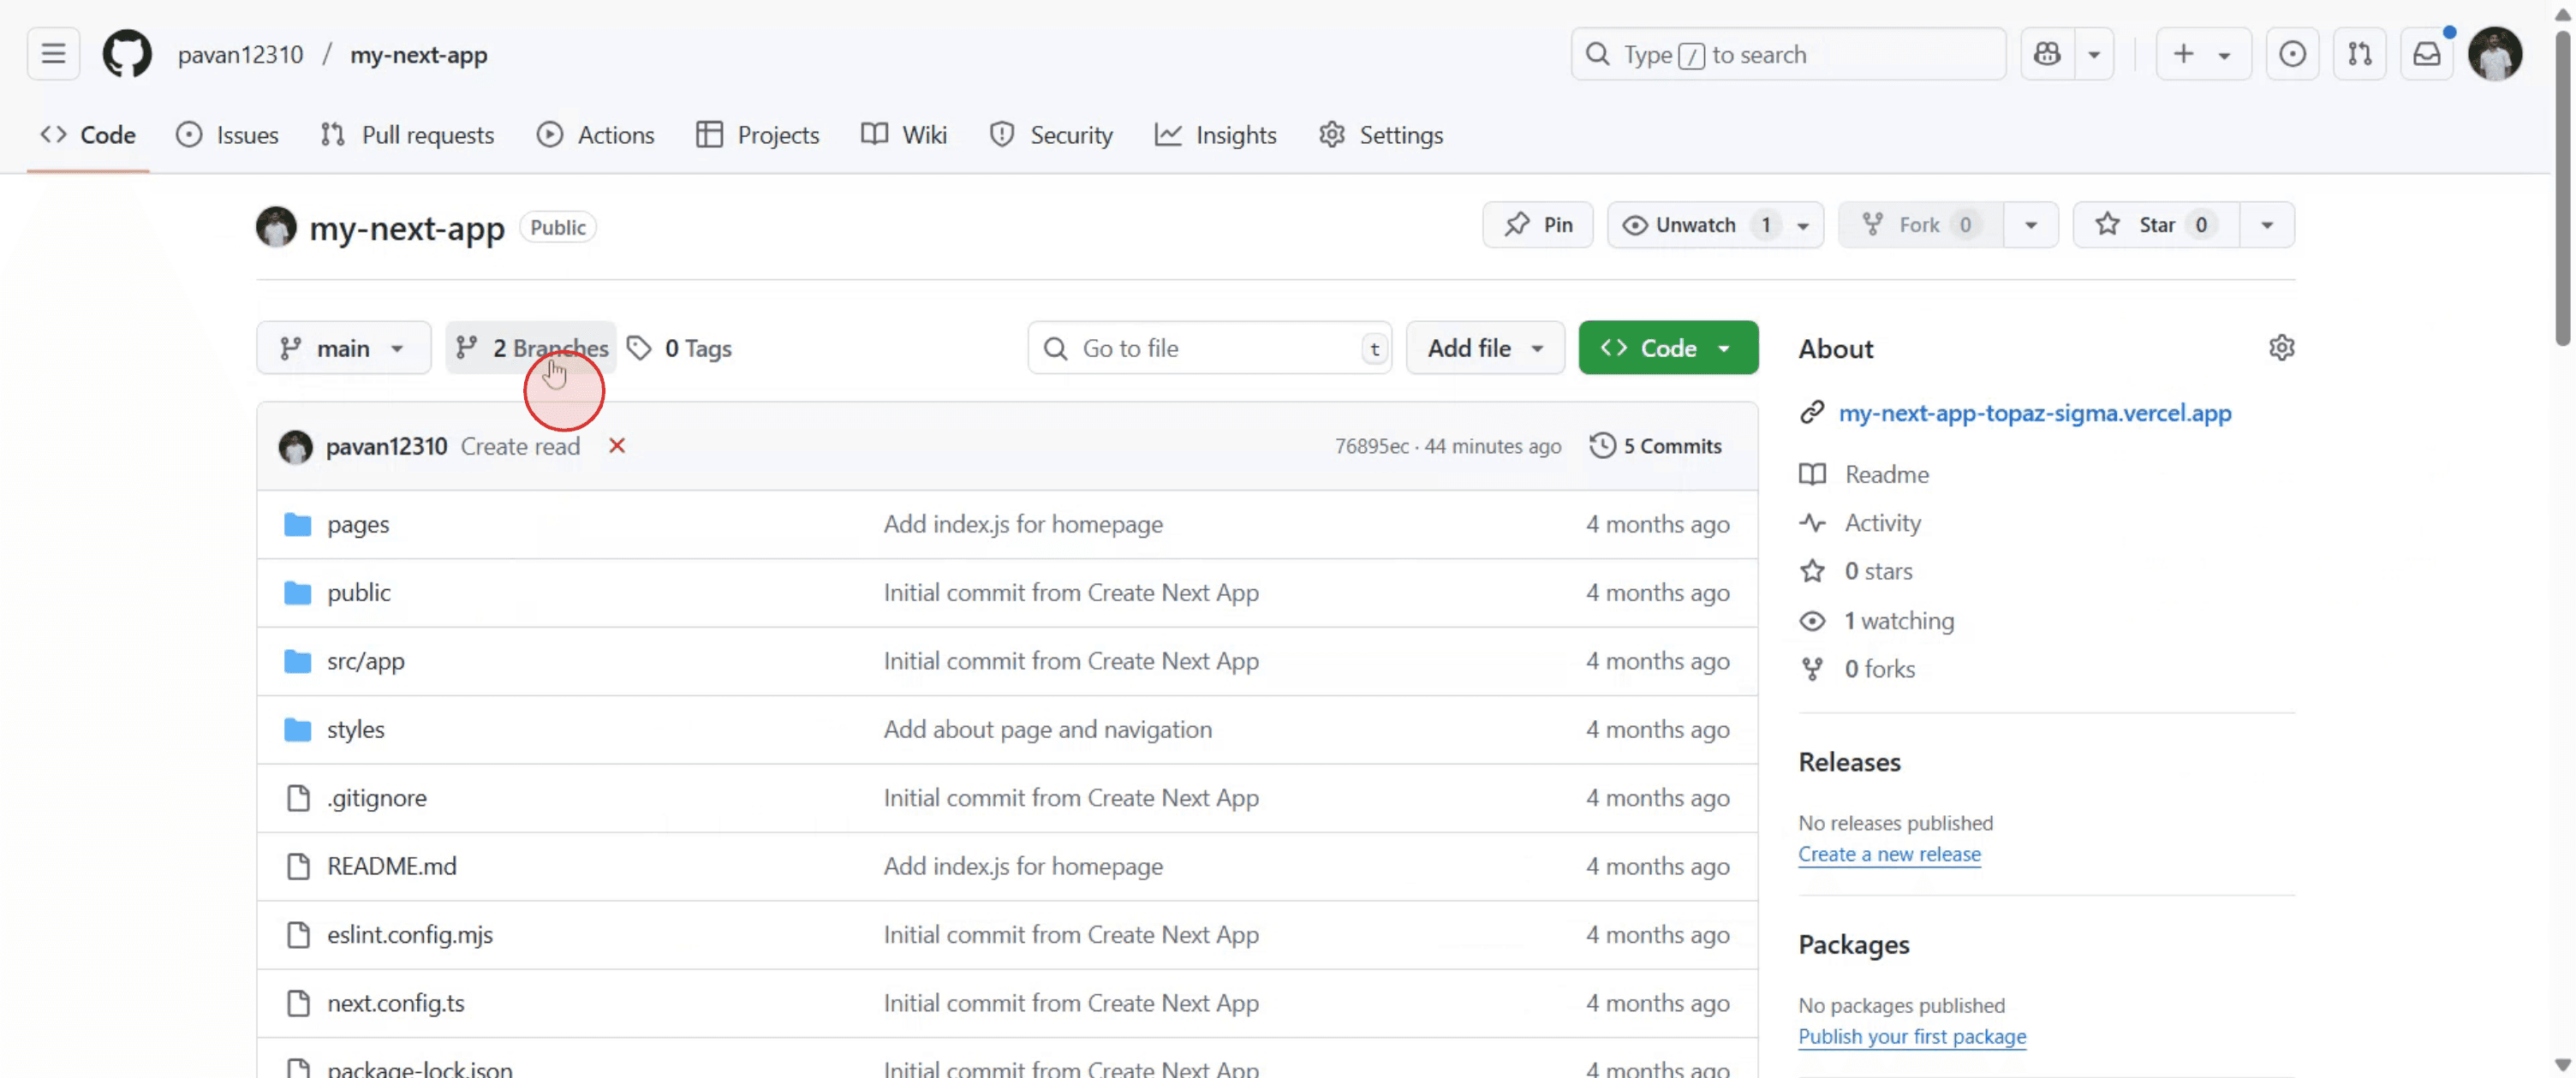
Schritt 3
Gehen Sie zu dem Branch, den Sie löschen möchten, und klicken Sie auf das Papierkorbsymbol.
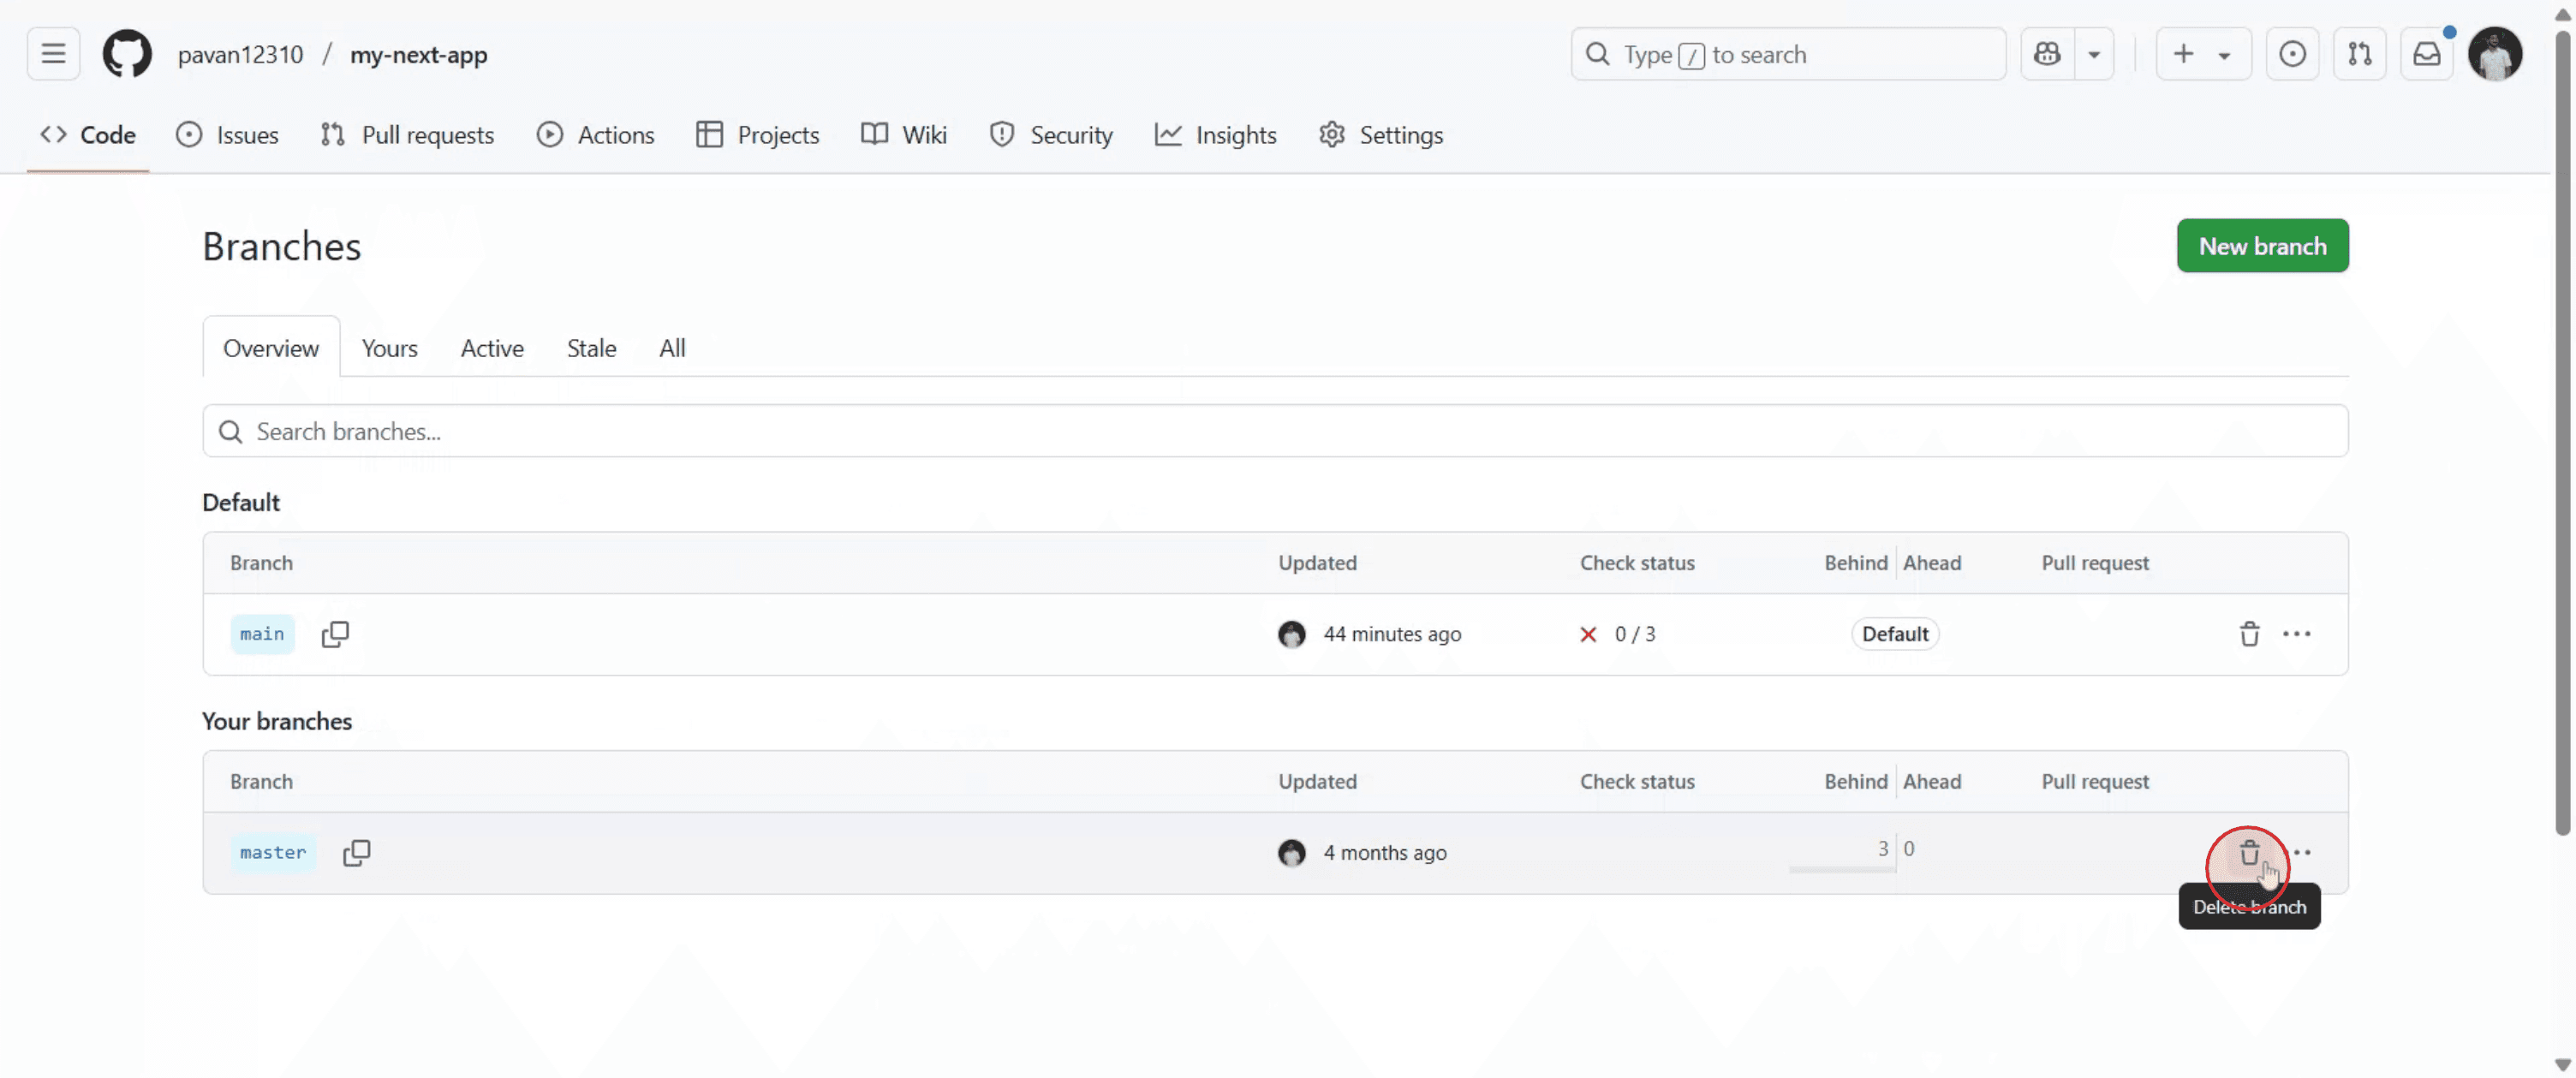
Schritt 4
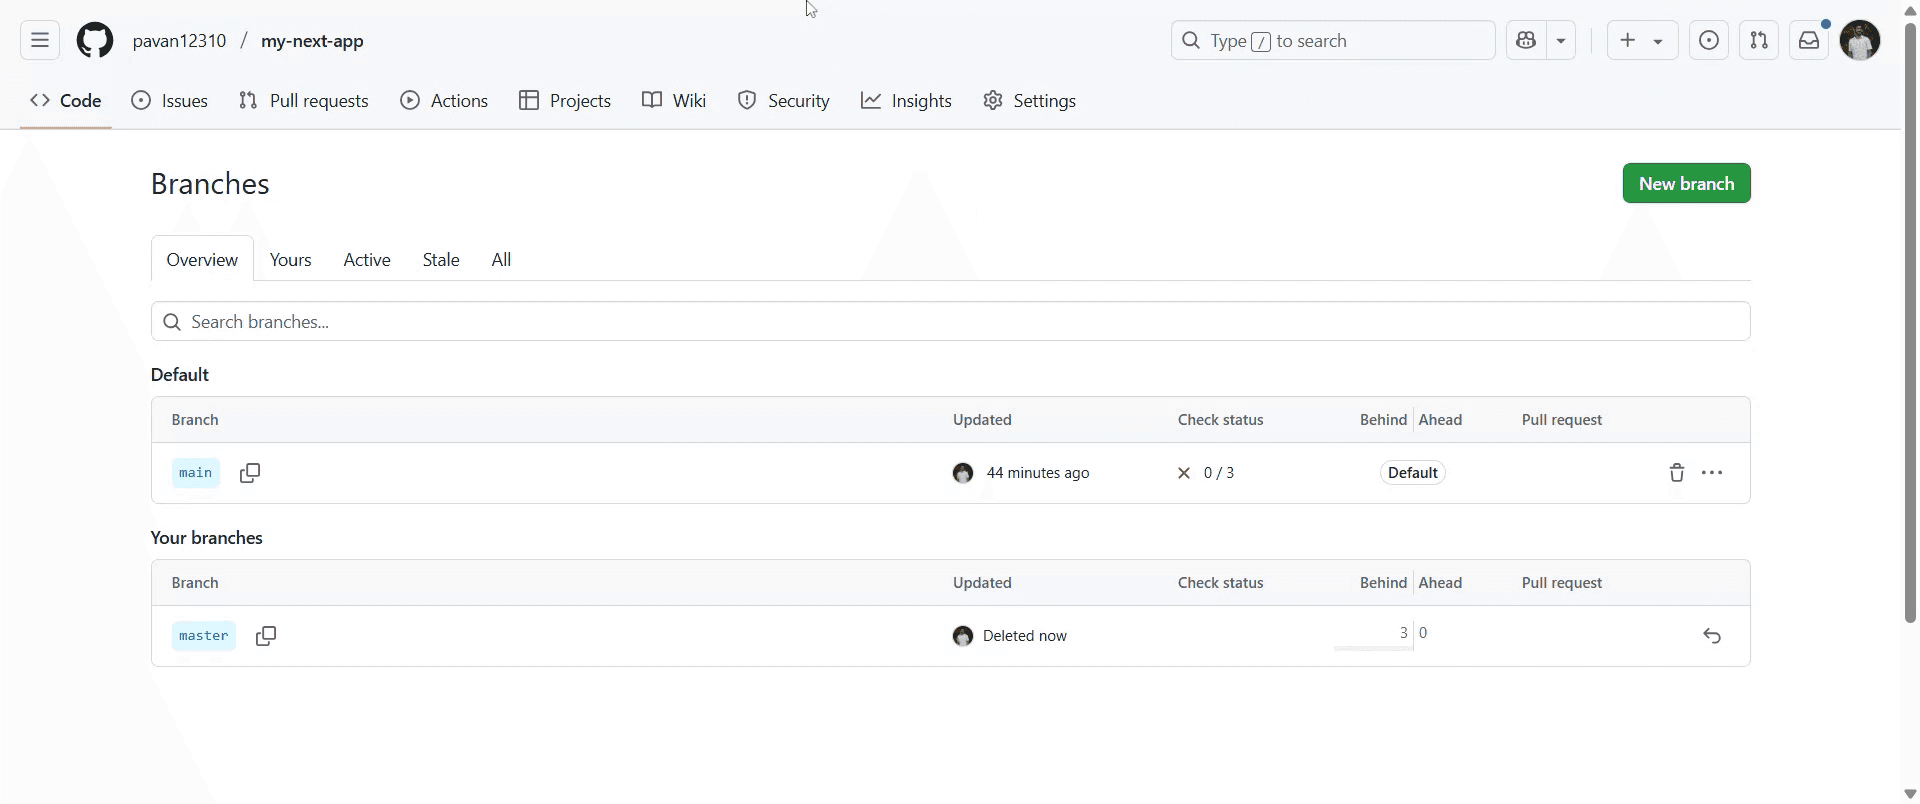
Sobald Sie den Branch gelöscht haben, wird er automatisch aktualisiert.
Profi-Tipps zum Löschen eines Branches in GitHub
Bei GitHub anmelden
Gehe zu github.com und melde dich mit deinen Zugangsdaten an.Zum Repository navigieren
Öffne das Repository, das den Branch enthält, den du löschen möchtest.Zum Bereich „Branches“ gehen
Klicke auf den Tab „Branches“. Du findest ihn oben in deinem Repository, direkt unter dem Repo-Namen und dem Navigationsmenü.Den Branch suchen, den du löschen möchtest
Finde den Branch, den du löschen möchtest, im Abschnitt „Aktive Branches“. Stelle sicher, dass es nicht der Standard-Branch ist.Auf das Papierkorb-Symbol klicken
Klicke rechts neben dem Branch-Namen auf das Papierkorb-Symbol, um den Branch zu löschen.Löschen bestätigen
Es erscheint eine Bestätigungsaufforderung. Klicke auf „Löschen“, um den Branch endgültig aus dem Repository zu entfernen.
Häufige Fallstricke und wie man sie vermeidet
Versuchen, den Standard-Branch zu löschen
Du kannst den Standard-Branch nicht löschen. Falls nötig, ändere zuerst unter Einstellungen > Branches den Standard-Branch.Einen aktiven oder benötigten Branch löschen
Überprüfe den Inhalt des Branches sorgfältig und stelle sicher, dass er nicht mehr benötigt wird, bevor du ihn löschst, um wertvolle Arbeit nicht zu verlieren.Nicht über die erforderlichen Berechtigungen verfügen
Du benötigst Schreib- oder Administratorzugriff, um einen Branch zu löschen. Wenn du das Papierkorb-Symbol nicht siehst, prüfe deinen Zugriffslevel.Vergessen, den Branch lokal zu löschen
Das Löschen eines Branches auf GitHub entfernt ihn nicht von deinem lokalen Rechner. Führe lokalgit branch -d branch-nameaus, um aufzuräumen.Aus Versehen den falschen Branch löschen
Überprüfe immer den Branch-Namen, bevor du das Löschen bestätigst, besonders in gemeinsam genutzten Projekten.
Häufig gestellte Fragen zum Löschen eines GitHub-Branches
Kann ich den Standard-Branch löschen?
Nein, GitHub erlaubt das Löschen des Standard-Branches nicht. Ändere zuerst den Standard-Branch, wenn du ihn löschen musst.Wird beim Löschen eines Branches sein Code entfernt?
Ja, der Branch und seine Commits sind danach nicht mehr zugänglich, sofern sie nicht vorher in einen anderen Branch zusammengeführt wurden.Kann ich einen gelöschten Branch wiederherstellen?
Nicht direkt. Du kannst ihn mithilfe des Commit-Hashs wiederherstellen, wenn du ihn kennst, aber GitHub bietet keine „Papierkorb“-Funktion an.Wie lösche ich einen Branch lokal?
Verwende den Befehlgit branch -d branch-nameodergit branch -D branch-namein deinem Terminal.Kann ich einen Branch aus einem Pull Request löschen?
Ja, wenn der Branch nicht mehr benötigt wird, bietet GitHub dir nach dem Zusammenführen eines Pull Requests die Möglichkeit, ihn zu löschen.Wie nimmt man auf dem Mac den Bildschirm auf?
Zum Aufzeichnen des Bildschirms auf einem Mac kannst du Trupeer AI verwenden. Es ermöglicht dir, den gesamten Bildschirm aufzuzeichnen und bietet KI-Funktionen wie das Hinzufügen von KI-Avataren, Sprachaufnahmen sowie das Vergrößern und Verkleinern im Video. Mit der KI-Videoübersetzungsfunktion von trupeer kannst du das Video in über 30 Sprachen übersetzen.Wie fügt man einer Bildschirmaufnahme einen KI-Avatar hinzu?
Um einer Bildschirmaufnahme einen KI-Avatar hinzuzufügen, musst du ein Tool zur KI-Bildschirmaufzeichnung verwenden. Trupeer AI ist ein Tool zur KI-Bildschirmaufzeichnung, das dir hilft, Videos mit mehreren Avataren zu erstellen, und dich außerdem dabei unterstützt, deinen eigenen Avatar für das Video zu erstellen.Wie nimmt man auf Windows den Bildschirm auf?
Um unter Windows den Bildschirm aufzuzeichnen, kannst du die integrierte Game Bar (Windows + G) oder ein fortschrittliches KI-Tool wie Trupeer AI für erweiterte Funktionen wie KI-Avatare, Sprachaufnahmen, Übersetzung usw. verwenden.Wie fügt man einem Video eine Sprachaufnahme hinzu?
Um Videos eine Sprachaufnahme hinzuzufügen, lade die Chrome-Erweiterung von Trupeer AI herunter. Nach der Anmeldung lädst du dein Video mit Ton hoch, wählst die gewünschte Sprachaufnahme von trupeer aus und exportierst dein bearbeitetes Video.Wie zoome ich in einer Bildschirmaufnahme heran?
Um während einer Bildschirmaufnahme hineinzuzoomen, verwende die Zoom-Effekte in Trupeer AI, mit denen du an bestimmten Stellen hinein- und herauszoomen kannst, um die visuelle Wirkung deiner Videoinhalte zu verbessern.
Das fragen auch andere
Generator für technische Dokumentation
Wie man ein Bild in Canva in eine Malvorlage verwandelt
Wie man in Canva beidseitig druckt
Verwandte Tutorials

