

How to Apply Filters in Google Sheets
Learn How to add filter in Google Gheets with this quick step-by-step guide. Start working in Google Sheets like a pro today!
In this document, you will learn how to effectively apply filters in Google Sheets to sort and analyze your data.
Filters allow you to display only the information you need while hiding unnecessary details.
Filtering helps you view only the data you need without deleting or moving anything.
1. Enable Filtering
Select the data range: Click any cell within the table or range you want to filter.
Turn on filter: Go to Data > Create a filter, or click the filter icon (funnel symbol) in the toolbar.
Filter icons appear: A small filter arrow will now be visible next to each column header.
2. Apply Filters
Click a filter icon: Click the arrow next to the column heading you want to filter.
Choose your filter method:
By values: Check or uncheck specific values to show/hide them.
By condition: Set rules like "greater than," "contains," or "starts with."
By color: Filter rows based on text or fill colors.
3. Save Filter Views (Optional)
Use this if multiple users need different filtered views:
Go to Data > Filter views > Create new filter view.
Name the view for easy reference.
Apply your filters, just like in step 2.
Save and access later under Data > Filter views.
4. Remove Filters
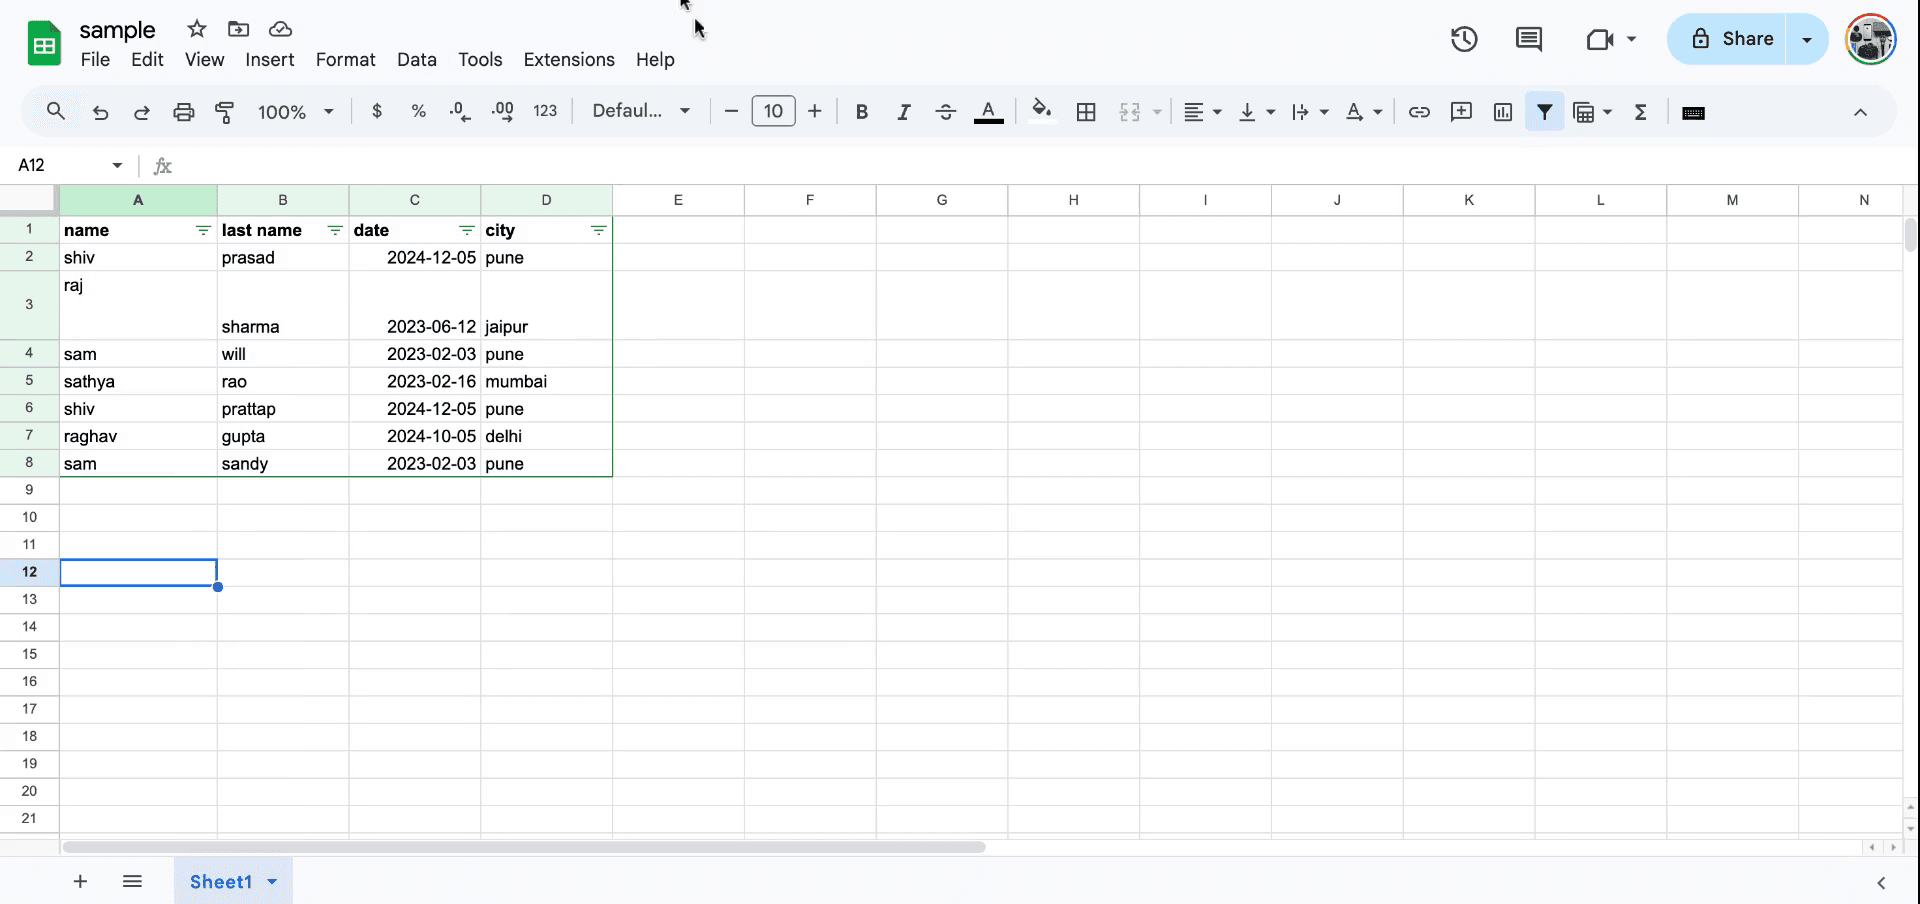
To reset the view, go to Data > Remove filter, or click the filter icon again and choose Remove filter.
Step-by-Step Guide: How to apply filter in Sheets
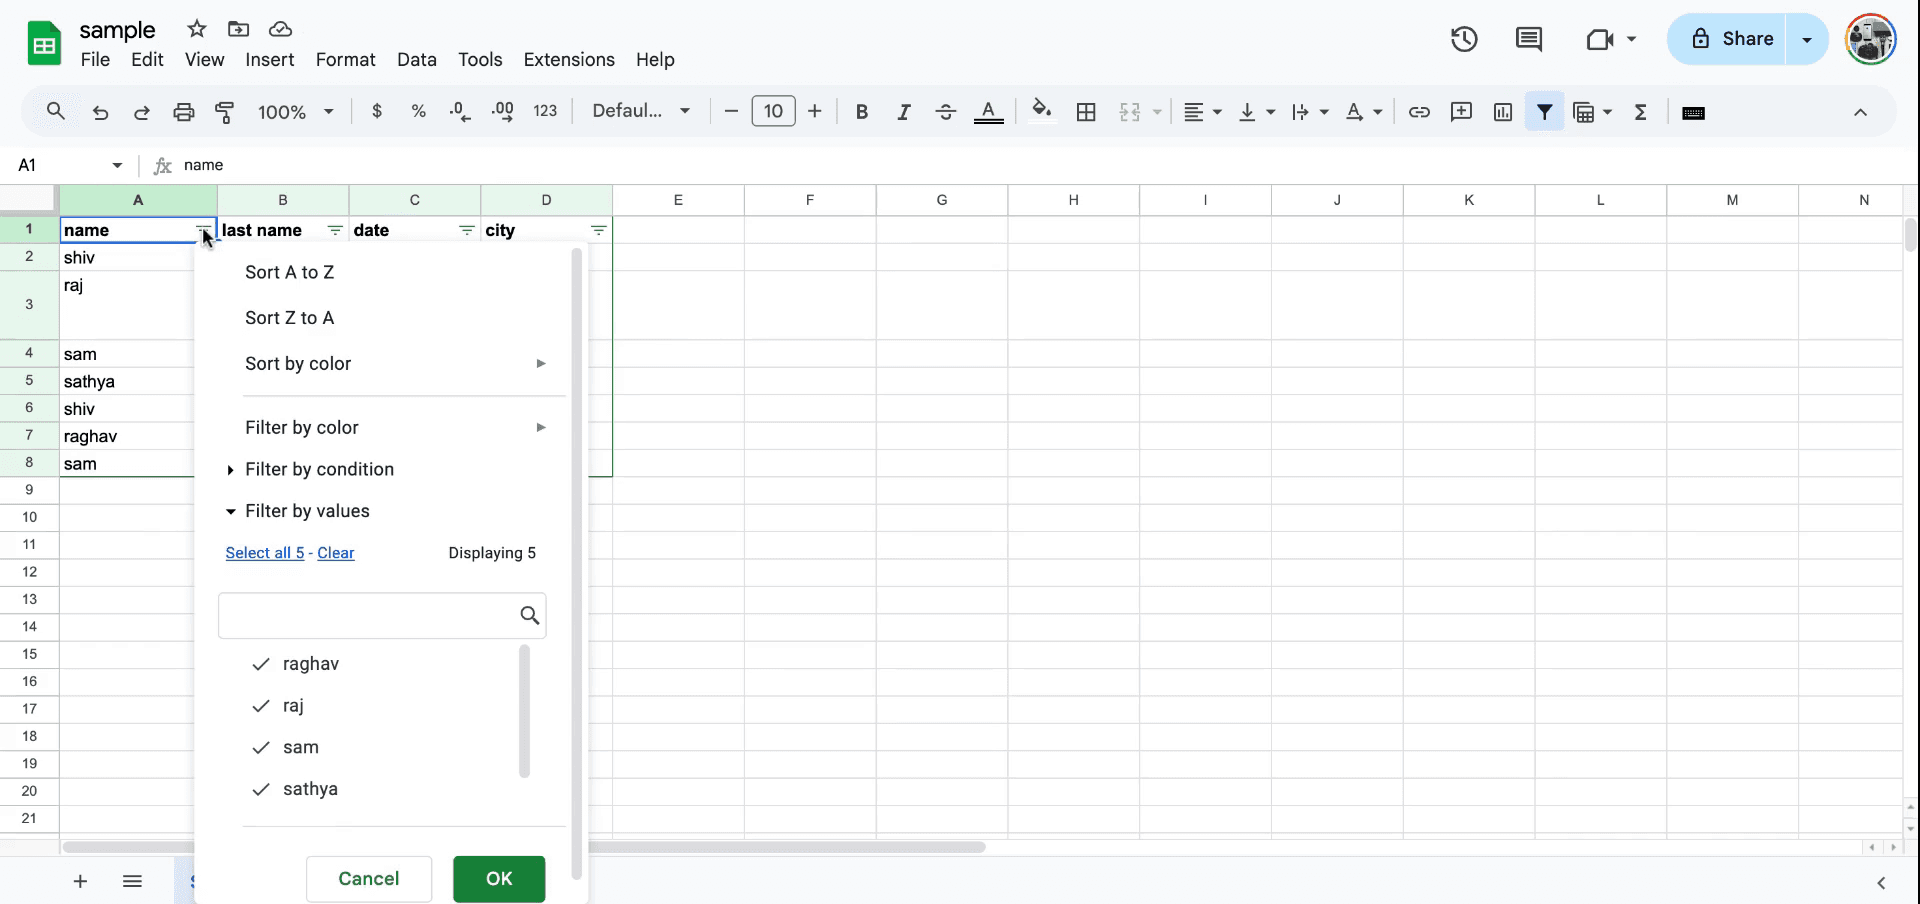
Step 1
To begin applying a filter in your sheet, navigate to the menu and click on the filter icon. After selecting the appropriate element, a filter button will be visible, which you can use to initiate the filtering process.
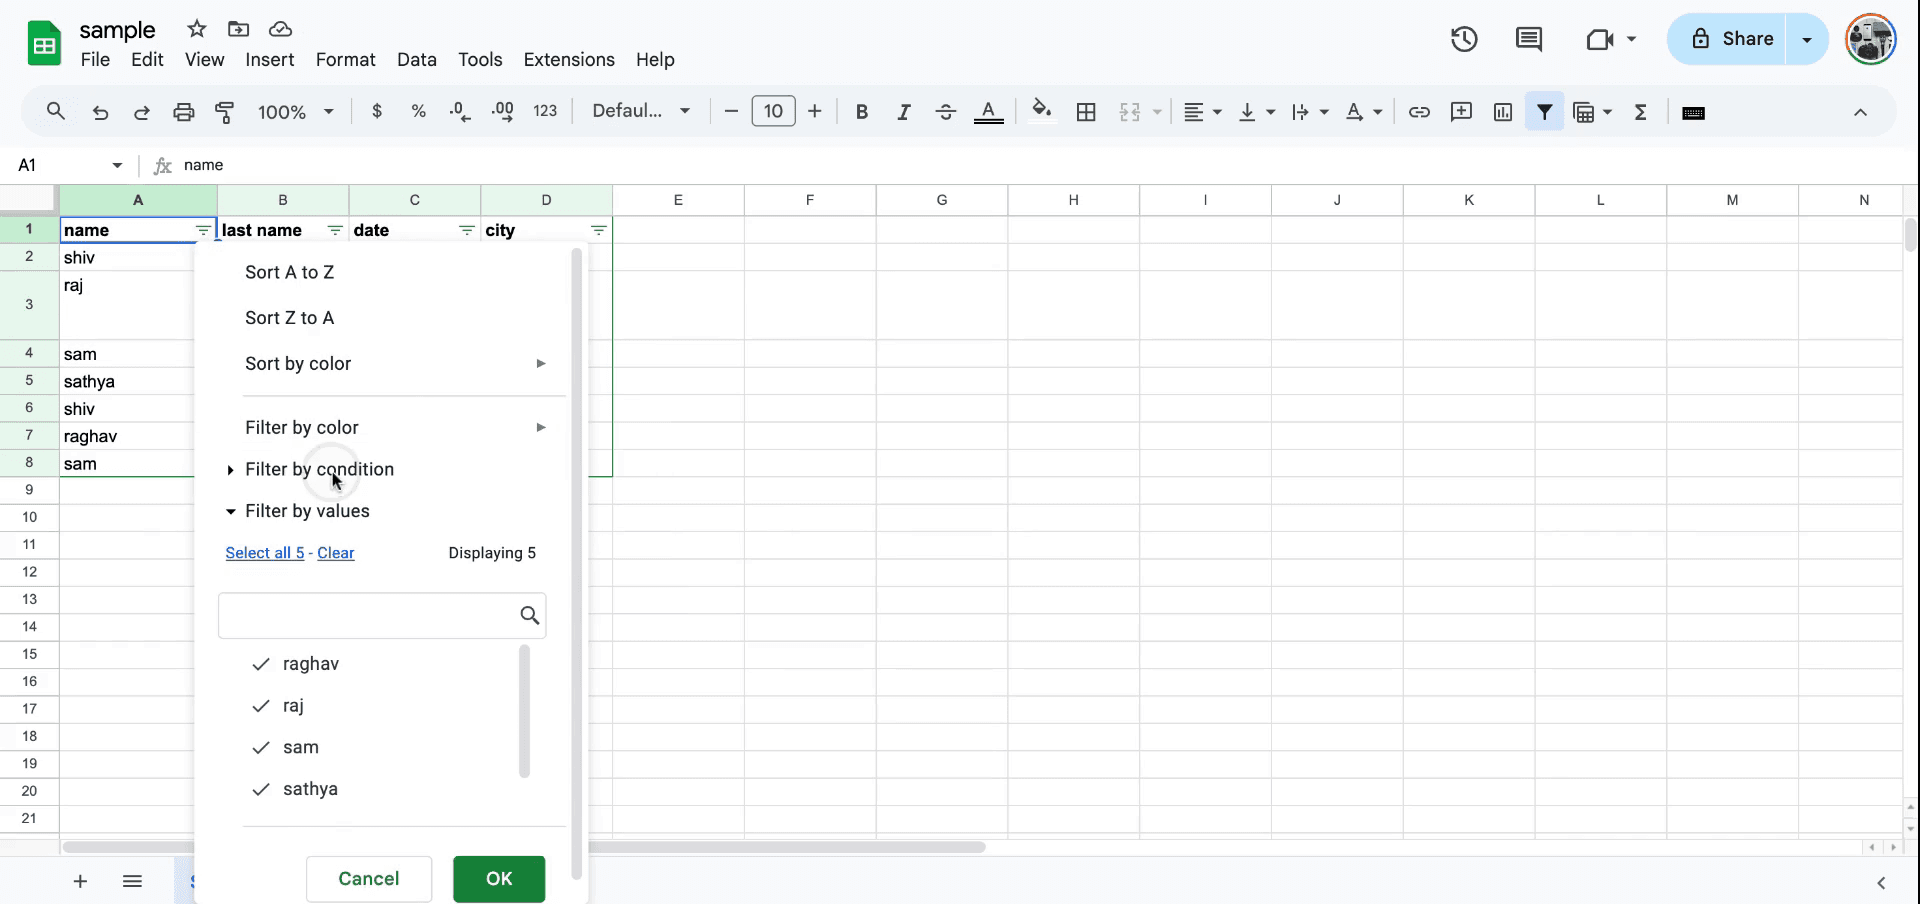
Step 2
Once the filter menu is open, you can choose to filter by condition. There are various options available such as filtering by text, date, and more.
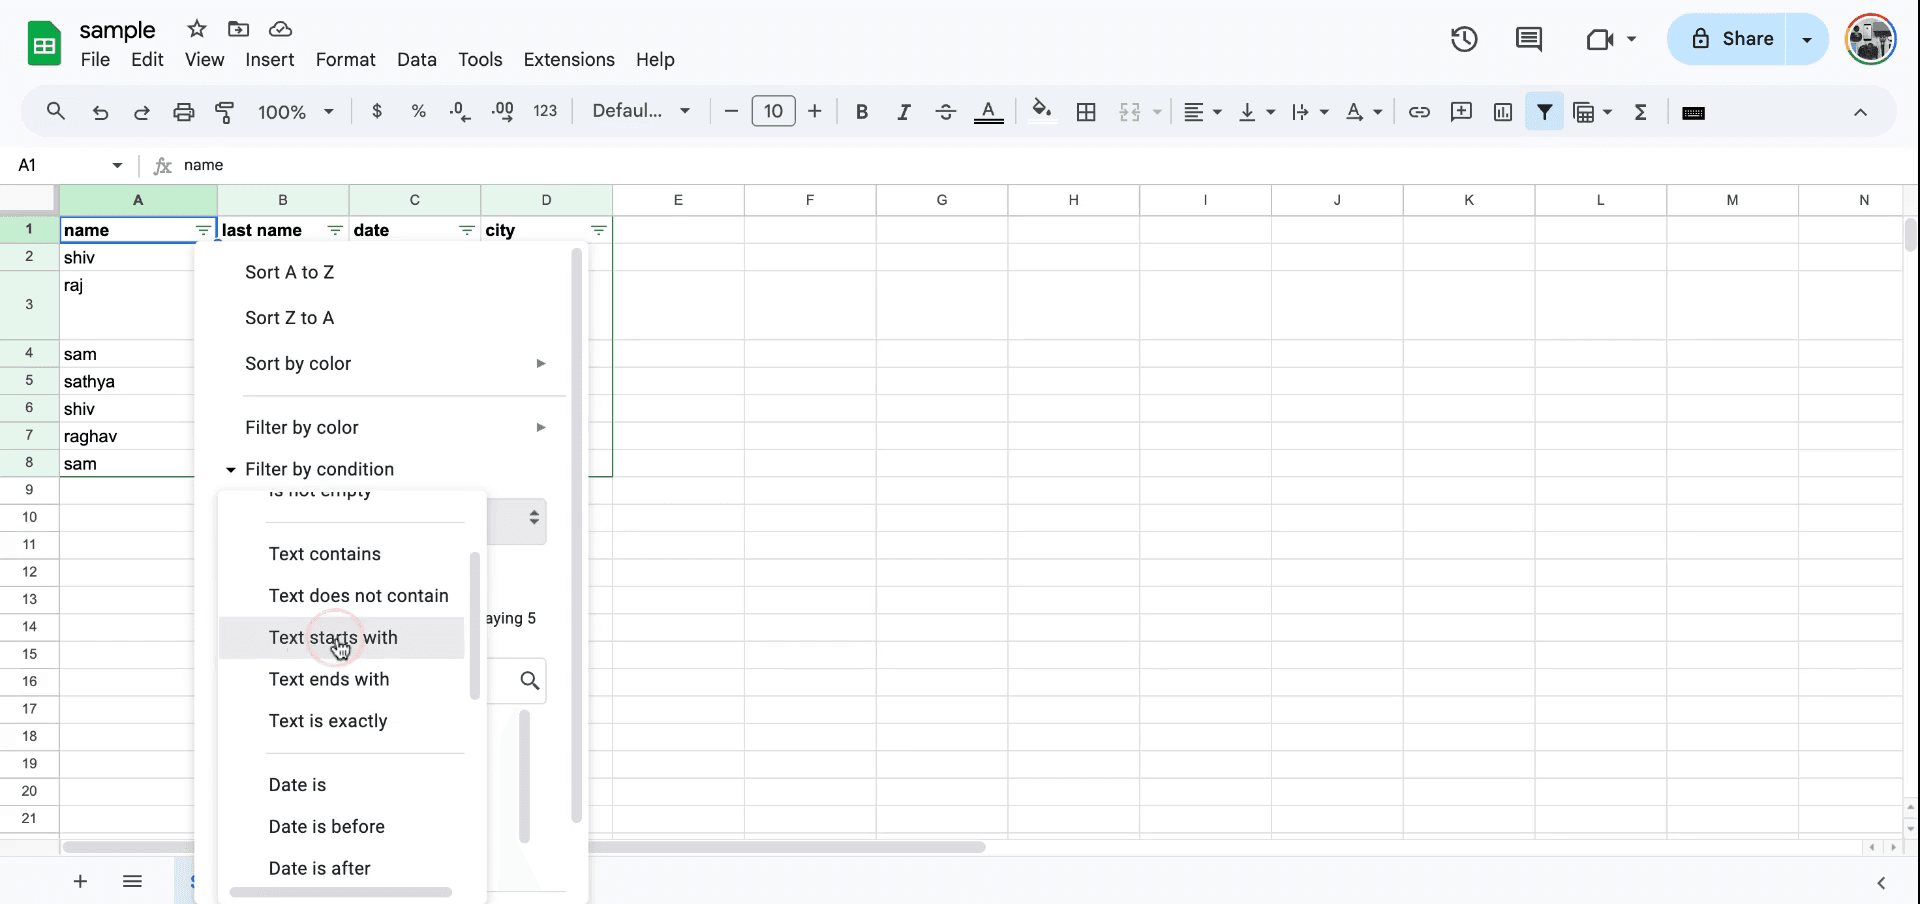
Step 3
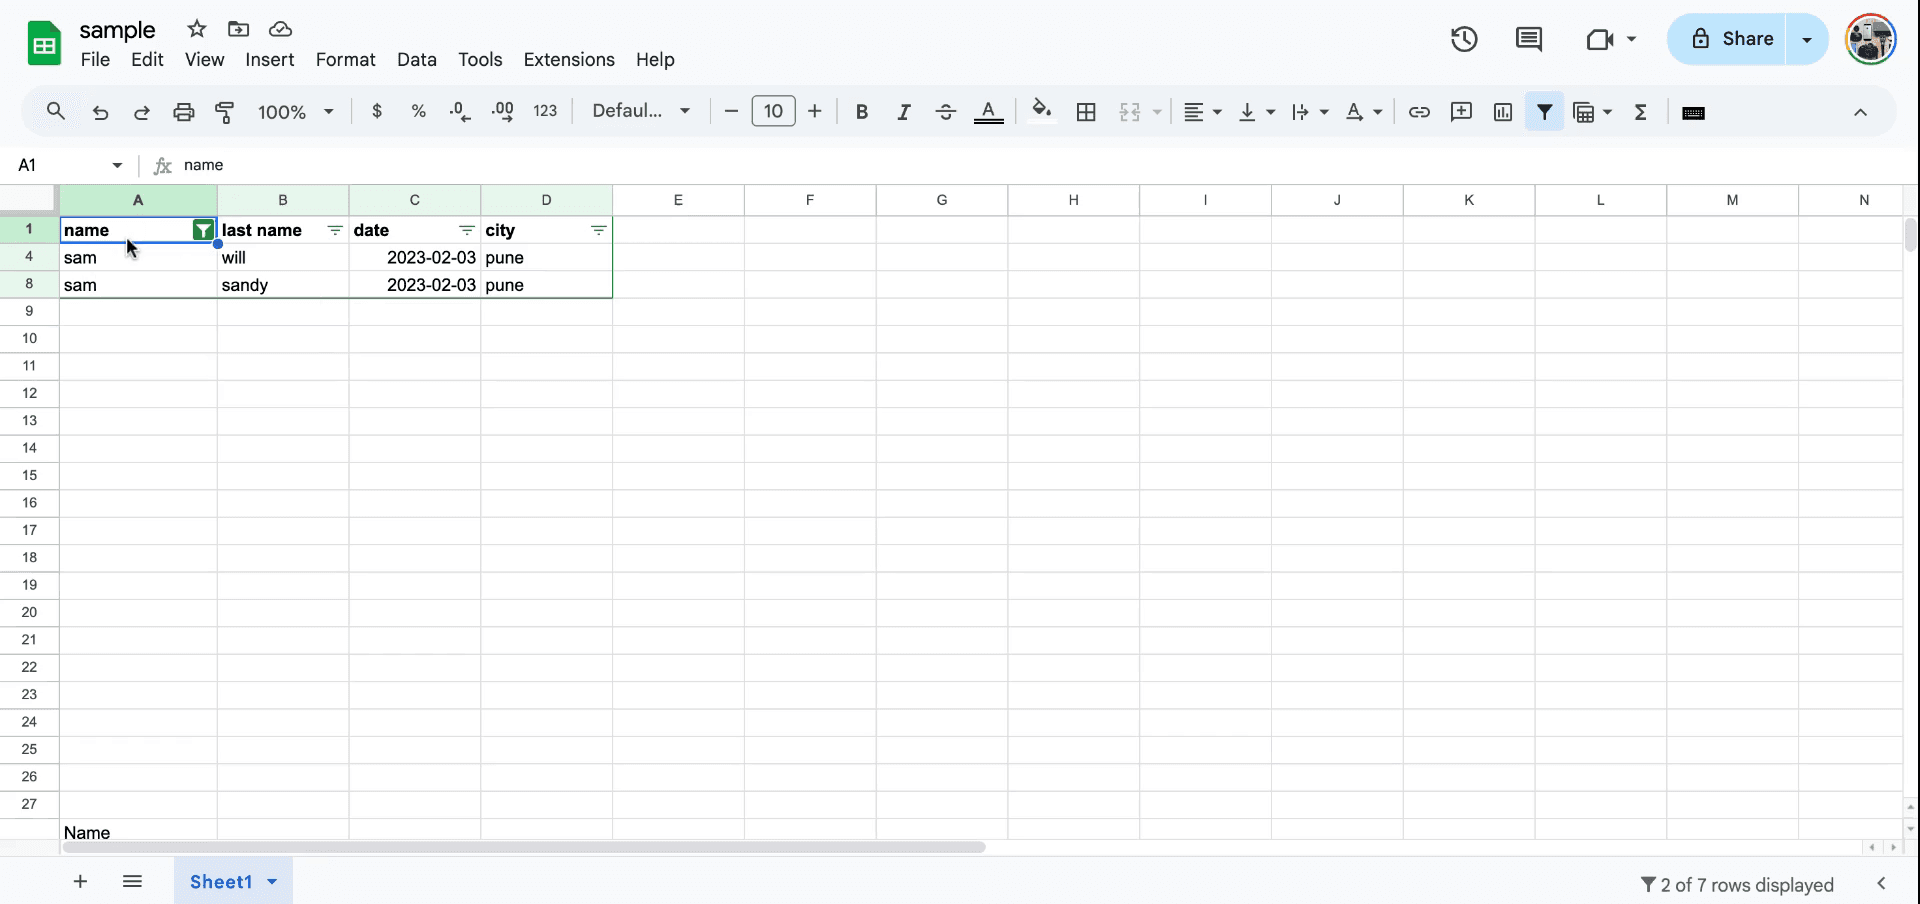
To filter data where text begins with a specific letter, for example, enter "S" to display only the values starting with "S".If you need to modify the filter, you can remove it and then apply a new filter, such as filtering for entries that begin or end with the letter "S".
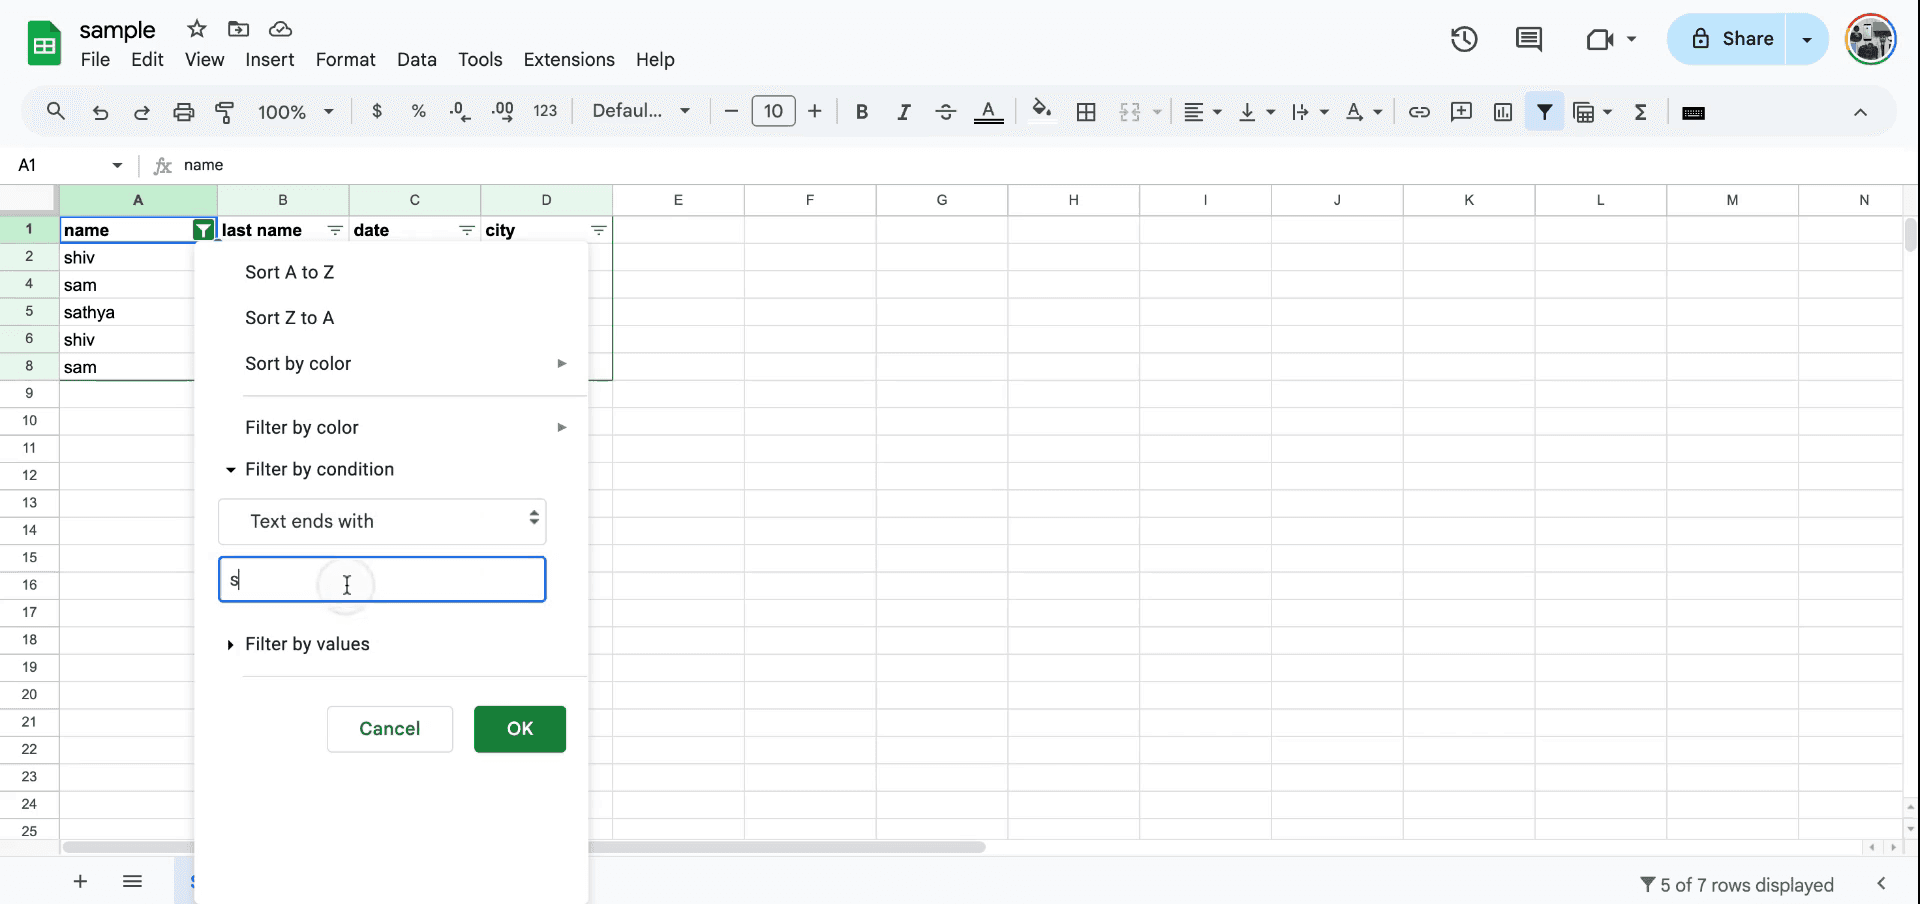
Step 4
Similarly, to view entries where names end with the letter "M", apply the "ends with M" filter. This will display only the entries that match this criteria.
Step 5
The filter function can also be accessed through another method. You can go to the data menu for additional options.
Method 2
Step 1
Within the data menu, there is an option to insert and create a filter. This serves as an alternative method to initiate the filtering process.

Step 2
After creating a filter, you can proceed with the same process of filtering by condition to refine your data display.So thats how to apply filters in sheets.
Pro tips for applying a filter in Google Sheets
Use the filter icon: Select the range of cells you want to filter, then click the filter icon in the toolbar to add a filter to the selected range.
Filter by condition: Click the dropdown arrow in the column header, choose Filter by condition, and select your preferred condition (e.g., values greater than, text contains, etc.).
Filter by color: You can filter cells based on their text or background color by selecting Filter by color in the dropdown menu.
Common pitfalls and how to avoid them for applying a filter in Google Sheets
Filter not applying to the entire dataset: The filter may not cover all relevant columns. Fix: Ensure the range you select includes all the columns you want to filter.
Data disappearing: Sometimes it may seem like data is missing due to a filter. Fix: Click the filter icon and choose Clear filter to view all data again.
Unintended changes to filtered data: Filtering can cause confusion when making changes to visible data. Fix: Double-check if the filter is on or off before editing.
Common FAQs for applying a filter in Google Sheet
Can I apply multiple filters at once?
Yes, you can apply filters on different columns simultaneously.How do I remove a filter?
Click on the filter icon and select Remove filter to clear it.Can I filter by date or number range?
Yes, you can filter columns by date or number range by selecting the relevant condition in the filter dropdown.How to screen record on mac?
To screen record on a Mac, you can use Trupeer AI. It allows you to capture the entire screen and provides AI capabilities such as adding AI avatars, add voiceover, add zoom in and out in the video. With trupeer’s AI video translation feature, you can translate the video into 30+ languages.How to add an AI avatar to screen recording?
To add an AI avatar to a screen recording, you'll need to use an AI screen recording tool. Trupeer AI is an AI screen recording tool, which helps you create videos with multiple avatars, also helps you in creating your own avatar for the video.How to screen record on windows?
To screen record on Windows, you can use the built-in Game Bar (Windows + G) or advanced AI tool like Trupeer AI for more advanced features such as AI avatars, voiceover, translation etc.How to add voiceover to video?
To add voiceover to videos, download trupeer ai chrome extension. Once signed up, upload your video with voice, choose the desired voiceover from trupeer and export your edited video.How do I Zoom in on a screen recording?
To zoom in during a screen recording, use the zoom effects in Trupeer AI which allows you to zoom in and out at specific moments, enhancing the visual impact of your video content.
People also ask
Technical Documentation Generator
How to Add Rupee Symbol in Google Sheets
How to Change Currency Format in Google Sheets
How to Add Bullet Points in Google Sheets
Related Tutorials

