

Wie Sie einen Ordner auf GitHub hochladen
Erfahren Sie, wie Sie einen Ordner über die Weboberfläche oder mit Git-Befehlen zu GitHub hochladen, um Projektdateien hinzuzufügen und Repositories ganz einfach zu verwalten. Folgen Sie diesem kurzen Tutorial mit Trupeer.
Diese Anleitung bietet einen schlanken Prozess zum Hinzufügen eines neuen Ordners zu einem GitHub-Repository.
Folgen Sie den untenstehenden Schritten, um nahtlos ein neues Verzeichnis in Ihre bestehende Repository-Struktur zu integrieren.
Schritt-für-Schritt-Anleitung: So laden Sie einen Ordner auf GitHub hoch
Schritt 1
Gehen Sie zu dem GitHub-Repository, dem Sie den Ordner hinzufügen möchten, und klicken Sie darauf.

Schritt 2
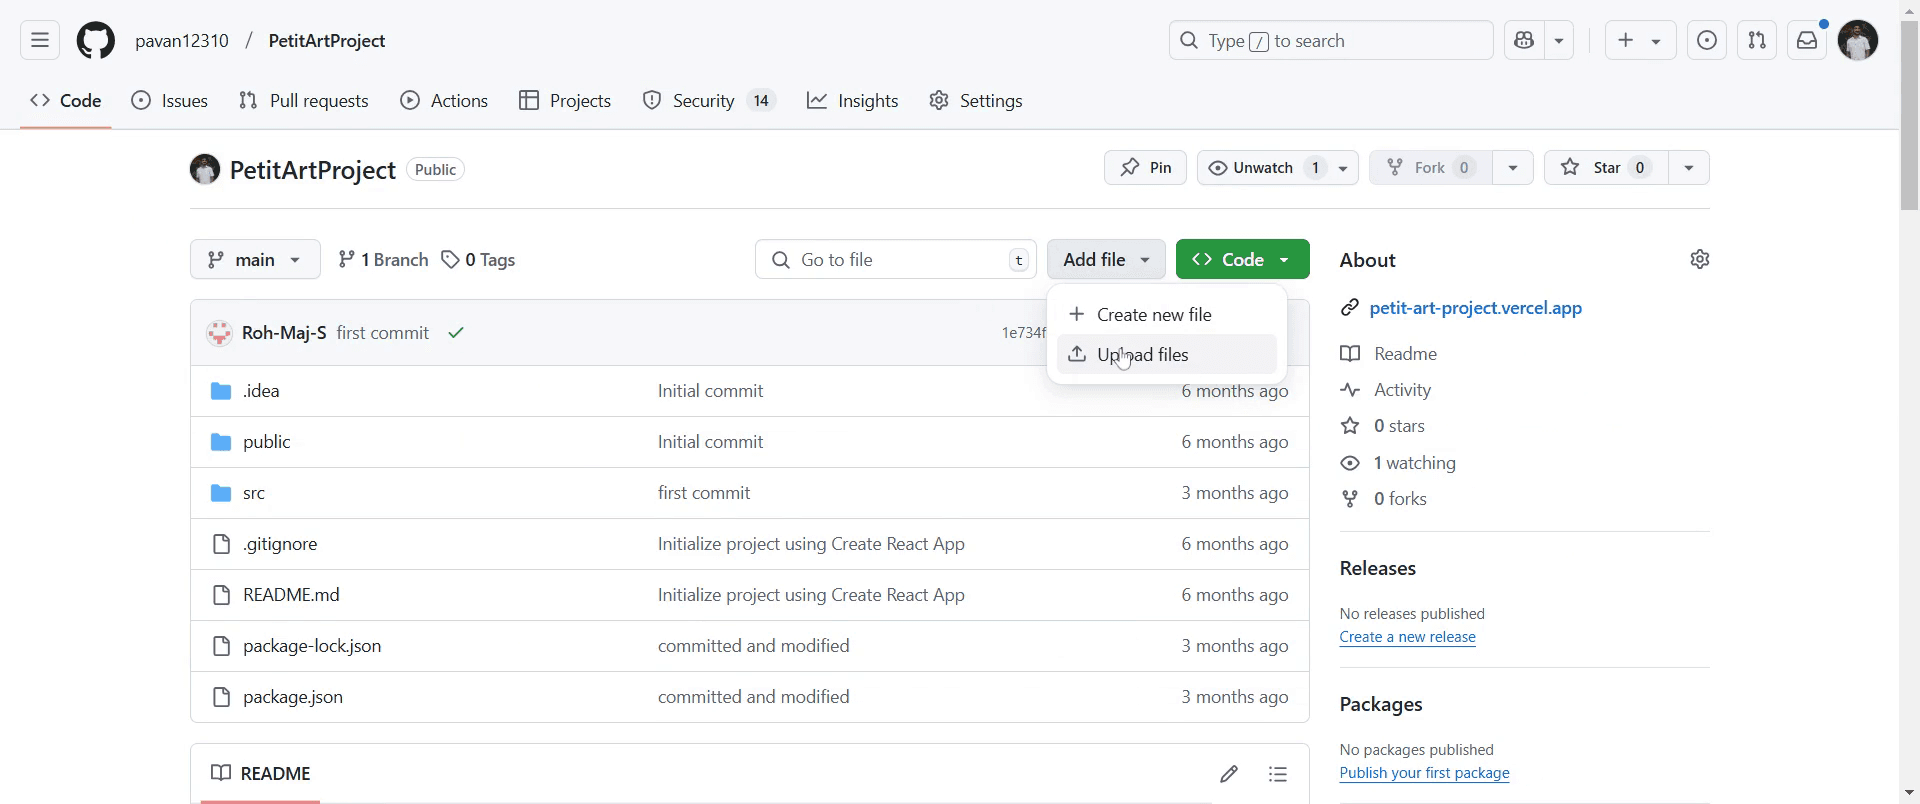
Suchen Sie dann in Ihrer Repository-Oberfläche nach der Option "Datei hinzufügen" und klicken Sie darauf.

Schritt 3
Wählen Sie "Dateien hochladen", um mit dem Hinzufügen Ihres Ordners fortzufahren.
Schritt 4
Wählen Sie nun die Dateien aus, die Sie in Ihren neuen Ordner aufnehmen möchten, indem Sie auf die entsprechende Option klicken.
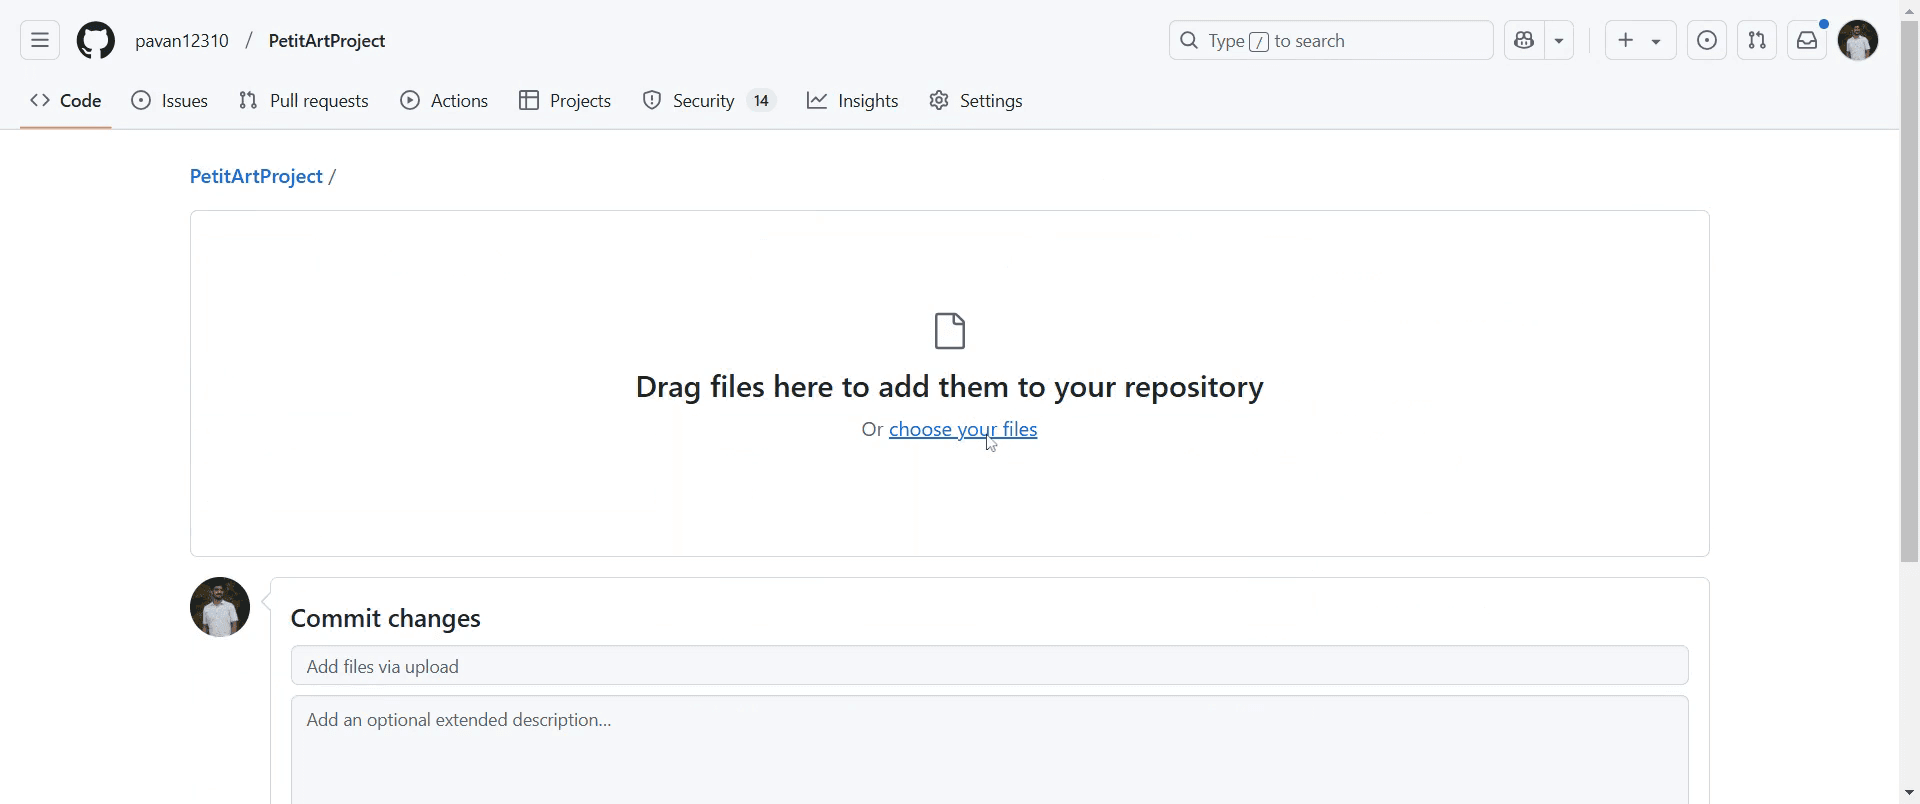
Schritt 5
Falls gewünscht, können Sie eine Commit-Nachricht hinzufügen und eine Beschreibung der Änderungen angeben, um mehr Kontext zu bieten.

Schritt 6
Bestätigen Sie abschließend die Aktion, indem Sie auf "Änderungen festschreiben" klicken.

Schritt 7
Sobald dies erledigt ist, wurde Ihr Ordner erfolgreich zum Repository hinzugefügt.

Profi-Tipps zum Hochladen eines Ordners auf GitHub
Verwenden Sie die Git-Befehlszeile, indem Sie zum Ordner navigieren und
git add .,git commit -m "Add folder"undgit push origin mainausführen, um alle Dateien hochzuladen.Wenn Sie die Weboberfläche von GitHub verwenden, komprimieren Sie den Ordner vor dem Hochladen zu einer ZIP-Datei, da GitHub keine direkten Ordner-Uploads unterstützt.
Organisieren Sie Ihre Repository-Struktur vor dem Hochladen richtig, um Klarheit und eine einfache Navigation zu gewährleisten.
Häufige Fallstricke & wie man sie beim Hochladen eines Ordners auf GitHub vermeidet
Wenn Sie versuchen, einen Ordner direkt über die GitHub-Weboberfläche hochzuladen, unterstützt GitHub nur einzelne Dateiuploads.
Git vor dem Pushen nicht zu initialisieren Führen Sie immer
git initaus, bevor Sie Änderungen in einem neuen lokalen Repository committen.Die Datei
.gitignorenicht zu überprüfen Stellen Sie sicher, dass notwendige Dateien nicht unbeabsichtigt ignoriert werden.
Häufig gestellte Fragen zum Hochladen eines Ordners auf GitHub
Kann ich einen Ordner über die GitHub-Weboberfläche hochladen?
Nein, GitHub unterstützt keine direkten Ordner-Uploads, aber Sie können einzelne Dateien oder ein ZIP-Archiv hochladen.Wie füge ich einen leeren Ordner zu GitHub hinzu?
Erstellen Sie vor dem Commit und Pushen eine.gitkeep-Datei im Ordner.Was soll ich tun, wenn mein Ordner-Upload auf GitHub nicht angezeigt wird?
Führen Siegit statusaus, um nicht übernommene Änderungen zu überprüfen, und committen und pushen Sie dann erneut.Kann ich einen Ordner in einen bestimmten Branch hochladen?
Ja, wechseln Sie vor dem Hinzufügen und Pushen des Ordners mitgit checkout <branch-name>zum gewünschten Branch.Wie zeichnet man den Bildschirm auf dem Mac auf?
Um den Bildschirm auf einem Mac aufzuzeichnen, können Sie Trupeer AI verwenden. Es ermöglicht Ihnen, den gesamten Bildschirm aufzuzeichnen, und bietet KI-Funktionen wie das Hinzufügen von KI-Avataren, Voiceover sowie das Ein- und Auszoomen im Video. Mit der KI-Videoübersetzungsfunktion von trupeer können Sie das Video in über 30 Sprachen übersetzen.Wie fügt man einem Bildschirmvideo einen KI-Avatar hinzu?
Um einem Bildschirmvideo einen KI-Avatar hinzuzufügen, müssen Sie ein KI-Bildschirmaufzeichnungstool verwenden. Trupeer AI ist ein KI-Bildschirmaufzeichnungstool, das Ihnen hilft, Videos mit mehreren Avataren zu erstellen, und unterstützt Sie auch dabei, Ihren eigenen Avatar für das Video zu erstellen.Wie zeichnet man den Bildschirm unter Windows auf?
Um den Bildschirm unter Windows aufzuzeichnen, können Sie die integrierte Game Bar (Windows + G) oder ein fortschrittliches KI-Tool wie Trupeer AI für erweiterte Funktionen wie KI-Avatare, Voiceover, Übersetzung usw. verwenden.Wie fügt man einem Video ein Voiceover hinzu?
Um Videos ein Voiceover hinzuzufügen, laden Sie die Chrome-Erweiterung trupeer ai herunter. Nach der Anmeldung laden Sie Ihr Video mit Ton hoch, wählen Sie das gewünschte Voiceover von trupeer aus und exportieren Sie Ihr bearbeitetes Video.Wie zoome ich in eine Bildschirmaufnahme hinein?
Um während einer Bildschirmaufnahme hineinzuzoomen, verwenden Sie die Zoom-Effekte in Trupeer AI, die es Ihnen ermöglichen, zu bestimmten Momenten hinein- und herauszuzoomen und so die visuelle Wirkung Ihres Videoinhalts zu verbessern.
Empfohlene Lektüre
Technischer Dokumentationsgenerator
So fügen Sie das Rupien-Symbol in Google Sheets hinzu
So ändern Sie das Währungsformat in Google Sheets
So fügen Sie Aufzählungspunkte in Google Sheets hinzu
Verwandte Tutorials

