Trupeer Blog

Imagine you’re tasked with producing a suite of screen recordings for your company's upcoming product launch. These recordings need to cater to diverse audiences, including potential clients, internal teams, and technical partners. Each audience requires a different focus and level of detail. The stakes are high; failing to emphasize the right elements in your video can lead to miscommunication and lost opportunities. A best screen recording software can make or break your project by optimizing how key content is highlighted through auto-zoom settings. According to a recent survey, 73% of viewers prefer content that directs their attention precisely, ensuring they grasp the critical components at first glance. Without proper configuration, your screen recordings might miss the mark, rendering your efforts ineffective and possibly leading to misinterpretations. This guide is for anyone who needs to ensure their screen recordings effectively communicate the intended message, whether you're creating training materials, marketing content, or technical demonstrations.
Why does configuring auto-zoom settings for different screen recording types matter?
Configuring auto-zoom settings isn't just a technical detail, it's a strategic advantage. Different content types have unique needs; a training video for new employees requires different focal points than a product demo for potential clients. If your auto-zoom settings aren't tailored to these needs, you risk diluting your message. A poorly configured zoom can cause viewers to miss essential information, reducing the video’s effectiveness. For instance, marketing videos often need to emphasize brand logos or specific product features, while technical recordings may need to highlight code snippets or interface interactions. Without this specificity, your audience might miss the crucial details, leading to confusion and disengagement.
Businesses striving for AI adoption use case need to ensure their content is not only engaging but also precise. Stakeholders across departments, ranging from marketing managers to technical leads, require recordings that highlight the right elements to ensure clarity and impact. In training environments, auto-zoom can direct attention to critical steps, reducing the cognitive load on new hires and accelerating onboarding. In marketing, it can focus on the product's unique selling points, enhancing viewer retention and conversion rates. The right auto-zoom settings can be the difference between a video that educates and one that confuses.
What are the benefits of configuring auto-zoom settings for different screen recording types?
Tailoring auto-zoom settings for specific content types can significantly enhance the effectiveness of your screen recordings. Here are some key benefits:
Enhanced viewer engagement. By focusing on key elements, viewers are more likely to stay engaged and absorb the information being presented. This is especially critical in a best screen recording softwares scenario, where precision can boost comprehension.
Improved information retention. When viewers can easily follow the focal points, they're more likely to remember the content. This can lead to better outcomes in training and educational settings, where retaining information is critical.
Increased conversion rates. For marketing content, emphasizing product features and benefits can lead to higher conversion rates. An AI video platform can help achieve this by ensuring the right elements are highlighted.
Reduced miscommunication. Proper auto-zoom configuration ensures that technical recordings accurately convey detailed information, minimizing the risk of misunderstandings.
Time savings in post-production. With auto-zoom properly configured, there's less need for manual editing, reducing the time and resources required to produce high-quality content.
Consistent brand presentation. By standardizing zoom settings across recordings, businesses can maintain a consistent brand image, which is crucial for building trust and recognition among viewers.
Which Trupeer features help you configure auto-zoom settings for different screen recording types?
Trupeer offers a range of features designed to optimize your screen recording experience, particularly when configuring auto-zoom settings for various content types.
AI screen recording with auto-zoom and click detection
This feature automatically adjusts the zoom level based on user interactions, such as clicks and cursor movements, ensuring that the viewer's attention is directed to the most relevant parts of the screen. It's perfect for creating recordings that require dynamic focus shifts, such as product demonstrations or user interface walkthroughs. By detecting clicks, Trupeer ensures that important actions are highlighted, reducing the need for extensive manual editing. This capability is instrumental in best screen recording tool scenarios where precision and clarity are paramount.
Silent screen recording with automatic AI narration
This feature allows you to create screen recordings without background noise, adding AI-generated voiceovers post-capture. The narration can be customized to match the pace and tone of your content, ensuring the right emphasis on key points. This is particularly useful for training videos, where clarity and consistency are crucial. The AI narration can highlight important actions or elements that might not be immediately obvious to viewers, enhancing their understanding and retention of the material.
AI avatars / talking-head video
Trupeer's AI avatars add a personal touch to your recordings, making them more engaging. You can choose from a stock library or create custom avatars that align with your brand. This feature is especially beneficial for marketing and product videos, where a human element can significantly boost viewer engagement. By combining auto-zoom settings with avatars, you can create a cohesive and interactive viewing experience that keeps your audience focused on the content that matters most.
Auto chapters and segment detection
This capability automatically divides your recording into logical segments, making it easier for viewers to navigate and find the information they need. It's particularly useful for long recordings, such as webinars or detailed technical tutorials. With chapters clearly defined, viewers can jump directly to the sections that interest them, improving their overall experience and engagement. This feature, coupled with the AI documentation platform, ensures that your content is both accessible and informative.
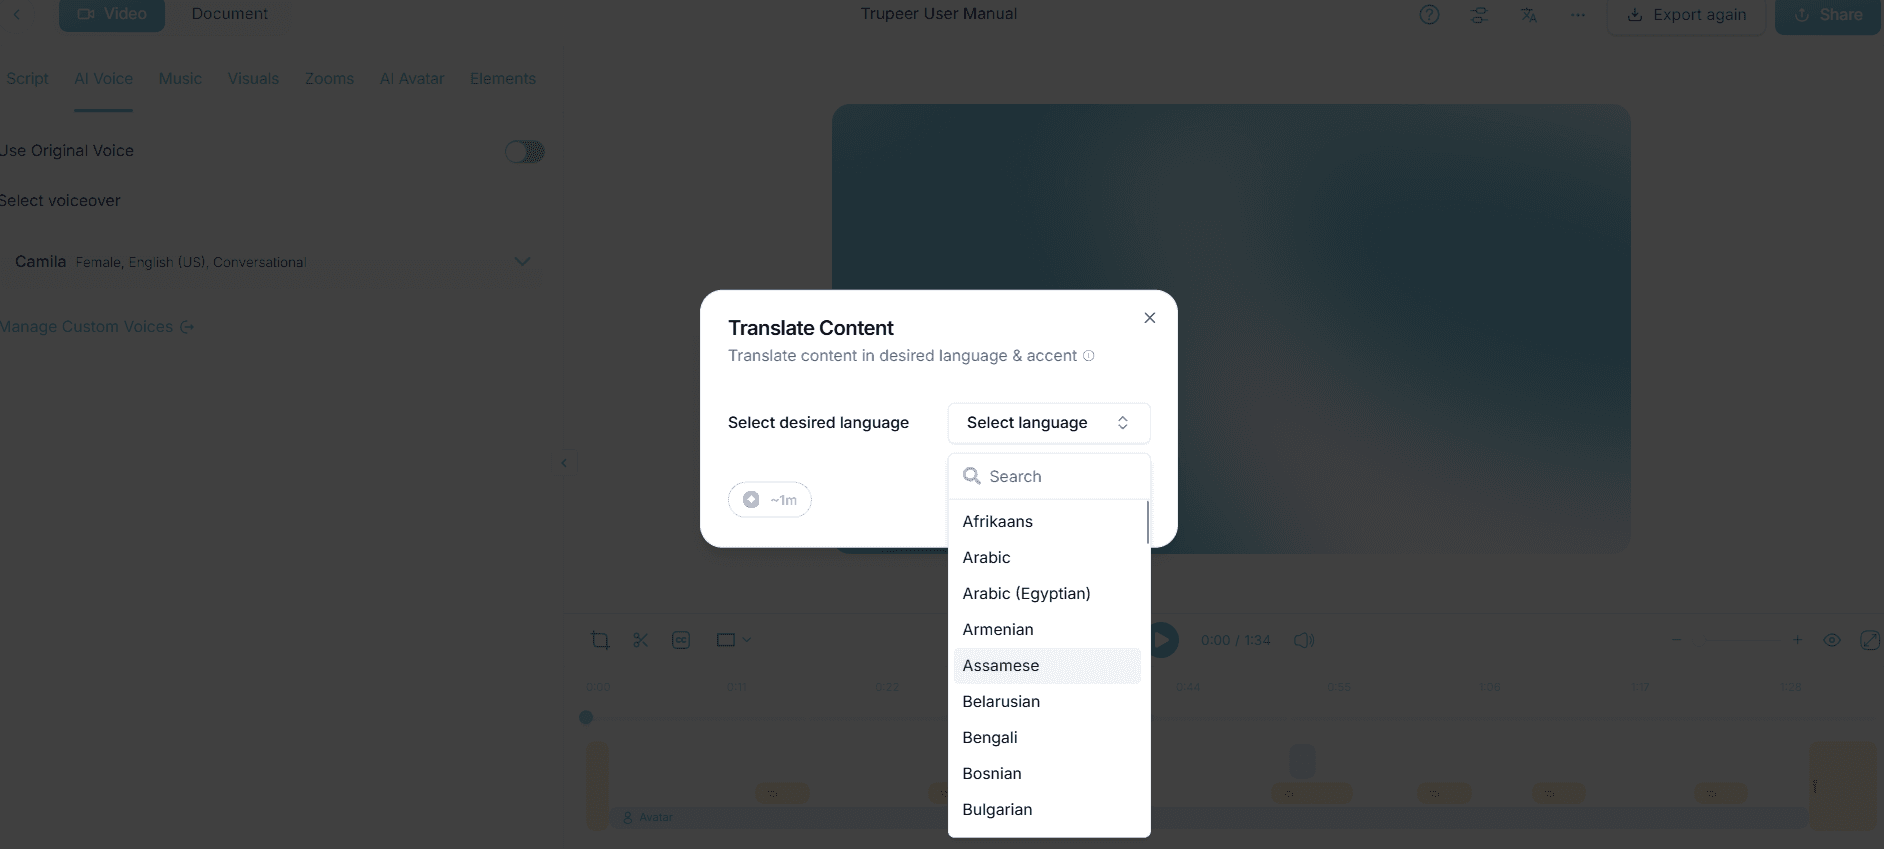
AI translation into 40+ languages with lip-sync
If your audience is global, this feature is a big shift. Trupeer can translate your recordings into over 40 languages, complete with lip-syncing to ensure the narration matches the on-screen content. This is vital for reaching non-English speaking audiences and ensuring your message is understood universally. Whether you're producing training materials or marketing content, this feature ensures that language is never a barrier to comprehension. The integration with a searchable knowledge base also means that these translations are easily accessible and organized.
How do you configure auto-zoom settings for different screen recording types step by step with Trupeer?
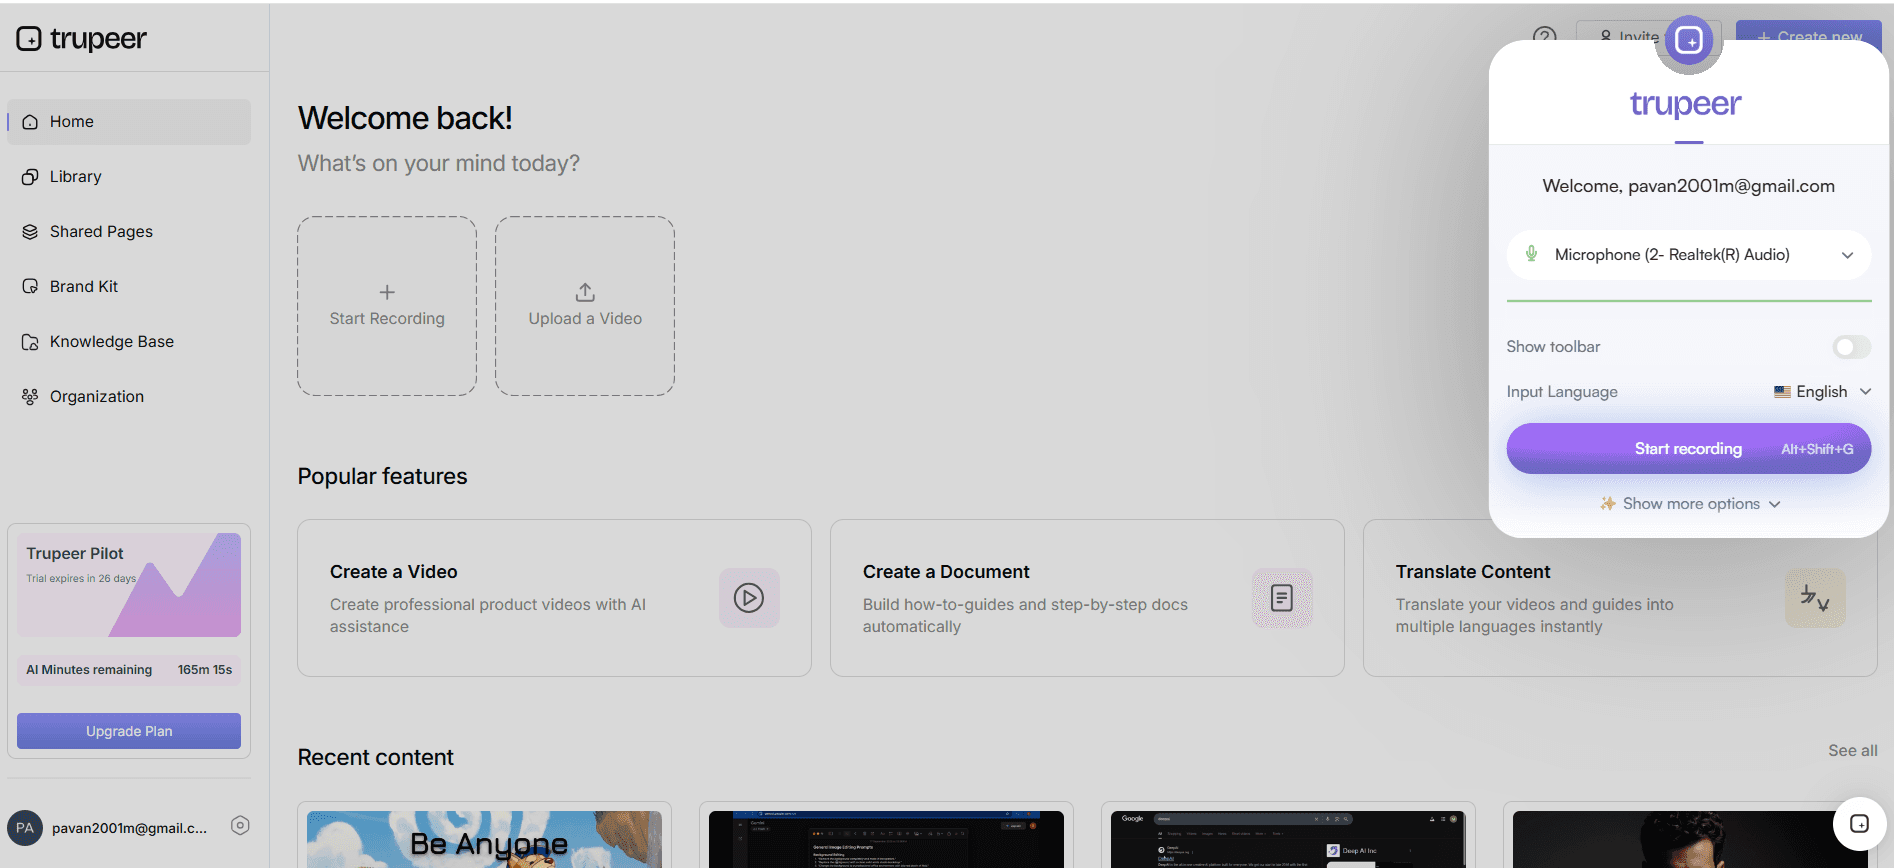
Step 1: Start a new recording
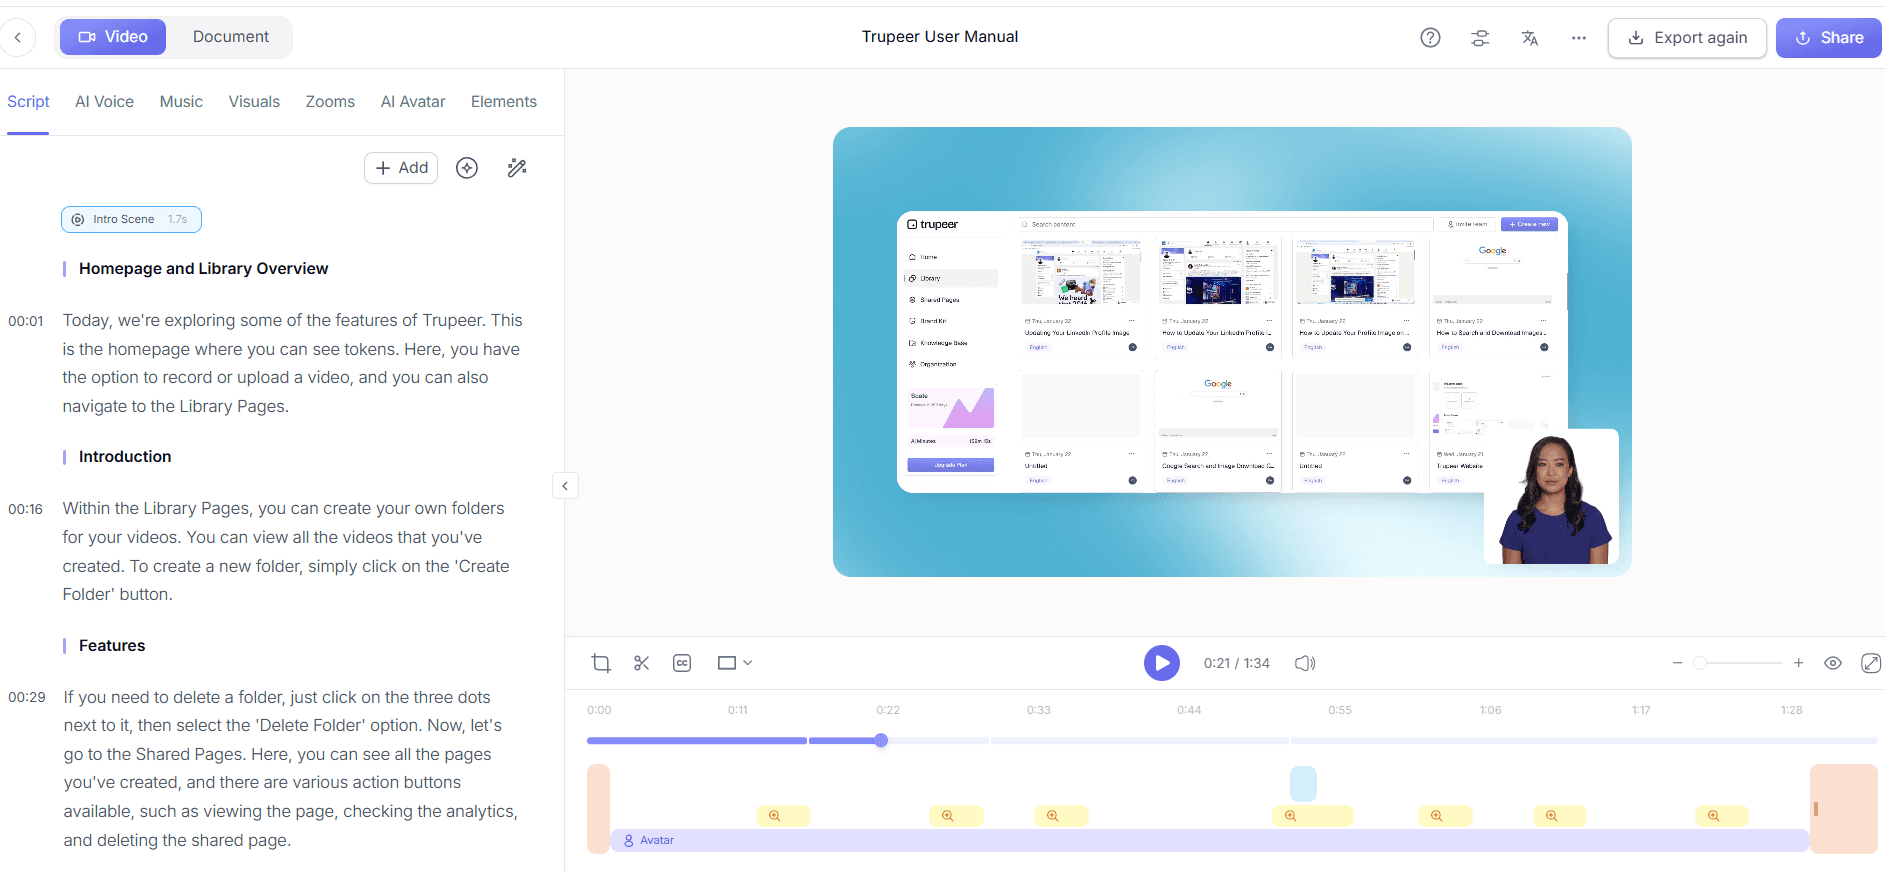
To begin, access Trupeer's browser-based recorder or desktop app. Click on the "New Recording" button to start. Here, you can choose between a full screen or a specific window to record. Trupeer's core capture capabilities allow you to configure settings before starting. Select the "AI screen recording with auto-zoom" feature. This ensures that during the recording, the zoom will adjust dynamically based on interactions such as clicks and cursor movements. If you’re creating a training video, this feature will highlight important actions automatically, directing the viewer’s attention without manual intervention.
Step 2: Customize click detection settings
In the same setup window, configure the click detection sensitivity. This setting determines how much emphasis is placed on different clicks within the recording. Adjust the sensitivity slider to match the content type; a technical demo might require higher sensitivity than a general overview. Trupeer’s system will then automatically prioritize these interactions, ensuring they are highlighted appropriately. If you find the auto-zoom overly reactive, reduce the sensitivity setting, which can be adjusted even during recording, offering flexibility to get the perfect balance. Teams weighing tools often start with a Loom alternatives comparison before standardizing on a workflow.
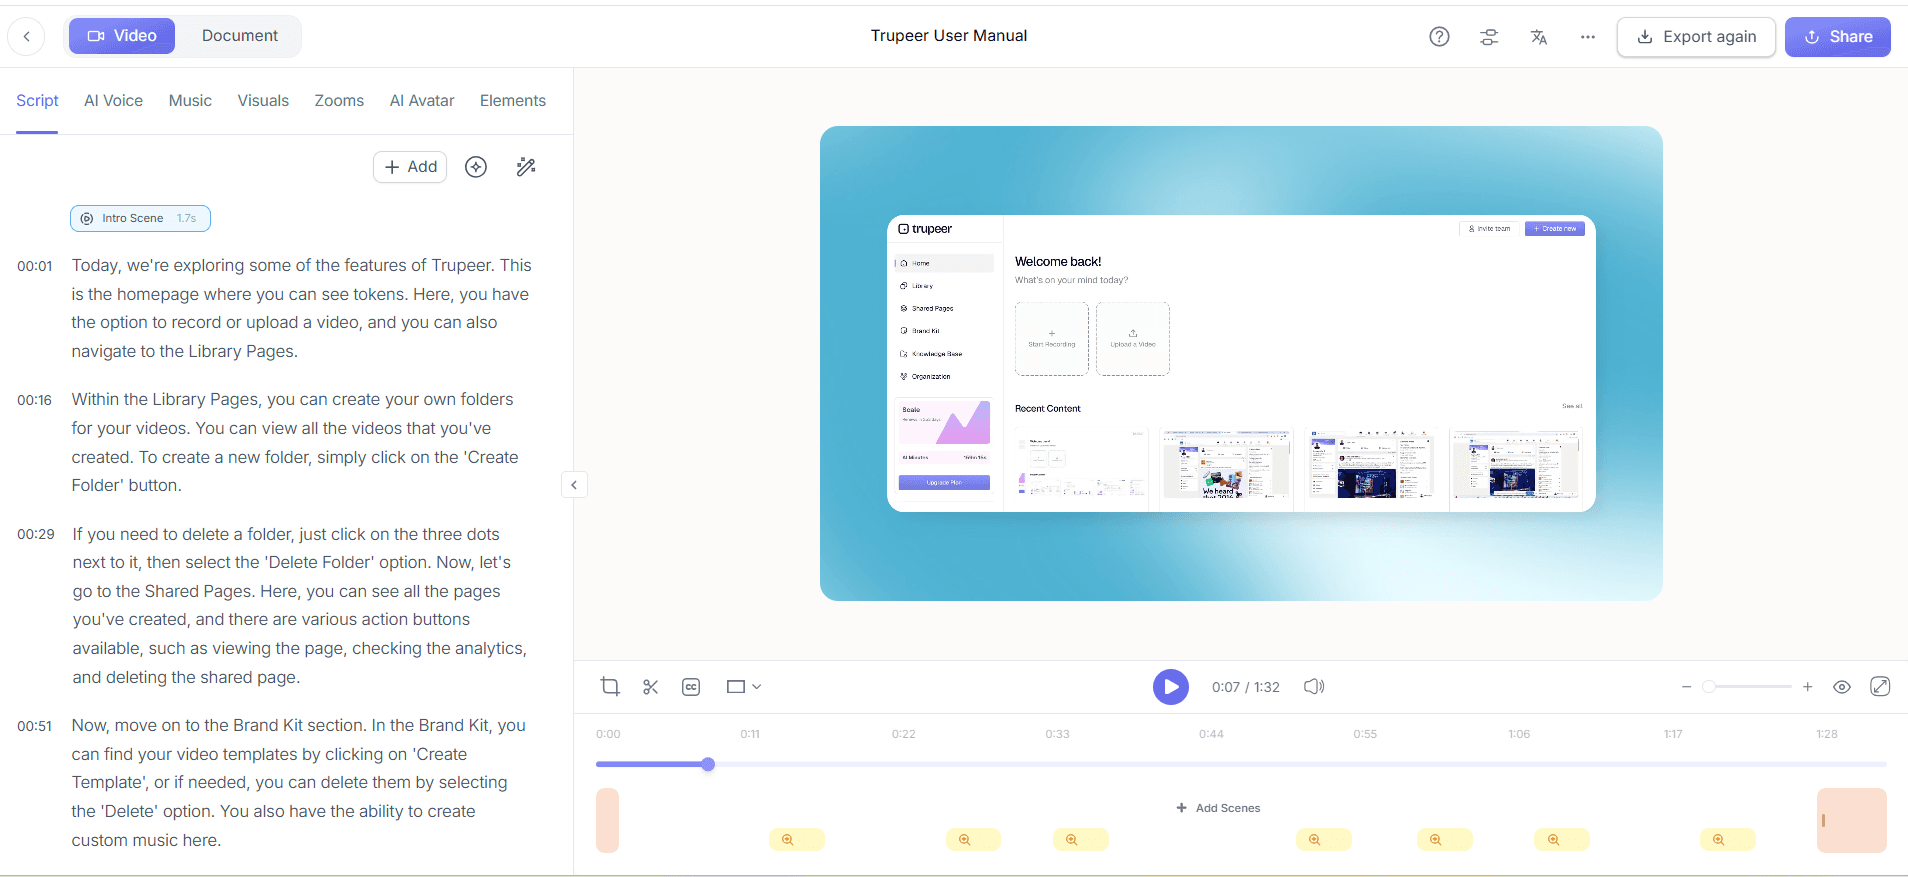
Step 3: Enable silent recording with AI narration
Once you've configured the visual settings, activate the "Silent Screen Recording with AI Narration" feature. This allows you to capture video without any background noise, making it ideal for environments where clarity is paramount, like in instructional videos. After recording, you can add AI-generated narration that matches the content's pace and tone. Simply select the voice and adjust the pace in the post-recording editing suite. This process takes only a few minutes and ensures consistent audio quality across different recordings.
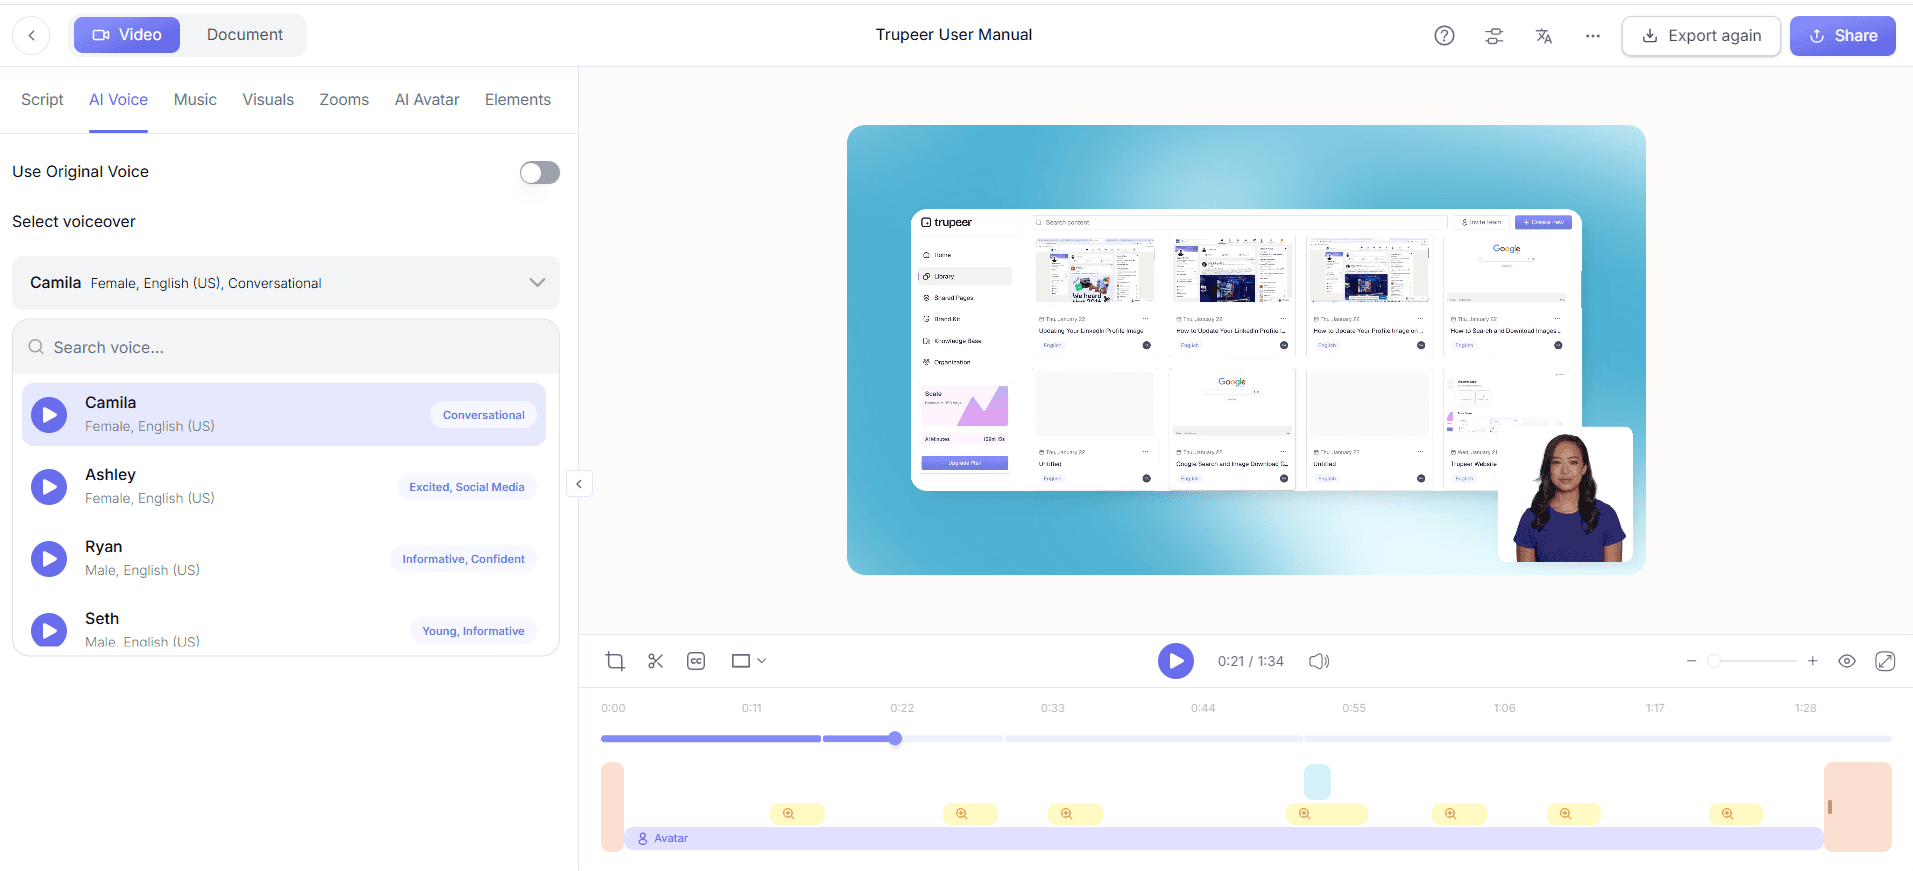
Step 4: Add AI avatars for engagement
For marketing or product videos, adding an AI avatar can make your recording more engaging. In Trupeer's post-production settings, choose from a library of AI avatars or create a custom one. Drag and drop the avatar into the recording timeline, synchronizing its speech with specific zoom points. This feature is particularly effective in maintaining viewer interest and providing a human touch to digital presentations. The avatar can be resized and repositioned to avoid obstructing key visual elements, ensuring a smooth and professional look.
Step 5: Organize content with auto chapters
After recording, use the "Auto Chapters and Segment Detection" feature. Trupeer will automatically segment your video into chapters based on content changes and interactions. This feature is invaluable for longer recordings, allowing viewers to navigate easily to the sections that interest them most. Simply review the suggested chapters, adjust as needed, and save. This process is quick, usually taking less than five minutes, and ensures your video is both comprehensive and viewer-friendly.
Step 6: Translate and localize for global reach
If your audience spans multiple languages, activate the "AI Translation into 40+ Languages with Lip-Sync" feature during post-production. Select the target languages, and Trupeer will generate translations with synchronized lip movements, making your content accessible to non-English speaking viewers. This process can be completed in about ten minutes per language, depending on video length. It’s a powerful tool for ensuring your message reaches a global audience, without compromising on clarity or engagement.
What tips help you configure auto-zoom settings for different screen recording types?
Configuring auto-zoom settings for screen recordings can be challenging, but these tips will help you optimize your approach for various content types. Whether you're creating tutorials or marketing videos, these strategies ensure your recordings remain clear and focused.
Understand your audience. Tailor your settings to the specific needs of your viewers. This ensures that the most relevant content is highlighted, enhancing viewer engagement.
Test different sensitivities. Experiment with click detection sensitivity to see what best captures essential interactions. Different content types may require varying levels of sensitivity.
Use avatars strategically. Integrate AI avatars where appropriate to maintain viewer interest and provide context, especially in marketing videos.
use auto chapters for navigation. Make sure long videos are broken into chapters for easier navigation. This improves user experience significantly.
Optimize for language diversity. Use AI video translation features to reach a broader audience, ensuring your content is accessible globally.
Keep it simple. Avoid overcomplicating your zoom settings. Focus on highlighting key areas without overwhelming the viewer.
Review and adjust. Continuously review your recordings to refine your settings. Feedback from viewers can be invaluable in making necessary adjustments.
Frequently asked questions
How do you set up auto-zoom for training videos?
To set up auto-zoom for training videos, use Trupeer's "AI screen recording with auto-zoom." Begin by selecting the training module you want to record, and configure the click detection to highlight critical steps. Adjust sensitivity settings to ensure that each action is captured clearly, ensuring new employees can follow along effortlessly. This setup emphasizes crucial actions, reducing the need for manual focus adjustments. The auto-zoom feature ensures that every click and interaction is precisely highlighted, which is key for effective training.
What is the best way to configure zoom for product demos?
For product demos, start by enabling the "AI screen recording with auto-zoom" on Trupeer. Set the zoom sensitivity to moderate, focusing on product features that need emphasis. Integrate AI avatars to provide explanations or context when demonstrating complex features. This approach keeps the viewer's focus on the product while providing additional insights through the avatar. It's essential to review the demo afterward, making tweaks where necessary to ensure the product's key selling points are highlighted effectively.
Why is dynamic auto-zoom important for technical recordings?
Dynamic auto-zoom is crucial for technical recordings because it automatically focuses on areas of importance, such as code snippets or data points. This ensures viewers don't miss critical information. By using Trupeer's click detection, you can configure the settings to highlight these areas as the recording progresses. Without dynamic auto-zoom, viewers may struggle to identify key elements, leading to misunderstandings. This feature is especially beneficial in detailed technical presentations where precision and clarity are paramount. When SOPs come into the same conversation, a Scribe alternatives comparison helps clarify the scope.
Can Trupeer handle multiple video formats for export?
Yes, Trupeer supports multi-format export options, including MP4, HTML, PDF, and SCORM. After configuring your auto-zoom settings and completing the recording, you can choose the format that best suits your distribution needs. This versatility ensures your content can be easily integrated into various platforms, such as learning management systems or websites. Having multiple formats available means you can cater to different audience preferences and technical requirements without additional conversion tools.
Does using AI narration affect the video file size?
Adding AI narration does slightly increase the video file size, but Trupeer optimizes the audio to minimize impact. The increase is generally negligible and doesn't affect playback quality. AI narration replaces the need for manual voiceovers, saving time and resources while maintaining high audio quality. This feature is especially useful for creating consistent and professional content across multiple recordings. The slight file size increase is a small trade-off for the benefits of simplified audio integration.

