
How to Add Rows in Google Sheets
Learn how to insert rows in Google Sheets above or below existing data. This guide covers multiple methods to add single or multiple rows efficiently.
In this process, you will learn how to insert rows into a Google Sheet.
This guide will help you navigate through the Google Sheets interface to add rows as needed for your data management tasks.
If you ever need to add extra rows in your Google Sheet, it’s pretty simple and there are a couple of ways to do it.
To add a single row:
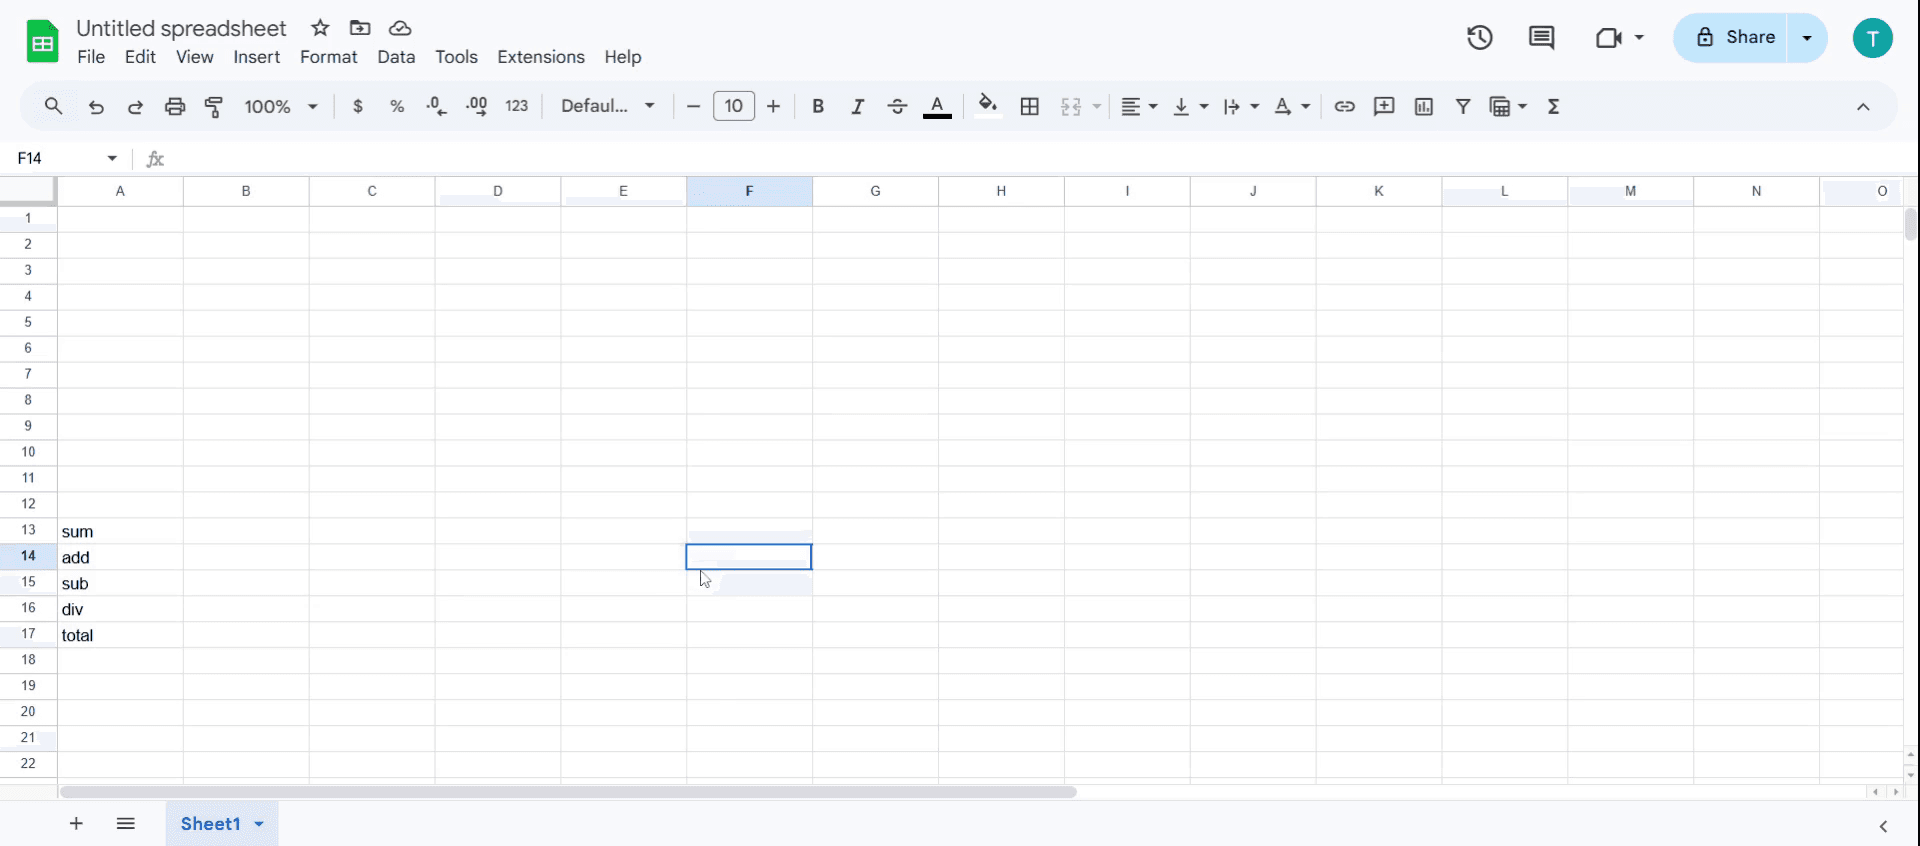
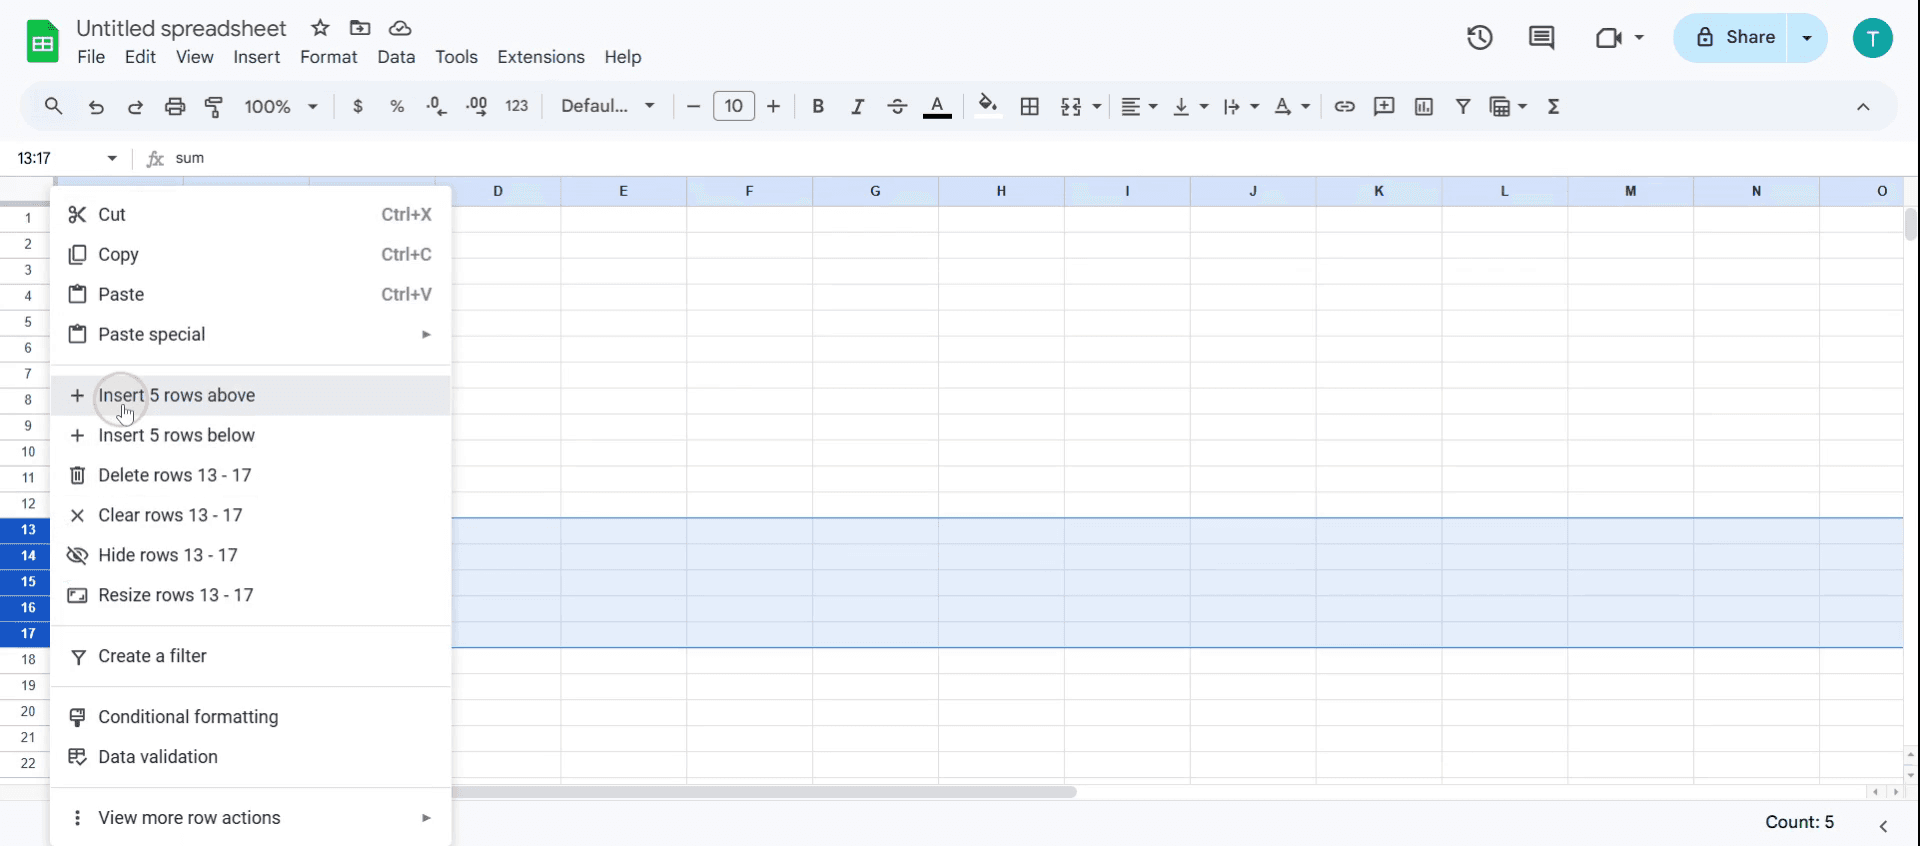
First, click on the row number where you want to add a new row—this will highlight the whole row.
Then, either:
Right-click and choose “Insert 1 row above” or “Insert 1 row below”, depending on where you want the new row.
Or, go to the top menu, click Insert > Rows, and choose Insert 1 row above or below.
To add multiple rows at once:
Select the number of existing rows that matches how many new ones you want. For example, if you want to insert 3 rows, highlight 3 rows.
Then just right-click and choose to insert rows above or below, or use the Insert menu like before.
It’s a quick and flexible way to manage your spreadsheet space without losing track of your data.
Step-by-Step Guide: How to Add Rows in Google Sheets
Step 1
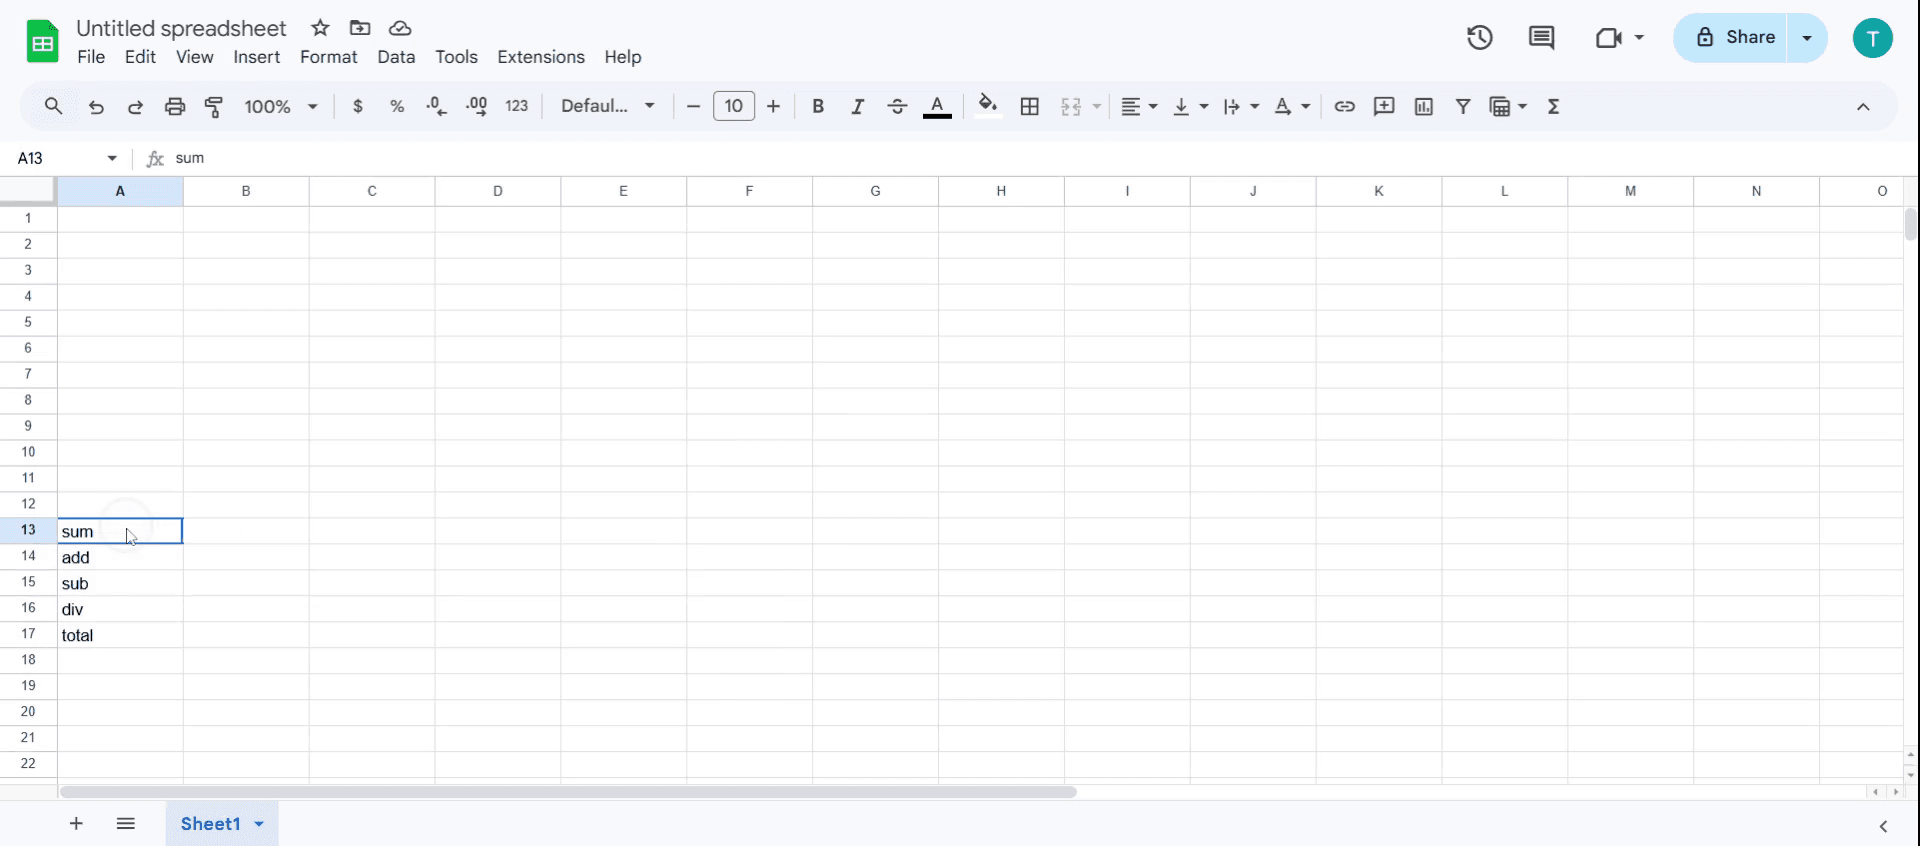
Begin by accessing the Google Spreadsheet where you wish to add rows.
Step 2
Click on the cell where you want to add your rows.
Step 3
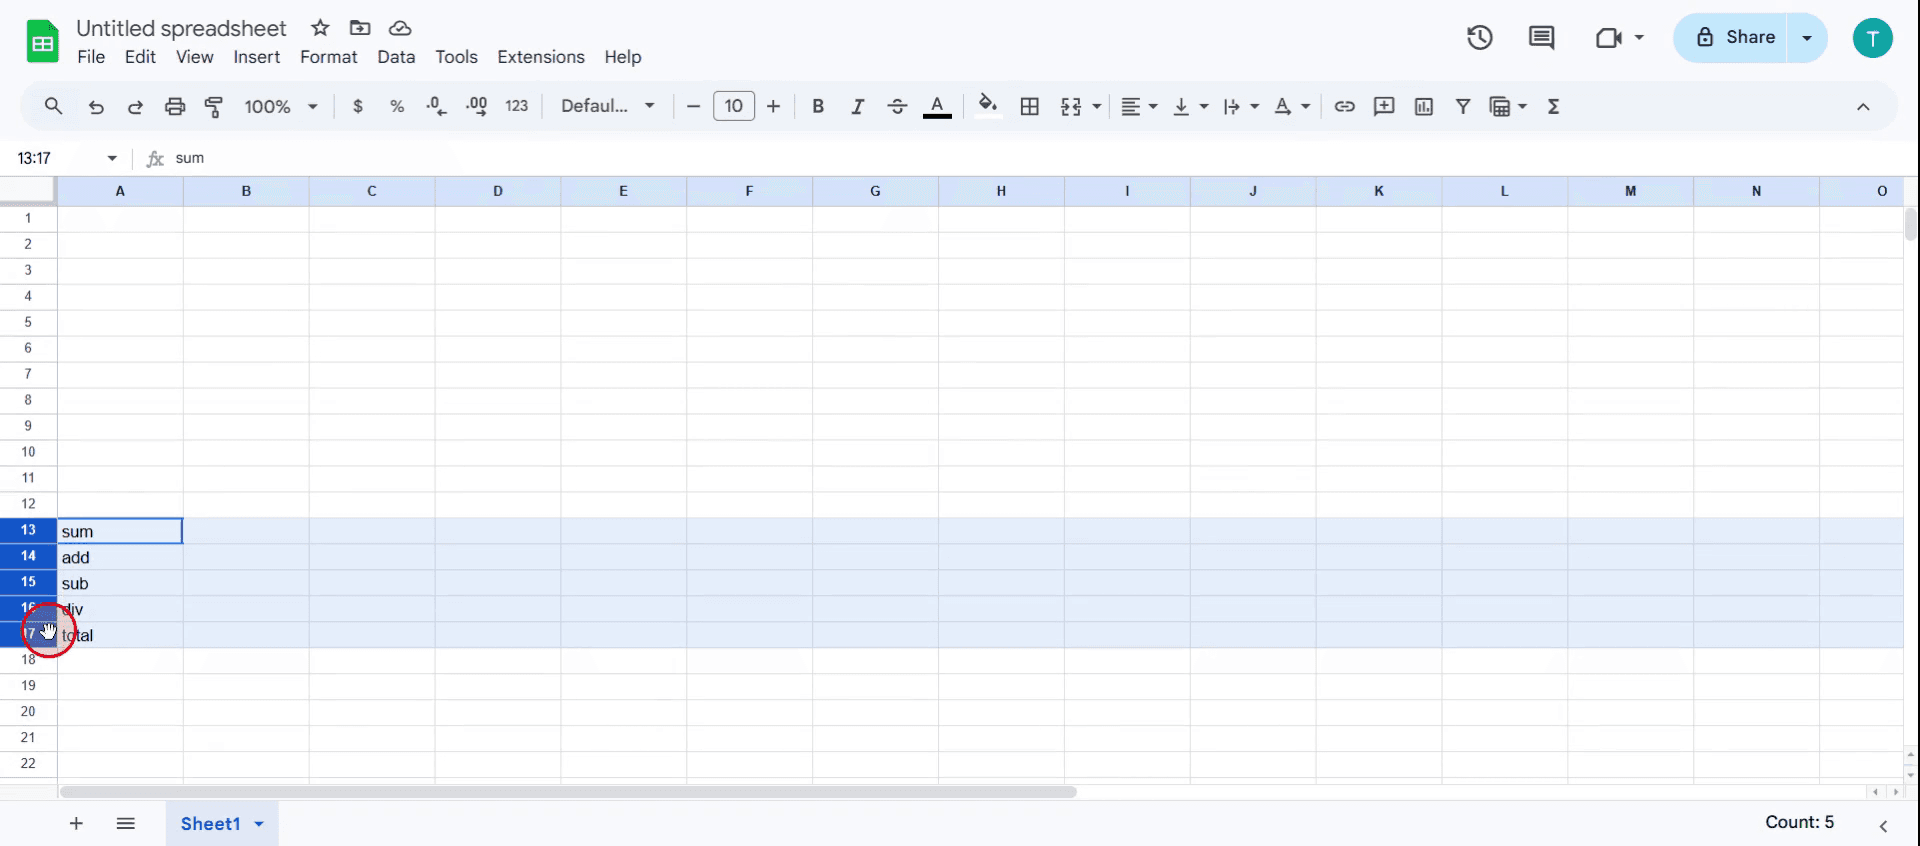
Decide the number of rows you want to add, And drag the mouse on the to select the multiple rows
Step 4
Right Click on the cell and select the number of rows you want to add.
Step 5
5 new rows have been added in the google sheet.

Pro tips for how to add rows in Google Sheets
Use keyboard shortcuts for speed – Instead of right-clicking, use Ctrl + Shift + “+” (Windows) or Cmd + Option + “+” (Mac) to quickly insert new rows.
Insert multiple rows at once – Select the number of rows you want to add, then right-click and choose Insert X rows above/belo” for bulk additions.
Use apps script for automation – If you frequently need to add rows dynamically, set up a Google Apps Script to automate the process.
Common pitfalls and to avoid them
Accidentally overwriting data – Always check for hidden formulas or merged cells before inserting rows to prevent breaking calculations.
Not updating references – If your sheet has formulas, ensure they automatically adjust by using relative cell references instead of static ones.
Inserting rows in filtered data – Turn off filters before adding rows; otherwise, the new rows may not appear where expected.
Common FAQs on how to add rows in Google Sheets
Can I add multiple rows at once in Google Sheets?
Yes, select multiple rows before inserting, or use the "Insert X rows above/below" option to add several at once.Why is my data shifting incorrectly after using how to add rows in Google Sheets?
This happens if you have merged cells or static references in formulas; ensure your data structure allows flexible row additions.How to screen record on mac?
To screen record on a Mac, you can use Trupeer AI. It allows you to capture the entire screen and provides AI capabilities such as adding AI avatars, add voiceover, add zoom in and out in the video. With trupeer’s AI video translation feature, you can translate the video into 30+ languages.How to add an AI avatar to screen recording?
To add an AI avatar to a screen recording, you'll need to use an AI screen recording tool. Trupeer AI is an AI screen recording tool, which helps you create videos with multiple avatars, also helps you in creating your own avatar for the video.How to screen record on windows?
To screen record on Windows, you can use the built-in Game Bar (Windows + G) or advanced AI tool like Trupeer AI for more advanced features such as AI avatars, voiceover, translation etc.How to add voiceover to video?
To add voiceover to videos, download trupeer ai chrome extension. Once signed up, upload your video with voice, choose the desired voiceover from trupeer and export your edited video.How do I Zoom in on a screen recording?
To zoom in during a screen recording, use the zoom effects in Trupeer AI which allows you to zoom in and out at specific moments, enhancing the visual impact of your video content.
Suggested Reads
Technical Documentation Generator
How to Turn an Image into a Coloring Page in Canva
How to Print Double Sided on Canva
Related Tutorials

