
Comment chronométrer les animations dans Canva – Définir des durées personnalisées
Apprenez à synchroniser les animations dans Canva en ajustant l’heure de début, la durée et l’ordre à l’aide de l’éditeur de chronologie. Suivez ce tutoriel simple et créez des guides avec Trupeer.
Ce document propose un guide complet sur la création et le timing des animations dans Canva.
Suivez ces étapes simples pour appliquer efficacement des animations au texte, personnaliser les styles d'animation et ajuster la vitesse d'animation, afin d'enrichir vos projets de design avec des éléments visuels dynamiques.
Si vous souhaitez mieux contrôler la manière dont les animations se jouent dans Canva, vous pouvez personnaliser le minutage des éléments individuels et des transitions de page. Canva vous permet d'affiner le moment où les animations commencent et leur durée grâce à la fonctionnalité "Afficher la chronologie".
Guide étape par étape :
Ouvrez votre design
Commencez par ouvrir le projet Canva qui contient l'animation que vous souhaitez ajuster.Sélectionnez l'élément animé
Cliquez sur le texte, l'image ou l'objet auquel une animation est déjà appliquée.Accédez au panneau de minutage
Cliquez sur les trois points (Plus) ou faites un clic droit sur l'objet.
Sélectionnez “Afficher la chronologie” dans le menu.
Une barre de chronologie apparaîtra en bas de votre écran.
Ajustez le minutage de l'animation
Vous verrez des poignées de rognage blanches de chaque côté de la barre de l'élément animé sur la chronologie.
Faites glisser les poignées pour définir l'heure de début et de fin de l'animation.
Cela vous permet de contrôler à quel moment l'animation apparaît et sa durée.
Ajustez le minutage de la transition de page (facultatif)
Cliquez sur le numéro de page en bas.
Choisissez “Transition”, puis ajustez le curseur de durée pour contrôler la vitesse à laquelle la page passe à la suivante.
Réorganisez les animations (facultatif)
Si plusieurs éléments sont animés, vous pouvez faire glisser et réorganiser leurs barres dans la chronologie pour modifier la séquence.
Prévisualisez et appliquez
Cliquez sur le bouton Lecture pour prévisualiser le minutage de votre animation.
Une fois satisfait, vos modifications seront enregistrées automatiquement, ou vous pouvez cliquer sur Terminé pour les appliquer.
Guide étape par étape : Comment chronométrer les animations dans Canva
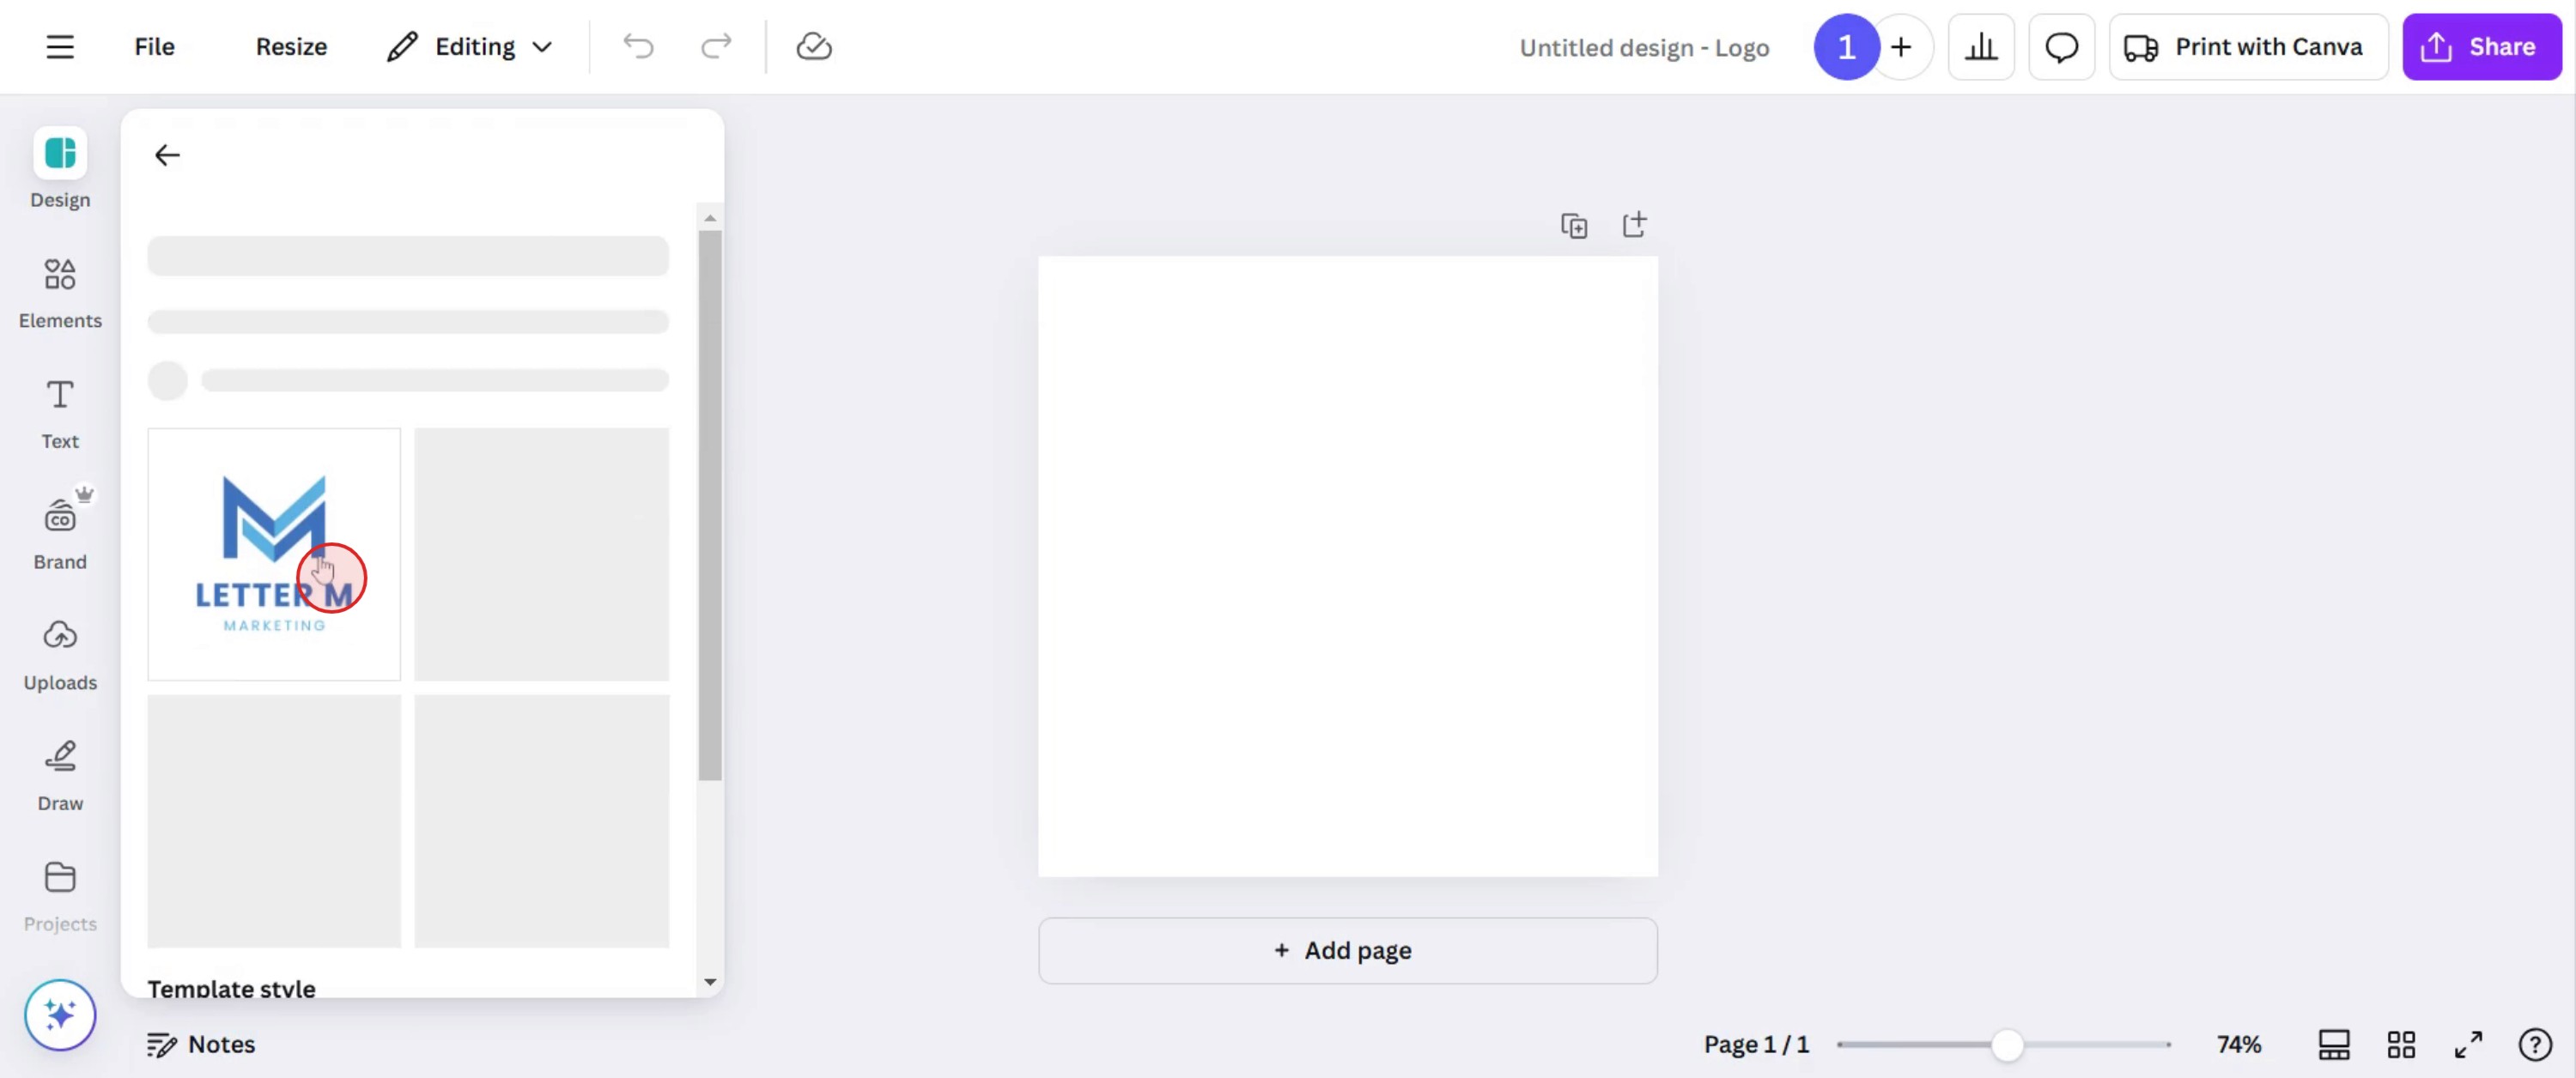
Étape 1
Sélectionnez le design que vous souhaitez animer.
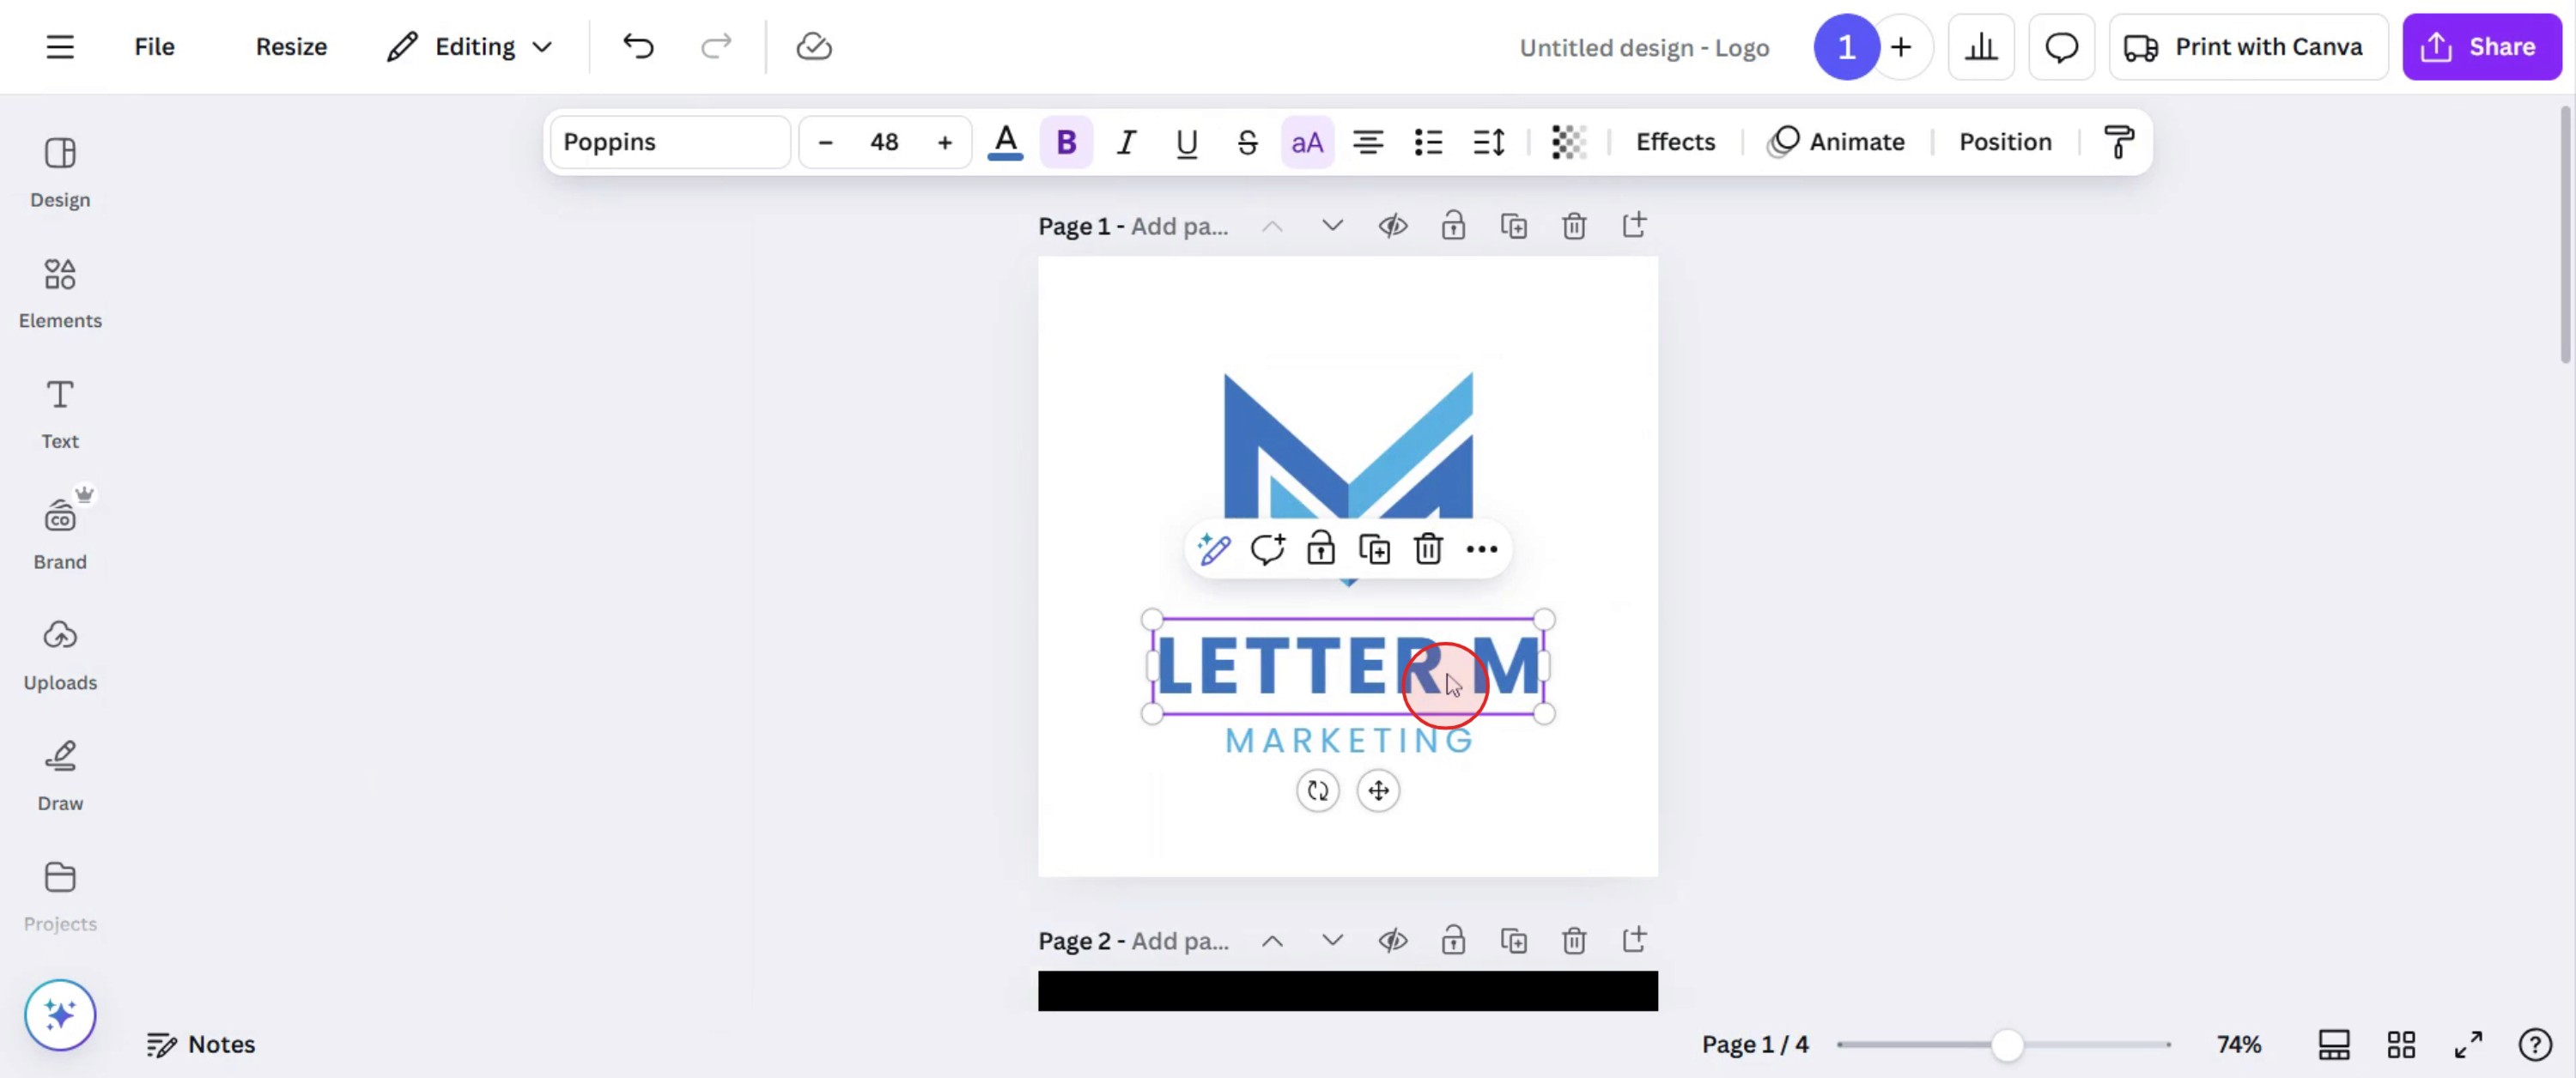
Étape 2
Cliquez ou sélectionnez la partie du design que vous souhaitez animer.
Étape 3
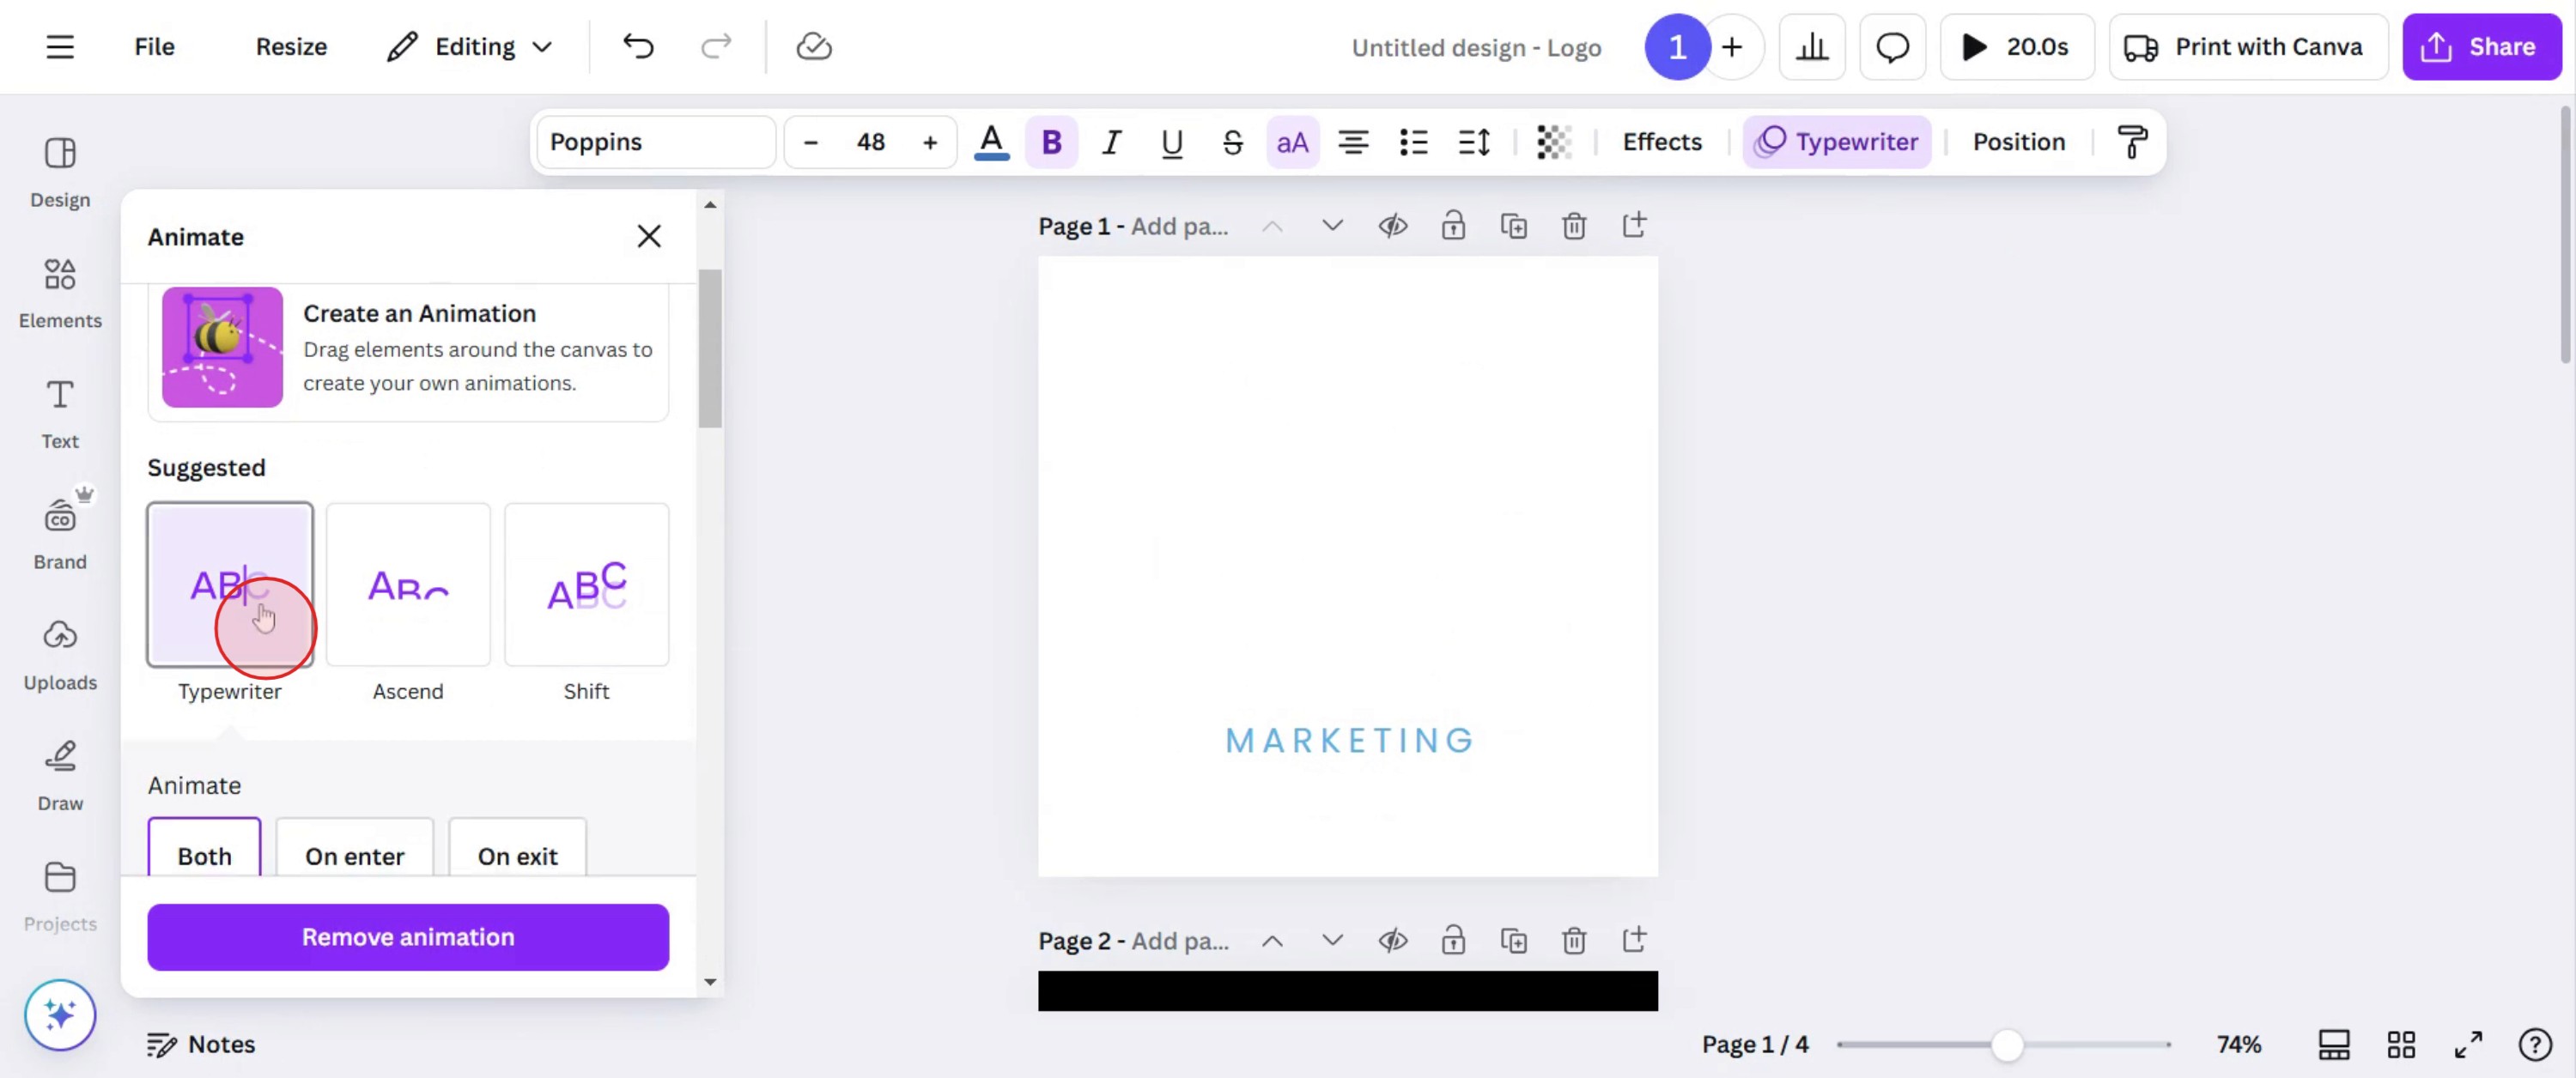
Cliquez sur l'option Animation et explorez les styles et effets d'animation
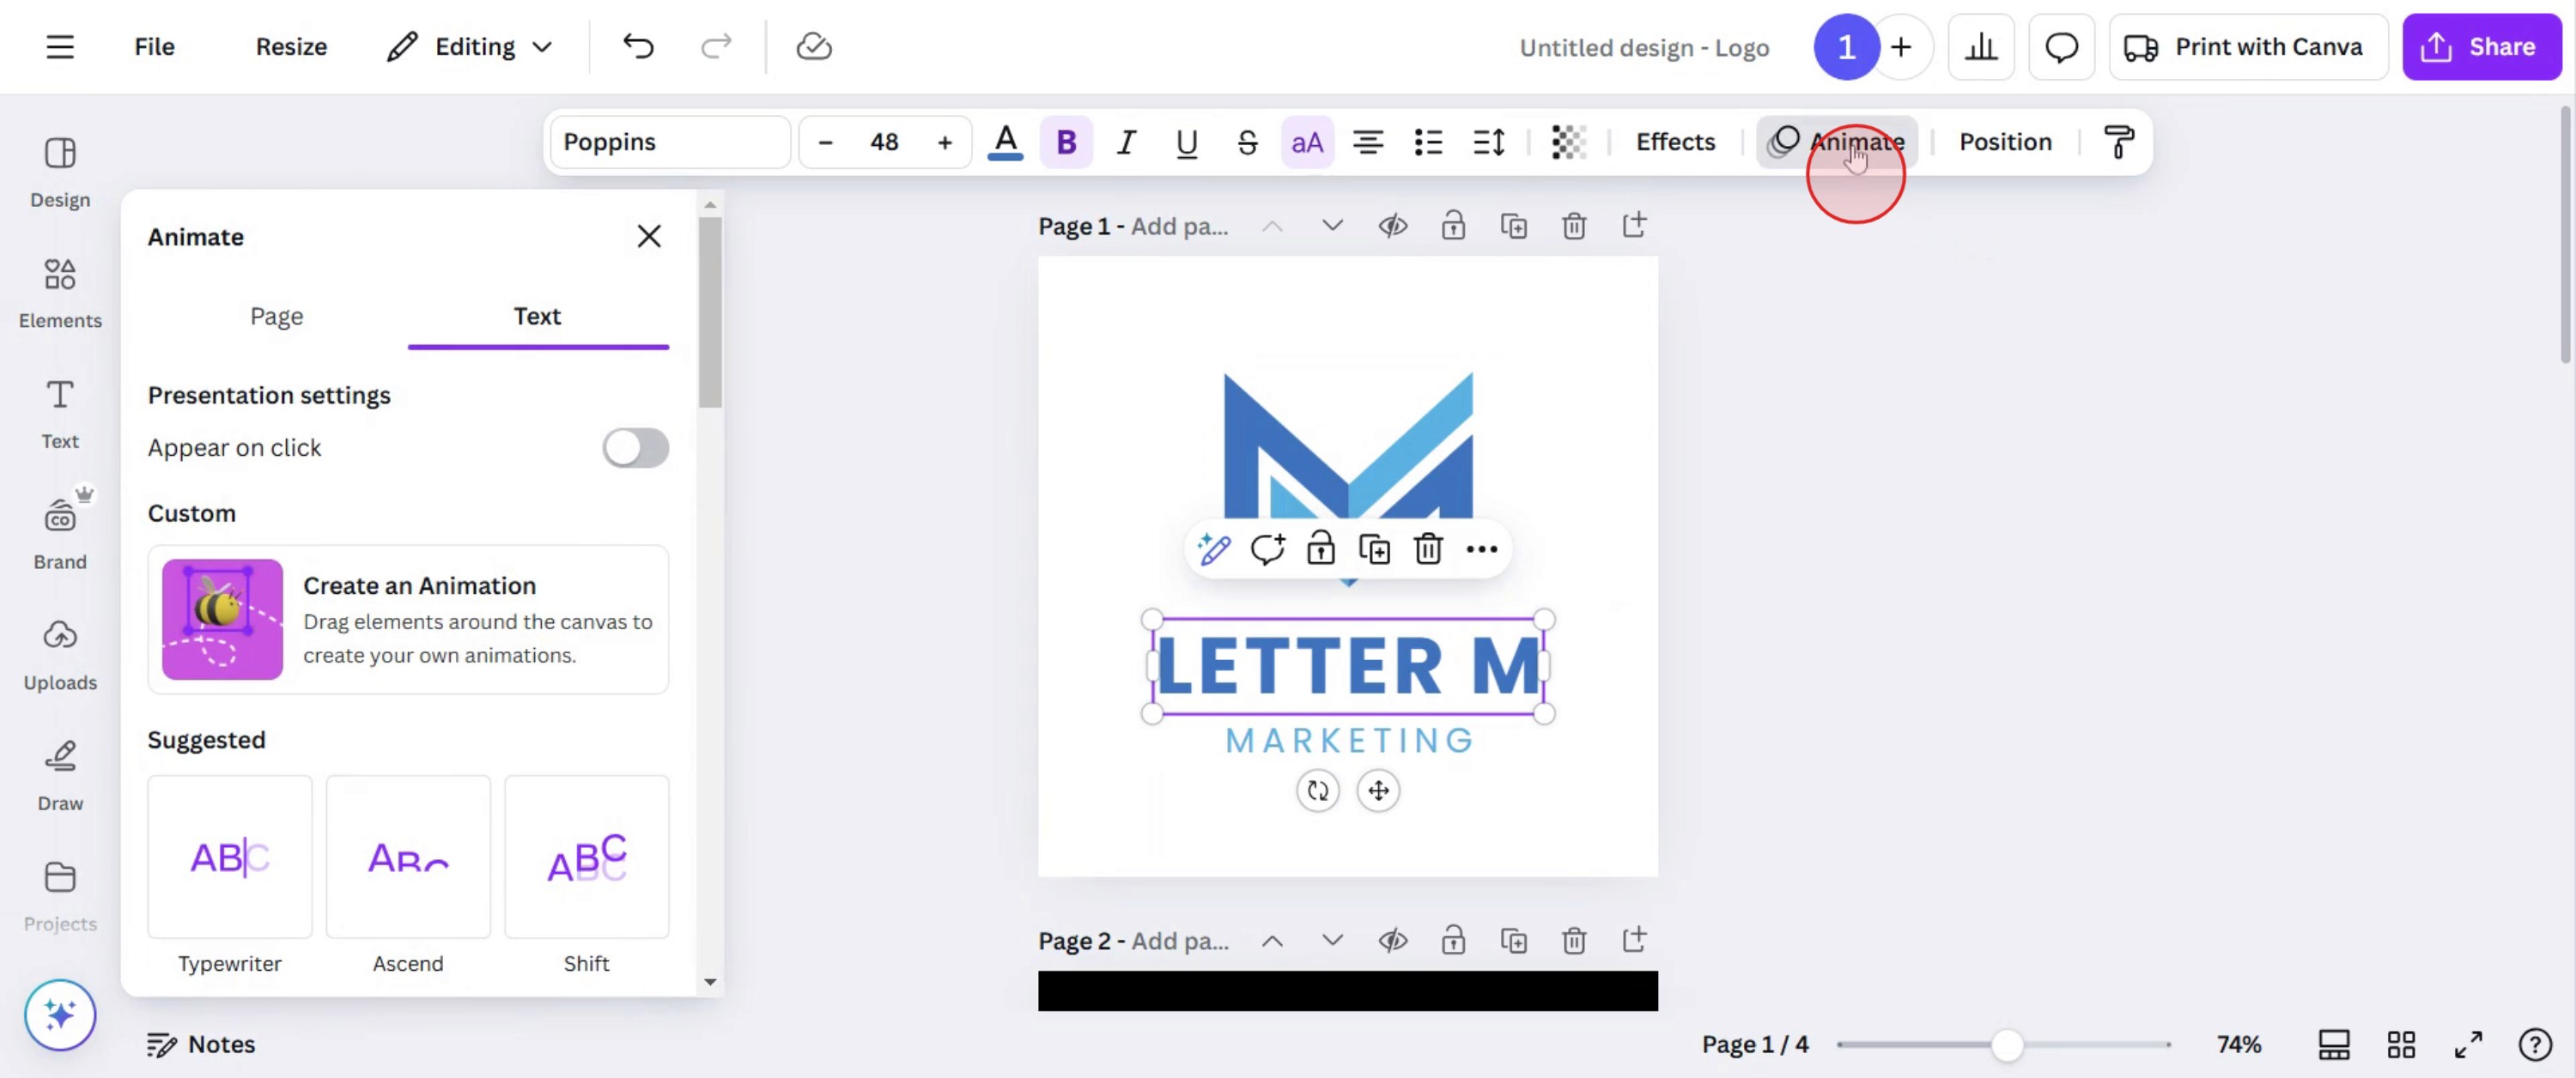
Étape 4
Sélectionnez le style souhaité qui correspond à vos besoins, puis cliquez dessus.
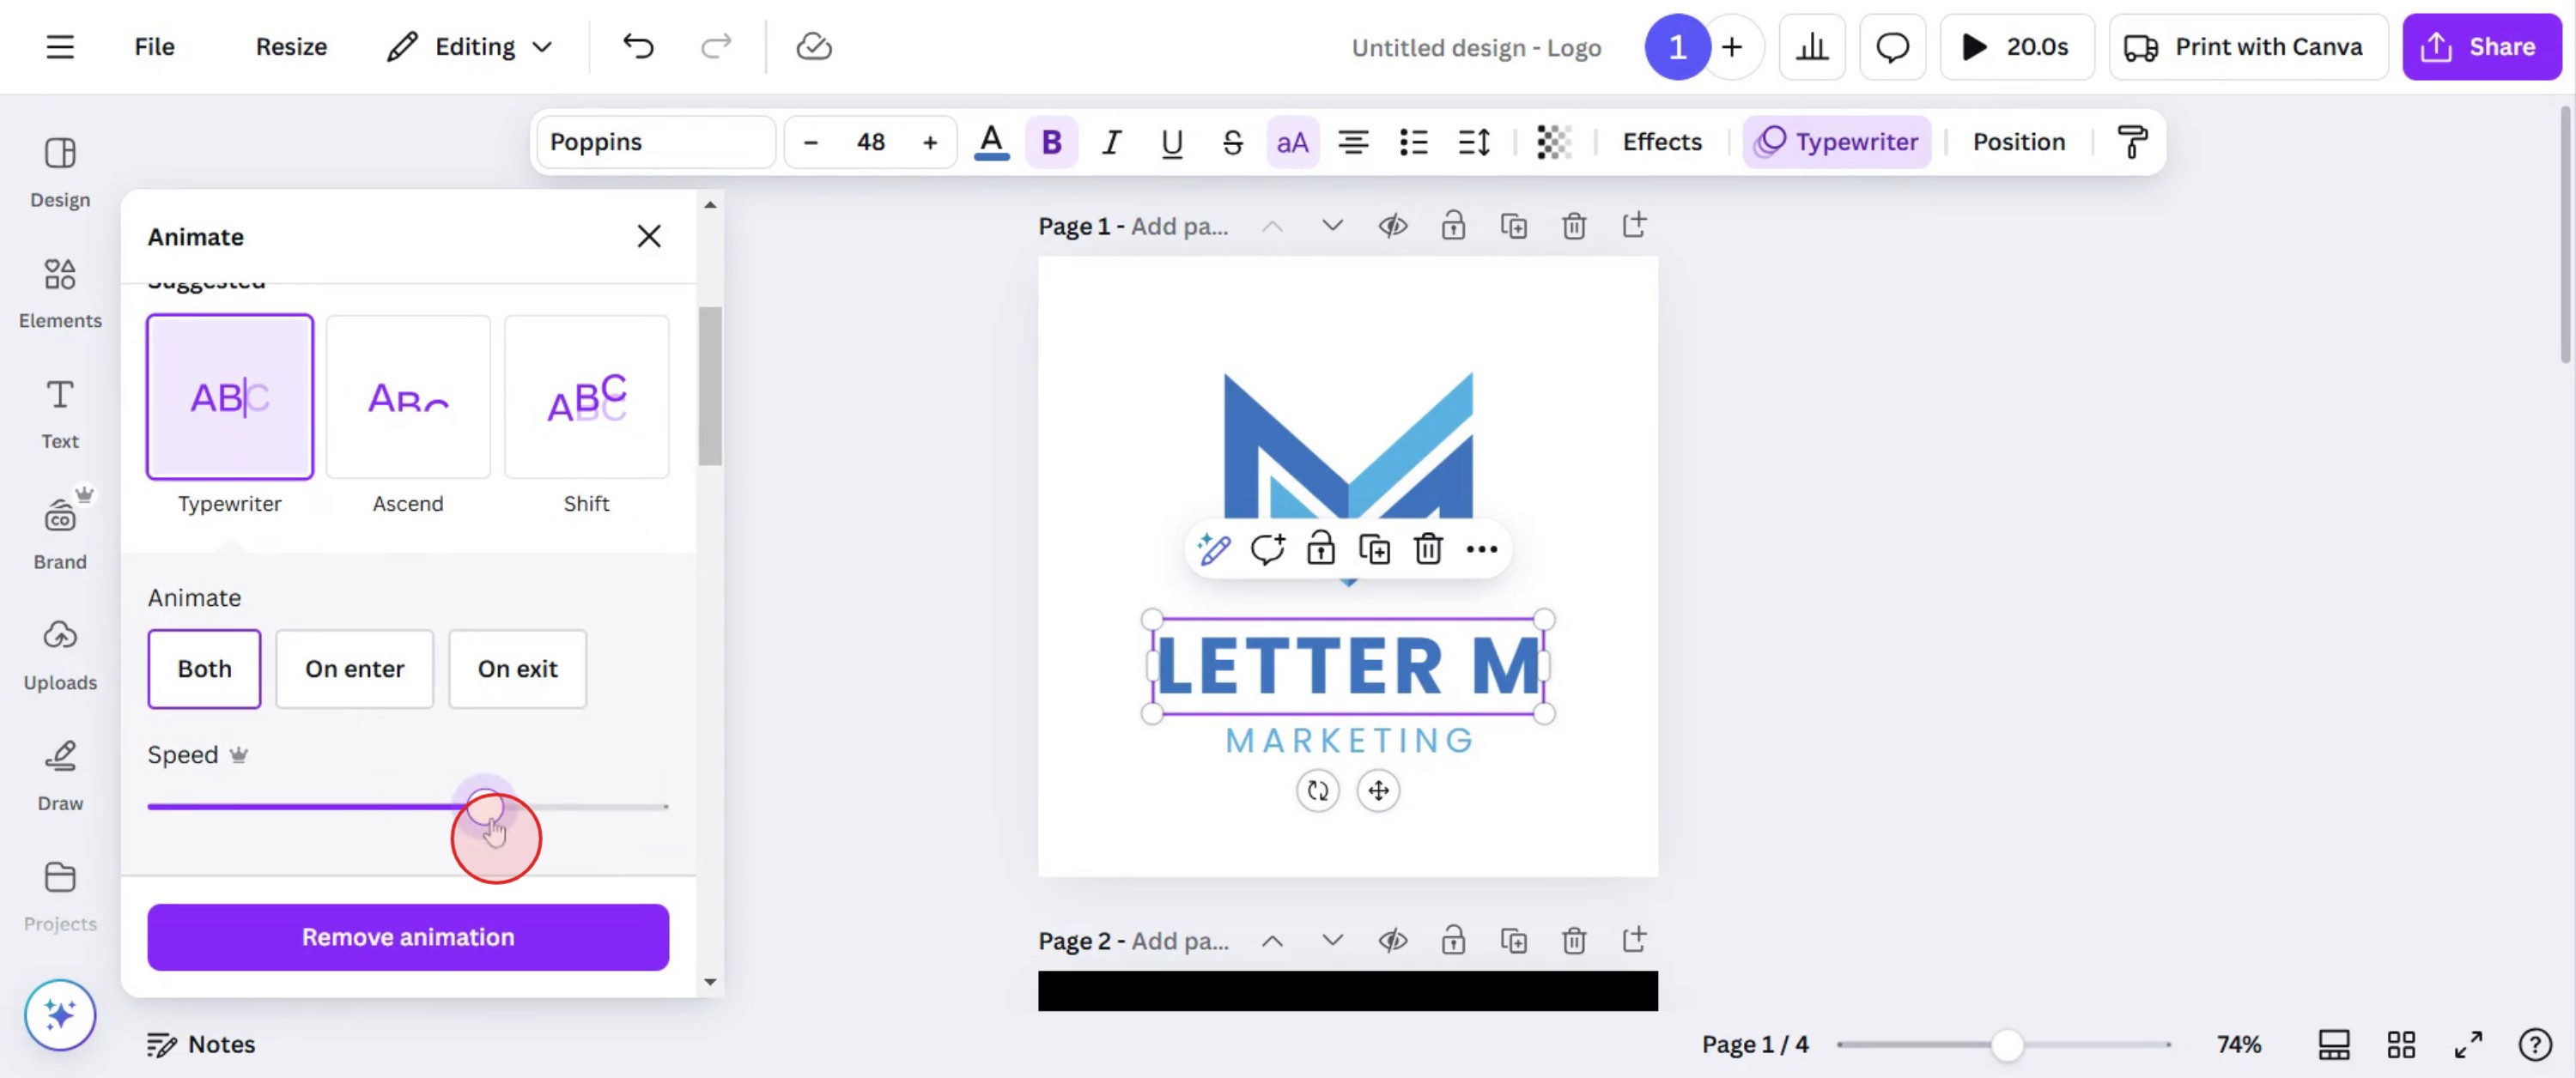
Étape 5
Réglez la vitesse de l'animation en l'augmentant ou en la diminuant selon vos préférences.
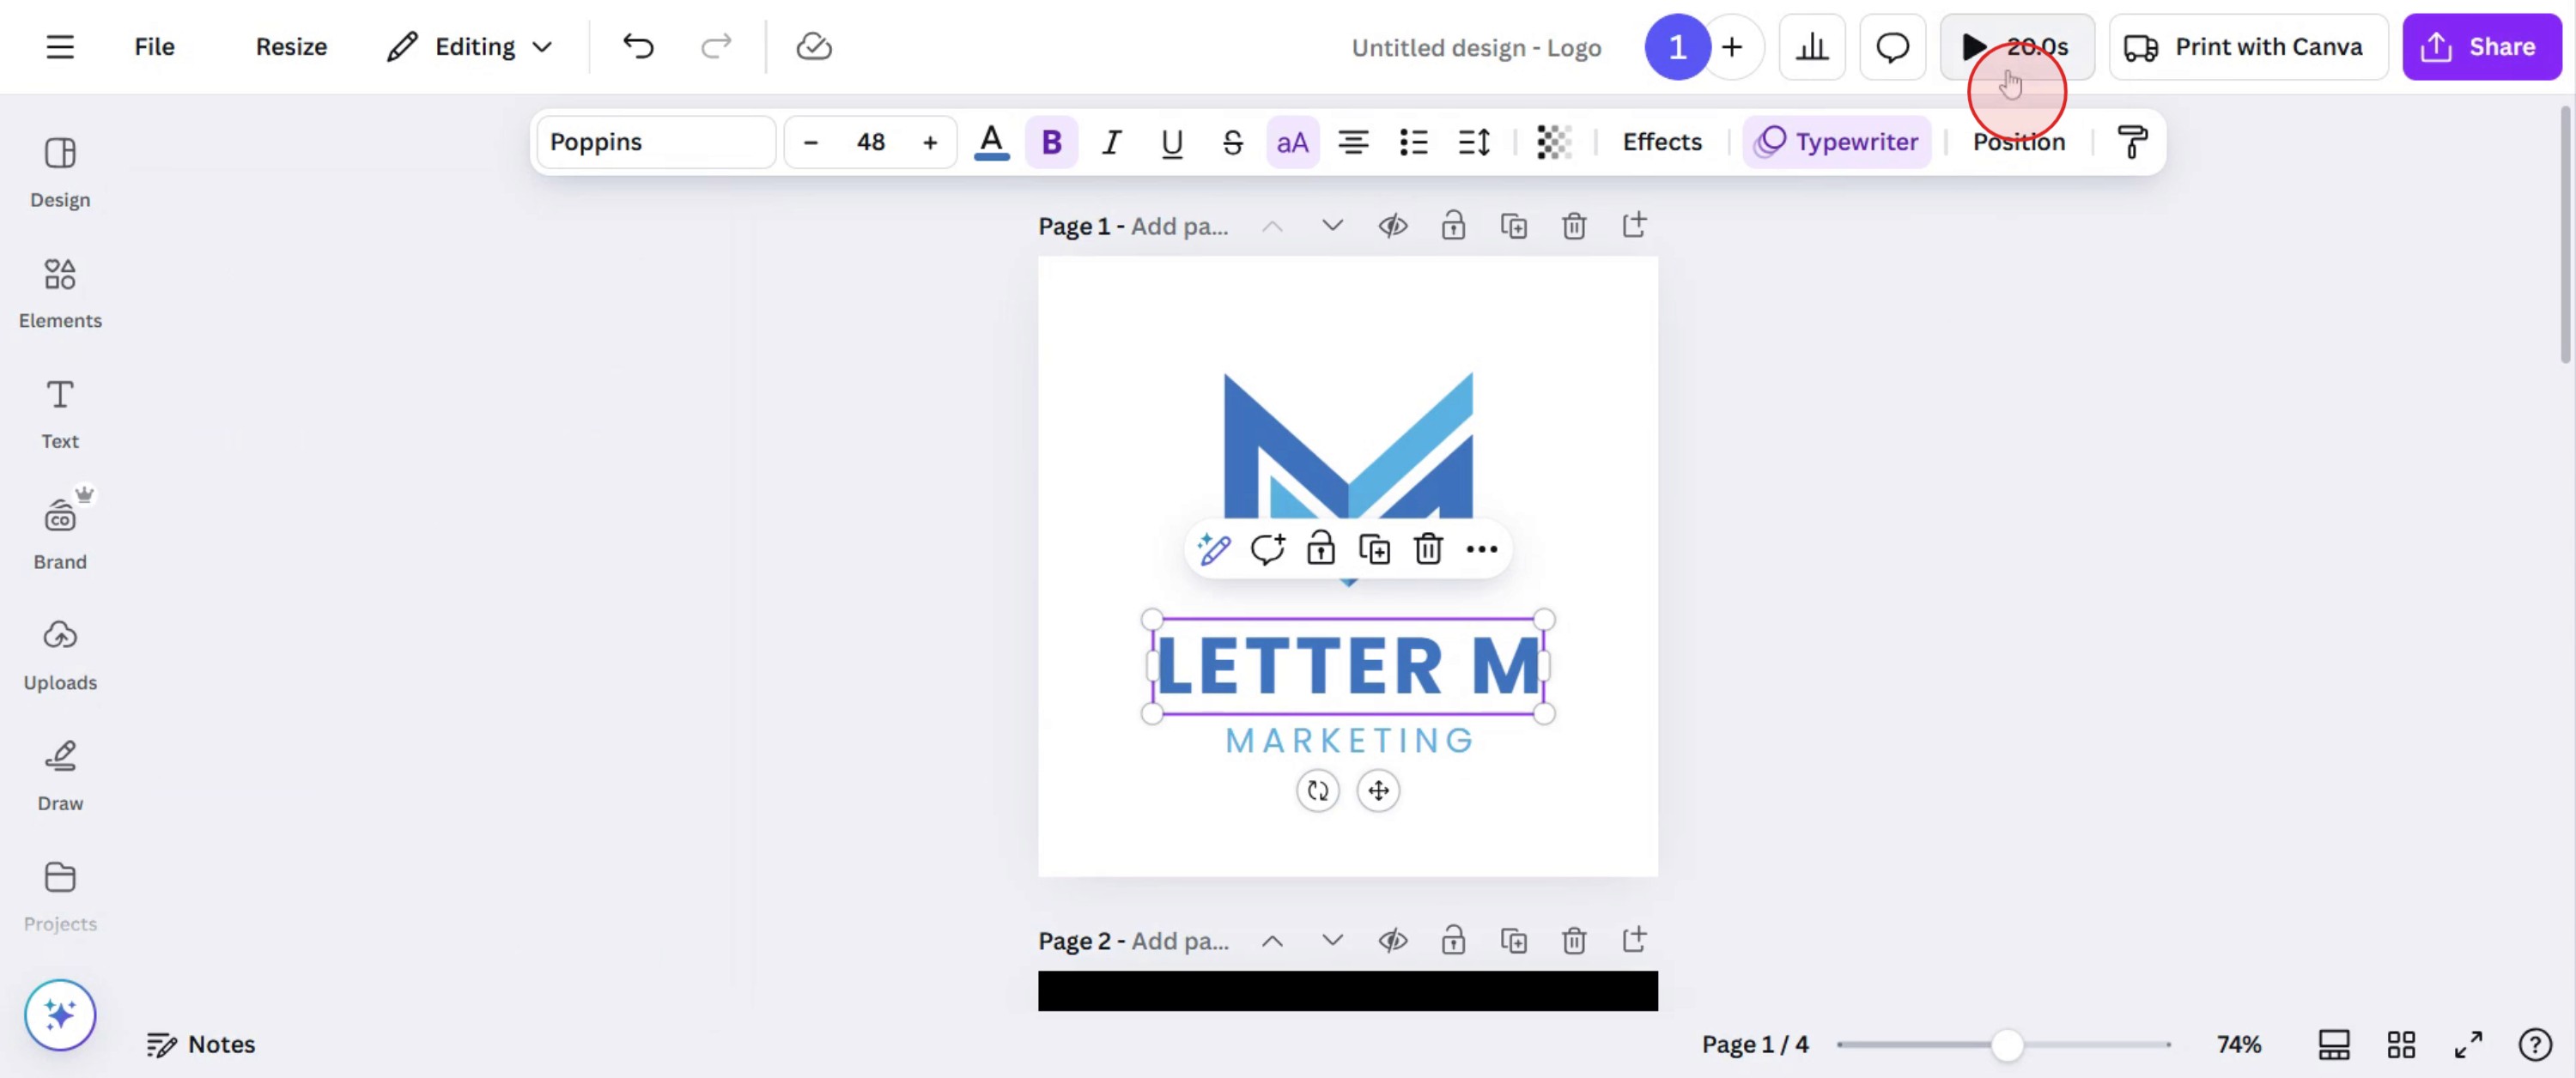
Étape 6
Une fois que vous êtes satisfait des paramètres d'animation, prévisualisez l'animation pour vous assurer qu'elle répond à vos attentes.
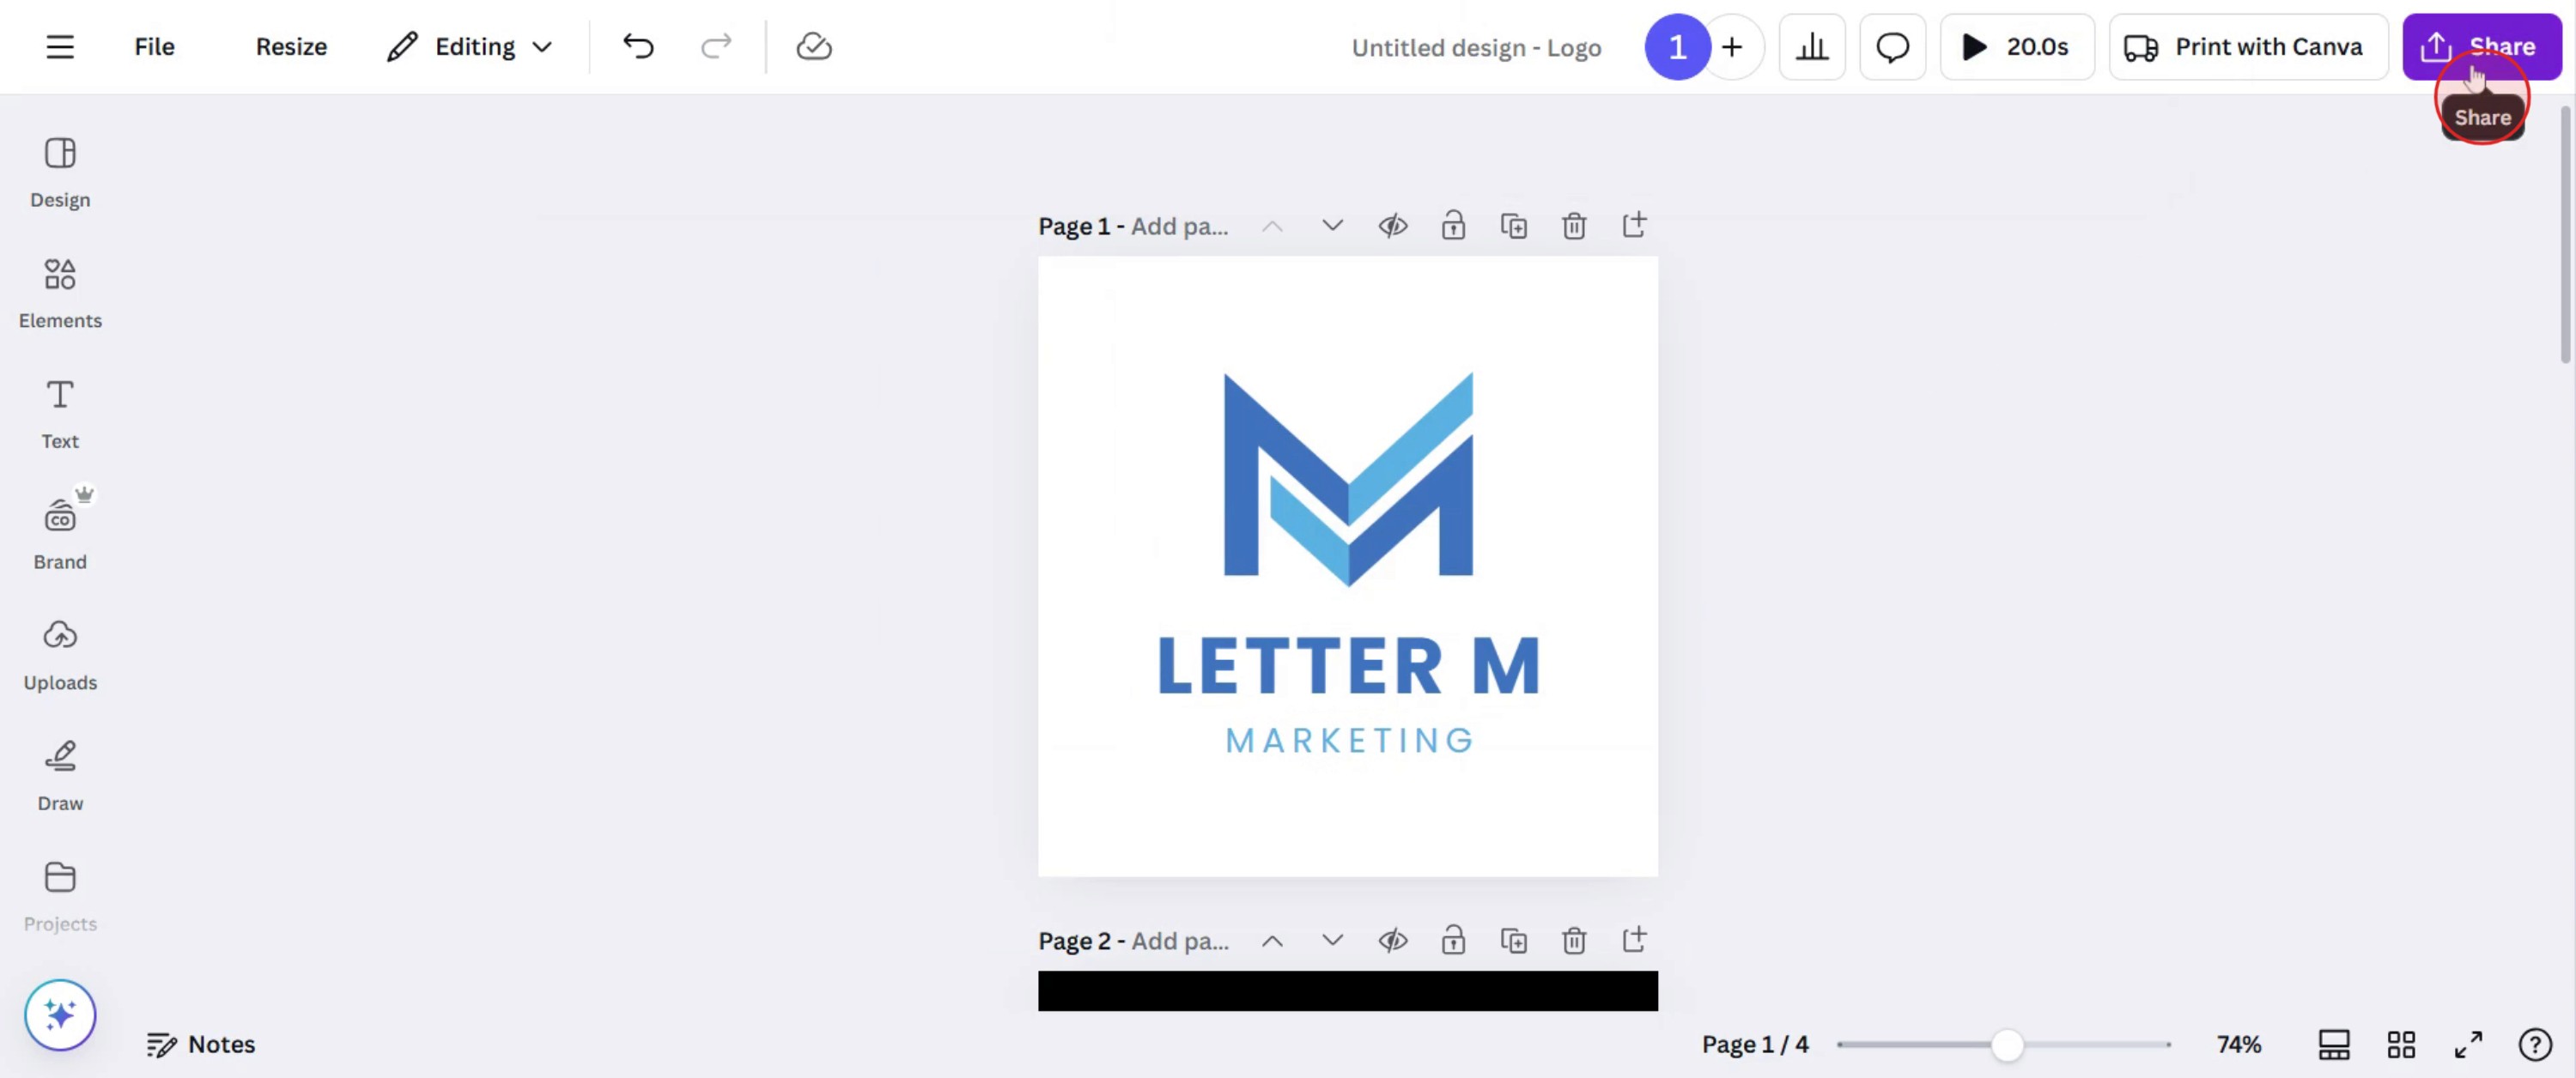
Étape 7
Si tout vous convient, cliquez sur le bouton Partager pour partager votre design terminé.
Conseils pro pour le timing des animations dans Canva
Utilisez l’éditeur de chronologie pour ajuster la durée de chaque animation afin d’obtenir des transitions fluides.
Gardez des animations courtes et discrètes pour conserver un aspect professionnel et éviter les distractions.
Utilisez la fonctionnalité de délai pour décaler les animations et créer des effets de mouvement captivants.
Pièges courants & comment les éviter lors du timing des animations dans Canva
Définir des animations trop longues peut donner une impression de lenteur ; gardez des durées entre 0,5 et 3 secondes.
Faire se chevaucher trop d’animations peut créer un effet encombré ; utilisez la superposition de manière stratégique.
Oublier de prévisualiser l’animation finale peut entraîner des problèmes de timing inattendus ; testez toujours avant d’exporter.
FAQ courantes sur le timing des animations dans Canva
Puis-je personnaliser la durée des animations dans Canva ?
Oui, vous pouvez ajuster le timing à l’aide de l’éditeur de chronologie en faisant glisser la barre d’animation pour modifier sa durée.Comment puis-je ajouter un délai à une animation dans Canva ?
Utilisez l’option Délai dans les paramètres d’animation pour décaler les animations et créer une séquence fluide.Puis-je appliquer des timings différents à plusieurs animations dans un même design ?
Oui, chaque élément animé peut avoir son propre timing et sa propre durée, ce qui permet des effets de mouvement uniques.Comment enregistrer l’écran sur Mac ?
Pour enregistrer l’écran sur un Mac, vous pouvez utiliser Trupeer AI. Il permet de capturer l’intégralité de l’écran et offre des fonctionnalités d’IA telles que l’ajout d’avatars IA, l’ajout d’une voix off, l’ajout de zoom avant et arrière dans la vidéo. Grâce à la fonctionnalité de traduction vidéo par IA de Trupeer, vous pouvez traduire la vidéo dans plus de 30 langues.Comment ajouter un avatar IA à un enregistrement d’écran ?
Pour ajouter un avatar IA à un enregistrement d’écran, vous devrez utiliser un outil d’enregistrement d’écran IA. Trupeer AI est un outil d’enregistrement d’écran IA, qui vous aide à créer des vidéos avec plusieurs avatars, et vous aide également à créer votre propre avatar pour la vidéo.Comment enregistrer l’écran sur Windows ?
Pour enregistrer l’écran sur Windows, vous pouvez utiliser la Game Bar intégrée (Windows + G) ou un outil d’IA avancé comme Trupeer AI pour des fonctionnalités plus avancées telles que des avatars IA, une voix off, la traduction, etc.Comment ajouter une voix off à une vidéo ?
Pour ajouter une voix off à des vidéos, téléchargez l’extension Chrome trupeer ai. Une fois inscrit, téléversez votre vidéo avec voix, choisissez la voix off souhaitée dans Trupeer et exportez votre vidéo modifiée.Comment effectuer un zoom avant dans un enregistrement d’écran ?
Pour effectuer un zoom avant pendant un enregistrement d’écran, utilisez les effets de zoom dans Trupeer AI, qui vous permettent de zoomer avant et arrière à des moments précis, améliorant ainsi l’impact visuel de votre contenu vidéo.
Lectures suggérées
Générateur de documentation technique
Logiciel de base de connaissances
Comment déverrouiller une page dans Canva
Comment transformer une image en page à colorier dans Canva
Comment créer une règle dans Canva
Tutoriels associés

