
Comment imprimer une conversation ChatGPT
Découvrez comment imprimer une conversation ChatGPT en copiant le chat, en le mettant en forme dans un document, puis en l’imprimant ou en l’enregistrant au format PDF. Suivez ce tutoriel rapide et créez des guides avec Trupeer.
Voici une description plus détaillée du processus :
1. Copie de la conversation :
Mettez en surbrillance l'intégralité de la conversation : vous pouvez soit faire glisser manuellement votre curseur sur le texte, soit utiliser le raccourci clavier Ctrl+A (Windows) ou Cmd+A (Mac).Copiez le texte : appuyez sur Ctrl+C (Windows) ou Cmd+C (Mac) pour copier le texte sélectionné.
2. Enregistrement en PDF :
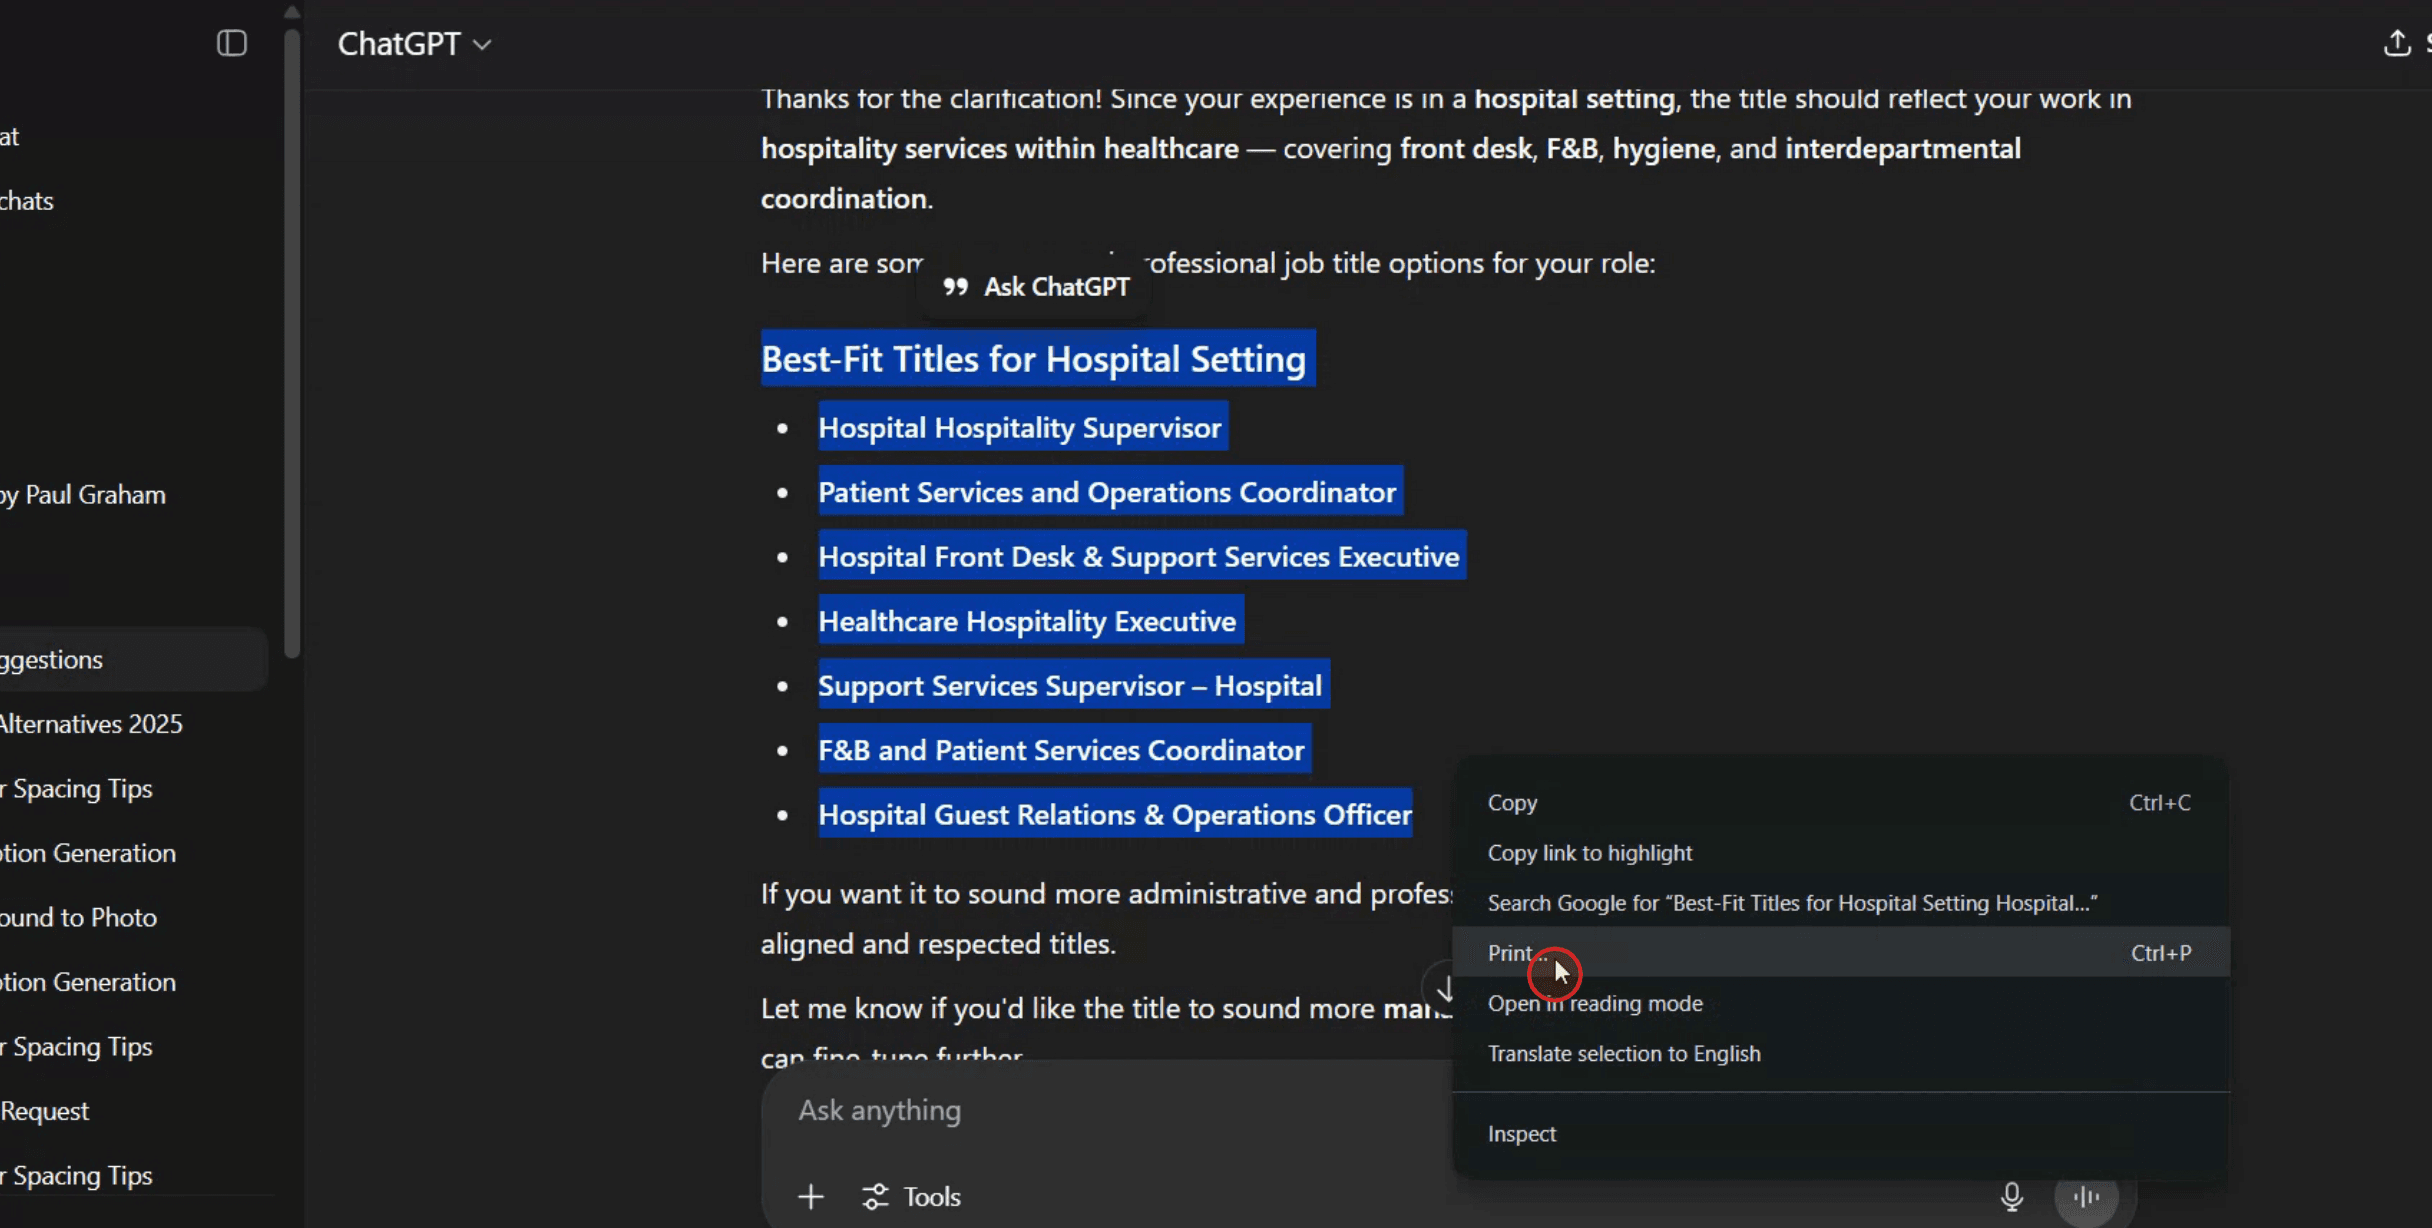
Ouvrez la boîte de dialogue d'impression : faites un clic droit n'importe où sur la page et sélectionnez "Imprimer" dans le menu, ou utilisez le raccourci Ctrl+P (Windows) ou Cmd+P (Mac).
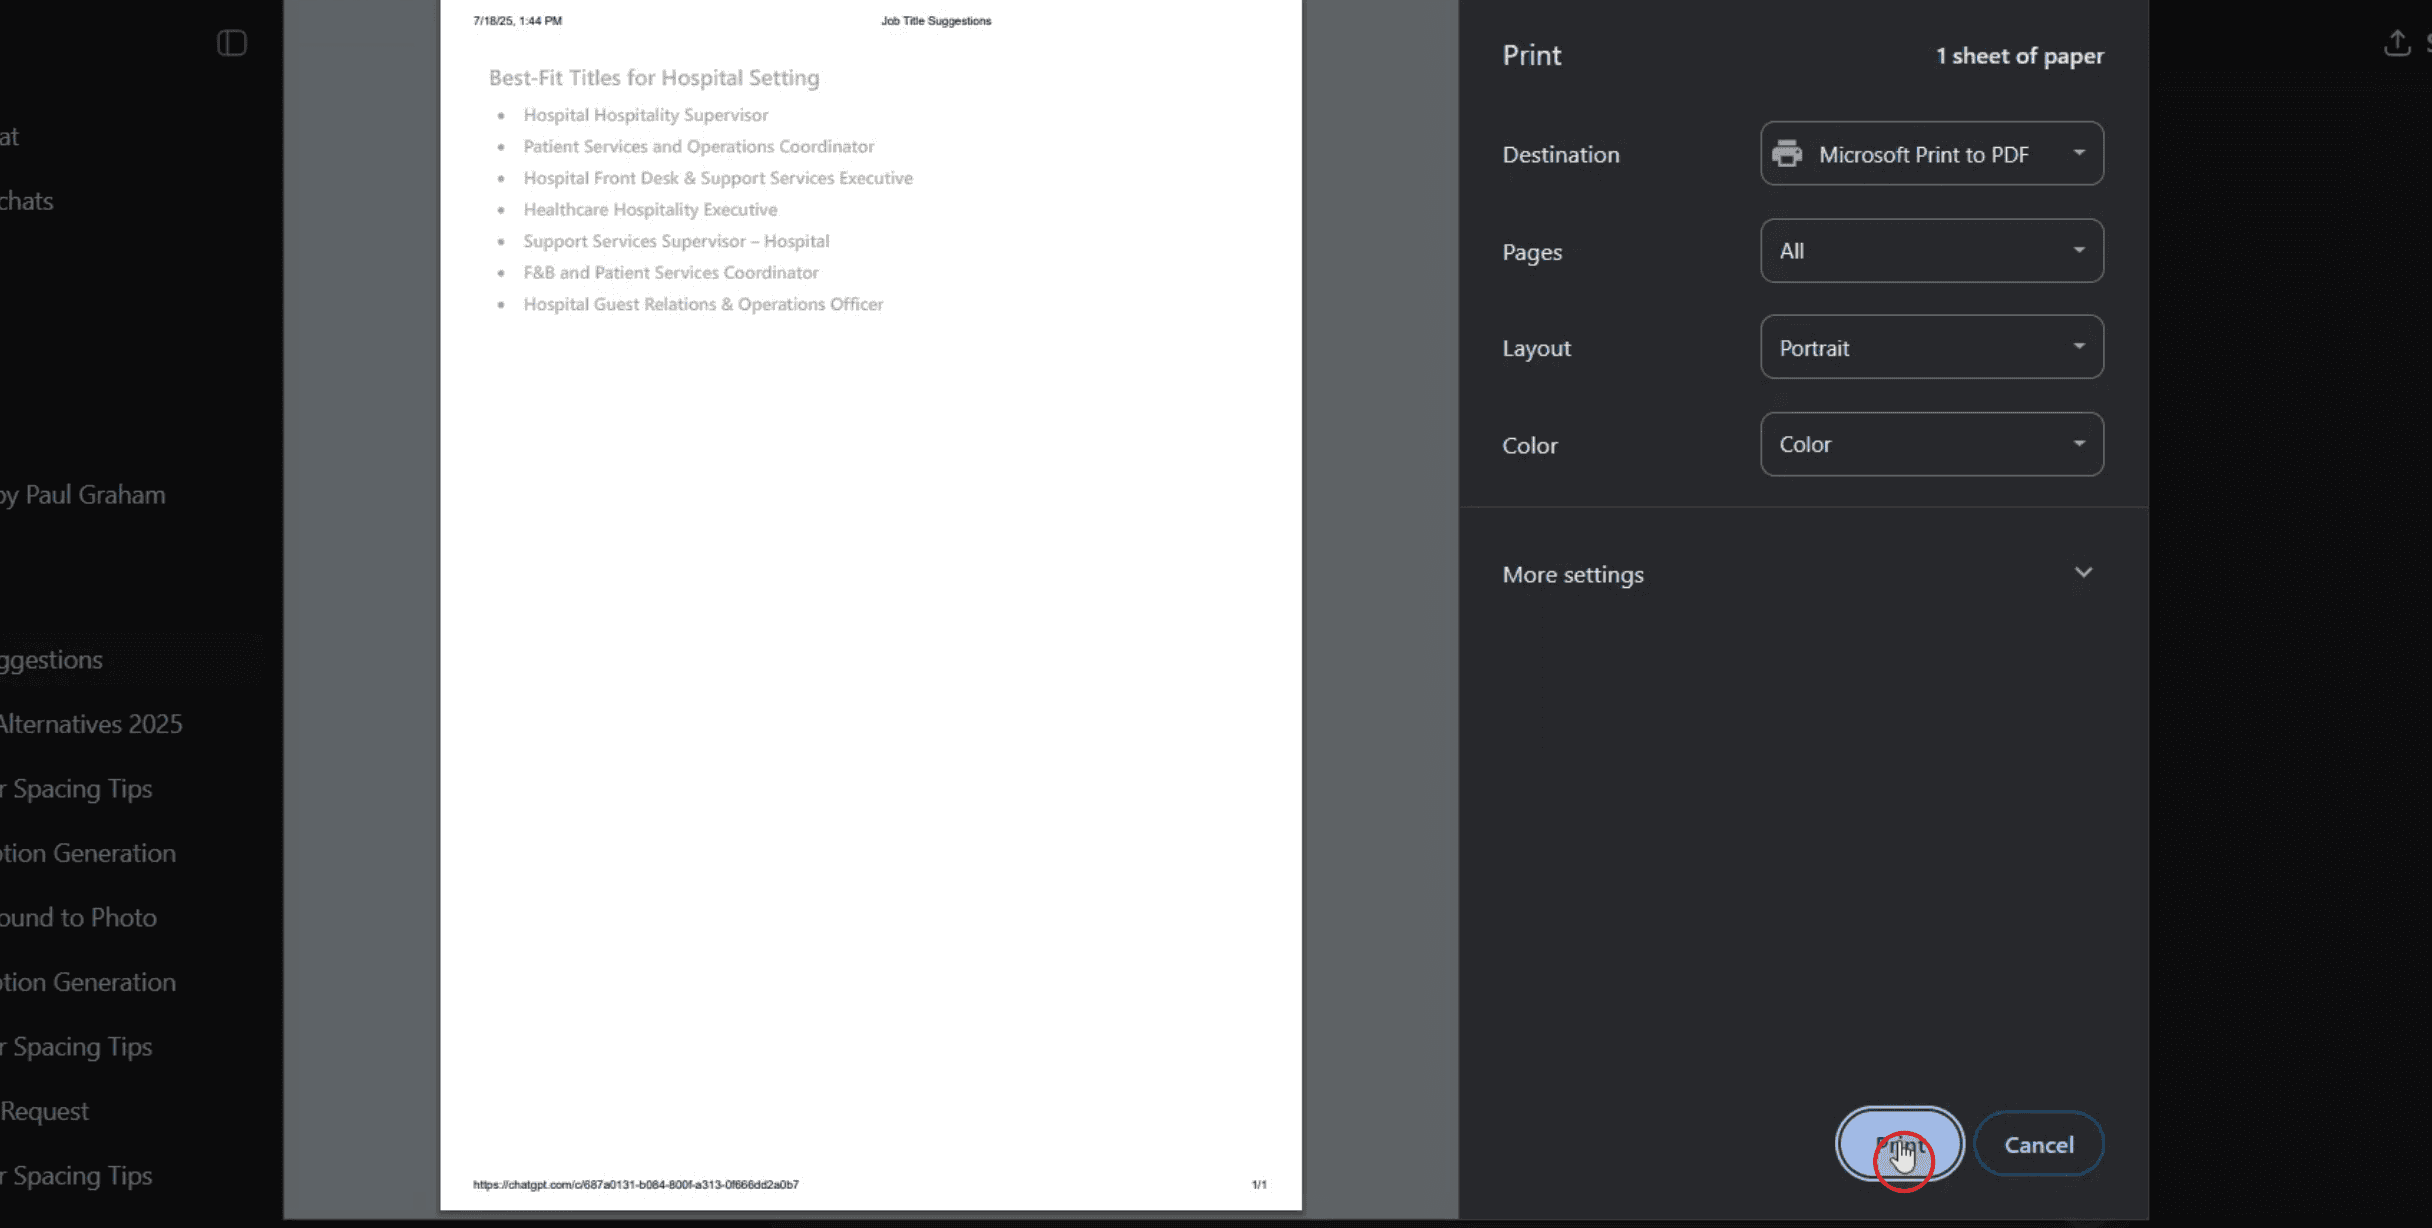
Modifiez la destination : dans les paramètres d'impression, trouvez l'option "Destination" et sélectionnez "Enregistrer en PDF".
Enregistrez le fichier : cliquez sur le bouton "Enregistrer" et choisissez un emplacement pour enregistrer votre fichier PDF.
Guide étape par étape : Comment imprimer une conversation ChatGPT
Étape 1
Mettez en surbrillance la partie de la conversation que vous souhaitez imprimer.
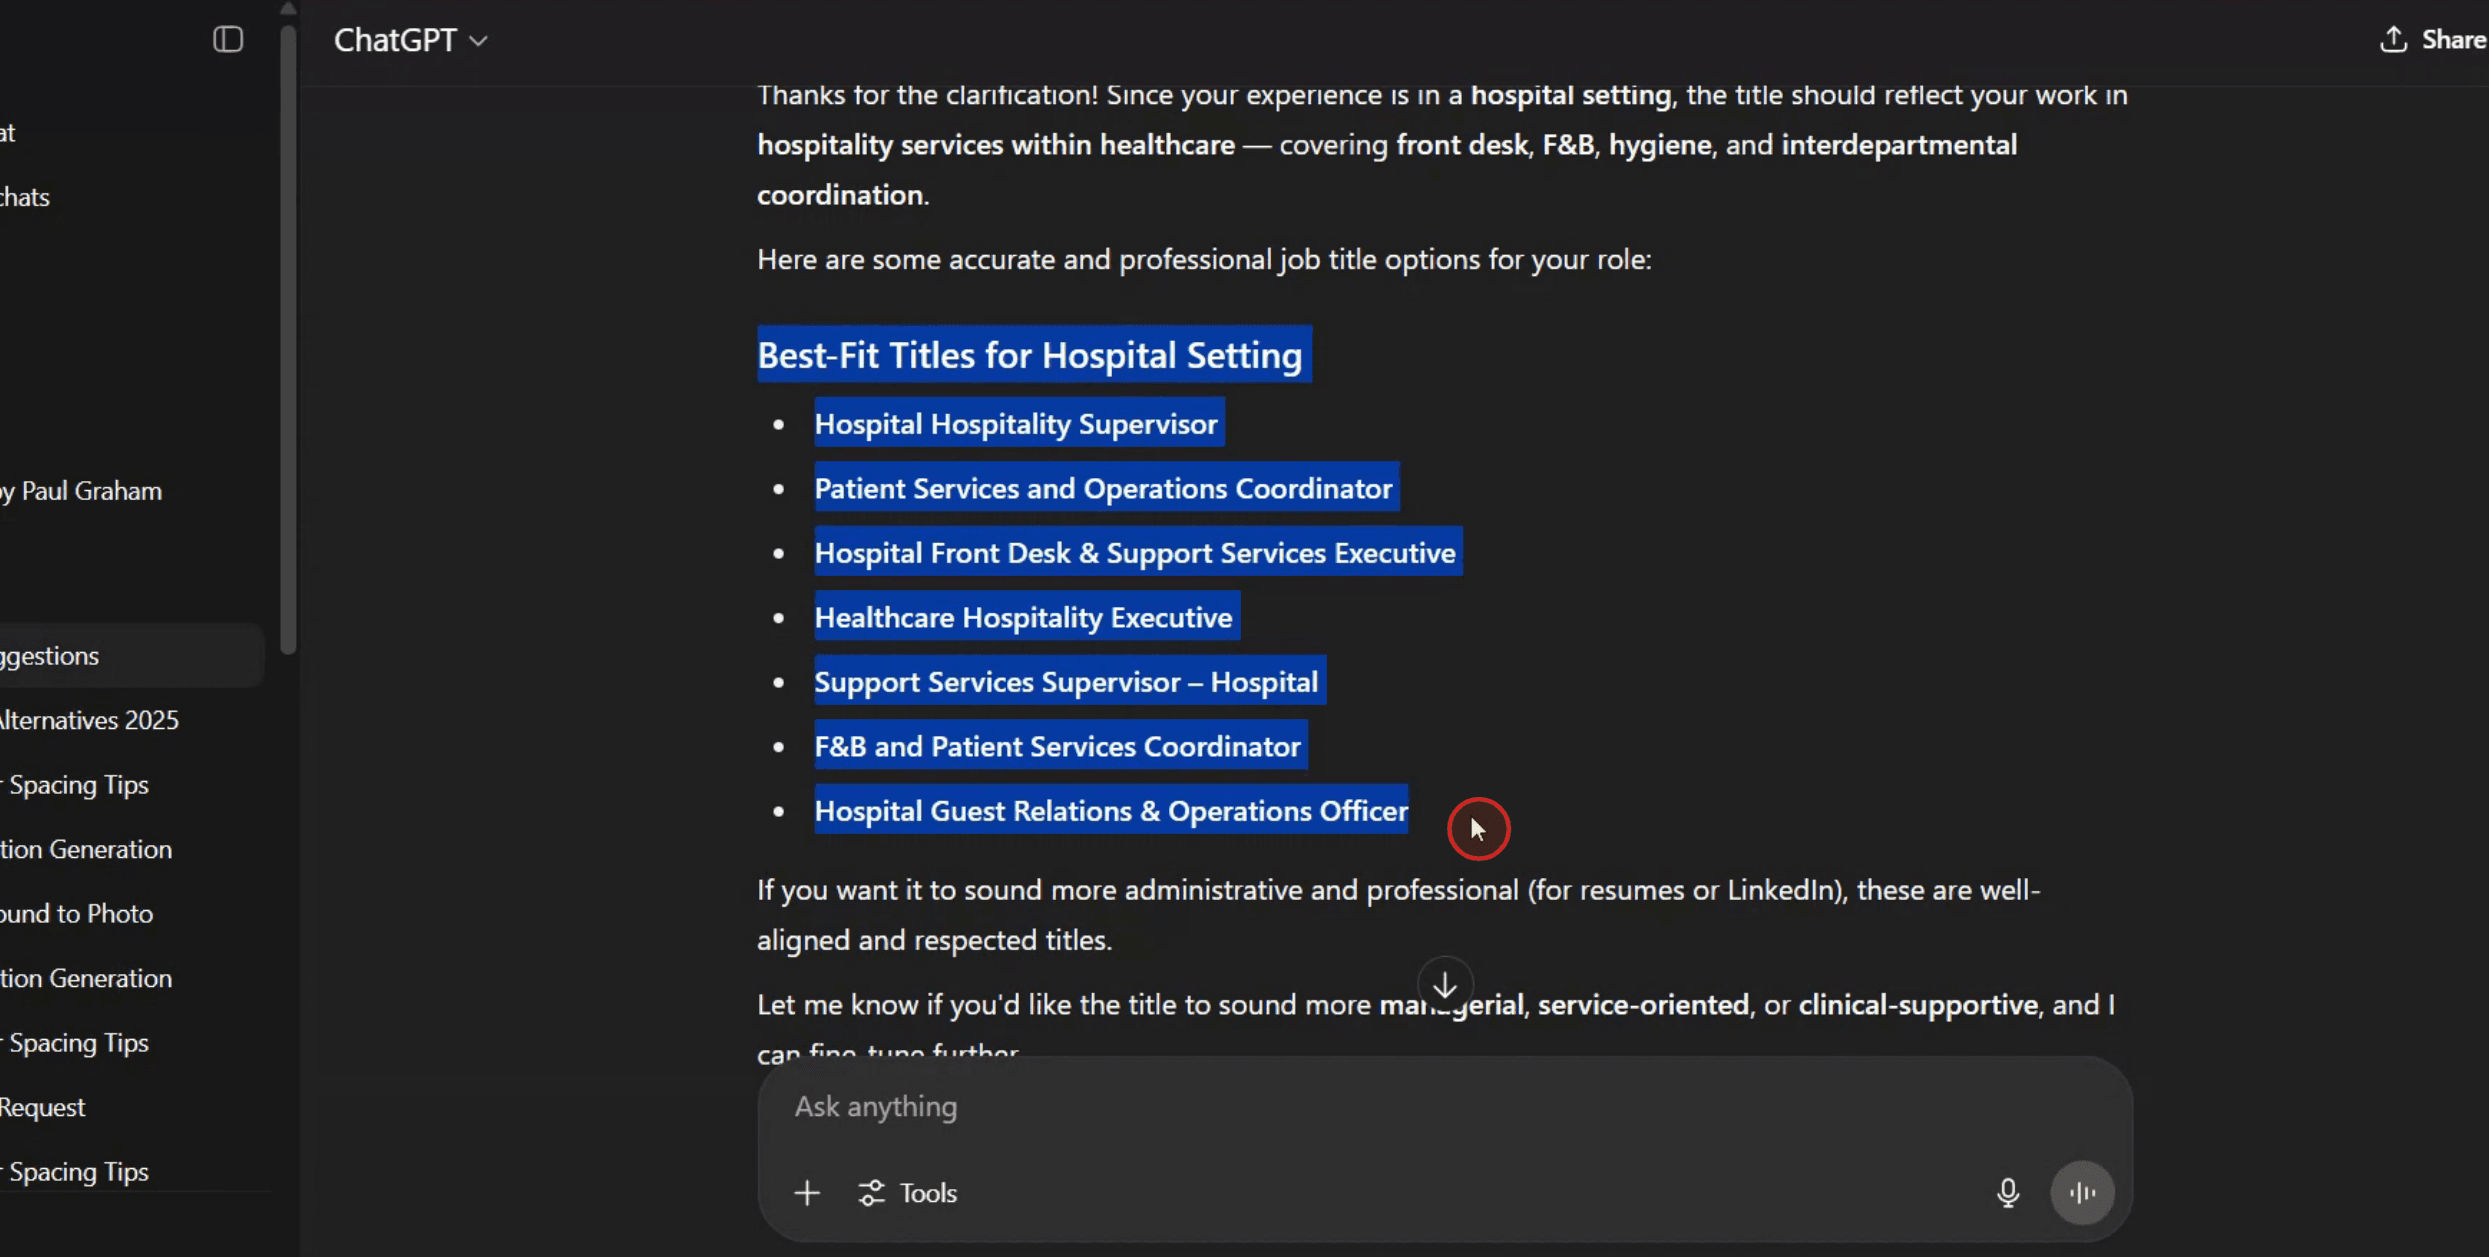
Étape 2
Après avoir mis en surbrillance, faites un clic droit avec votre souris et sélectionnez l'option 'Imprimer' dans le menu contextuel.
Étape 3
Confirmez votre sélection et cliquez sur le bouton 'Imprimer' pour finaliser le processus d'impression.
Conseils de pro pour imprimer une conversation ChatGPT
Ouvrez votre conversation ChatGPT
Accédez à la conversation précise que vous souhaitez imprimer en vous connectant à votre compte ChatGPT et en sélectionnant le chat dans votre historique.Sélectionnez l’intégralité de la conversation
Cliquez et faites glisser le curseur de votre souris sur le texte de la conversation pour le surligner du début à la fin.Copiez le texte surligné
Faites un clic droit sur le texte sélectionné et choisissez « Copier », ou appuyez sur Ctrl + C (Cmd + C sur Mac) pour copier la conversation.Collez dans un éditeur de documents
Ouvrez n’importe quel éditeur de texte tel que Microsoft Word, Google Docs ou le Bloc-notes. Collez la conversation copiée à l’aide de Ctrl + V (Cmd + V sur Mac).Mettez le texte en forme si nécessaire
Ajustez l’interligne, la taille de la police et la mise en page pour améliorer la lisibilité avant l’impression. Vous pouvez également supprimer les parties indésirables de la conversation.Enregistrez le fichier
Enregistrez votre document localement ou dans le cloud afin de pouvoir y accéder plus tard si nécessaire.Imprimez depuis l’éditeur
Cliquez sur « Fichier » puis sur « Imprimer » dans votre éditeur, ou appuyez sur Ctrl + P (Cmd + P sur Mac) pour ouvrir la boîte de dialogue d’impression et terminer le processus d’impression.
Pièges courants et comment les éviter
Tout le contenu n’est pas sélectionné
Assurez-vous de faire défiler toute la conversation et de confirmer que vous avez sélectionné tout ce dont vous avez besoin avant de copier.Perte de la mise en forme
Lors du collage dans un éditeur de texte, une partie de la mise en forme peut être perdue. Utilisez des éditeurs comme Google Docs ou Word pour un meilleur contrôle de la mise en forme.Contenu tronqué à l’impression
Utilisez la fonction « Aperçu avant impression » de votre éditeur pour vous assurer que toutes les parties de la conversation sont visibles avant l’impression.Impression directe depuis le navigateur
Évitez d’imprimer directement depuis la page ChatGPT, car cela peut tronquer des parties de la conversation. À la place, collez-la dans un éditeur de documents.Questions de confidentialité
Soyez prudent lorsque vous imprimez des conversations sensibles. Utilisez des appareils et des imprimantes sécurisés, surtout dans des environnements partagés.
FAQ courantes sur l’impression des conversations ChatGPT
Puis-je imprimer directement depuis l’interface ChatGPT ?
Il n’existe pas de bouton d’impression direct dans ChatGPT, vous devez donc d’abord copier et coller le texte dans un éditeur de documents.Quelle est la meilleure façon de préserver la mise en page d’un long chat ?
Utilisez Google Docs ou Microsoft Word pour mieux gérer les longs chats, et appliquez une mise en forme cohérente avant d’imprimer.Puis-je enregistrer le chat en PDF à la place ?
Oui, après avoir collé le contenu dans un éditeur de documents, vous pouvez choisir « Enregistrer au format PDF » dans la boîte de dialogue d’impression au lieu d’imprimer sur papier.Existe-t-il un moyen de télécharger automatiquement la conversation ?
Pas pour le moment. Le copier-coller manuel est la meilleure façon de préserver et d’imprimer l’historique de votre chat.Puis-je imprimer une conversation depuis un mobile ?
Oui, vous pouvez copier le chat sur mobile et le coller dans un éditeur de texte mobile ou vous l’envoyer par e-mail pour l’imprimer depuis un ordinateur de bureau.Comment enregistrer l’écran sur Mac?
Pour enregistrer l’écran sur un Mac, vous pouvez utiliser Trupeer AI. Il vous permet de capturer l’intégralité de l’écran et offre des capacités d’IA telles que l’ajout d’avatars IA, l’ajout de voix off, le zoom avant et arrière dans la vidéo. Grâce à la fonction de traduction vidéo IA de Trupeer, vous pouvez traduire la vidéo en plus de 30 langues.Comment ajouter un avatar IA à un enregistrement d’écran ?
Pour ajouter un avatar IA à un enregistrement d’écran, vous devrez utiliser un outil d’enregistrement d’écran IA. Trupeer AI est un outil d’enregistrement d’écran IA, qui vous aide à créer des vidéos avec plusieurs avatars et vous aide également à créer votre propre avatar pour la vidéo.Comment enregistrer l’écran sur Windows ?
Pour enregistrer l’écran sur Windows, vous pouvez utiliser la Xbox Game Bar intégrée (Windows + G) ou un outil d’IA avancé comme Trupeer AI pour des fonctionnalités plus avancées telles que des avatars IA, la voix off, la traduction, etc.Comment ajouter une voix off à une vidéo ?
Pour ajouter une voix off aux vidéos, téléchargez l’extension Chrome Trupeer AI. Une fois inscrit, importez votre vidéo avec voix, choisissez la voix off souhaitée sur Trupeer et exportez votre vidéo modifiée.Comment zoomer dans un enregistrement d’écran?
Pour effectuer un zoom avant pendant un enregistrement d’écran, utilisez les effets de zoom dans Trupeer AI, qui vous permettent de zoomer avant et arrière à des moments précis, renforçant ainsi l’impact visuel de votre contenu vidéo.
Lectures suggérées
Générateur de documentation technique
Logiciel de base de connaissances
Comment jouer à des jeux GitHub
Comment partager un dépôt GitHub via un lien
Comment partager votre profil GitHub
Tutoriels associés

